- Benefits of using a heat resistant primer
- Factors to consider when choosing a primer for a wood stove
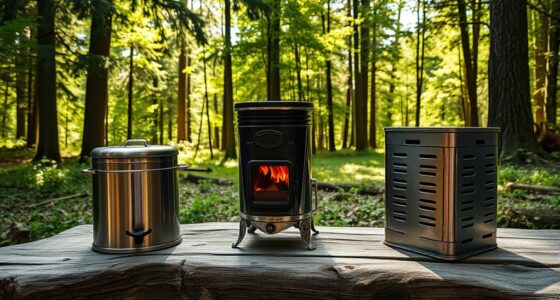
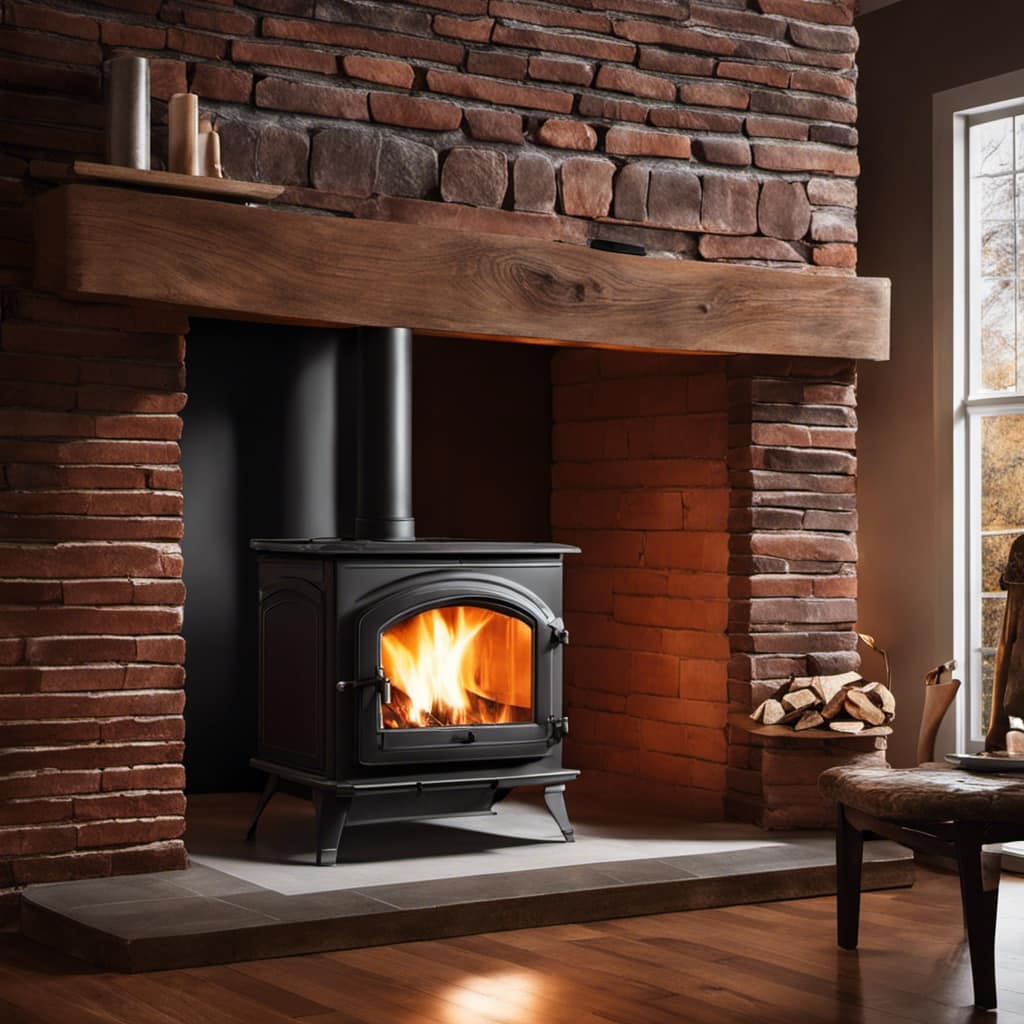
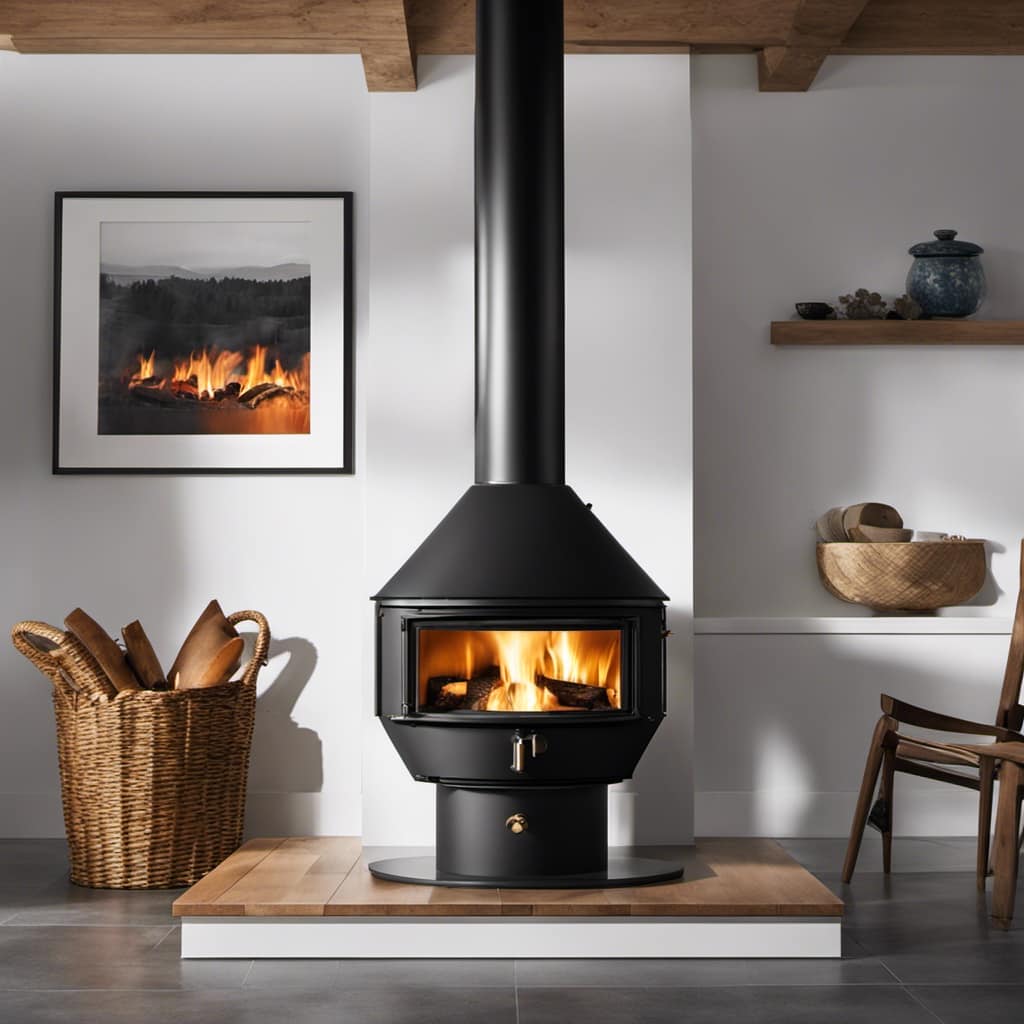
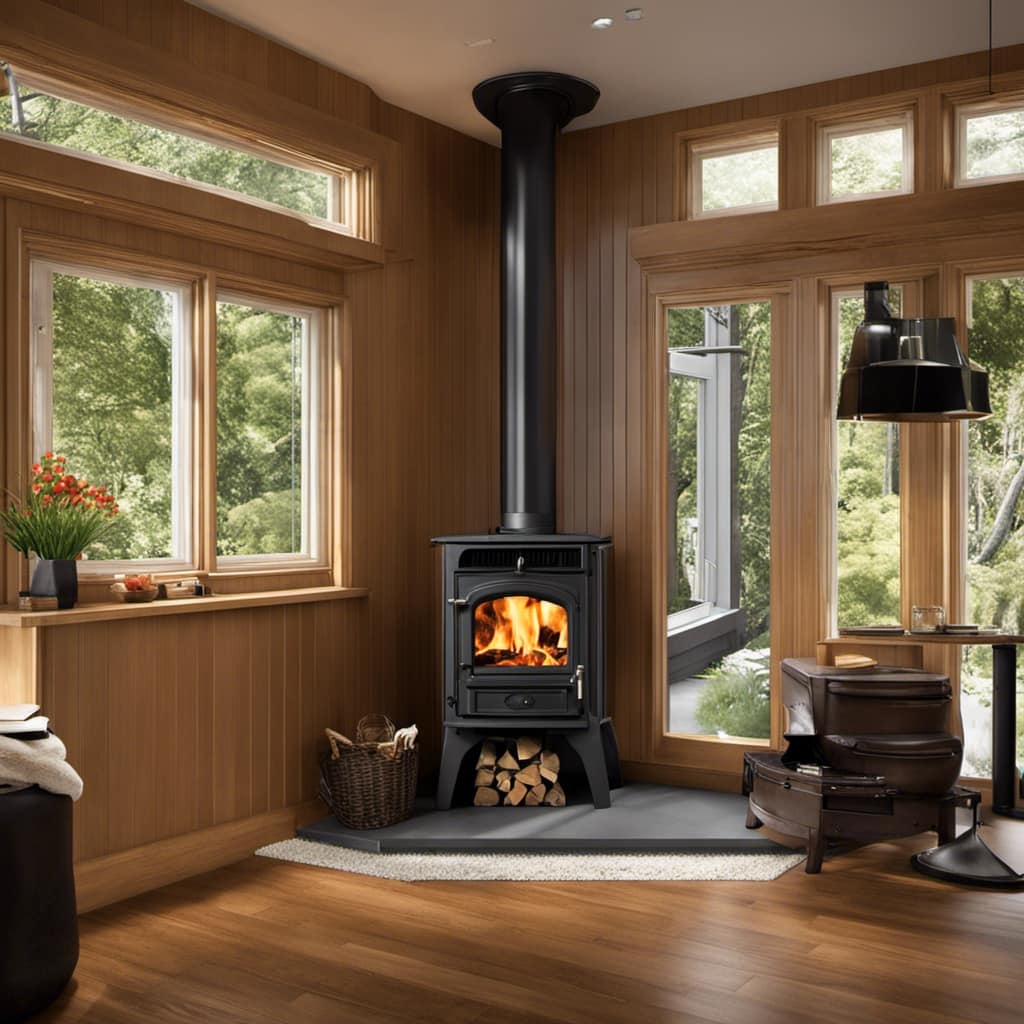
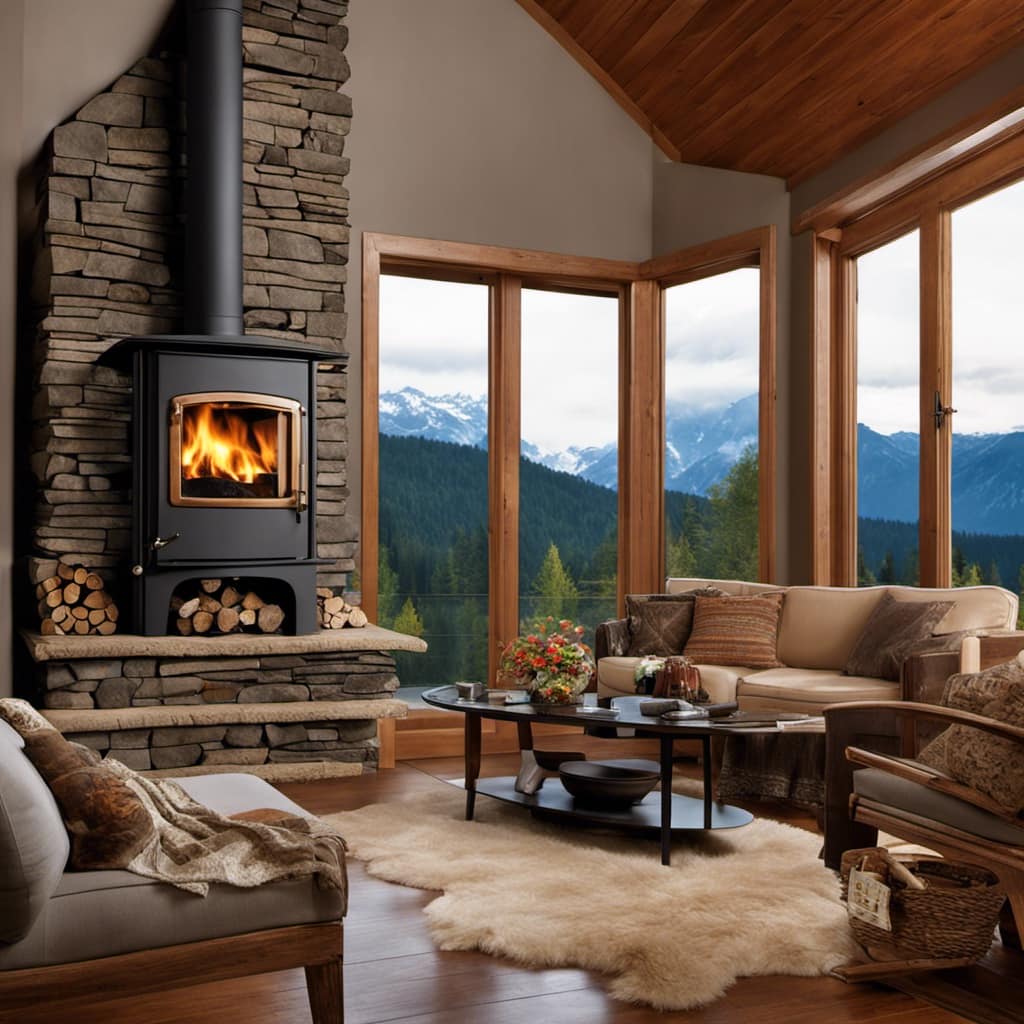
I am here to help you turn your ordinary wood stove into a striking centerpiece in your living area.
Painting a wood stove might sound like a daunting task, but with the right techniques and a little bit of patience, you can achieve amazing results.
In this article, I’ll guide you step-by-step through the process of choosing the perfect paint, prepping the surface, and applying a flawless finish.
Get ready to unleash your creativity and give your wood stove a fresh new look!
Key Takeaways
- Consider paint color options: dark colors can hide soot and stains, while lighter colors create a clean look.
- Choose a high-temperature paint and heat resistant primer for optimal durability.
- Clean and sand the surface thoroughly before painting to ensure proper adhesion.
- Seal and protect the painted surface with a clear coat or varnish for longevity.
Choosing the Right Paint
I’m considering which paint would be best for my wood stove. When it comes to choosing the right paint for a wood stove, there are two main factors to consider: paint color options and paint finish options.
Let’s start with paint color options. When selecting a paint color for your wood stove, it’s important to consider both aesthetic appeal and functionality. Dark colors, such as black or charcoal gray, are popular choices as they can help to hide any soot or stains that may occur over time. On the other hand, lighter colors, like white or cream, can create a clean and modern look.
Now, let’s move on to paint finish options. The finish you choose can impact the overall appearance and durability of the paint. For a wood stove, a high-temperature paint with a matte or satin finish is recommended. These finishes can withstand the heat generated by the stove and provide a smooth, easy-to-clean surface. Avoid using glossy finishes, as they may not adhere well to the surface and can easily show scratches or wear.
Ultimately, when choosing the right paint for your wood stove, consider your personal style preferences and the specific needs of your stove.
Preparing the Surface
Before I can start painting my wood stove, I need to make sure the surface is properly prepared.
First, I’ll clean the surface thoroughly to remove any dirt, grease, or residue.
Then, I’ll sand the wood to create a smooth and even surface for the paint to adhere to.
Cleaning the Surface
To prepare the surface for painting, I’ll start by wiping it down with a clean cloth. Cleaning the surface is an essential step in ensuring a smooth and long-lasting paint job. Here’s how I go about it:

-
Gather the necessary cleaning products: I use a mild detergent, warm water, and a sponge or soft cloth to remove any dirt, grime, or grease from the surface.
-
Dilute the detergent in water according to the instructions on the bottle.
-
Dip the sponge or cloth into the soapy water and gently scrub the entire surface of the wood stove, paying extra attention to any particularly dirty or greasy areas.
Sanding the Wood
After cleaning the surface, I can begin by sanding the wood to ensure a smooth and even texture. Sanding is an essential step in wood preparation before painting. It helps remove any roughness, imperfections, or previous coatings, allowing the paint to adhere better and create a flawless finish.
To achieve the best results, I use a combination of sanding techniques. Starting with a coarse sandpaper, I gently sand the entire surface, following the direction of the wood grain. Then, I switch to a finer grit sandpaper to further smooth out the wood and prepare it for painting.
It’s important to be thorough and pay attention to detail during this process, as it sets the foundation for a professional-looking paint job.
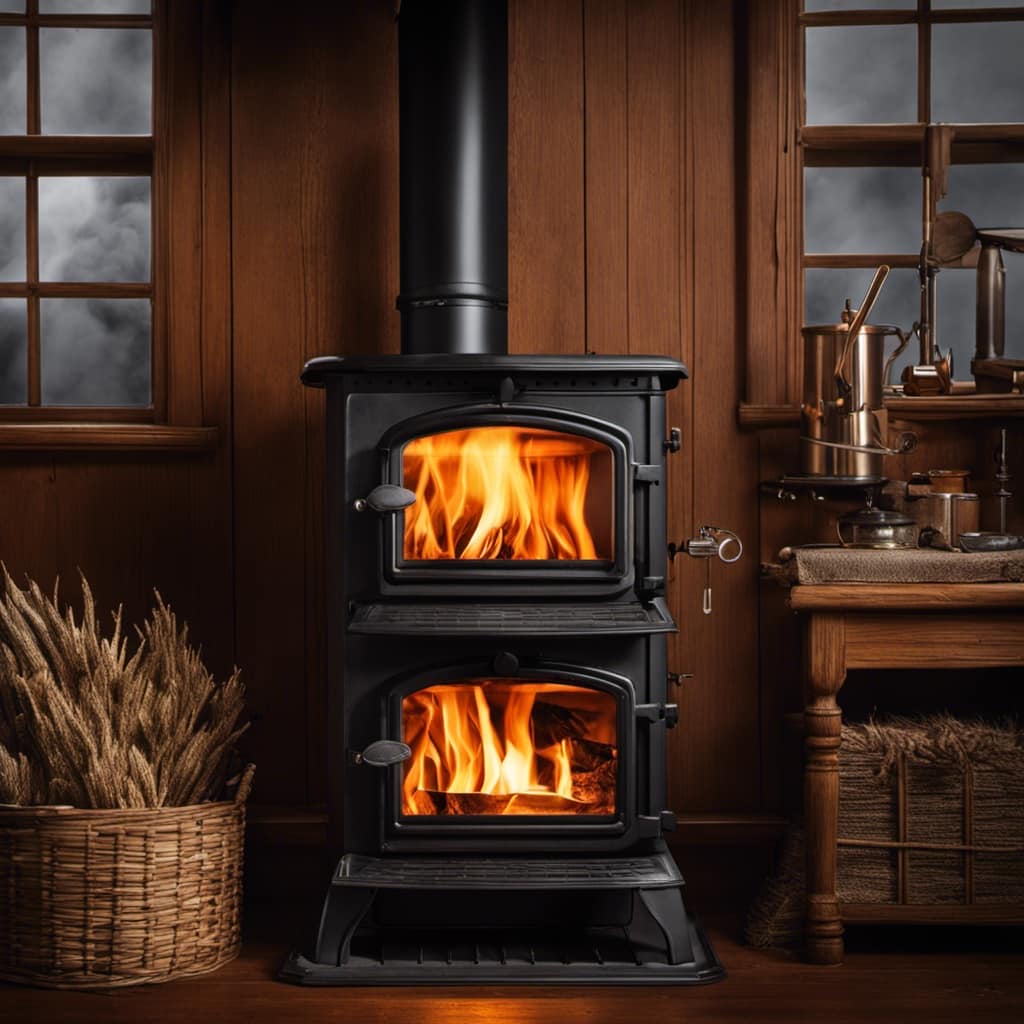
Choosing the Right Primer
I have found that selecting the appropriate primer is crucial for achieving a smooth and long-lasting paint finish. When it comes to painting a wood stove, there are a few factors to consider before choosing the right primer.
Firstly, using a heat resistant primer is essential. A wood stove can reach high temperatures, and a regular primer may not be able to withstand the heat. A heat resistant primer will ensure that your paint job stays intact even when exposed to extreme temperatures.
Secondly, consider the type of wood stove you have. Different materials require different primers. For example, if your wood stove has a cast iron surface, you’ll need a primer specifically designed for cast iron.
Lastly, think about the color you want for your wood stove. Some primers are better suited for certain paint colors, ensuring better coverage and adhesion.
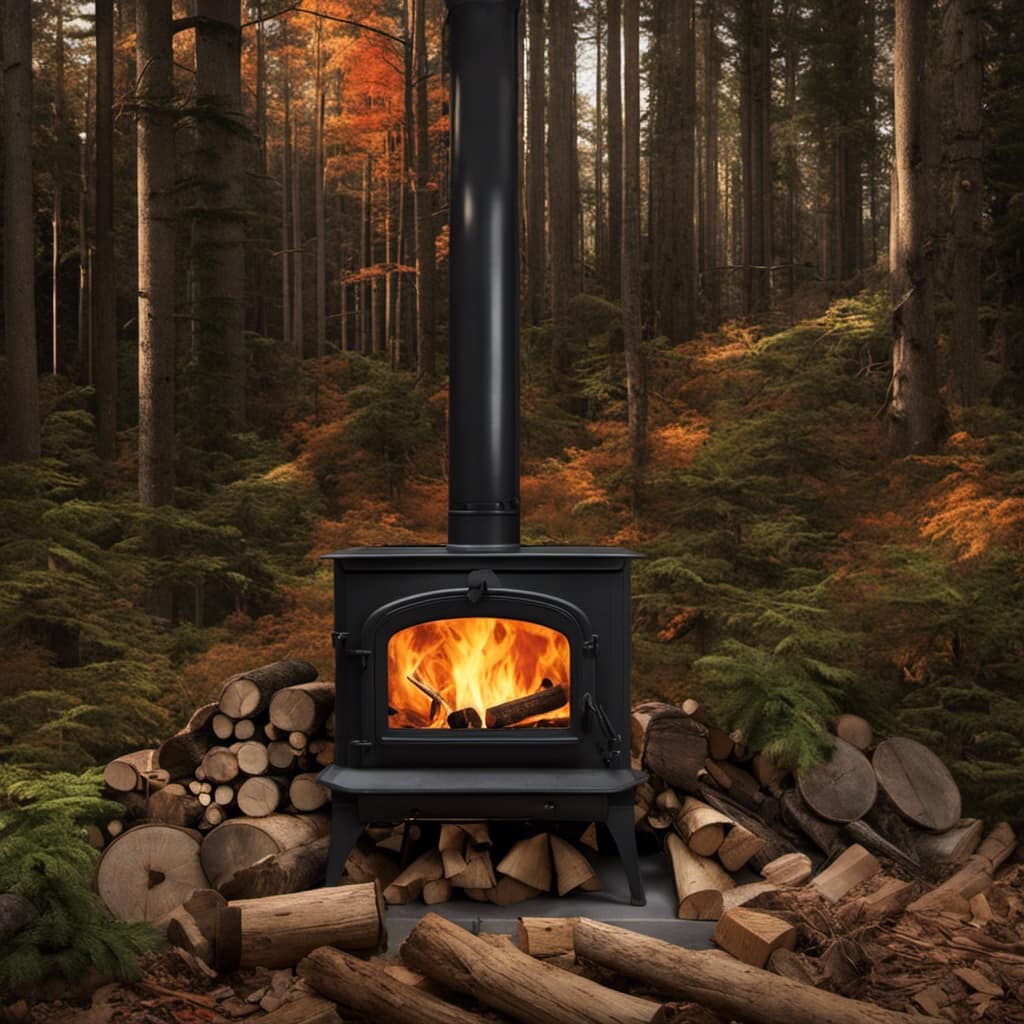
Removing Rust and Soot
To remove rust and soot from the surface of the wood stove, I use a combination of rust prevention techniques and effective cleaning methods.
First, I inspect the stove for any signs of rust and address the problem immediately to prevent further damage.
Then, I use a specialized rust remover and a wire brush to gently scrub away the rusted areas.
Rust Prevention Techniques
I’ve found that applying a high-quality rust-resistant primer before painting the wood stove is crucial for preventing future rust. Here are three rust prevention techniques and maintenance tips that I highly recommend:
-
Choose the right rust prevention products: Look for primers specifically designed to resist rust. These products often contain corrosion inhibitors that create a protective barrier on the surface of the stove, preventing rust from forming.
-
Prep the surface properly: Before applying the primer, make sure to clean the stove thoroughly. Remove any loose rust or paint using a wire brush or sandpaper. It’s also essential to remove any soot or debris to ensure proper adhesion of the primer.
-
Apply multiple coats: To provide maximum protection against rust, apply multiple coats of the rust-resistant primer. Follow the manufacturer’s instructions for drying time between coats. Once the primer is completely dry, you can proceed with painting the wood stove in your desired color.
Effective Cleaning Methods
Cleaning the surface of my stove regularly with a mild detergent solution and a soft cloth helps to remove any dirt or grime buildup. However, there may be times when stubborn stains require a more powerful cleaning product. For these cases, I’ve found that using a mixture of baking soda and water creates an effective DIY cleaning solution for my wood stove.
I simply make a paste with equal parts baking soda and water, apply it to the stained area, and let it sit for a few minutes before scrubbing with a sponge. This method works wonders in removing tough stains without damaging the surface of my stove.
Once the stove is clean, it’s essential to transition into the next step of priming the wood stove for painting.
Priming the Wood Stove
Before starting the priming process, I always make sure to thoroughly clean and sand the surface of the wood stove. This step is crucial to ensure that the primer adheres properly and provides a smooth and durable finish.
Here’s my step-by-step process for priming a wood stove:
-
Preparing the wood: After cleaning the surface, I inspect the wood stove for any loose or peeling paint. I scrape off the old paint using a putty knife and sand the surface with fine-grit sandpaper to create a rough texture for better primer adhesion.
-
Applying the primer: I choose a high-quality primer specifically formulated for metal surfaces. Using a brush or roller, I apply a thin and even coat of primer to the wood stove. It’s essential to follow the manufacturer’s instructions regarding drying time between coats.
-
Applying multiple coats: To ensure maximum coverage and durability, I usually apply two to three coats of primer. Each coat should be allowed to dry completely before applying the next. This helps to create a solid foundation for the topcoat and enhances the longevity of the painted finish.
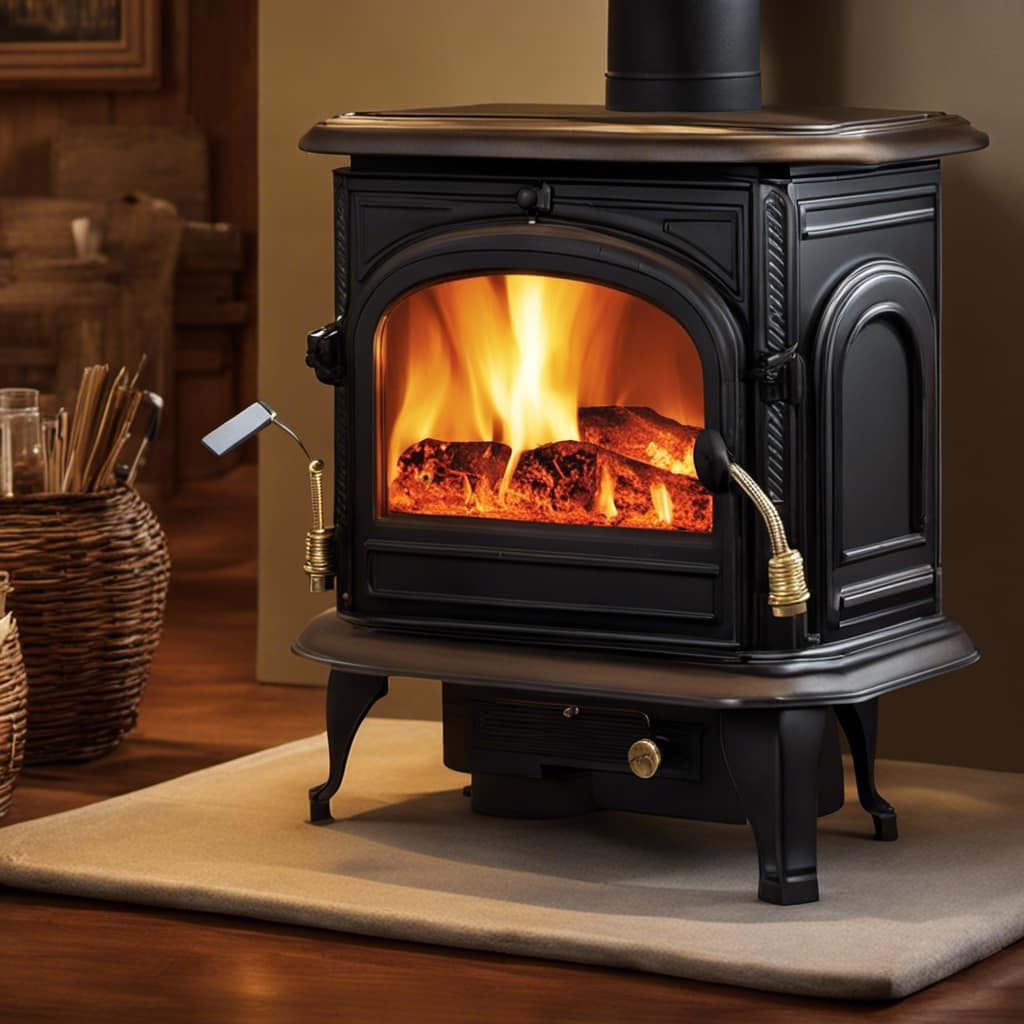
Applying the Base Coat
For the base coat, I prefer to choose a high-quality paint that’s specifically formulated for metal surfaces. This ensures that the paint adheres well and provides long-lasting protection for the wood stove.
Before applying the base coat, it’s important to prepare the surface properly by cleaning it thoroughly and removing any rust or flaking paint. Once the surface is clean and dry, I use a brush or roller to apply the paint in thin, even coats.
I start from the top and work my way down, using smooth, overlapping strokes to ensure complete coverage. It’s crucial to follow the manufacturer’s instructions regarding the drying time between coats. This allows the paint to properly bond and ensures a smooth, professional finish.

After applying the base coat, I let it dry completely before moving on to the next step of adding decorative designs or patterns. This transition into the next section allows for a creative touch to personalize the wood stove and make it a unique addition to any space.
Adding Decorative Designs or Patterns
Once the base coat is dry, I can get creative and add unique designs or patterns to personalize the metal surface of my wood stove. This is the fun part where I can let my imagination run wild and make my stove truly one-of-a-kind. Here’s how I go about adding decorative designs or patterns:
-
Choose stencils: I love using stencils to create intricate designs on my wood stove. There are countless options available, from floral patterns to geometric shapes. I carefully select the stencils that match my style and preferences.
-
Position the stencils: After selecting the stencils, I decide where I want to place them on the stove. I experiment with different positions until I find the perfect arrangement. It’s important to ensure that the stencils are securely adhered to the surface.

-
Use high temperature paint: To ensure that my designs last and withstand the heat generated by the wood stove, I use high temperature paint. This specialized paint is designed to withstand extreme temperatures without peeling or fading. I apply the paint using a small brush or sponge, making sure to stay within the stencil lines for a crisp and clean finish.
Sealing and Protecting the Painted Surface
Now that the decorative design or pattern has been applied to the wood stove, it is important to seal and protect the painted surface. This will help preserve the design and ensure its longevity. There are several protective coatings available that can be used for this purpose.
One option is a clear coat or varnish specifically designed for high heat applications. These coatings provide a protective barrier against heat, moisture, and other elements that can damage the painted surface. Another option is a heat-resistant enamel paint, which not only adds an extra layer of protection but also enhances the appearance of the design.
To help you understand the different options available, I have created a table below:
| Protective Coating | Features |
|---|---|
| Clear coat or varnish | – Heat resistant |
- Provides a protective barrier
- Enhances the appearance |
| Heat-resistant enamel paint | – Adds an extra layer of protection - Enhances the appearance |
In addition to applying a protective coating, regular maintenance is also important. Here are some maintenance tips to keep in mind:
- Avoid using abrasive cleaners or scrub brushes, as they can damage the painted surface.
- Clean the surface regularly using a soft cloth or sponge and a mild detergent.
- Wipe away any spills or stains immediately to prevent them from setting.
- Inspect the painted surface periodically for any signs of wear or damage, and touch up as needed.
Frequently Asked Questions
Can I Use Regular House Paint to Paint My Wood Stove?
Yes, you can use regular house paint to paint your wood stove. However, it’s important to choose a heat-resistant paint specifically designed for high-temperature surfaces, like a stove paint.
Regular house paint may not be able to withstand the extreme heat produced by a wood stove, leading to peeling and discoloration.
To ensure a durable and long-lasting finish, it’s best to use a paint that’s specifically formulated for wood stoves.
Do I Need to Remove the Stovepipe Before Painting the Wood Stove?
To ensure safety when painting a wood stove, it’s important to follow a few steps. First, make sure the stove has cooled down completely before starting any work. Then, remove the stovepipe to allow for proper access to the surface and prevent any paint from getting on the pipe. Use caution and follow safety precautions, such as wearing gloves and using a ladder if necessary. Once the stovepipe is removed, you can proceed with the painting process.
Can I Paint the Inside of the Wood Stove?
Can I paint the inside of the wood stove?
Yes, you can paint the inside of a wood stove, but it’s important to use heat-resistant paint specifically designed for this purpose. The inside of the stove is exposed to high temperatures, so regular paint won’t hold up.
When painting the inside, make sure to clean it thoroughly and apply the paint evenly using proper painting techniques.

As for the best paint colors, darker shades like black or charcoal gray are commonly used for wood stoves.
How Long Do I Need to Let the Paint Dry Before Using the Wood Stove?
Before using the wood stove after painting, it’s crucial to allow the paint to fully dry. The drying time can vary depending on the type of paint used. It’s essential to follow the manufacturer’s instructions to ensure proper drying.
Rushing the drying process may result in a poor finish or even damage to the wood stove. So, be patient and give the paint enough time to dry thoroughly before using the wood stove.
How Often Do I Need to Repaint the Wood Stove?
How often do I need to repaint the wood stove?
It’s essential to consider the wear and tear on your stove’s exterior. Factors like usage, exposure to heat, and general maintenance can affect the paint’s durability.
Regular inspections are crucial to identify any chipping or fading. Repainting should be done as needed to maintain the stove’s appearance and protect it from rust or corrosion.
Properly preparing the stove and choosing the right paint will ensure a long-lasting finish.
Conclusion
In conclusion, painting a wood stove is a fun and creative way to give it a fresh new look. By choosing the right paint, preparing the surface, and applying the base coat, you can transform your wood stove into a focal point in your home.

Don’t forget to add decorative designs or patterns for a personal touch. Lastly, seal and protect the painted surface to ensure its longevity.
So grab your paintbrush and get ready to enjoy a cozy and stylish wood stove experience!