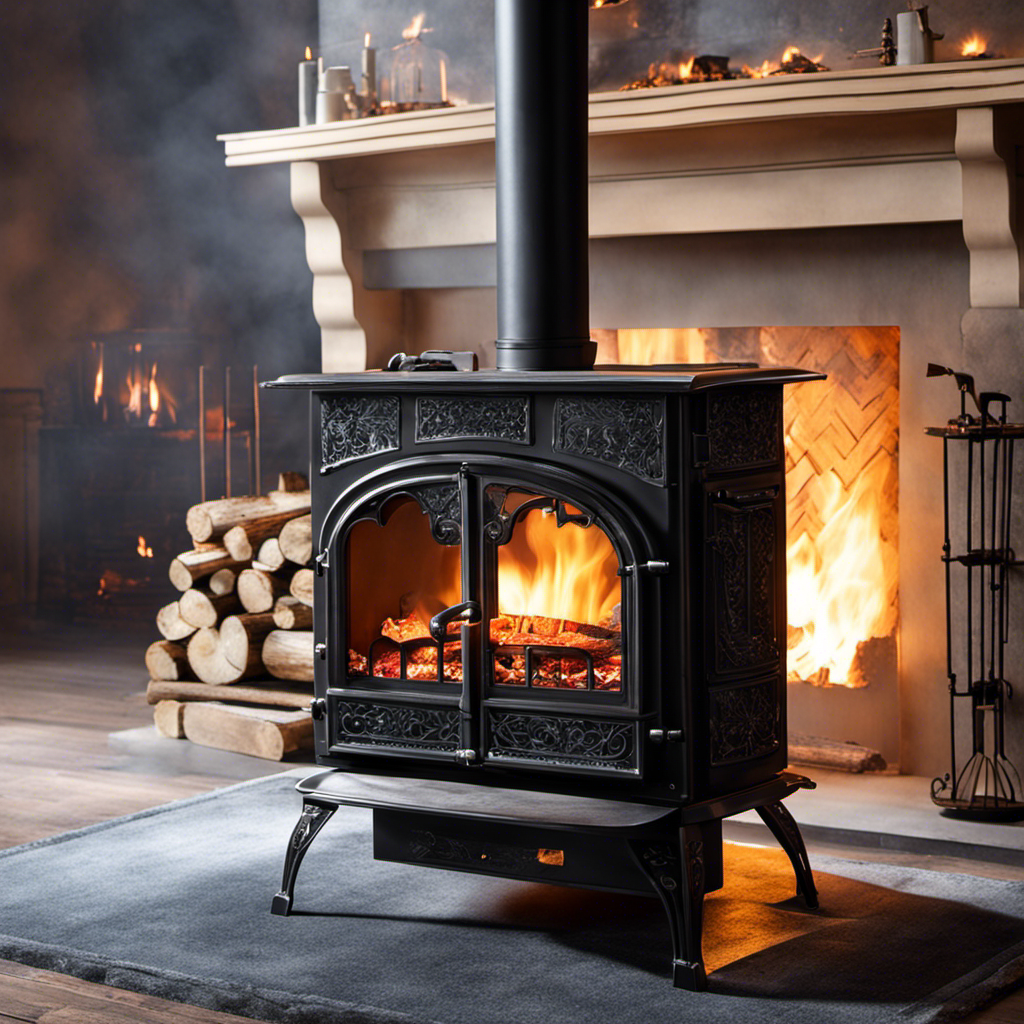
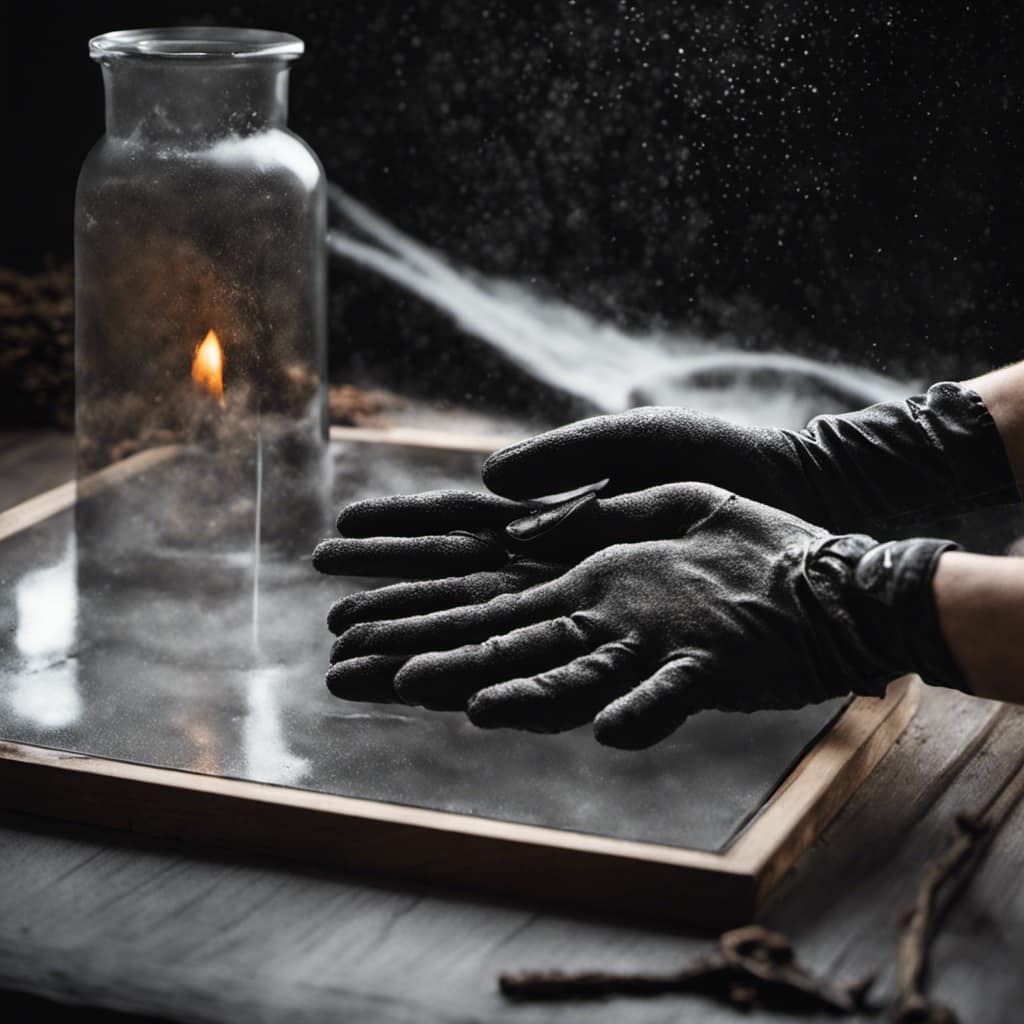
While I gather all the required materials, I combine clay and sawdust to craft the ideal fire bricks for my wood stove.
Shaping them with precision, I let them dry before curing them in the oven.
With this step-by-step guide, you too can learn how to make fire bricks that will keep your wood stove burning efficiently and effectively.
Let’s dive into the process and create fire bricks that will withstand the test of time.
Key Takeaways
- Clay and sawdust are commonly used materials for making fire bricks.
- Mixing clay and sawdust thoroughly is crucial for creating strong and durable fire bricks.
- Shaping the fire bricks with molds ensures consistent and precise results.
- Curing the fire bricks in the oven ensures durability and resistance to high temperatures.
Meeco's Red Devil 1354 Gray Furnace Cement & Fireplace Mortar – High-Temperature Silicate Cement for FireBrick, Gasketing, Mortar Joints & Wood Stoves (32 fl oz) – Ready to Use – Made in The USA
32 OZ TUB CEMENT – High-strength gray sodium-silicate-based compound formulated for repairing, sealing, and bonding in high-heat environments…
As an affiliate, we earn on qualifying purchases.
As an affiliate, we earn on qualifying purchases.
Gather the Necessary Materials
I’ll need to gather all the necessary materials for making fire bricks for my wood stove.
When it comes to alternative materials for making fire bricks, clay and sawdust are commonly used. Clay provides the necessary binding properties, while sawdust acts as a combustible material that burns away, leaving behind porous spaces in the bricks.
To find clay, I suggest looking for areas with high clay content, such as riverbanks or construction sites. Digging a few feet below the surface should yield the desired clay.
As for sawdust, it can be obtained from woodworking shops or by using a wood chipper. It’s important to ensure that the sawdust is clean and free from any contaminants.

Gathering these materials is the first step in creating effective fire bricks for my wood stove.

BXI Thickened Jewelry Soldering Board 2732 °F, 12'' X 8'' X 0.8'' 1 Piece Inorganic Ceramic Fiber Soldering Block for Jewelry Making, Gold Silver Solder Fire Brick Plate Tool Kit for Melting Casting
【SPECIFICATION】: 12'' X 8'' X 0.8''(30cm x 20cm x 2cm); Pack of 1; Weight: 1.38 pounds; High DENSITY:…
As an affiliate, we earn on qualifying purchases.
As an affiliate, we earn on qualifying purchases.
Mix the Clay and Sawdust
To mix the clay and sawdust, I’ll combine them thoroughly in a large container. This step is crucial for creating fire bricks that are strong and durable. Sawdust is often used as an alternative material for fire bricks due to its many benefits. It acts as a binder, helping to hold the bricks together and providing insulation properties. Additionally, sawdust reduces the overall weight of the bricks, making them easier to handle and transport. The following table highlights the benefits of using sawdust in fire bricks:
| Benefits of Using Sawdust in Fire Bricks |
|---|
| Insulation properties |
| Lightweight |
| Cost-effective |
| Environmentally friendly |

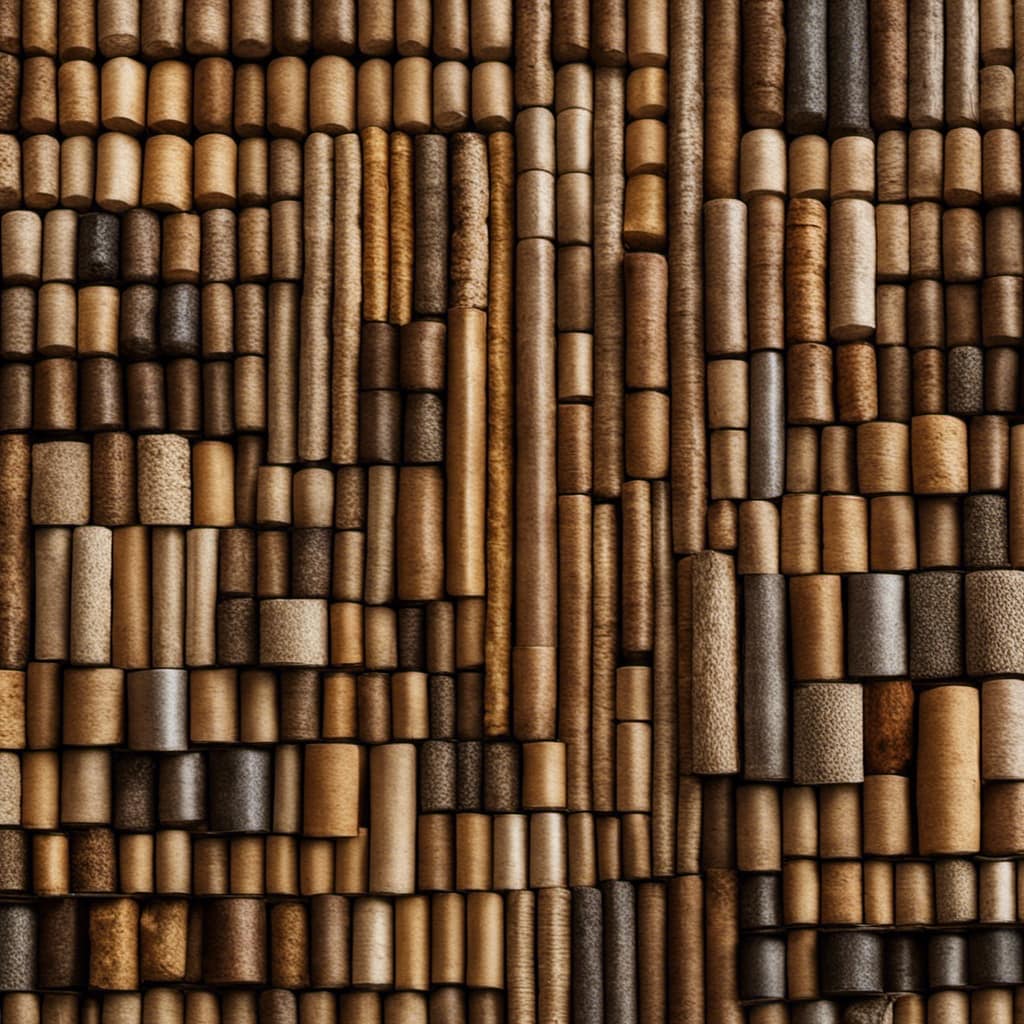
Firewood Central Envi 8 Hardwood Fuel Blocks (6-Pack) – 100% Natural Compressed Sawdust, Long Burn & High Heat for Fireplaces, Stoves & Fire Pits – by Bio-Diversity
Clean & Efficient Burning – Made from 100% kiln-dried hardwood sawdust with an ultra-low 8% moisture content, for…
As an affiliate, we earn on qualifying purchases.
As an affiliate, we earn on qualifying purchases.
Shape the Fire Bricks
Using a mold, I shape the clay and sawdust mixture into the desired form for the fire bricks. This step is crucial in creating fire bricks that are strong and durable. There are alternative methods for shaping fire bricks, but using a mold ensures consistent and precise results.
Here are three different types of molds commonly used for fire bricks:
-
Wooden molds: These are the most traditional and widely used molds. They’re made by cutting wooden boards into the desired shape and size.
-
Metal molds: These molds are made from sturdy metal sheets that are bent and welded into the desired shape.
-
Silicone molds: These molds are flexible and can be easily removed without damaging the shaped clay. They’re commonly used for intricate or unique designs.
Once the clay and sawdust mixture is shaped into fire bricks, the next step is to let them dry.

Rutland Fire Bricks, Properly Cured High Temperature FireBrick, USA-Made Residential Fire Clay Replacement for Wood Stove, Fireplace, & Pizza Oven, Size 9" x 4.5" x 1.25", 6-Pack, Tan
RUTLAND Firebox Bricks are a distinct tan color, unlike the competition's pink, which indicate a poor and improper…
As an affiliate, we earn on qualifying purchases.
As an affiliate, we earn on qualifying purchases.
Let the Fire Bricks Dry
As the fire bricks dry, they become stronger and more resistant to heat. The moisture content in the bricks plays a crucial role in their overall strength. It’s important to ensure that the moisture content is reduced to an optimal level during the drying process. This can be achieved by allowing the bricks to air dry for a specific period of time. The drying time will vary depending on various factors such as the size and thickness of the bricks, as well as the ambient temperature and humidity. It’s recommended to monitor the moisture content using a moisture meter to ensure that it reaches the desired level.
Once the bricks have sufficiently dried, they’re ready for the next step: curing them in the oven.
Now, let’s move on to the next section and learn how to cure the fire bricks in the oven.
Cure the Fire Bricks in the Oven
I can achieve optimal results by curing the fire bricks in the oven. Curing fire bricks is an essential step in their production, as it ensures their durability and resistance to high temperatures. Here are some key points to consider when curing fire bricks:

-
Oven curing: Place the fire bricks in a preheated oven at a low temperature, around 200°F (93°C), for several hours. This gradual heat exposure allows the moisture within the bricks to evaporate slowly, preventing cracking or damage.
-
Alternative methods: If an oven isn’t available, fire bricks can be cured using other methods such as air drying or sun drying. However, these methods may take longer and may not provide as consistent results as oven curing.
-
Importance of proper curing techniques: Curing fire bricks properly is vital because it ensures their strength and longevity. Inadequate curing can lead to premature failure, reduced heat resistance, and potential safety hazards.
Frequently Asked Questions
How Long Does It Take for the Fire Bricks to Dry Completely?
It typically takes a few days for fire bricks to dry completely. To prevent cracking, store them in a dry area with good air circulation. Before using them in a wood stove, test their durability by tapping them gently.

Can I Use Any Type of Clay for Making Fire Bricks?
I’ve researched on the type of clay suitable for fire bricks. It’s important to use refractory clay as it can withstand high temperatures without cracking. Alternative materials like vermiculite and perlite can also be used.
Do I Need to Use a Specific Type of Sawdust for the Mixture?
I personally recommend using specific types of sawdust alternatives for the mixture when making fire bricks. The best sawdust for fire bricks should ideally be dry and free from contaminants, ensuring optimal burning efficiency in the wood stove.
Can I Shape the Fire Bricks Using a Mold or Do I Have to Do It by Hand?
Using a mold for shaping fire bricks offers precise results and efficient production. However, shaping by hand allows for customization and flexibility. The best materials for homemade fire brick molds include silicone, metal, and wood.
What Temperature Should I Set the Oven to When Curing the Fire Bricks?
To properly cure fire bricks, set the oven temperature to 2000°F. This high heat ensures the bricks reach their optimal strength and durability. To test if they are properly cured, tap them gently with a mallet.
Conclusion
In conclusion, making fire bricks for a wood stove is a simple and cost-effective way to ensure efficient and safe heating.
While some may argue that buying pre-made fire bricks is easier, creating your own allows for customization and saves money in the long run.
By following the outlined steps and using the right materials, you can create durable and effective fire bricks that will enhance the performance of your wood stove.