Connect with us

Wood Stove

How To Load A Wood Stove

Published

on

As a seasoned wood stove enthusiast, I’ve come to realize that loading a wood stove properly is an art that can greatly enhance the warmth and comfort of your home.

In this article, I’ll guide you through the intricacies of loading your stove with precision and finesse.

From understanding the anatomy of a wood stove to selecting the best type of wood, I’ll equip you with the knowledge and techniques to create a cozy and efficient fire.

So, let’s dive in and explore the world of wood stove loading together.

wood stoves for sale near me

Key Takeaways

  • Loading the wood stove properly is essential for efficient combustion and heat production.
  • Use well-seasoned hardwood with a moisture content of 20% or less for optimal burning.
  • Properly store firewood in a dry and well-ventilated area to prevent mold growth and maintain low moisture levels.
  • Use stacking methods like crisscross, pyramid, or lean-to to ensure better airflow and more efficient burning.

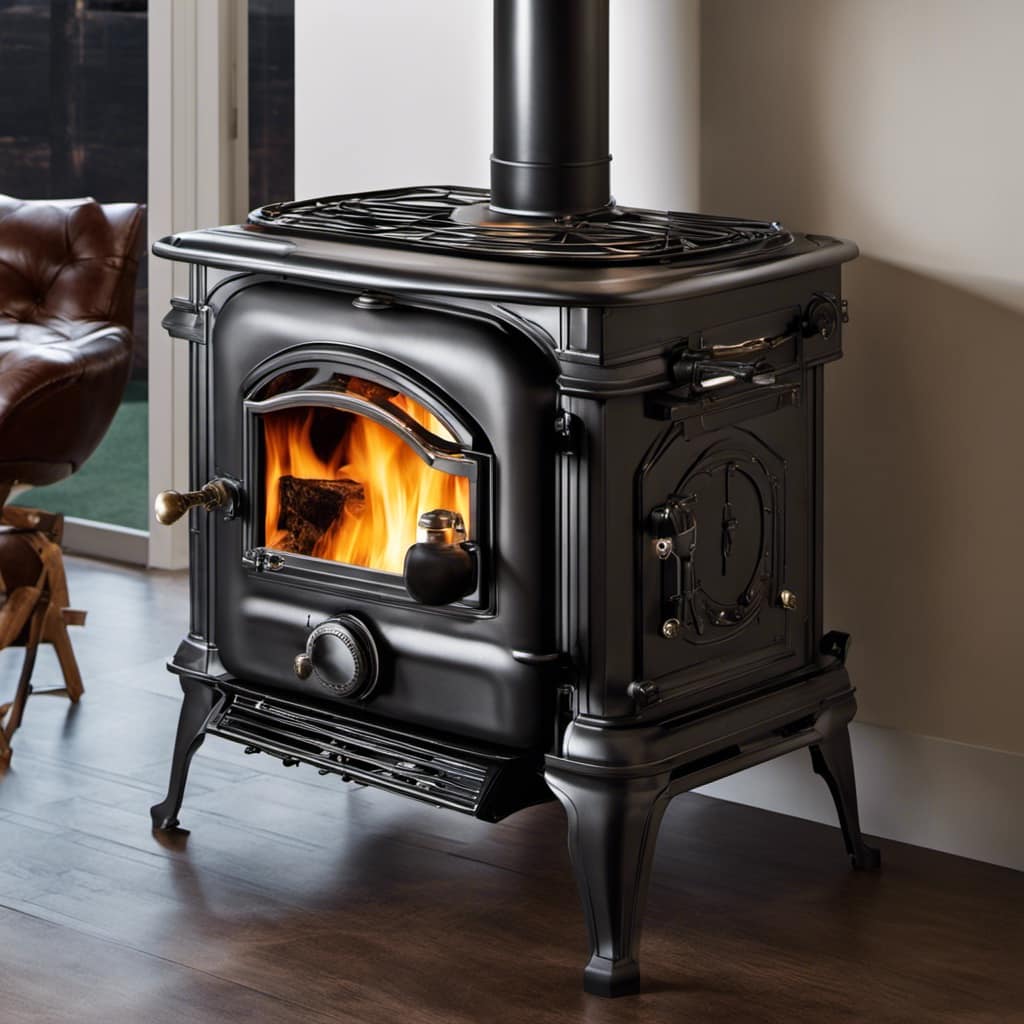
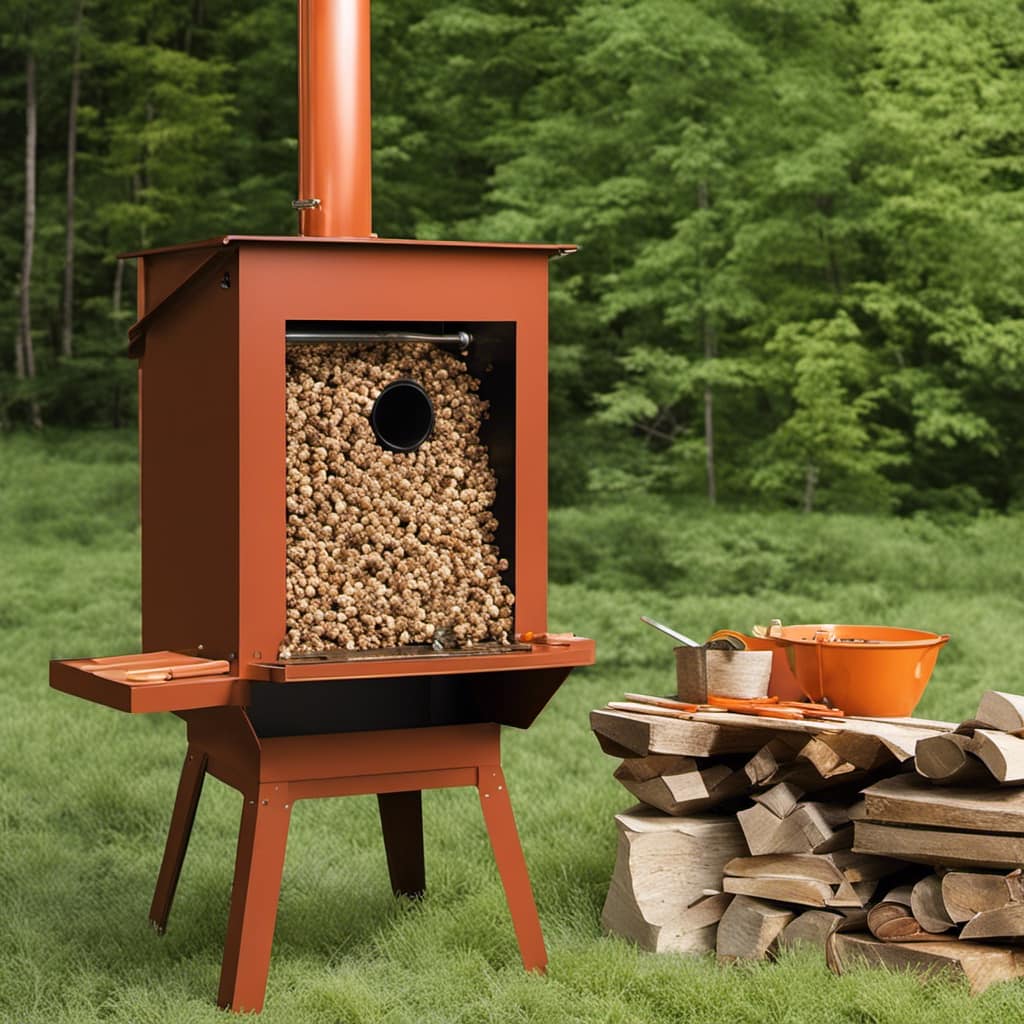
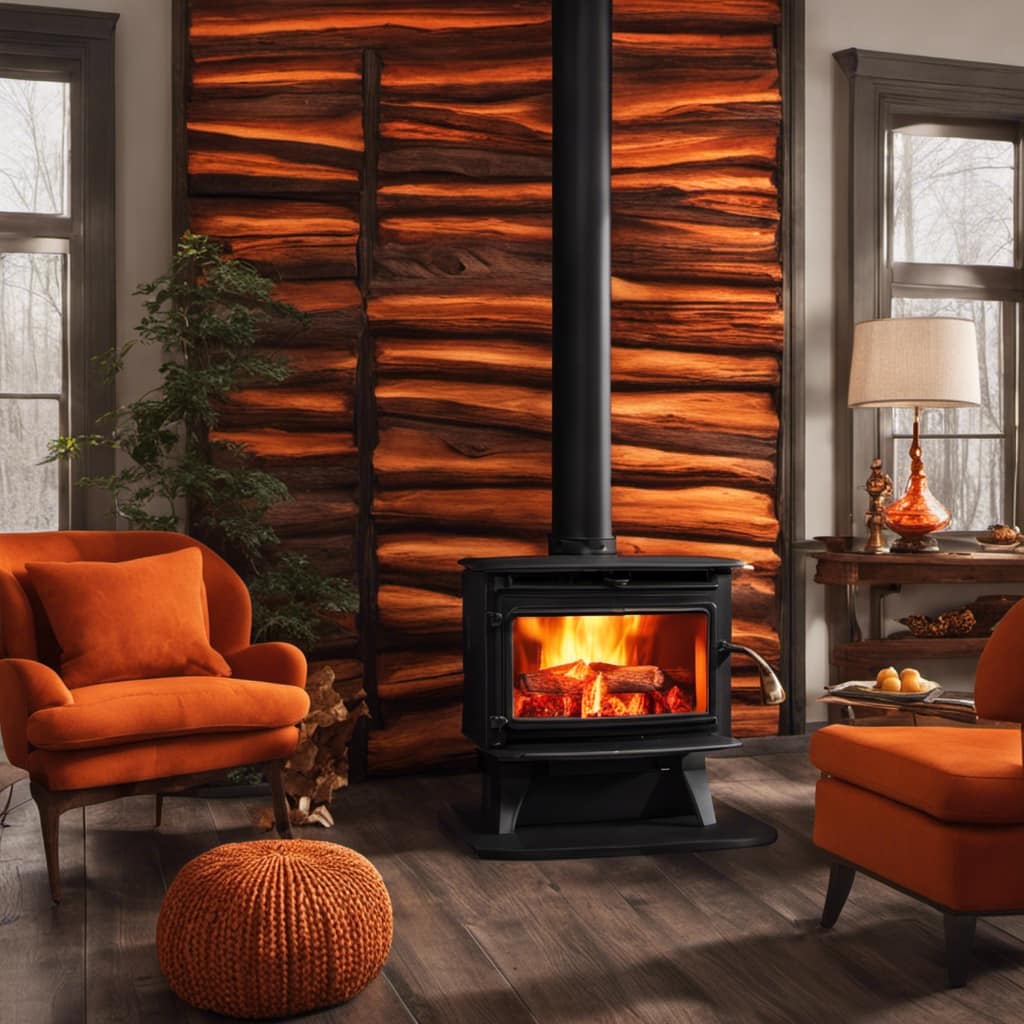
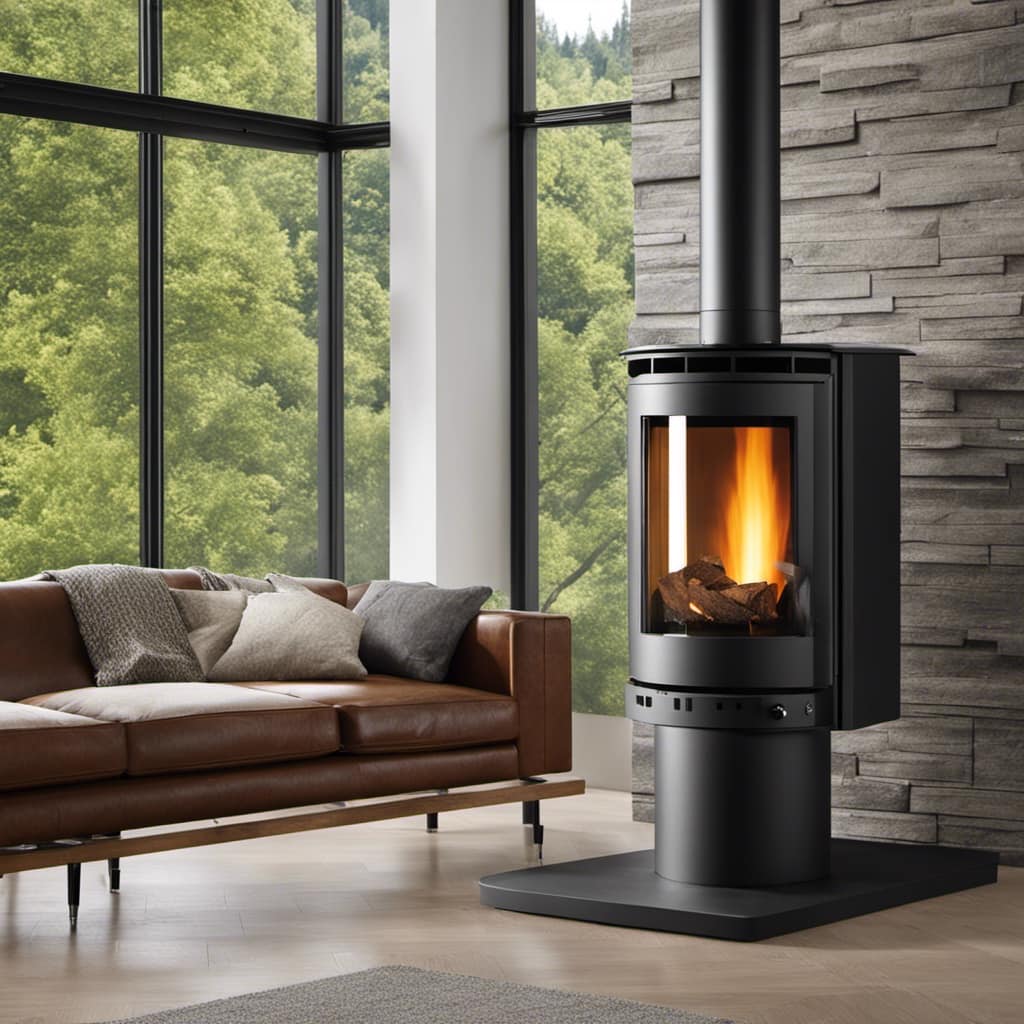
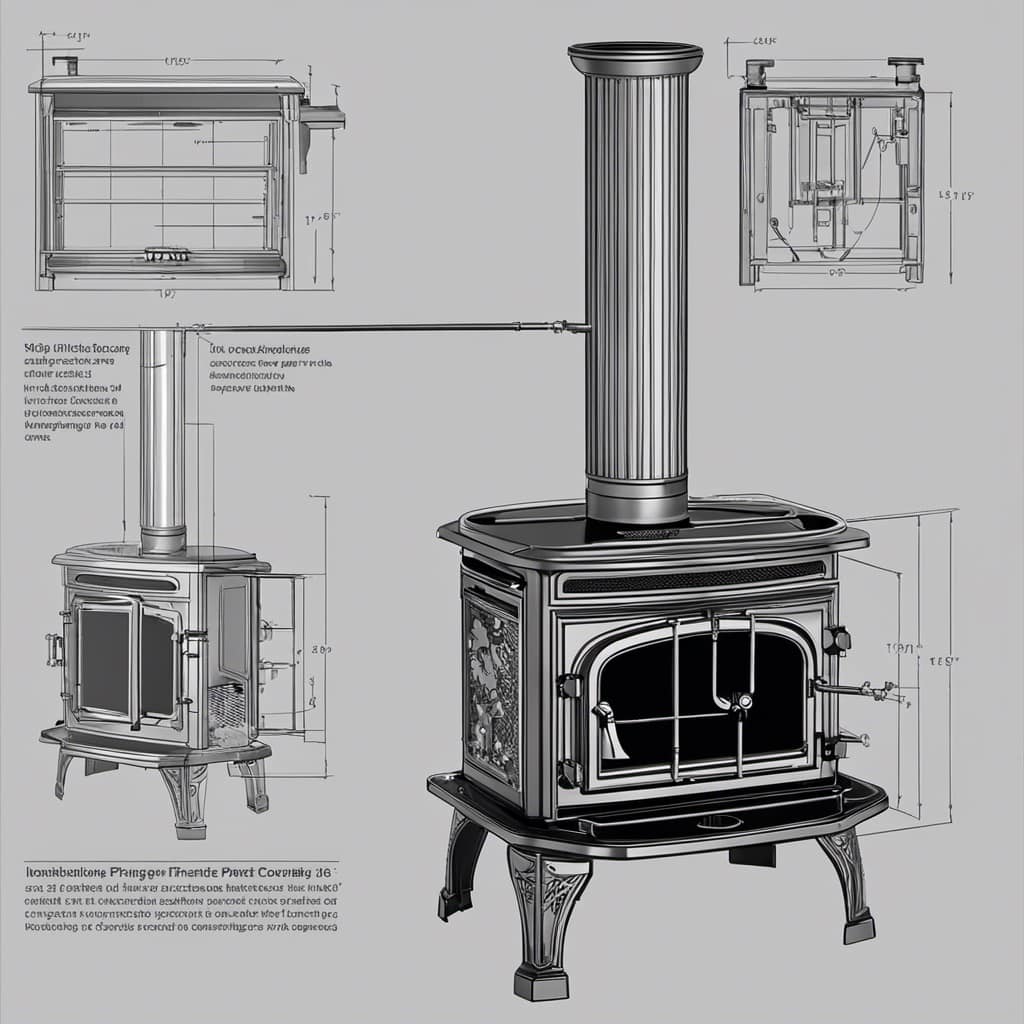
Understanding the Anatomy of a Wood Stove

I can easily identify the different parts of a wood stove. Understanding the anatomy of a wood stove is essential for proper maintenance and ensuring proper ventilation. Let’s take a closer look at the different components.

First, we’ve the firebox, which is where the wood is loaded and burned. It’s typically made of heavy-duty cast iron or steel to withstand high temperatures. The firebrick lining inside the firebox helps in retaining heat and protecting the stove’s structure.

Next, we’ve the baffle or damper, located above the firebox. It controls the airflow and directs the smoke and gases towards the chimney. Properly adjusting the baffle ensures efficient combustion and prevents smoke from escaping into the room.

The stovepipe connects the stove to the chimney. It should be made of sturdy, heat-resistant material and properly secured to prevent leaks. Regular cleaning and inspection of the stovepipe are crucial for maintaining proper ventilation and preventing creosote buildup.

wood burner clearance sale

Lastly, we’ve the air vents, which allow for controlled airflow into the firebox. They’re typically located at the bottom and can be adjusted to regulate the intensity of the fire. Properly balanced air intake ensures efficient combustion and helps prevent excessive smoke production.

Understanding the different parts of a wood stove is key to its proper maintenance and ensuring proper ventilation. Regular cleaning, inspection, and adjustment of these components won’t only improve the stove’s performance but also enhance its lifespan.

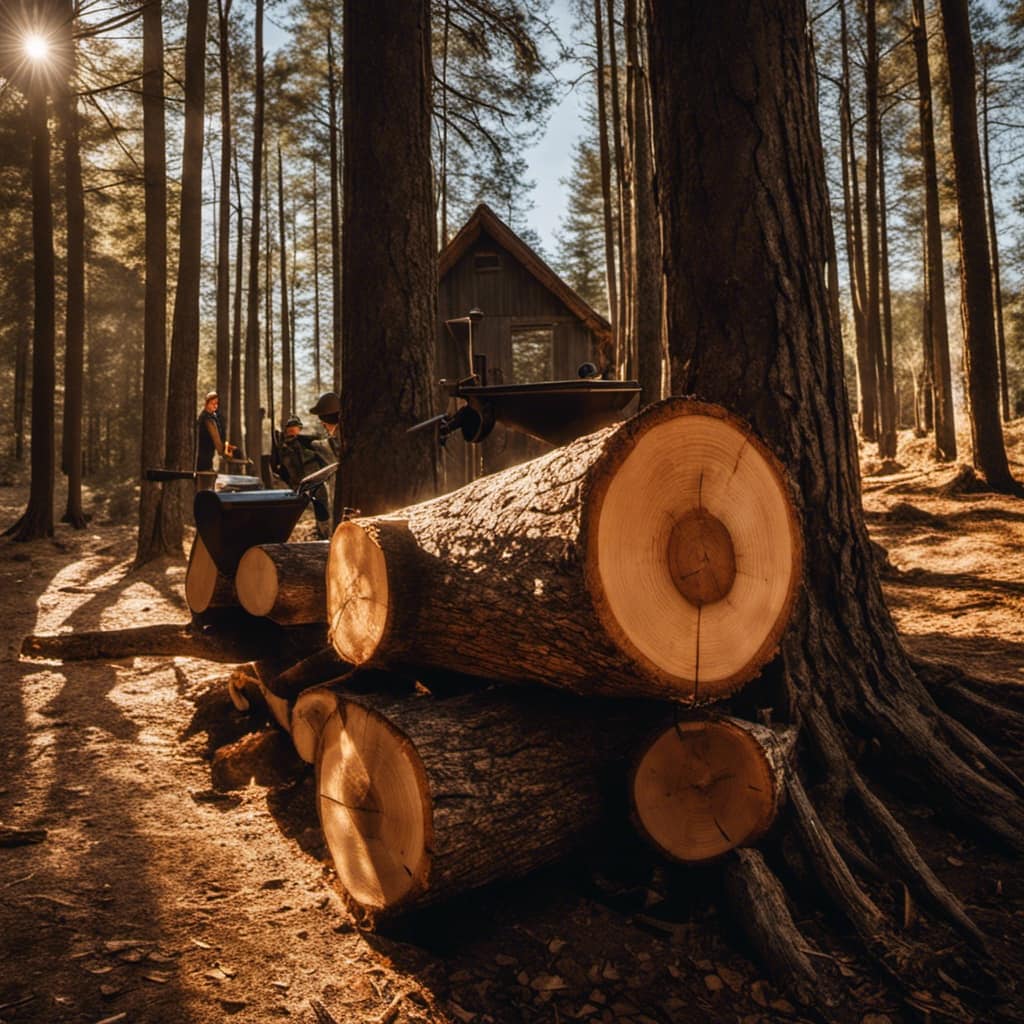
Selecting the Best Type of Wood for Your Stove

When it comes to choosing the best type of wood for your stove, there are a few factors to consider.

One of the most important factors is the moisture content of the wood. Wood with a higher moisture content will burn less efficiently and produce more smoke, while wood with a lower moisture content will burn hotter and cleaner.

log wood stove

Additionally, the choice between hardwood and softwood can also affect the performance of your stove. Hardwoods tend to burn longer and produce more heat than softwoods.

Therefore, it is important to choose wood with a lower moisture content and consider using hardwood for optimal stove performance.

Moisture Content and Efficiency

The higher the moisture content in the wood, the less efficient the stove operates. When wood with high moisture is burned, a significant amount of heat is wasted in evaporating the water instead of heating your home. To maximize heat output and prevent creosote buildup, it is crucial to use well-seasoned firewood with a moisture content of 20% or less.

Moisture Content and Efficiency:

wood burning stove menards

Moisture Content Efficiency Level
0-10% High
10-15% Medium
15-20% Low
>20% Very low
>30% Inefficient

As shown in the table, wood with a moisture content above 20% is considered very low in efficiency. This means that the stove will not produce as much heat and may also lead to the buildup of creosote, a highly flammable substance that can cause chimney fires. To ensure optimal efficiency and safety, it is essential to properly season and store firewood to maintain a moisture content of 20% or less.

Hardwood Vs. Softwood

Using hardwood instead of softwood for my firewood has been more efficient in terms of heat output and reducing creosote buildup.

Hardwood, such as oak or maple, has a higher density and greater energy content compared to softwood like pine or spruce. This means that hardwood burns slower and produces more heat per unit of wood.

Additionally, hardwood has a lower resin content, which reduces the formation of creosote, a highly flammable and sticky substance that can accumulate in the chimney.

wood stoves for sale near me

Softwood, on the other hand, tends to burn faster and produce less heat. It also contains higher levels of resin, leading to a greater risk of creosote buildup.

Therefore, using hardwood for my firewood not only provides a longer-lasting and warmer fire but also minimizes the potential hazards associated with creosote.

Preparing Your Wood for Burning

Before I can start burning wood in my stove, I need to ensure that it’s properly prepared. This involves three key steps: checking the moisture levels, storing the wood correctly, and seasoning it properly.

Wood Moisture Levels

I can tell if the wood is ready to burn by checking its moisture levels. Wood moisture testing is crucial in preventing wood rot and ensuring efficient burning. To determine the moisture content, I use a moisture meter specifically designed for wood. By inserting the prongs into the wood, the meter provides an accurate reading. Ideally, the moisture content should be below 20% for optimal burning.

wood stove fireplace ideas

If the wood is too wet, it won’t burn efficiently and can cause excessive smoke and creosote buildup in the stove. High moisture levels also increase the risk of wood rot, which can damage the structural integrity of the wood. Therefore, it’s essential to properly season the wood and ensure it has a low moisture content before using it in the stove.

This brings us to the next important aspect of wood preparation: proper wood storage.
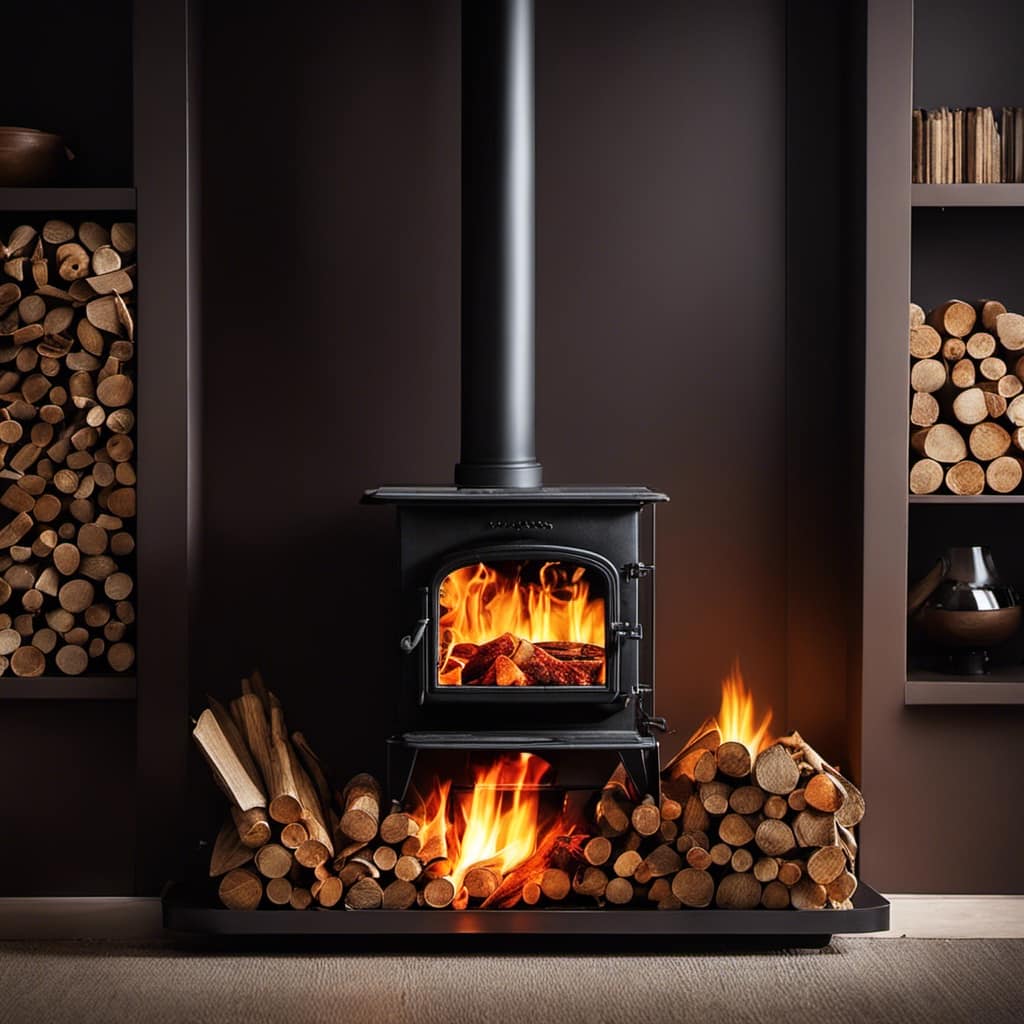
Proper Wood Storage

To keep the wood in good condition, I store it in a dry and well-ventilated area. Proper wood storage is crucial for preventing mold growth and ensuring the wood is ready to be used efficiently in my wood stove.

Here are three wood stacking methods I use to maximize airflow and minimize moisture retention:

jotul wood stove parts

  1. The crisscross method: I stack the wood in alternating layers, forming a crisscross pattern. This allows for better ventilation and prevents mold from forming on the bottom layers.

  2. The pyramid method: I start by creating a base layer of larger logs, then stack smaller logs on top in a pyramid shape. This method creates a stable structure that promotes airflow and prevents moisture accumulation.

  3. The lean-to method: I stack the wood against a wall or fence in a slanted manner, with the top leaning slightly forward. This method allows rainwater to run off easily and encourages better airflow.

Seasoning Firewood Correctly

Seasoning firewood properly ensures it burns efficiently and produces less smoke. When it comes to seasoning firewood, there are a few key tips to keep in mind.

jotul wood stove reviews

First, it’s important to cut the wood to the appropriate size, usually around 16 inches in length. This allows for better airflow and faster drying.

Next, stack the wood in a single row, with plenty of space between the logs for air circulation. It’s also crucial to keep the wood off the ground, using pallets or other forms of support. This prevents moisture from seeping into the wood.

Lastly, make sure to give the wood enough time to dry thoroughly, generally around 6 to 12 months.

The benefits of properly seasoned firewood are numerous. It burns hotter and more efficiently, providing more heat and saving you money in the long run. Additionally, properly seasoned firewood produces less smoke and creosote, reducing the risk of chimney fires and improving air quality.

stove for food truck

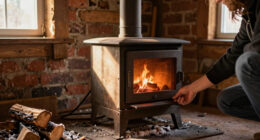
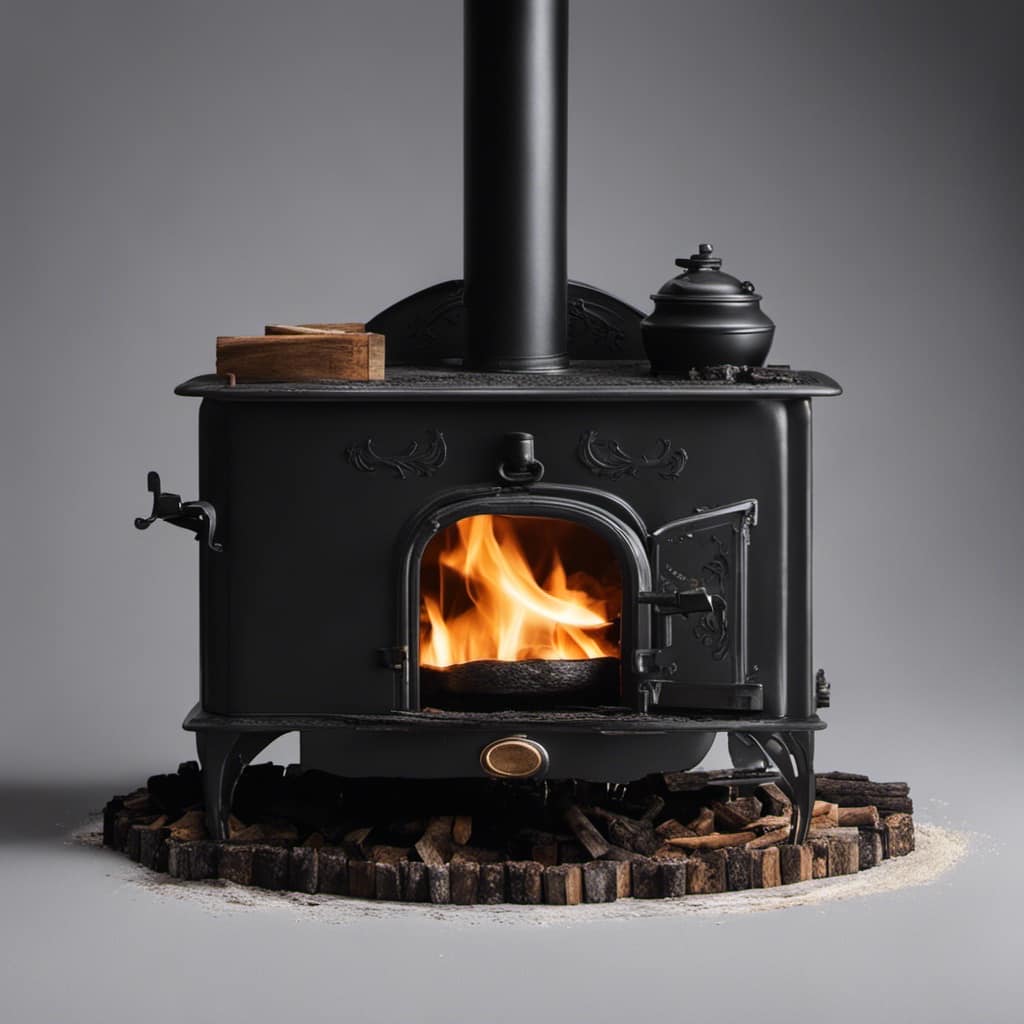
Cleaning and Preparing the Stove Before Loading

Before loading the wood stove, I always make sure to clean and prepare it properly. This not only ensures the safety of my home, but also helps to maximize the efficiency of the stove. Here are the steps I follow to clean and prepare my wood stove:

  1. Remove ashes: I start by removing any leftover ashes from the previous burn. Using a metal scoop, I carefully transfer the ashes into a metal container. It’s important to wait until the ashes have completely cooled before disposing of them.

  2. Clean the firebox: Next, I clean the firebox using a brush and dustpan. I remove any loose debris, such as wood chips or bark, and ensure that the surfaces are clear of any obstructions. This helps to improve the airflow and prevent any potential fire hazards.

  3. Inspect the chimney: Lastly, I inspect the chimney for any signs of creosote buildup or blockages. Creosote is a flammable substance that can accumulate over time and increase the risk of a chimney fire. If necessary, I schedule a professional chimney cleaning to ensure the safety of my home.

    wood stove inserts for fireplaces

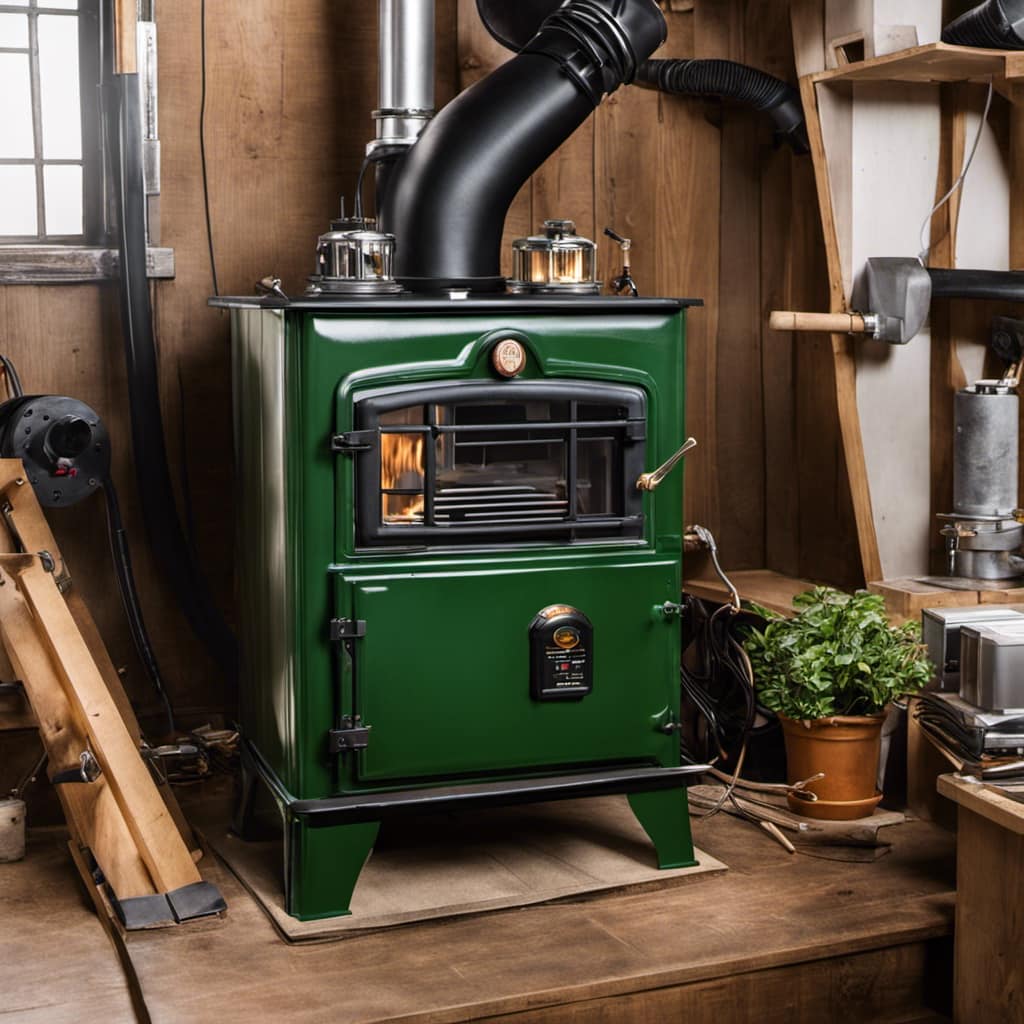
Loading Techniques for Efficient Burning

When it comes to efficient burning, I find that stacking smaller pieces of well-seasoned firewood at the back of the firebox helps to promote better airflow and more complete combustion. Understanding draft control is crucial for maintaining a consistent temperature in the wood stove. The draft control lever or knob on the stove regulates the amount of air entering the firebox. By adjusting the draft control, you can increase or decrease the intensity of the fire. To start, open the draft control fully to allow maximum airflow. Once the fire is established, you can adjust the draft control to maintain the desired temperature.

If the stove is too hot, close the draft control slightly to reduce the airflow. Conversely, if the fire isn’t burning hot enough, open the draft control to increase the airflow. By carefully managing the draft control, you can ensure efficient burning and maintain a comfortable temperature in your home.

Now, let’s move on to arranging logs for optimal heat distribution.

Arranging Logs for Optimal Heat Distribution

Now that we’ve discussed loading techniques for efficient burning, let’s dive into the importance of arranging logs for optimal heat distribution. Proper log positioning is crucial for ensuring maximum heat output and efficiency in your wood stove.

wood burning stove

By strategically placing your logs, you can create a steady flow of air and promote even burning throughout the firebox.

To help you visualize the process, here are three key tips for arranging logs in your wood stove:

  1. Stack logs in a crisscross pattern: Start by placing two larger logs parallel to each other at the bottom of the firebox. Then, lay two smaller logs perpendicular to the first two, creating a crisscross pattern. This arrangement allows for better airflow between the logs and ensures efficient combustion.

  2. Leave space between logs: It’s essential to leave gaps between the logs to allow oxygen to circulate and fuel the fire. Avoid tightly packing the logs together, as this can restrict airflow and lead to incomplete combustion.

    lowes summer heat wood stove

  3. Position logs closer to the front: Arrange the logs closer to the front of the firebox, leaving some space at the back. This configuration encourages the flames and heat to move forward, maximizing the heat distribution into your living space.

Maximizing Burn Time With Proper Loading

I find that by arranging the logs in a crisscross pattern and leaving space between them, I can maximize the burn time and efficiency of my fire. This method allows for better airflow and ensures that the logs burn evenly, maximizing heat output.

When loading my wood stove, I follow a specific process to ensure that I achieve the best results.

First, I start by placing larger logs at the bottom of the stove, creating a solid base. These logs act as a foundation and provide a stable structure for the fire.

wood stove inserts near me

Next, I stack medium-sized logs on top, making sure to leave some space between them. This space allows for better airflow, which is crucial for a long-lasting and efficient fire.

To further control airflow, I add smaller kindling and wood chips on top of the logs. This creates a smaller, hotter fire that burns more efficiently and promotes a longer burn time.

Finally, I ignite the fire and adjust the airflow controls on my stove to maintain the perfect balance between combustion and heat output.

By following this loading method and controlling the airflow, I’ve been able to maximize the burn time of my fire while ensuring a consistent and efficient heat output.

wood burning stove menards

It’s important to note that every wood stove is different, so it may take some experimentation to find the loading method that works best for your specific stove.

Common Mistakes to Avoid When Loading a Wood Stove

A common mistake to avoid is overcrowding the firebox, as this can restrict airflow and lead to a less efficient burn. When loading a wood stove, it’s important to follow these tips and tricks to ensure optimal performance:

  1. Use smaller pieces of wood: Instead of trying to fit large logs into the firebox, opt for smaller pieces. This allows for better airflow and helps the fire burn more efficiently.

  2. Arrange the wood properly: Stack the wood in a crisscross pattern, leaving space between the pieces. This allows for better circulation of air and helps the fire burn evenly.

    wood stove pizza truck

  3. Avoid stacking the wood too high: While it might be tempting to load the firebox to its maximum capacity, this can hinder airflow. Aim to keep the wood stacked below the top of the firebox to ensure proper combustion.

Frequently Asked Questions

How Often Should I Clean My Wood Stove?

Cleaning frequency is an important aspect of proper maintenance for a wood stove. It’s crucial to keep your wood stove clean to ensure its efficiency and safety.

Regular cleaning should be done at least once a month or more frequently depending on usage. This involves removing ashes, cleaning the flue, and inspecting the stove for any signs of wear or damage.

Proper cleaning and maintenance will help prolong the lifespan of your wood stove and ensure optimal performance.

vermont castings wood stove parts

Can I Use Newspaper or Cardboard to Start the Fire in My Wood Stove?

Sure, you can use newspaper or cardboard as alternative methods for starting a fire in your wood stove. However, it’s important to note that using fire starters specifically designed for wood stoves is a safer and more efficient option.

These fire starters are designed to ignite quickly and provide a consistent flame, ensuring a successful fire. They’re widely available and easy to use, making them a convenient choice for starting your wood stove fire.

What Should I Do if My Wood Stove Is Smoking Excessively?

If my wood stove is smoking excessively, there are a few troubleshooting steps I can take.

First, I should ensure that the wood I’m using is properly seasoned and dry. Wet wood can lead to excessive smoke.

wood stove fans and blowers

Next, I should check if the stove’s air vents are open enough to allow for proper airflow.

Additionally, cleaning the stovepipe and chimney regularly can help improve efficiency and reduce smoke.

Can I Leave the Ashes From My Previous Fire in the Stove When Loading a New One?

Can I leave the ashes from my previous fire in the stove when loading a new one?

Well, it’s not advisable. Cleaning ashes is an important step in maintaining your wood stove. Ash buildup can hinder proper airflow and reduce the efficiency of your fire. Additionally, leaving ashes in the stove can create a fire hazard.

wood stove inserts near me

It’s best to remove the ashes and store them in a proper fireproof container until they can be safely disposed of.

How Can I Prevent Creosote Buildup in My Wood Stove?

To prevent creosote buildup in my wood stove, regular cleaning is essential. I make sure to clean the stove at least once a month, or more frequently if needed.

This involves removing ashes, scraping off any creosote deposits, and cleaning the chimney. By maintaining a clean stove and chimney, I reduce the risk of creosote buildup, which can lead to chimney fires.

Regular cleaning is crucial for the safe and efficient operation of a wood stove.

englander 2400 sq. ft. wood burning stove

Conclusion

In conclusion, loading a wood stove properly is essential for efficient and effective burning. By understanding the anatomy of your stove, selecting the right type of wood, and preparing it correctly, you can maximize heat distribution and burn time.

One example is John, who used seasoned hardwood logs and arranged them in a crisscross pattern, resulting in a steady and long-lasting fire.

Avoiding common mistakes will ensure your wood stove operates at its best, providing warmth and comfort throughout the cold winter months.

Growing up surrounded by the vast beauty of nature, Sierra was always drawn to the call of the wild. While others sought the comfort of the familiar, she ventured out, embracing the unpredictable and finding stories in the heartbeat of nature.   At the epicenter of every remarkable venture lies a dynamic team—a fusion of diverse talents, visions, and passions. The essence of Best Small Wood Stoves is crafted and refined by such a trio: Sierra, Logan, and Terra. Their collective expertise has transformed the platform into a leading authority on small wood stoves, radiating warmth and knowledge in equal measure.

Continue Reading

Wood Stove

How Does A Circulator Wood Stove Work

Published

on

By

I’ve always been fascinated by the inner workings of circulator wood stoves. Imagine this scenario: it’s a cold winter night, and you’re huddled around the cozy warmth of your wood stove. But have you ever wondered how exactly it works?

In this article, we’ll delve into the components, combustion process, airflow, heat distribution, and maintenance of circulator wood stoves.

Get ready to uncover the secrets behind this efficient heating appliance.

Key Takeaways

  • The design of a circulator wood stove includes a firebox at the bottom, a grate for airflow, a baffle system, and cast iron or steel surfaces for heat absorption.
  • The combustion process in a circulator wood stove involves precise regulation of air intake and exhaust to reduce emissions.
  • Proper airflow control in a circulator wood stove is achieved through primary and secondary air inlets, which ignite and sustain combustion respectively.
  • Heat distribution in a circulator wood stove is achieved through strategically placed channels that direct hot air, resulting in even distribution of heat throughout the room.

The Components of a Circulator Wood Stove

I love the efficiency of my circulator wood stove’s components. The anatomy of a circulator wood stove consists of several key parts that work together to provide optimal heating.

wood burning stove small

The firebox, located at the bottom, is where the wood is burned. It has a grate that allows for proper airflow.

Above the firebox is the baffle system, which helps to increase the stove’s efficiency by directing the hot gases towards the stove’s surfaces.

These surfaces, made of cast iron or steel, absorb the heat and radiate it into the room.

The benefits of using a circulator wood stove are numerous. They provide a reliable and cost-effective heating solution, ensuring a steady and consistent warmth throughout the space.

catalytic wood stove

The efficient combustion process also reduces emissions and promotes a cleaner environment.

Understanding the Combustion Process

While the firebox and baffle system play important roles in a circulator wood stove, understanding the combustion process is crucial for optimal heating efficiency. The combustion process in a wood stove involves the burning of wood to produce heat. Here are three key aspects to consider:

  • Airflow Control: Properly controlling the airflow is essential to ensure efficient combustion. The circulator wood stove allows for precise regulation of air intake and exhaust, allowing for better control of the burning process.

  • Heat Transfer: The circulator design enhances heat transfer by maximizing the surface area exposed to the fire. This results in more efficient heating and less wasted energy.

    wood stove wiki

  • Environmental Impact: Wood stove combustion can have environmental consequences, such as air pollution and carbon emissions. However, circulator wood stoves are designed to minimize these impacts by promoting complete combustion and reducing smoke and particulate matter emissions.

Understanding the combustion process in a circulator wood stove allows users to maximize heating efficiency while minimizing the environmental impact.

The Role of Airflow in a Circulator Wood Stove

Controlling the airflow is crucial in a circulator wood stove, as it allows for efficient combustion and optimal heating. The key to achieving this is through proper airflow control mechanisms.

In a circulator wood stove, there are primary and secondary air inlets. The primary air is responsible for igniting the wood and providing initial combustion. On the other hand, the secondary air is used to enhance and sustain the combustion process.

wood stoves for sale cheap

By adjusting the primary and secondary air inlets, you can regulate the amount of oxygen that reaches the fire. This, in turn, affects the temperature and efficiency of the stove. When the airflow is properly controlled, a secondary combustion process occurs, which helps burn the remaining gases and particulates, resulting in a cleaner and more efficient burn. This ultimately contributes to reduced emissions and increased heat output.

Understanding the importance of airflow control is crucial in maximizing the efficiency and performance of a circulator wood stove.

Now that we’ve discussed the role of airflow in a circulator wood stove, let’s explore how heat is distributed within the stove.

How Heat Is Distributed in a Circulator Wood Stove

The distribution of heat in a circulator wood stove depends on the design and placement of the heat convection channels. These channels are responsible for creating convective airflow, which plays a crucial role in evenly distributing the heat throughout the room.

wood stove fireplace insert

Here are three key factors that contribute to effective heat distribution in a circulator wood stove:

  • Design of convection channels: The layout and size of the convection channels determine the direction and flow of the convective airflow. A well-designed stove will have strategically placed channels that allow for efficient heat transfer.

  • Placement of heat convection channels: The location of the convection channels within the stove also affects heat distribution. Channels that are positioned closer to the top of the stove help to direct hot air towards the ceiling, while those situated lower down aid in circulating warm air at ground level.

  • Insulation: Proper insulation within the stove prevents heat loss and ensures that more heat is directed towards the convection channels, maximizing heat distribution.

    cast iron wood burning stove

Understanding these factors is essential for maintaining and troubleshooting a circulator wood stove to ensure optimal heat distribution throughout your living space.

Maintaining and Troubleshooting a Circulator Wood Stove

I’ve found that regularly cleaning the flue and checking for any blockages is essential for maintaining and troubleshooting my circulator wood stove. When it comes to troubleshooting techniques, one of the first things I do is inspect the flue for any buildup of soot or creosote. This can restrict airflow and lead to poor combustion, resulting in decreased efficiency and increased emissions.

To clean the flue, I use a flue brush to remove any deposits, making sure to wear protective gloves and goggles. Another important aspect of maintenance is checking for any blockages in the air intake and exhaust vents. These can be cleared using a small brush or vacuum cleaner.

Frequently Asked Questions

How Long Does It Take for a Circulator Wood Stove to Heat up a Room?

It usually takes around 30 minutes for a circulator wood stove to heat up a room. The benefits of using a circulator wood stove for heating include efficient heat distribution, cost savings, and a cozy ambiance.

lopi wood stove for sale craigslist

Can a Circulator Wood Stove Be Used as the Primary Source of Heat in a Home?

Yes, a circulator wood stove can be used as the primary heat source in a home. However, it is important to follow circulator wood stove safety precautions. The advantages include cost savings and the cozy ambiance it creates.

Are Circulator Wood Stoves Energy-Efficient?

Circulator wood stoves are energy-efficient and cost-effective. They provide an efficient way to heat a home by circulating the warm air throughout the room. This helps to maximize heat distribution and minimize energy waste.

Can a Circulator Wood Stove Be Used in a Mobile Home or Rv?

A circulator wood stove can be used in a mobile home or RV, but there are limitations and safety concerns to consider. Mobile homes have specific requirements for wood stoves, and proper installation and ventilation are crucial for safety.

Do Circulator Wood Stoves Require a Chimney or Can They Be Vented Through a Wall?

Vented through a wall? Absolutely! Circulator wood stoves offer versatile heating options, making them perfect for any space. No need to worry about a chimney, just vent it through a wall and enjoy the warmth.

wood burning stove installation

Conclusion

In conclusion, a circulator wood stove is a highly efficient and effective heating appliance that utilizes the principles of combustion and airflow to distribute heat throughout a space.

By understanding the components and operation of this stove, one can effectively maintain and troubleshoot any issues that may arise.

With its ability to provide consistent and comfortable warmth, a circulator wood stove is a reliable choice for those seeking a reliable and efficient heating solution.

Continue Reading

Wood Stove

How To Blacken A Cast Iron Wood Stove

Published

on

By

  1. Importance of proper ventilation during the blackening process
  2. Benefits of using a specialized blackening solution instead of regular paint or coating

As a seasoned stove enthusiast, I’m here to show you how to transform your cast iron wood stove into a sleek, blackened masterpiece. Just like a phoenix rising from the ashes, your stove will emerge with a renewed sense of beauty and durability.

In this article, I will guide you through the process of preparing the stove surface, selecting the right blackening method, applying the solution, and protecting the finish for long-lasting results.

Get ready to turn up the heat and elevate your wood stove game!

Key Takeaways

  • Preparing the stove surface is important before blackening, including cleaning with a mild soap and water solution and gently scrubbing with a soft brush or sponge.
  • Consider professional blackening services for the best results, as they use specialized products and offer expertise and experience.
  • When applying the blackening solution, use a high-quality brush for even application, and pay attention to corners and crevices for complete coverage.
  • To maintain the blackened cast iron wood stove, regularly clean it with a soft bristle brush or sponge, use a mild dish soap and warm water for stubborn stains, and apply a high-temperature stove polish or sealant for added protection and shine.

Preparing the Stove Surface

I can’t wait to see how the stove surface turns out after I’ve prepared it properly. Cleaning the stove surface is the crucial first step in achieving a beautifully blackened cast iron wood stove.

lopi wood stove reviews

To ensure a clean surface, I recommend using a mild soap and water solution, avoiding harsh chemicals that can damage the cast iron. Gently scrub the surface using a soft brush or sponge, paying attention to any stubborn stains or residue.

Once the surface is clean, it’s time to move on to sanding. Sanding the stove surface helps to remove any rust or rough patches, creating a smooth and even base for the blackening process. Use a medium-grit sandpaper and work in circular motions, being careful not to apply too much pressure.

Make sure to thoroughly wipe away any dust or debris before moving on to the next step.

Choosing the Right Blackening Method

In my experience, finding the most effective method for achieving a desired darkened appearance on my cast iron stove has been crucial. There are alternative blackening techniques available, but for the best results, I highly recommend professional blackening services. These services offer numerous advantages that make them worth considering.

wood burner clearance sale

One advantage is the expertise and experience of professionals who understand the intricacies of blackening cast iron. They have the knowledge and tools to achieve a consistent and long-lasting blackened finish. Additionally, professional services often utilize specialized products that are specifically designed for cast iron, ensuring optimal results.

To highlight the advantages of professional blackening services, I have created a table below:

Advantages of Professional Blackening Services
Expertise and experience
Consistent and long-lasting finish
Specialized products for cast iron
Saves time and effort

Overall, while alternative blackening techniques may seem appealing, the advantages of professional blackening services make them the superior choice for achieving a desired darkened appearance on a cast iron stove.

Applying the Blackening Solution

Using a brush, I apply the blackening solution evenly onto the surface of the stove. This step is crucial in achieving a beautiful blackened finish that not only looks great but also protects the cast iron.

wood burning stove with blower

Here are some proper application techniques to ensure the best results:

  • Start by cleaning the stove thoroughly, removing any dust, dirt, or grease.
  • Use a high-quality brush to apply the blackening solution in long, even strokes.
  • Pay special attention to corners and crevices to ensure complete coverage.
  • Allow the solution to dry completely before buffing the surface with a soft cloth for a smooth finish.

Proper application and careful attention to drying and buffing will result in a blackened wood stove that not only looks stunning but also maintains its protective and durable qualities for years to come.

Curing and Protecting the Finish

Once the blackening solution has dried completely, I can protect the finish by applying a thin coat of sealant. This step is crucial in preventing rust and enhancing the stove’s appearance.

The sealant acts as a barrier, shielding the blackened surface from moisture and other elements that could cause corrosion. To ensure maximum protection, I use a high-quality sealant specifically designed for cast iron surfaces.

small wood stove

Before applying the sealant, I thoroughly clean the stove to remove any dust or debris that could affect its adhesion. Using a brush or sponge, I carefully apply the sealant in smooth, even strokes, making sure to cover all exposed areas.

Once applied, I allow the sealant to dry completely, usually overnight, before using the stove. This additional layer of protection not only keeps the stove looking beautiful but also extends its lifespan by preventing rust and deterioration.

Maintaining the Blackened Cast Iron Wood Stove

To keep the finish looking its best, I regularly clean and apply a sealant to my blackened wood stove. Cleaning techniques for a blackened cast iron wood stove are crucial to maintain its appearance and functionality.

Here are some tips to ensure its longevity:

wood stove factory
  • Use a soft bristle brush or sponge to remove any loose debris or ashes from the surface of the stove.
  • For stubborn stains, mix a solution of mild dish soap and warm water. Apply the solution to a cloth and gently scrub the stained area.
  • To prevent rust on a blackened cast iron wood stove, make sure to dry it thoroughly after cleaning. Any moisture left on the surface can cause rusting.
  • Apply a high-temperature stove polish or sealant to protect the finish and add a glossy shine. This will also help prevent rust and keep the stove looking new.

Frequently Asked Questions

Can I Use Any Type of Paint or Coating to Blacken My Cast Iron Wood Stove?

No, using any type of paint or coating is not recommended for blackening a cast iron wood stove. There are different methods available, each with their own pros and cons compared to painting.

How Long Should I Let the Blackening Solution Sit on the Stove Surface Before Wiping It Off?

To achieve optimal results when blackening a cast iron wood stove, it is crucial to allow the blackening solution to sit on the stove surface for the recommended drying time before wiping it off.

Can I Use the Blackening Method on a Stove That Has Already Been Painted or Coated?

Yes, you can use the blackening method on a stove that has already been painted or coated. However, it is important to take safety precautions while applying the blackening solution to protect yourself and the surface.

Is It Necessary to Wear Protective Gear While Applying the Blackening Solution?

It’s always wise to wear protective gear while applying the blackening solution. Ventilation is crucial to prevent inhaling fumes. A specialized blackening solution is recommended instead of regular paint or coating for better results.

wood stove fan repair

How Often Should I Reapply the Blackening Solution to Maintain the Finish on My Cast Iron Wood Stove?

To maintain the finish on your cast iron wood stove, it is recommended to reapply the blackening solution every 6-12 months. Look for high-quality products specifically designed for cast iron stoves.

Conclusion

In conclusion, blackening a cast iron wood stove is a simple process that can enhance its appearance and prolong its lifespan. By following the steps outlined in this article, you can achieve a beautiful and durable blackened finish.

Remember, a little elbow grease and the right blackening method can work wonders for your stove. So don’t hesitate to give it a try and turn your stove into a true gem that will warm your home for years to come.

As the saying goes, “A blackened stove is a sight to behold!” Embrace the beauty and elegance of a blackened stove, and let it become the centerpiece of your kitchen.

wood stove definition
Continue Reading

Wood Stove

How Can You Effectively Maintain an Outdoor Wood Stove for Cooking?

Published

on

By

An image showcasing a well-maintained outdoor wood stove nestled in a serene natural setting

We know that maintaining an outdoor wood stove for cooking can be a challenge, but with the right techniques, it becomes a breeze.

In this article, we will share practical tips and methods to keep your outdoor wood stove in top shape.

From cleaning methods and weather protection to regular inspections and rust prevention, we’ve got you covered.

So let’s dive in and learn how to effectively maintain your outdoor wood stove for a delightful cooking experience.

Key Takeaways

  • Regularly clean the stove’s interior and exterior surfaces to remove residue and prevent rust formation.
  • Inspect and maintain the weatherproof covers and insulation to protect the stove from damage and wear.
  • Apply a protective coating to prevent rust and corrosion during storage.
  • Use heat-resistant paints designed for outdoor use to prevent rust and extend the durability of the stove’s appearance.

Cleaning Methods for Your Outdoor Wood Stove

We’ve found that using a wire brush and a mixture of vinegar and water is the most effective way to clean our outdoor wood stove. Regular maintenance is crucial to ensure its longevity and efficiency.

When cleaning, start by removing any ashes or debris from the stove. Then, using a wire brush, scrub the interior and exterior surfaces to remove any built-up residue. The vinegar and water mixture is an excellent natural cleaner that helps break down grease and grime. Simply spray the mixture onto the surfaces and scrub away. Rinse thoroughly with water and allow the stove to dry completely before using it again.

Cleaning your outdoor wood stove regularly not only improves its performance but also ensures the safety of your cooking environment.

Now, let’s discuss weather protection for your outdoor wood stove.

Weather Protection for Your Outdoor Wood Stove

One important aspect of maintaining our outdoor wood stove is ensuring proper weather protection to prevent any damage caused by rain or snow. Protecting our wood stove from the elements is crucial to its longevity and functionality. There are several options available to weatherproof our outdoor wood stove, such as weatherproof covers and insulation.

To give you a clearer picture, here is a table comparing different weatherproof covers and insulation options:

Weatherproof Covers Insulation Options
Heavy-duty tarp Fiberglass
Waterproof cover Ceramic
Insulated jacket Rockwool
Vinyl cover Foam board
Aluminum cover Reflective foil

These covers and insulation options provide varying levels of protection against rain, snow, and cold temperatures. When choosing the right weatherproof cover or insulation for our outdoor wood stove, it is important to consider factors such as durability, efficiency, and ease of installation.

Proper Storage Techniques for Your Outdoor Wood Stove

Sometimes, we store our outdoor wood stove in a shed during the off-season to protect it from the elements, but other times we leave it outside with a weatherproof cover. Proper storage techniques are essential to ensure the longevity and efficiency of your outdoor wood stove.

Here are some tips to help you maintain your stove effectively:

  • Clean the stove thoroughly before storing it to prevent the buildup of dirt and debris.
  • Make sure to remove any ash and soot from the stove’s interior and exterior surfaces.
  • Apply a protective coating to the stove to prevent rust and corrosion during storage.
  • Create a maintenance schedule to remind you of regular cleaning and inspection tasks.

Regular Inspection of Your Outdoor Wood Stove

To ensure the safety and efficiency of our outdoor wood stove, we should regularly inspect it for any signs of damage or wear and tear. Regular maintenance is crucial in preventing damage and ensuring that the stove functions optimally. By performing routine inspections, we can identify any potential issues before they escalate into major problems.

Start by examining the exterior of the stove for any cracks, dents, or loose parts. Check the chimney and flue for obstructions and clean them if necessary. Inspect the firebox and grates for any signs of rust or corrosion. Clean out any ash or debris that may have accumulated inside.

Additionally, pay attention to the stove’s gaskets and seals. These components can deteriorate over time, leading to heat loss and decreased efficiency. Replace them if needed, ensuring a tight seal.

By regularly inspecting and maintaining our outdoor wood stove, we can prevent damage and ensure its longevity.

In the next section, we’ll discuss rust prevention techniques and the use of heat-resistant paints to further protect our stove.

Rust Prevention and Heat-Resistant Paints for Your Outdoor Wood Stove

When it comes to maintaining an outdoor wood stove, rust prevention is crucial for ensuring its longevity.

One effective method is to apply heat-resistant paints that not only protect against rust but also withstand the high temperatures generated by the stove.

However, it’s important to choose the right paint that’s specifically designed for outdoor use and can withstand the elements.

Best Rust Prevention Methods

We’ve found that applying a high-quality rust-resistant paint to our outdoor wood stove has been the best method for preventing rust and ensuring its longevity. Not only does this paint form a protective barrier against moisture and corrosion, but it also withstands the high temperatures generated by the stove.

In addition to using rust-resistant paint, here are some other effective methods for preventing rust on your outdoor wood stove:

  • Regular cleaning and removal of ashes and debris
  • Applying a rust inhibitor or protective coating to exposed metal surfaces
  • Keeping the stove covered when not in use to protect it from the elements
  • Inspecting the stove regularly for any signs of rust or damage and addressing them promptly

Choosing the Right Paint

Our top priority is finding a paint that is both rust-resistant and heat-resistant for our outdoor wood stove. When it comes to painting our stove, we need a high-quality paint that can withstand the extreme temperatures it will be exposed to. Heat resistant paint options are a great choice for this purpose. These paints are designed to withstand high temperatures without blistering or peeling, ensuring the longevity of our stove. Additionally, using a high-quality paint provides several benefits. It not only protects the stove from rust, but also enhances its appearance, making it more visually appealing. Furthermore, a durable paint can withstand the wear and tear of outdoor use, allowing us to enjoy our cooking experience without worrying about constant maintenance. In the table below, we have listed some popular heat resistant paint options that we can consider for our outdoor wood stove.

Paint Brand Temperature Resistance
Brand A Up to 1200°F
Brand B Up to 1500°F
Brand C Up to 1800°F
Brand D Up to 2000°F
Brand E Up to 2200°F

Longevity of Heat-Resistant Paints

In order to ensure the longevity of our outdoor wood stove, we should regularly inspect and maintain the heat-resistant paints by applying a rust preventative coating and conducting touch-ups as needed. This will help to protect the stove from the harsh elements and extend the durability of the paint.

Here are some practical tips to maintain the paint on your outdoor wood stove:

  • Clean the surface thoroughly before applying any coatings.
  • Apply a rust preventative coating to prevent corrosion and extend the life of the paint.
  • Conduct regular inspections to identify any areas that may need touch-ups.
  • Use a heat-resistant paint specifically designed for outdoor wood stoves to ensure maximum durability.

Obtaining Replacement Parts for Your Outdoor Wood Stove

When it comes to obtaining replacement parts for your outdoor wood stove, it’s important to find reliable options that will ensure the stove’s continued functionality.

We understand the frustration that can come with searching for specific components, but rest assured that there are cost-effective options available.

Reliable Replacement Parts

Although it may be challenging, we can find reliable replacement parts for our outdoor wood stove if we search online or contact the manufacturer. It’s important to have access to reliable suppliers when it comes to replacing parts for our outdoor wood stove.

Here are some tips to help us find the right replacement parts:

  • Research online: Utilize online platforms and websites that specialize in outdoor wood stove replacement parts. Look for websites with positive customer reviews and a wide selection of parts.

  • Contact the manufacturer: Reach out to the manufacturer directly to inquire about replacement parts. They may have specific recommendations or be able to provide the parts themselves.

  • Join online forums or communities: Engage with other outdoor wood stove owners who may have experience finding reliable suppliers. They can provide valuable insights and recommendations.

  • Seek professional advice: Consult with a professional or expert in outdoor wood stoves who can guide you towards reliable suppliers and offer maintenance tips for your stove.

Finding Specific Components

We can easily locate the specific components we need for our outdoor wood stove by reaching out to reliable suppliers or searching online. Finding suppliers who specialize in wood stove parts can ensure that we get high-quality components that are compatible with our stove model. It’s important to choose suppliers who have a good reputation and offer warranty options for their products.

Additionally, troubleshooting common issues with our outdoor wood stove can help us identify the specific components that need replacement. By understanding the functioning of the stove and referring to the user manual, we can identify the faulty parts and find suitable replacements.

Regular maintenance and cleaning of the stove can also prevent common issues and prolong the lifespan of the components.

Cost-Effective Options Available

There are several cost-effective options available to obtain replacement parts for our outdoor wood stove, such as purchasing from second-hand sellers or exploring discounted options online. When considering cost-saving measures for maintaining our wood stove, it’s important to explore alternative fuel sources. Here are some suggestions to help you save money while keeping your stove running efficiently:

  • Consider using reclaimed or salvaged wood as a fuel source. This can be obtained from construction sites, tree removal services, or even old furniture.
  • Explore the option of using wood pellets instead of traditional firewood. Wood pellets are made from compressed sawdust and are a more efficient and cost-effective fuel source.
  • Look into biofuels, such as corn or soybeans, which can be converted into pellets or briquettes for use in your wood stove.
  • Take advantage of community programs or initiatives that offer discounted or free firewood to help reduce costs.

By implementing these cost-saving measures and exploring alternative fuel sources, you can effectively maintain your outdoor wood stove without breaking the bank.

Transitioning into the subsequent section about safe wood fuels and airflow control, let’s now discuss how to ensure optimal performance and safety for your wood stove.

Safe Wood Fuels and Airflow Control for Your Outdoor Wood Stove

When using our outdoor wood stove, it’s important to understand how to safely control airflow and choose the right wood fuels. Proper wood stove maintenance and fuel selection are crucial for efficient and safe cooking.

To maintain your wood stove, regularly clean the stovepipe and chimney to prevent the buildup of creosote, which can lead to chimney fires. Additionally, inspect the gaskets and replace them if necessary to ensure a tight seal.

As for fuel selection, it’s best to use seasoned hardwoods like oak, maple, or birch. These woods burn longer and produce less smoke and creosote. Avoid using softwoods, as they burn quickly and can create excessive smoke.

Frequently Asked Questions

What Are the Best Cleaning Methods for Removing Stubborn Stains and Grease Buildup on an Outdoor Wood Stove?

To effectively maintain an outdoor wood stove for cooking, we use cleaning methods to remove stubborn stains and grease buildup. Additionally, preventing rust and using recommended heat resistant paints can help prolong the stove’s lifespan.

How Can I Protect My Outdoor Wood Stove From Extreme Weather Conditions Such as Heavy Rain and Snow?

To protect our outdoor wood stove from extreme weather conditions, we use protective covers and ensure proper positioning. This safeguards it against heavy rain and snow, preserving its functionality and longevity.

Are There Any Specific Techniques for Storing an Outdoor Wood Stove During the Offseason to Prevent Damage?

When it comes to storing techniques for an outdoor wood stove during the offseason to prevent damage, there are a few key steps to follow. Proper cleaning, covering, and storing in a dry location are essential.

How Often Should I Inspect My Outdoor Wood Stove for Any Potential Issues or Maintenance Needs?

We make sure to regularly inspect our outdoor wood stove for any potential issues or maintenance needs. It’s important to stay on top of things to ensure the stove is in good working condition.

What Are Some Effective Ways to Prevent Rust on an Outdoor Wood Stove, and What Types of Heat-Resistant Paints Are Recommended for This Purpose?

To prevent rust on an outdoor wood stove, we recommend regularly cleaning and drying it after use, applying a heat-resistant paint specifically designed for metal surfaces, and ensuring proper ventilation to prevent moisture buildup.

Conclusion

In conclusion, maintaining an outdoor wood stove for cooking is crucial for its longevity and efficiency. By regularly cleaning, protecting from weather, storing properly, inspecting, preventing rust, and using the right fuels and airflow control, you can ensure optimal performance.

Just like tending to a well-tuned instrument, caring for your outdoor wood stove will result in a harmonious cooking experience that will delight your taste buds and warm your soul. So, embrace the art of stove maintenance and let the culinary symphony begin!

Continue Reading

Trending