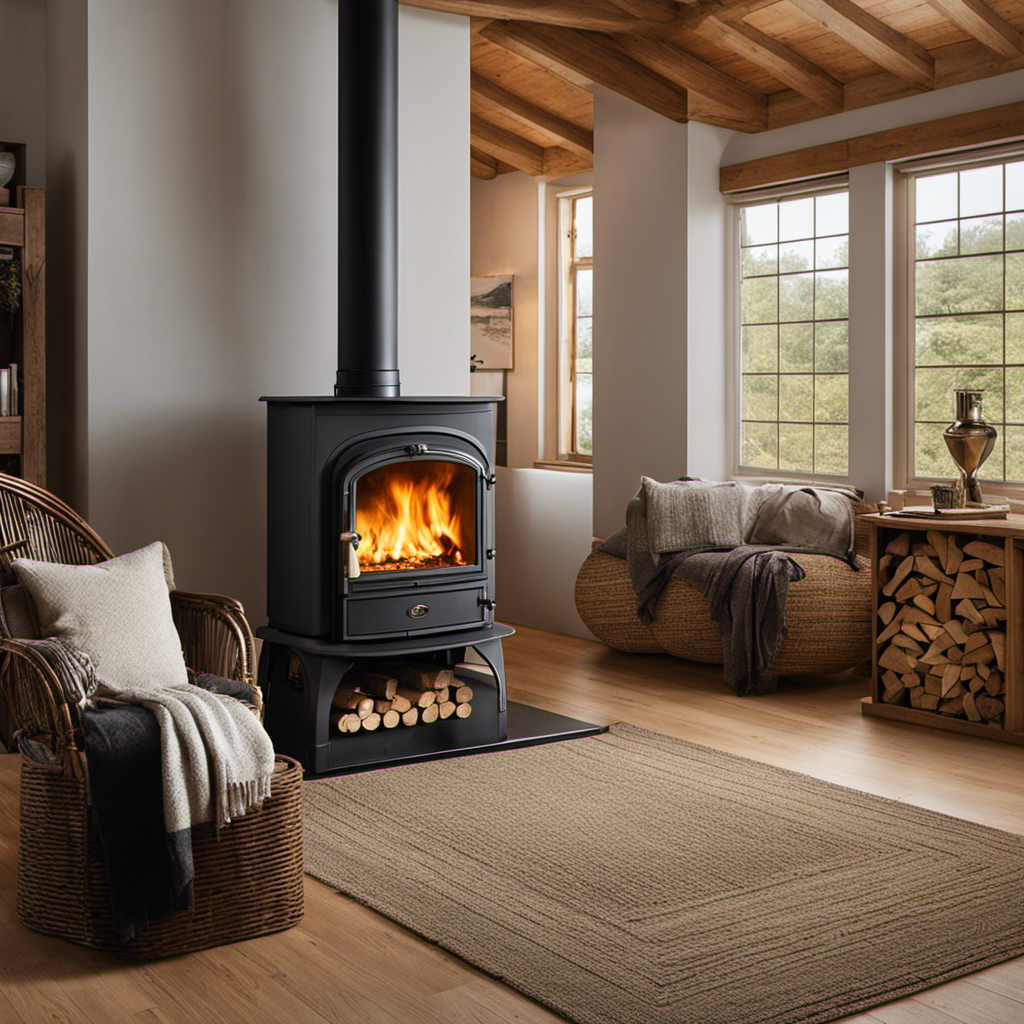
As an expert in the craft of starting fires, I have mastered the art of igniting a wood stove with skill and elegance. There is a distinct satisfaction in coaxing flames to life from a meticulously chosen pile of logs.
In this article, I’ll guide you through the steps of preparing your wood stove, building a proper fire structure, and troubleshooting common issues.
With my tips and tricks, you’ll soon be able to enjoy the warmth and comfort of a roaring fire in your home.
So let’s dive in and ignite that wood stove!
Key Takeaways
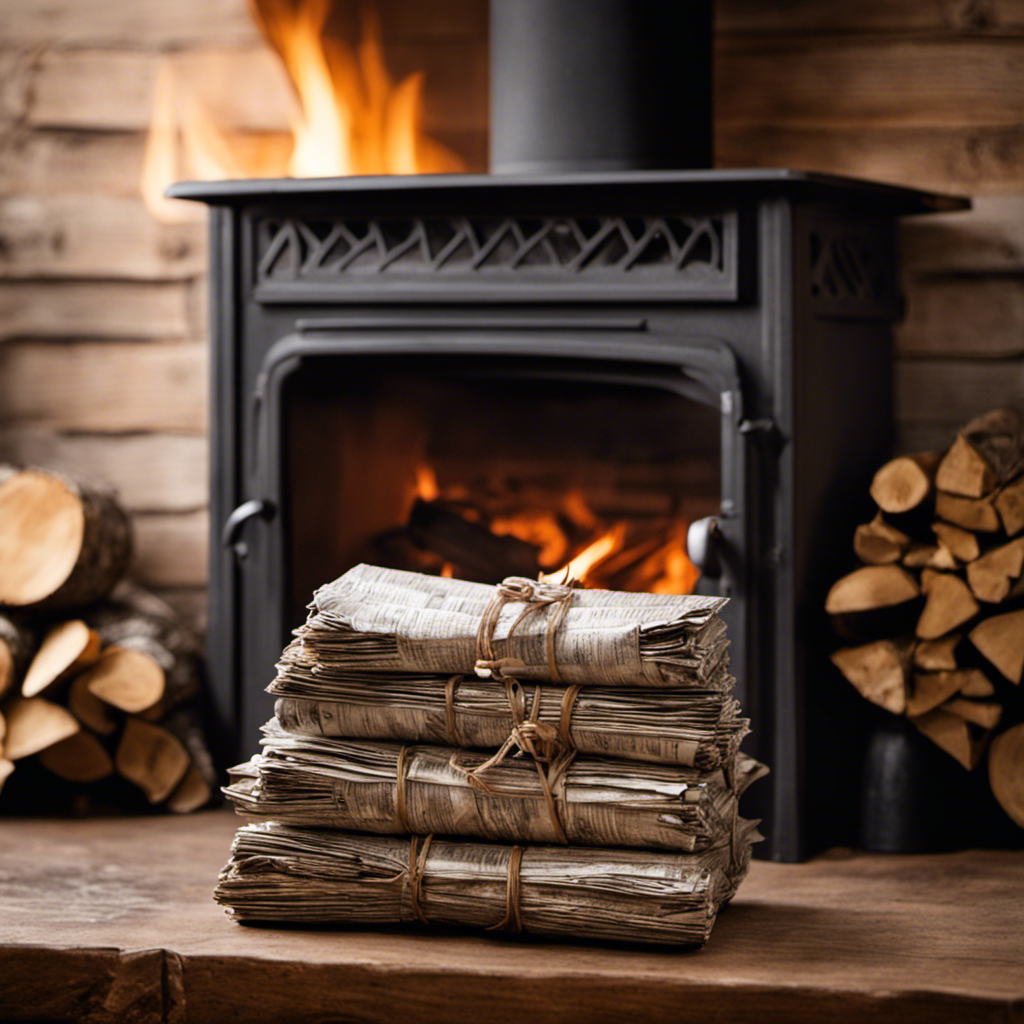
- Start with a base of crumpled newspaper and small pieces of kindling.
- Use dry and seasoned firewood to prevent excessive smoke and creosote buildup.
- Leave enough space for air circulation to fuel the combustion process.
- Regularly remove ashes to maintain proper airflow and efficiency.

Shwuevei 65 pcs Fire Starter – Natural Fire Starters for Fireplace, Pellet Stove & Wood, Fire Pit, Smoker, BBQ, Chimney, Pizza Oven – Fire Starters for Grill, Charcoal Starter
- All-Natural Material: Made from premium natural, odorless wood
- Long Burn Time: Burns up to 10 minutes for easy lighting
- Versatile Use: Suitable for grills, fireplaces, campfires, and more
As an affiliate, we earn on qualifying purchases.
As an affiliate, we earn on qualifying purchases.
Selecting the Right Firewood
I can easily identify the right firewood for my wood stove. When it comes to selecting firewood, there are a few key factors to consider.
First and foremost, it’s important to ensure that the firewood is properly seasoned. Seasoned firewood has been dried for at least six months, which reduces moisture content and allows for a cleaner, more efficient burn. Wet or green wood not only produces less heat, but also creates more smoke and increases the risk of creosote buildup in the chimney.
In addition to being seasoned, the type of wood you choose can also impact the performance of your wood stove. Hardwoods, such as oak, maple, and birch, are ideal for wood stoves as they burn longer and produce more heat compared to softwoods like pine or spruce. Hardwoods also tend to create less creosote buildup and produce a more pleasant aroma when burned.
Proper firewood storage is another important aspect to consider. It’s crucial to store firewood in a dry and well-ventilated area, away from the ground and protected from rain or snow. This helps to maintain the wood’s dryness and ensures it’s ready to be used when needed.
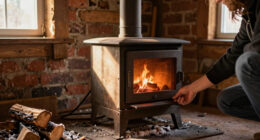
Preparing the Wood Stove
Before starting the fire, I make sure that the wood stove is clean and free of any debris. Proper wood stove maintenance is essential to ensure efficient and safe operation. Cleaning techniques can vary depending on the type of wood stove, but generally involve removing ashes, soot, and creosote buildup.
Here are some steps I take to prepare my wood stove:
-
Empty the ash pan: I remove the ash pan from the stove and carefully empty it into a metal container. Ashes should be completely cooled before disposal.
-
Clean the firebox: Using a wire brush or fireplace vacuum, I remove any loose debris and ash from the firebox. It’s important to wear gloves and a dust mask for protection.
-
Inspect the baffle and flue: I check the baffle and flue for any blockages or buildup. If necessary, I use a chimney brush to remove creosote and soot.
-
Clean the glass door: I use a non-abrasive glass cleaner to remove any soot or residue from the glass door. It’s important to let the glass cool completely before cleaning.
-
Check the gaskets: I inspect the gaskets around the door and replace them if they’re worn or damaged. This helps maintain a tight seal and prevent air leakage.
By following these cleaning techniques, I ensure that my wood stove is in optimal condition for a safe and efficient fire.
Regular maintenance is key to enjoying the warmth and comfort of a well-maintained wood stove.
Clearing the Ashes
After a long day of enjoying the warmth and comfort of my wood stove, it’s time to tackle the task of clearing the ashes.
Proper ash removal is essential for the efficient and safe operation of the stove. In this section, I’ll discuss various ash disposal options, provide tips on how to clear the ashes correctly, and highlight important safety precautions to follow.
Ash Disposal Options
To properly dispose of ashes from a wood stove, one option is to place them in a metal container and let them cool before transferring them to a designated ash disposal area. This ensures safety and prevents any accidental fires.
When it comes to ash disposal methods, there are a few options to consider:
-
Recycling ashes: Ashes can be used as a natural fertilizer for your garden. They contain nutrients like potassium, calcium, and phosphorus, which can benefit plants and improve soil quality.
-
Composting: Mix ash with organic waste, like kitchen scraps or yard trimmings, to create nutrient-rich compost. The ash helps balance the pH levels and adds minerals to the compost.
-
Landfill disposal: If you don’t have a garden or compost pile, you can dispose of ashes in a sealed bag and place them in the regular garbage. Make sure the ashes are completely cool before doing so.
Proper Ash Removal
I always make sure to wear gloves and use a metal shovel when removing the cooled ashes from the designated disposal area. Ash removal techniques are crucial for maintaining the efficiency and safety of your wood stove.
To prevent ash buildup, it’s important to follow a few key steps. First, before removing the ashes, make sure they’re completely cooled down to avoid any risk of fire. Once cooled, use a metal shovel to carefully scoop out the ashes, ensuring not to disturb any remaining embers. Be sure to wear gloves to protect your hands from any residual heat or sharp objects. Dispose of the ashes in a designated area away from any flammable materials.
Regularly removing the ashes will prevent them from blocking airflow and allow your wood stove to function optimally.
Safety Precautions for Ashes
It’s important to remember that wearing gloves and using a metal shovel are crucial safety precautions when handling ashes. Here are three important tips to consider when dealing with ash disposal methods and preventing ash buildup:
-
Allow the ashes to cool completely before attempting to handle or dispose of them. Hot ashes can cause severe burns and pose a fire hazard.
-
Use a metal shovel to carefully scoop the ashes into a metal container with a tight-fitting lid. This will prevent any accidental spills or the possibility of embers reigniting.
-
Once the ashes are safely contained, store the container outside on a non-combustible surface, away from any flammable materials, until they can be properly disposed of.
Building a Proper Fire Structure
When building a proper fire structure, I always start with a base of crumpled newspaper and small pieces of kindling. This ensures a good foundation for the fire to catch on. Before starting, it’s important to have a well-stocked firewood storage nearby. I keep mine in a dry and ventilated area, away from any flammable materials. This helps prevent any accidents or potential fire hazards.
Once I’ve the base ready, I add larger pieces of firewood on top. It’s crucial to choose dry and seasoned firewood, as wet or green wood can produce excessive smoke and cause creosote buildup in the chimney. This can lead to chimney fires, which are extremely dangerous.
As I continue to build the fire, I make sure to leave enough space for air circulation. Proper airflow is essential for a successful fire, as it helps fuel the combustion process. I also pay attention to the size of the wood I’m using. It’s important to avoid overcrowding the stove, as this can restrict airflow and hinder the fire’s ability to burn efficiently.
Lastly, I always follow fire safety precautions to ensure the safety of myself and my home. I keep a fire extinguisher nearby, just in case. I also make sure to install smoke detectors and carbon monoxide detectors in the vicinity of the wood stove. Regular maintenance and inspection of the stove and chimney are crucial to prevent any potential fire hazards.
Starting the Fire
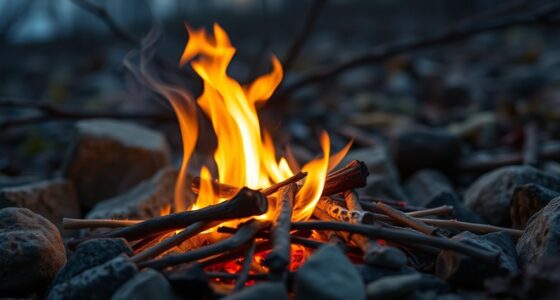
To properly start a fire, it’s crucial to arrange the kindling in a specific manner. I always make sure to create a small tepee structure using dry twigs and paper, ensuring good airflow and easy ignition.
Once the kindling is set, it’s important to control the draft by adjusting the damper and air vents, allowing the fire to burn steadily and efficiently.
Lastly, safety precautions should never be overlooked, such as using long matches or a fireplace lighter, and keeping a fire extinguisher nearby in case of emergencies.
Proper Kindling Arrangement
I find that arranging the kindling properly is crucial for starting a fire in a wood stove. When it comes to kindling storage, keeping it dry is essential. Moisture can make it difficult to ignite the fire, so I always make sure to store my kindling in a dry place, such as a shed or garage.
Additionally, I like to keep my kindling separate from my firewood. This helps me to easily access the kindling when I need it without having to search through the larger logs.
Finally, when arranging the kindling in the stove, I follow these steps:
- Place two or three small pieces of kindling on the bottom of the stove in a crisscross pattern.
- Add a layer of larger kindling pieces on top, again in a crisscross pattern.
- Place a couple of small fire starters or newspaper balls on top of the kindling to ignite the fire.
Importance of Draft Control
Maintaining proper draft control is essential for an efficient and effective fire in my wood stove. Draft control refers to the ability to regulate the flow of air in and out of the stove, which directly affects the combustion process. There are several benefits to having good draft control. Firstly, it ensures that the fire burns at the desired temperature, allowing for optimal heat output. Secondly, it helps to prevent smoke from entering the room by creating a balanced airflow. Lastly, it improves fuel efficiency, as a well-controlled draft allows for more complete combustion, reducing the amount of wood needed. To achieve proper draft control, I employ a few techniques. I adjust the air vents to control the amount of oxygen entering the stove, using the damper to regulate the intensity of the fire. Additionally, I make sure the chimney is clean and clear of any obstructions to maintain a strong draft.
| Draft Control Benefits | Draft Control Techniques |
|---|---|
| Optimal heat output | Adjust air vents |
| Smoke prevention | Use damper |
| Improved fuel efficiency | Clean chimney |
Safety Precautions for Ignition
When starting a fire in my wood stove, it’s important to take safety precautions to prevent accidents. Here are some fire starting tips to ensure ignition safety:
-
Gather the necessary materials: Before starting the fire, make sure you have dry kindling, newspaper, and small pieces of firewood. This will help ensure a successful ignition.
-
Clear the area around the stove: Remove any flammable objects or materials from the vicinity to prevent accidental fires or sparks.
-
Use proper ignition methods: Avoid using flammable liquids such as gasoline to start the fire. Instead, opt for safer alternatives like fire starter sticks or fireplace matches.
By following these ignition safety measures, you can minimize the risk of accidents and enjoy a warm and cozy fire in your wood stove.
Now, let’s move on to the next section and discuss how to maintain the fire.
Maintaining the Fire
To keep the fire going, I’ll add more wood to the stove every few hours. Maintaining heat is crucial to ensure that the wood stove continues to provide warmth throughout the day. The key to maintaining heat lies in controlling airflow.
When adding more wood to the stove, it’s important to arrange it properly. I make sure to place larger logs at the bottom and smaller ones on top. This arrangement allows for better airflow and ensures a steady burn. As the fire burns, I monitor the temperature using a stove thermometer and adjust the airflow accordingly.
Controlling airflow is essential for maintaining the fire. Most wood stoves have a damper or air control lever that can be adjusted to regulate the amount of oxygen reaching the fire. By opening the damper, more oxygen is supplied, resulting in a hotter fire. Conversely, closing the damper reduces the airflow, slowing down the burn rate and conserving wood.
In addition to controlling the airflow, I also regularly remove ashes from the stove. A buildup of ashes can hinder proper airflow and reduce the efficiency of the fire. I use a metal ash shovel and carefully scoop out the ashes, making sure not to disturb the burning embers.
Troubleshooting Common Issues
I often encounter issues with the fire, such as improper burning or a lack of heat, which require troubleshooting techniques to resolve. Here are some common problems I’ve encountered and the steps I take to troubleshoot them:
-
Troubleshooting draft:
- Check the damper: Make sure the damper is open to allow for proper airflow. If it’s closed, open it to improve the draft.
- Inspect the chimney: Look for any obstructions or blockages in the chimney that could be restricting the airflow. Remove any debris if necessary.
- Adjust air vents: Experiment with adjusting the air vents to find the right balance of air intake for optimal draft.
-
Troubleshooting smoke:
- Check the wood: Ensure that the wood you’re using is properly seasoned. Wet or green wood can produce excess smoke. Use dry, seasoned wood for cleaner burning.
- Clean the stovepipe: Over time, creosote and soot can build up in the stovepipe, causing smoke to back up into the room. Regularly clean the stovepipe to prevent this issue.
- Adjust the stove door: If smoke is escaping from the stove door, make sure it’s tightly sealed. Adjust the door latch if needed.
Safety Precautions and Tips
Now that we’ve covered troubleshooting common issues when lighting a wood stove, let’s focus on safety precautions and tips. When it comes to dealing with fire, it’s essential to prioritize safety at all times.
First and foremost, make sure you’ve a fire extinguisher readily available near your wood stove. This is a crucial tool that can quickly put out small fires before they escalate. Familiarize yourself with its operation and keep it in good working condition.
Additionally, install a carbon monoxide detector near your wood stove. Wood stoves can produce carbon monoxide, a colorless and odorless gas that can be deadly when inhaled in high concentrations. A detector will alert you if there are dangerous levels of this gas in your home, giving you the chance to take immediate action and prevent any harm.
Regular maintenance is also vital to ensure safety. Clean your wood stove regularly to remove any creosote buildup, which can lead to chimney fires. Inspect the stove’s components, such as the door gasket and chimney, for any signs of damage or wear.
Frequently Asked Questions
How Often Should I Clean My Wood Stove Chimney?
When it comes to chimney maintenance and cleaning frequency, it’s essential to keep a close eye on your wood stove chimney. Regular cleaning is crucial to prevent the buildup of creosote, which can lead to chimney fires.
As a general rule, it’s recommended to clean your wood stove chimney at least once a year. However, factors such as the type of wood you burn and how often you use your stove can impact the cleaning frequency.
Can I Use Newspaper as a Fire Starter?
Sure, you can definitely use newspaper as a fire starter for your wood stove. It’s a common and effective method.
However, if you’re looking for alternatives to newspaper, there are a few options you can consider. Some people use dried pine needles, small twigs, or even wax fire starters. These alternatives can work just as well, so feel free to experiment and see which method works best for you.
What Should I Do if My Wood Stove Emits a Strong Odor?
If my wood stove emits a strong odor, I’d first check for any visible signs of a problem, such as a build-up of creosote or a blocked chimney.
I’d then make sure that I’m using properly seasoned firewood and that the stove is getting enough air circulation.
If the issue persists, I’d consider scheduling a professional inspection and cleaning to ensure proper wood stove maintenance.
Troubleshooting odor requires attention to detail and a proactive approach.
How Can I Prevent Creosote Buildup in My Wood Stove?
To prevent creosote buildup in my wood stove and maintain its efficiency, I’ve found a few key strategies.
First, I always make sure to burn only dry, seasoned wood. This reduces the amount of smoke and residue produced.
I also regularly clean the stove and chimney to remove any creosote buildup.
Additionally, using smaller, hotter fires rather than smoldering ones can help minimize creosote formation.
These practices keep my wood stove running smoothly and efficiently.
Is It Safe to Leave the Wood Stove Unattended Overnight?
It is important to consider fire safety and proper ventilation when using a wood stove.
Leaving a wood stove unattended overnight can be risky as it increases the chances of a fire starting and spreading. It’s recommended to always extinguish the fire before going to bed or leaving the house.
Additionally, proper ventilation is crucial to ensure that the smoke and gases produced by the stove are safely directed outside.
Conclusion
In conclusion, lighting a wood stove requires careful preparation and attention to detail. By selecting the right firewood, clearing the ashes, and building a proper fire structure, you can create a warm and cozy fire.
Remember to follow safety precautions and troubleshoot any common issues that may arise. Just as the flickering flames of a wood stove bring comfort and warmth to a room, taking the time to master the art of wood stove lighting can bring a deeper sense of fulfillment and satisfaction to your home.