Connect with us

Wood Stove

How To Level A Cast Iron Wood Stove

Published

on

An image showcasing hands using a level to meticulously adjust the feet of a cast iron wood stove, ensuring it is perfectly balanced

Greetings, wood stove enthusiasts!

I’m here to share with you a nifty little trick on how to level your cast iron wood stove.

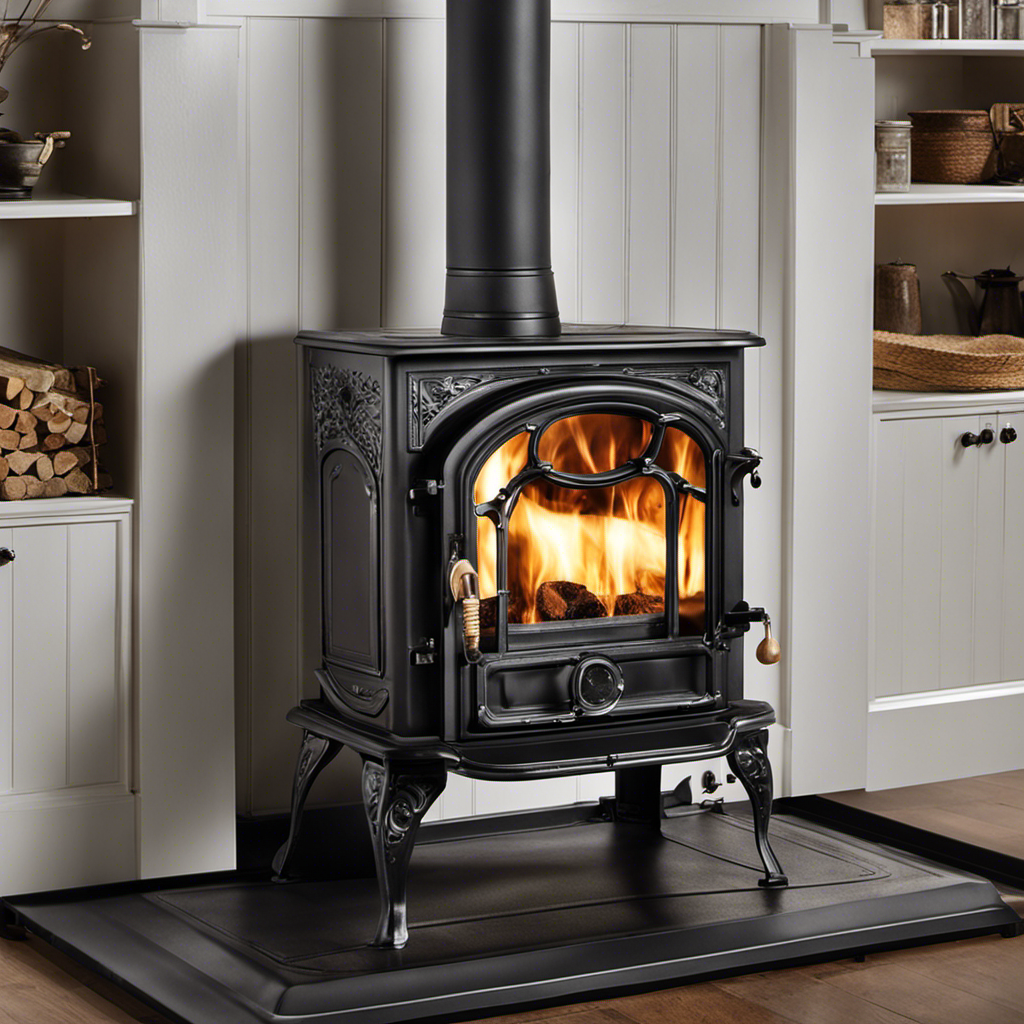
Picture this: a cozy winter’s night, the crackling fire warming your home, but wait… your stove isn’t quite sitting straight.

Don’t fret! In just a few simple steps, I’ll show you how to ensure your wood stove is perfectly level, allowing for optimal performance and a safer, more efficient burn.

Let’s get started!

Advertisement

Key Takeaways

  • Leveling a wood stove is important to ensure proper combustion and control of the fire.
  • An unlevel wood stove can cause damage to the stove or surrounding area and result in uneven burning and excessive smoke.
  • Gathering the necessary tools and materials, such as a long level, fireproof shims, a wrench or screwdriver, a tape measure, and a flashlight, is essential for the leveling process.
  • The process of leveling a wood stove includes preparing the area by clearing debris, inspecting the floor and foundation, and creating an even surface, as well as adjusting the legs or feet of the stove to ensure stability and optimal airflow.

Assessing the Level of Your Wood Stove

I’m checking the stability of my wood stove to assess its level.

When it comes to leveling a wood stove, it’s important to address any common leveling issues that may arise.

An unlevel wood stove can lead to several problems, such as improper combustion, difficulty in controlling the fire, and potential damage to the stove or surrounding area.

Signs of an unlevel wood stove include uneven burning, excessive smoke, and difficulty in maintaining a consistent temperature.

To level my wood stove properly, I’ll need to gather the necessary tools and materials.

Gathering the Necessary Tools and Materials

Before beginning to level my wood stove, I need to gather all the necessary tools and materials.

Advertisement

Choosing the right leveling method is crucial to ensuring stability and safety.

To start, I’ll need a level, preferably a long one that can accurately measure the stove’s surface.

Additionally, I’ll require shims, which are used to adjust the height and stabilize the stove. It’s important to choose shims made of fireproof materials, such as metal or ceramic, to prevent any damage caused by heat.

To secure the stove in place, I’ll need a wrench or screwdriver to tighten the stove’s legs or brackets.

Finally, I’ll also gather a tape measure to ensure precise alignment and a flashlight to provide adequate visibility.

Advertisement

With these tools and materials at hand, I can confidently proceed with leveling my wood stove, ensuring both stability and safety.

Preparing the Area for Leveling

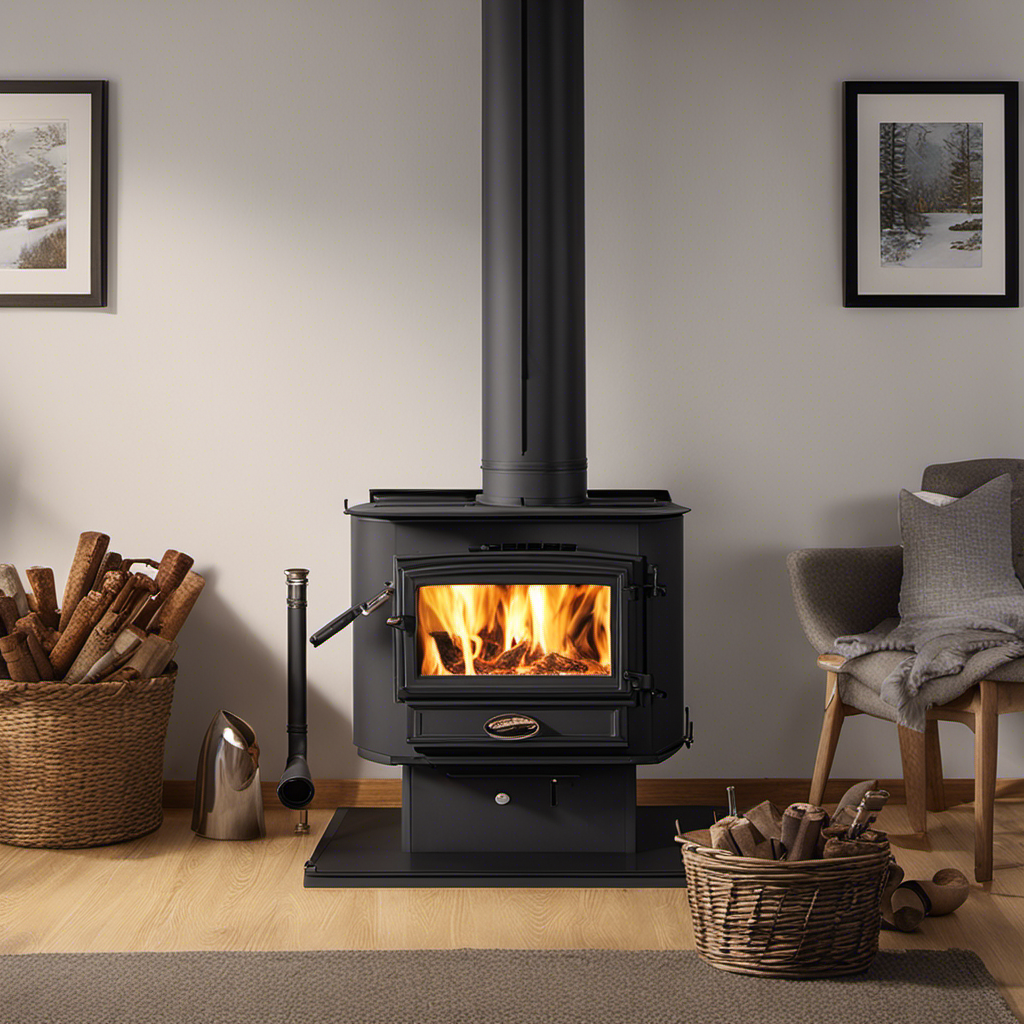
To prepare the area for leveling, I’ll clear away any debris and ensure a clean and stable surface for the wood stove.

Evaluating the stability of the area is crucial to prevent any accidents or damage. I’ll thoroughly inspect the floor and foundation for any signs of weakness or unevenness. If there are any issues, I’ll address them before proceeding.

Creating an even surface is essential for the proper installation and functioning of the wood stove. I’ll use leveling tools like a bubble level or laser level to ensure the surface is perfectly flat.

Additionally, I’ll make sure that the floor is capable of supporting the weight of the stove and any additional materials needed for the installation.

Advertisement

Taking these measures will guarantee a safe and stable environment for the wood stove.

Adjusting the Legs or Feet of the Wood Stove

I will use a wrench to loosen the bolts and then adjust the legs or feet of the wood stove to ensure proper stability and alignment. This step is crucial in adjusting the stability of the stove and preventing uneven heating.

Here are some key points to consider:

  • Proper alignment: Adjusting the legs or feet of the wood stove ensures that it sits level on the floor, preventing any wobbling or rocking that could compromise its stability.

  • Even weight distribution: By leveling the stove, you ensure that its weight is evenly distributed across all legs or feet. This helps prevent any stress on the stove and ensures it remains stable when in use.

  • Improved efficiency: A level wood stove allows for optimal airflow and heat distribution. This means that the stove will function more efficiently, providing consistent and even heating throughout your space.

  • Reduced risk of accidents: A stable wood stove reduces the risk of accidents such as tipping over or rolling, which could result in injuries or property damage.

Testing and Fine-Tuning the Leveling of Your Stove

When testing and fine-tuning the leveling of your stove, it’s important to use a level and make small adjustments as needed to ensure proper stability and heat distribution. Start by placing the level on top of your stove and check if it’s perfectly level in all directions. If not, you may need to adjust the legs or feet of your stove accordingly.

Use a wrench or pliers to loosen the nuts or bolts on the legs and make slight adjustments to level the stove. Once you have made the adjustments, recheck the level to ensure it’s balanced.

Advertisement

It’s also important to troubleshoot any issues with heat distribution. Check for any obstructions or blockages in the stovepipe or chimney, as these can affect the heat distribution. Regular maintenance and cleaning can prevent these issues.

Conclusion

In conclusion, ensuring that your cast iron wood stove is level is crucial for optimal performance and safety.

Did you know that a study found that a 1-degree tilt in a wood stove can cause a 10% decrease in heating efficiency?

By taking the time to properly level your stove, you can maximize its efficiency and enjoy a cozy and warm environment in your home.

Remember to regularly check and adjust the level of your wood stove to maintain its effectiveness.

Advertisement

Growing up surrounded by the vast beauty of nature, Sierra was always drawn to the call of the wild. While others sought the comfort of the familiar, she ventured out, embracing the unpredictable and finding stories in the heartbeat of nature.   At the epicenter of every remarkable venture lies a dynamic team—a fusion of diverse talents, visions, and passions. The essence of Best Small Wood Stoves is crafted and refined by such a trio: Sierra, Logan, and Terra. Their collective expertise has transformed the platform into a leading authority on small wood stoves, radiating warmth and knowledge in equal measure.

Continue Reading
Advertisement

Wood Stove

Why Doesn’T My Wood Stove Smell

Published

on

By

An image showcasing a pristine wood stove with fresh logs crackling inside

As an expert in operating wood stoves, let me shed some light on this issue for you. If you’re worried because you’re missing that unique scent from your wood stove, don’t worry. I have the solutions you’re looking for.

In this article, we’ll explore the possible causes behind an odorless wood stove, from ventilation issues to fuel selection.

I’ll also share some expert tips to enhance the delightful scent of your wood stove.

So, sit back, relax, and let’s uncover the secrets to a fragrant wood stove experience.

Key Takeaways

  • Incorrect fuel or wood selection can cause a wood stove to not produce any smell.
  • Lack of proper airflow and ventilation can also result in an odorless wood stove.
  • Worn-out seals and gaskets can contribute to the lack of smell from a wood stove.
  • Neglecting cleaning and maintenance can prevent the wood stove from emitting any odor.

Possible Causes of a Odorless Wood Stove

I can’t figure out why my wood stove doesn’t smell, even after cleaning it thoroughly. As someone experienced in wood stove maintenance, I know that burning techniques and regular cleaning are key factors in preventing odors.

Firstly, it’s important to use the right type of firewood. Hardwoods like oak or maple burn cleaner and produce less smoke and odor than softwoods. Also, properly seasoning the firewood is crucial. Moisture content should be around 20% for efficient burning and minimal smoke.

Advertisement

Secondly, cleaning the wood stove regularly is essential. Ashes and creosote buildup can contribute to unpleasant smells. By removing ashes and cleaning the chimney regularly, you can ensure proper airflow and prevent odors. Additionally, inspecting and maintaining the gasket seals can also help eliminate any potential sources of odor.

Lack of Proper Airflow and Ventilation

To prevent odors, it is important to regularly clean the wood stove, ensuring proper airflow and ventilation. Poor wood stove performance can be caused by a lack of proper airflow and ventilation. Regular maintenance is crucial in order to keep the wood stove functioning at its best. Neglecting maintenance can lead to a build-up of creosote, which can restrict airflow and cause a smoky smell. It is also important to check the seals and gaskets on the stove doors to ensure they are tight and not allowing any air to escape. A simple way to improve airflow is to open the damper fully when starting a fire and adjusting it as needed. By following these maintenance tips, you can prevent odors and ensure optimal performance from your wood stove.

Causes of Poor Wood Stove Performance Importance of Regular Maintenance
Lack of proper airflow and ventilation Prevents build-up of creosote
Worn-out seals and gaskets Ensures tight stove doors
Neglecting cleaning and maintenance Promotes optimal performance
Improper damper usage Prevents odors
Lack of chimney maintenance Ensures safe and efficient use

Incorrect Fuel or Wood Selection

Sometimes, using the wrong type of fuel or wood can lead to poor performance in your wood stove. It’s important to understand the impact of wood moisture and combustion efficiency in order to optimize the functioning of your stove. Here are a few key points to consider:

  • Wood Moisture: Wet or green wood contains a high moisture content, which makes it difficult to burn efficiently. This can result in incomplete combustion, increased smoke production, and reduced heat output. It’s best to use seasoned firewood with a moisture content below 20% for optimal performance.

  • Combustion Efficiency: The efficiency of wood combustion depends on factors such as air supply, wood density, and stove design. Properly seasoned firewood and a well-maintained stove can enhance combustion efficiency, resulting in cleaner burning, increased heat output, and reduced emissions.

  • Fuel Selection: Choosing the right type of wood is crucial for maximizing stove performance. Hardwoods like oak, maple, and birch are dense and burn longer, providing more heat. Softwoods like pine and spruce burn faster but produce less heat. It’s also important to avoid treated or painted wood, as they can release toxic fumes when burned.

  • Stove Maintenance: Regularly cleaning and inspecting your wood stove is essential for optimal performance. Ensure that the air vents are clear and the firebox is free from ash buildup. This allows for proper airflow and efficient combustion.

Issues With the Chimney or Flue System

How often should I have my chimney or flue system inspected and cleaned, and what are the consequences of neglecting this maintenance? As an experienced chimney sweep, I recommend having your chimney or flue system inspected and cleaned at least once a year. Neglecting this maintenance can lead to serious consequences such as improper installation and maintenance problems. To emphasize the importance of regular maintenance, let’s take a look at the potential consequences:

Neglected Maintenance Consequences
Improper installation Increased risk of chimney fires and carbon monoxide leaks
Lack of cleaning Build-up of creosote, leading to chimney fires
Blocked flue system Poor ventilation, decreased efficiency, and smoke backdraft
Damaged chimney structure Structural instability and potential collapse

Regular inspections and cleanings help prevent these issues, ensuring the safe and efficient operation of your wood stove. Now, let’s move on to some tips for enhancing the aroma of your wood stove.

Advertisement

Tips for Enhancing the Aroma of Your Wood Stove

I love using dried herbs and spices on my wood stove to create a cozy and aromatic atmosphere. Not only does it add a delightful fragrance to my home, but it also provides various aromatherapy benefits.

Here are some tips for enhancing the aroma of your wood stove:

  • Use dried lavender or chamomile: These calming herbs release a soothing scent that can help relax your mind and body.

  • Try citrus peels: The zesty aroma of citrus fruits like oranges and lemons can invigorate your space and uplift your mood.

  • Experiment with cinnamon sticks: The warm and spicy fragrance of cinnamon creates a comforting environment and can even help improve focus and concentration.

  • Explore essential oils: Adding a few drops of essential oils, such as eucalyptus or peppermint, to a dish of water on top of your wood stove can fill the air with refreshing and invigorating scents.

These home fragrance alternatives aren’t only natural but also cost-effective, allowing you to enjoy a beautifully scented space while embracing the benefits of aromatherapy.

Frequently Asked Questions

Can a Wood Stove Emit an Odor if There Is No Problem With the Airflow or Ventilation?

Yes, a wood stove can emit an odor even if there are no issues with airflow or ventilation. The absence of smell does not necessarily indicate better air quality, and it’s important to consider the environmental impact of a wood stove without any odor.

How Can I Determine if the Smell Coming From My Wood Stove Is Normal or a Sign of an Issue?

How can I determine if the smell from my wood stove is normal or a sign of an issue? By identifying any unusual or strong odors, checking for smoke or soot buildup, and ensuring proper ventilation, I can assess the situation.

Advertisement

Is It Possible for the Type of Wood or Fuel I Use in My Wood Stove to Affect the Smell?

Yes, the type of wood and fuel used in a wood stove can affect the smell. Wood quality and moisture content have an impact on the combustion process, which can result in different odors.

Can a Chimney or Flue System Problem Cause a Wood Stove to Not Emit Any Odor at All?

A wood stove not emitting any odor can be caused by issues in the chimney or flue system. To troubleshoot, check for blockages, ensure proper ventilation, and consider getting the system professionally inspected and cleaned.

Are There Any Potential Health Risks Associated With a Wood Stove That Doesn’t Produce Any Smell?

There can be potential health risks associated with a wood stove that doesn’t produce any smell. It could indicate incomplete combustion, leading to increased carbon monoxide levels. Regular maintenance and proper ventilation are crucial to ensure safety.

Conclusion

After exploring the possible causes of a odorless wood stove, it’s clear that proper airflow and ventilation play a crucial role in preventing any unpleasant smells.

Additionally, selecting the right fuel and ensuring the chimney and flue system are in good condition can greatly enhance the overall aroma.

Advertisement

By following these tips, you can create a cozy and inviting atmosphere in your home, making your wood stove experience truly delightful.

Continue Reading

Wood Stove

How Tall Should The Stove Pipe Be On A Outdoor Wood Stove

Published

on

By

An image showcasing an outdoor wood stove with a tall stove pipe extending above the roofline, demonstrating proper ventilation

Standing next to my outdoor wood stove, I found myself contemplating the perfect elevation for the stove pipe. Questions flooded my thoughts: What is the optimal height? How does this height influence the efficiency of the stove?

In this article, I will delve into the technical aspects of determining the stove pipe height. We’ll explore the factors to consider, guidelines for calculating the ideal height, and common mistakes to avoid.

Join me on this informative journey to ensure your stove pipe is at the perfect height.

Key Takeaways

  • Factors to consider when determining the stove pipe height include distance from combustible materials, chimney draft, fire hazard prevention, and optimal combustion.
  • Proper stove pipe length is important for benefits such as using a chimney cap, different materials for construction, durability of stainless steel, and double-wall insulation for heat retention.
  • Guidelines for calculating the ideal stove pipe height include considering the stove’s location, pipe length, and distance to the roof/chimney, consulting manufacturer’s guidelines, and maximizing efficiency through accurate calculation.
  • Common mistakes to avoid when installing the stove pipe include not securing the pipe tightly with brackets, improper alignment of sections, using low-quality materials, and not following manufacturer’s guidelines.

Factors to Consider When Determining the Stove Pipe Height

When determining the stove pipe height, I need to consider factors such as the distance from combustible materials and the draft of the chimney. These factors are crucial in ensuring the safe and efficient operation of the outdoor wood stove.

First, the distance from combustible materials is important because it helps prevent any potential fire hazards. The stove pipe should be positioned a safe distance away from any flammable objects to reduce the risk of ignition.

Second, the draft of the chimney plays a significant role in the stove’s performance. The height of the stove pipe affects the draft, which is the flow of air through the chimney. A proper draft is essential for optimal combustion and efficient heat transfer.

Advertisement

Understanding these factors is vital in determining the appropriate height for the stove pipe and ensuring the overall safety and effectiveness of the outdoor wood stove.

Now, let’s delve into the importance of proper stove pipe length.

Understanding the Importance of Proper Stove Pipe Length

I currently understand the importance of having the proper stove pipe length for my outdoor wood stove. When it comes to the performance of my stove, the length of the stove pipe plays a crucial role.

One of the benefits of using a chimney cap on an outdoor wood stove is that it prevents rain, debris, and animals from entering the stove pipe. This helps to maintain the efficiency and longevity of the stove.

Additionally, exploring different materials for stove pipe construction is essential. Stainless steel is a popular choice due to its durability, resistance to corrosion, and high temperature resistance. However, some may opt for double-wall insulated pipes for better heat retention and improved safety.

Advertisement

It’s vital to choose the right stove pipe length and material to ensure optimal performance and safety of the outdoor wood stove.

Guidelines for Calculating the Ideal Stove Pipe Height

After researching the guidelines, I’ve learned that calculating the ideal stove pipe height is crucial for proper ventilation and efficient operation of the outdoor wood stove. The height of the stove pipe affects the draft and airflow, which in turn affects the combustion process and heat output.

To calculate the ideal height, one must consider factors such as the stove’s location, the length of the pipe, and the distance from the stove to the roof or chimney. A general rule of thumb is to have a minimum height of 10-12 feet above the stove, with an additional 3 feet for every 10 feet of horizontal pipe.

However, it’s important to consult the manufacturer’s guidelines for specific recommendations based on the model of the outdoor wood stove. By accurately calculating the stove pipe height, one can ensure proper ventilation and maximize the efficiency of their outdoor wood stove.

Common Mistakes to Avoid When Installing the Stove Pipe

One of the most common mistakes I made when installing the stove pipe was forgetting to secure it tightly against the wall with brackets. This is a crucial step in ensuring the stability and safety of the stove pipe installation.

Advertisement

Brackets play a significant role in keeping the stove pipe securely attached to the wall, preventing it from moving or falling.

Another common mistake isn’t properly aligning the sections of the stove pipe. It’s important to ensure that each section fits snugly into the next, creating a seamless connection.

Additionally, it’s essential to remember to use high-quality stove pipe materials and follow the manufacturer’s guidelines for installation.

These common mistakes can easily be avoided by taking the time to properly secure the stove pipe with brackets and ensuring a proper alignment of the sections.

Tips for Maintaining and Adjusting the Stove Pipe Height

Maintaining and adjusting the height of the stove pipe is crucial for the proper functioning and efficiency of the outdoor wood stove. Here are four important tips to keep in mind:

Advertisement
  1. Optimal Draft: Ensuring the stove pipe is at the correct height helps create the right amount of draft, allowing the wood stove to burn efficiently. A properly drafted stove pipe promotes effective combustion and prevents smoke from entering the living space.

  2. Cleaning Efficiency: By maintaining the appropriate height, you can easily access and clean the stove pipe. Regular cleaning removes creosote buildup, reducing the risk of chimney fires. It’s recommended to clean the stove pipe at least once a year to maintain optimum performance.

  3. Ventilation Advantages: Properly adjusting the stove pipe height enables proper ventilation, ensuring the wood stove receives adequate air supply. This enhances the combustion process, resulting in improved heat output and fuel efficiency.

  4. Safety Precautions: Correctly maintaining and adjusting the stove pipe height minimizes the risk of carbon monoxide poisoning. A well-functioning stove pipe effectively vents harmful gases outside, keeping your home safe and secure.

Frequently Asked Questions

What Are the Potential Dangers or Risks of Having a Stove Pipe That Is Too Short or Too Long?

Having a stove pipe that is too short can lead to the dangers of smoke and carbon monoxide entering the living space. On the other hand, a stove pipe that is too long can cause poor draft and inefficient burning.

Can I Use a Stove Pipe That Is Shorter Than the Recommended Height?

I wouldn’t recommend using a shorter stove pipe as it can lead to safety concerns. The recommended height ensures proper ventilation, preventing smoke and carbon monoxide buildup. It’s important to prioritize safety when using an outdoor wood stove.

How Do I Know if My Stove Pipe Is Properly Installed and Functioning Correctly?

To ensure proper installation and functioning of my stove pipe, I troubleshoot common problems by checking for leaks, obstructions, and proper clearances. I also maintain and clean it regularly to prevent creosote buildup and ensure efficient operation.

Are There Any Local Regulations or Codes That Dictate the Minimum or Maximum Height for a Stove Pipe?

Local regulations and codes dictate the minimum and maximum height for a stove pipe. It is important to consult these regulations to ensure compliance and proper installation of your outdoor wood stove.

Can I Extend the Height of My Existing Stove Pipe Without Having to Purchase a New One?

Yes, I can extend the height of my existing stove pipe without purchasing a new one. There are alternative stove pipe options available that can be used to increase the height as needed.

Advertisement

Conclusion

In conclusion, determining the height of the stove pipe for an outdoor wood stove is crucial for optimal performance and safety.

By considering factors such as chimney draft, wind conditions, and local building codes, you can calculate the ideal height for your stove pipe.

Avoid common mistakes during installation and regularly maintain and adjust the height as needed.

Remember, a properly sized stove pipe ensures efficient combustion and helps prevent the risk of smoke and fire hazards, providing peace of mind for a cozy and safe outdoor cooking experience.

Advertisement
Continue Reading

Wood Stove

What Does A Refractory Board On Wood Stove Do

Published

on

By

An image capturing the inner workings of a wood stove, with a close-up view of a refractory board

Were you aware that incorporating a refractory board into your wood stove can markedly enhance its efficiency? Indeed, it is true!

With its heat-resistant properties, a refractory board acts as a barrier, protecting your wood stove from extreme temperatures and preventing damage.

Not only does it enhance the heat efficiency of your stove, but it also ensures a longer lifespan.

In this article, I’ll delve into the benefits of a refractory board and provide helpful tips for choosing and maintaining the right one for your wood stove.

Key Takeaways

  • Provides insulation and retains heat generated by the wood stove
  • Acts as a thermal barrier, preventing heat escape and reducing energy wastage
  • Regulates and maintains consistent temperature inside the stove
  • Protects interior components, extending the lifespan of the wood stove

The Purpose of a Refractory Board

I learned that the main purpose of a refractory board is to provide at least two layers of insulation for the wood stove. The benefits of using a refractory board are numerous.

Firstly, it helps to retain the heat generated by the wood stove, ensuring that it’s efficiently utilized to warm the surrounding area. Additionally, the insulation provided by the refractory board helps to prevent the escape of heat, reducing energy wastage and ultimately saving on heating costs.

Advertisement

There are various types of refractory materials that can be used for wood stoves, including ceramic fiber boards, calcium silicate boards, and vermiculite boards. Each type has its own unique properties, such as high-temperature resistance and excellent heat retention, making them suitable for different applications.

Ultimately, the use of a refractory board in a wood stove greatly enhances its performance and efficiency.

How a Refractory Board Protects Your Wood Stove

During colder months, a refractory board acts as a barrier and protects your wood stove from excessive heat, ensuring its longevity. The insulating properties of the board help to prevent heat damage to the stove and surrounding areas. This is achieved by absorbing and distributing the intense heat generated by the burning wood, thereby reducing the risk of overheating and potential fire hazards. The refractory board also acts as a thermal barrier, preventing heat from escaping through the walls of the stove and increasing its overall efficiency. Additionally, the board helps to regulate the temperature inside the stove, allowing for more controlled and efficient burning of wood. Overall, the presence of a refractory board is crucial for maintaining the safety and performance of your wood stove.

Benefits of a Refractory Board How it Works
Insulating properties Absorbs and distributes heat
Preventing heat damage Acts as a thermal barrier
Increasing stove efficiency Regulates temperature
Ensuring safety Reduces risk of fire hazards

Enhancing Heat Efficiency With a Refractory Board

Using a refractory board in your wood stove can significantly enhance heat efficiency and reduce energy waste. Here’s how it works:

  • Insulation: A refractory board acts as insulation, preventing heat from escaping through the walls of the stove and maximizing heat output inside the stove.

  • Heat Reflection: The board reflects heat back into the firebox, increasing energy savings by ensuring that more heat is utilized for heating the room instead of being lost.

  • Heat Distribution: It helps distribute heat evenly throughout the stove, ensuring that all areas of the stove are heated efficiently.

  • Temperature Regulation: The board helps in regulating and maintaining a consistent temperature inside the stove, optimizing energy usage and reducing fuel consumption.

  • Protection: It protects the interior components of the wood stove from extreme temperatures, extending the lifespan of the stove and reducing maintenance costs.

Choosing the Right Refractory Board for Your Wood Stove

When selecting a refractory board for my wood stove, it’s essential to consider factors such as durability, heat resistance, and ease of installation.

Advertisement

A refractory board plays a crucial role in enhancing the insulation benefits of a wood stove. It acts as a barrier, preventing heat from escaping and ensuring maximum heat efficiency. The insulation properties of the board help maintain a consistent and controlled temperature inside the stove, resulting in more efficient burning and reduced energy consumption.

In addition to insulation benefits, durability is a key factor to consider when choosing a refractory board. It should be able to withstand high temperatures without cracking or deteriorating over time.

Ease of installation is also important for a hassle-free setup. Taking these factors into account will ensure that you select a high-quality refractory board that meets your needs.

Now, let’s explore some maintenance tips for a long-lasting refractory board.

Maintenance Tips for a Long-lasting Refractory Board

I’ve found that by regularly inspecting and cleaning around the refractory board, as well as applying a protective sealant, I can ensure its long-lasting performance. The refractory board plays a crucial role in a wood stove, providing insulation and protecting the surrounding components from excess heat.

Advertisement

To maximize its longevity benefits, here are some cleaning techniques I recommend:

  • Use a soft brush or vacuum to remove any dust or debris that may accumulate on the board.
  • Wipe the board with a damp cloth to remove any stubborn dirt or stains.
  • Avoid using abrasive cleaners or harsh chemicals that can damage the board’s surface.
  • Apply a high-temperature sealant to protect the board from moisture and prevent cracks.
  • Regularly check for any signs of wear or damage and address them promptly to prevent further issues.

Frequently Asked Questions

How Much Does a Refractory Board Cost?

Refractory boards have various applications, and their cost can vary depending on factors such as size and quality. They offer advantages such as heat resistance and durability, making them a valuable addition to wood stoves.

Can I Install a Refractory Board in My Existing Wood Stove?

Yes, you can install a refractory board in your existing wood stove. Refractory boards have many advantages, such as increasing heat efficiency and protecting the stove from damage. There are different types of refractory boards available to suit your specific needs.

How Long Does a Refractory Board Typically Last?

Typically, a refractory board on a wood stove lasts around 5-10 years. Signs of deterioration include cracks, crumbling, or a decrease in heat retention. When these signs appear, it’s time to replace the board.

Are There Any Specific Safety Precautions to Take When Using a Wood Stove With a Refractory Board?

When using a wood stove with a refractory board, it is important to take safety precautions. Regular maintenance is also necessary to ensure the board remains in good condition and maximizes its heat-resistant properties.

Can a Refractory Board Be Used in Other Heating Appliances, Such as Fireplaces or Outdoor Ovens?

A refractory board can also be used in heating appliances like fireplaces or outdoor ovens. It offers similar benefits as firebrick, but with added advantages such as heat retention and durability.

Advertisement

Conclusion

In conclusion, a refractory board is like the armor of a wood stove, protecting it from the intense heat and ensuring its longevity.

By creating a barrier between the fire and the stove, it prevents damage and enhances the stove’s efficiency by reflecting and radiating heat.

Choosing the right refractory board and regularly maintaining it will ensure a long-lasting and efficient wood stove experience.

So, think of a refractory board as the trusty shield that keeps your wood stove strong and roaring.

Advertisement
Continue Reading

Trending