From my earliest memories, my ideal winter evening has always involved snuggling next to a warm, crackling fire, something I believed was out of my reach because I lacked a chimney. Yet, I found a workaround by installing a wood stove that does not require a chimney.
In this article, I’ll share my knowledge and expertise on how to make this dream a reality. From finding the perfect location to ensuring proper safety and maintenance, I’ll guide you through each step of the installation process.
Get ready to transform your home into a warm and inviting haven.
Key Takeaways
- Understand local building codes and regulations for stove placement
- Install a non-combustible floor pad or heat shield beneath the wood stove
- Choose durable materials like stainless steel for the venting system
- Regularly clean the stovepipe and chimney to prevent blockages and chimney fires

DURAVENT 6" DURAPLUS Basic Through The Ceiling KIT
Perfect for any wood stove with a 6 In. flue
As an affiliate, we earn on qualifying purchases.
As an affiliate, we earn on qualifying purchases.
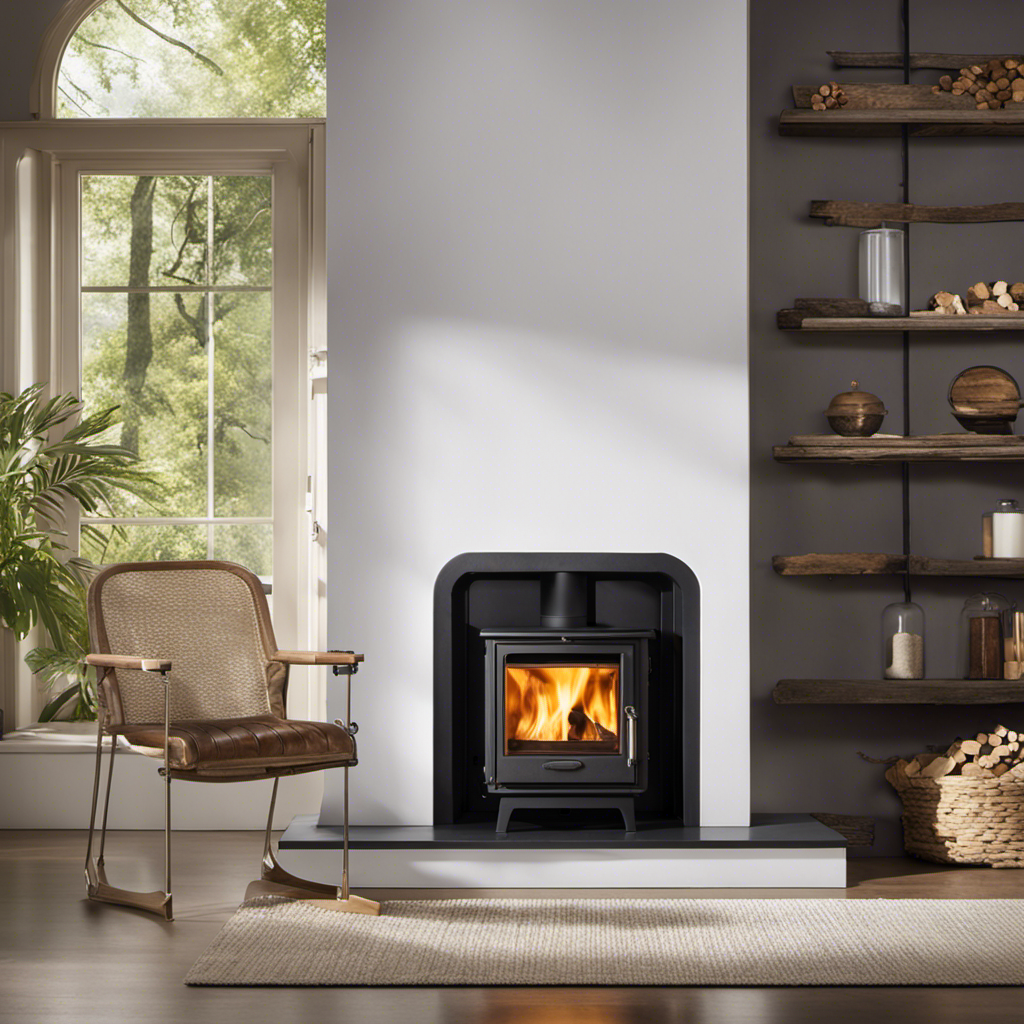
Choosing the Right Location for Your Wood Stove
I’m considering placing my wood stove near the center of my living room, ensuring optimal heat distribution.
When it comes to finding alternative heating options, a wood stove is a popular choice for many homeowners.
However, before installing a wood stove, it’s essential to understand local building codes to ensure compliance and safety.
Local codes may dictate specific requirements for stove placement, clearances from combustible materials, and ventilation options.
By familiarizing yourself with these codes, you can choose the right location that meets all the necessary regulations.
Additionally, placing the wood stove near the center of the living room allows for better heat distribution throughout the space, maximizing its efficiency.
Once the ideal location is determined and local codes are understood, the next step is to prepare the area for installation.

Plexon 32" x 28" Thermal Stove Board and Wall Floor Protector – Durable, Heat-Resistant Fire Board for Wood Stoves, Hearth Pads and Pellet Stoves
Built from high-quality non-combustible materials, ensuring safe indoor use with wood stoves, pellet stoves, and other heaters
As an affiliate, we earn on qualifying purchases.
As an affiliate, we earn on qualifying purchases.
Preparing the Area for Installation
Before starting the installation process, I need to clear away any furniture and rugs from the area to ensure a safe and unobstructed space for the wood stove. This is an important step that shouldn’t be overlooked, as it allows for easy access and prevents any potential accidents or damage.
Here are four key things to consider when preparing the area for installation:
-
Measuring Dimensions: It’s crucial to accurately measure the dimensions of the space where the wood stove will be installed. This will help determine the appropriate size and ensure proper clearance from combustible materials.
-
Cleaning the Area: Clearing the area of any debris, dust, or flammable materials is essential. This will prevent any potential fire hazards and ensure a clean and safe environment for the wood stove.
-
Floor Protection: Installing a non-combustible floor pad or heat shield beneath the wood stove is important to protect the flooring from heat and potential damage.
-
Accessibility: It’s important to ensure that the wood stove is easily accessible for maintenance and cleaning. This includes leaving enough space around the stove for proper ventilation and easy access to the chimney or venting system.
By following these steps, you can create a safe and well-prepared space for the installation of your wood stove.
Now, let’s move on to selecting and installing the proper venting system.

DuraVent DuraBlack 24 by 6 Inches Stainless Steel Single Wall Wood Burning Stove Pipe Connector with Adjustable Length, Silver
Easy in-and-out fit
As an affiliate, we earn on qualifying purchases.
As an affiliate, we earn on qualifying purchases.
Selecting and Installing the Proper Venting System
After measuring the dimensions and clearing the area, it’s important to carefully select and install the proper venting system for the wood stove. Selecting appropriate materials is crucial to ensure safety and efficiency. The venting system should be made of durable materials that can withstand high temperatures and corrosive gases. Stainless steel is a popular choice due to its durability and resistance to heat and corrosion.
Additionally, it’s important to consider the size and configuration of the venting system to ensure proper airflow and minimize the risk of carbon monoxide buildup. Once the venting system is installed, it’s crucial to maintain a clean venting system. Regularly inspect and clean the chimney and flue to remove any debris or creosote buildup, as this can pose a fire hazard.
Following these steps will help ensure a safe and efficient wood stove installation.

Heat Shield Automotive Aluminum Reflects 95% of Radiant Heat, 12" x 40" Stove Heat Shield to Protect Refrigerator, Heat Shield Wrap for Exhaust, Motorcycle, Wood Stove, Cabinet, Fireplace (Black)
【Reflects 95% of Heat】This heat shield wrap withstands temperatures up to 1022℉(550℃) with a 95% reflective surface, effectively…
As an affiliate, we earn on qualifying purchases.
As an affiliate, we earn on qualifying purchases.
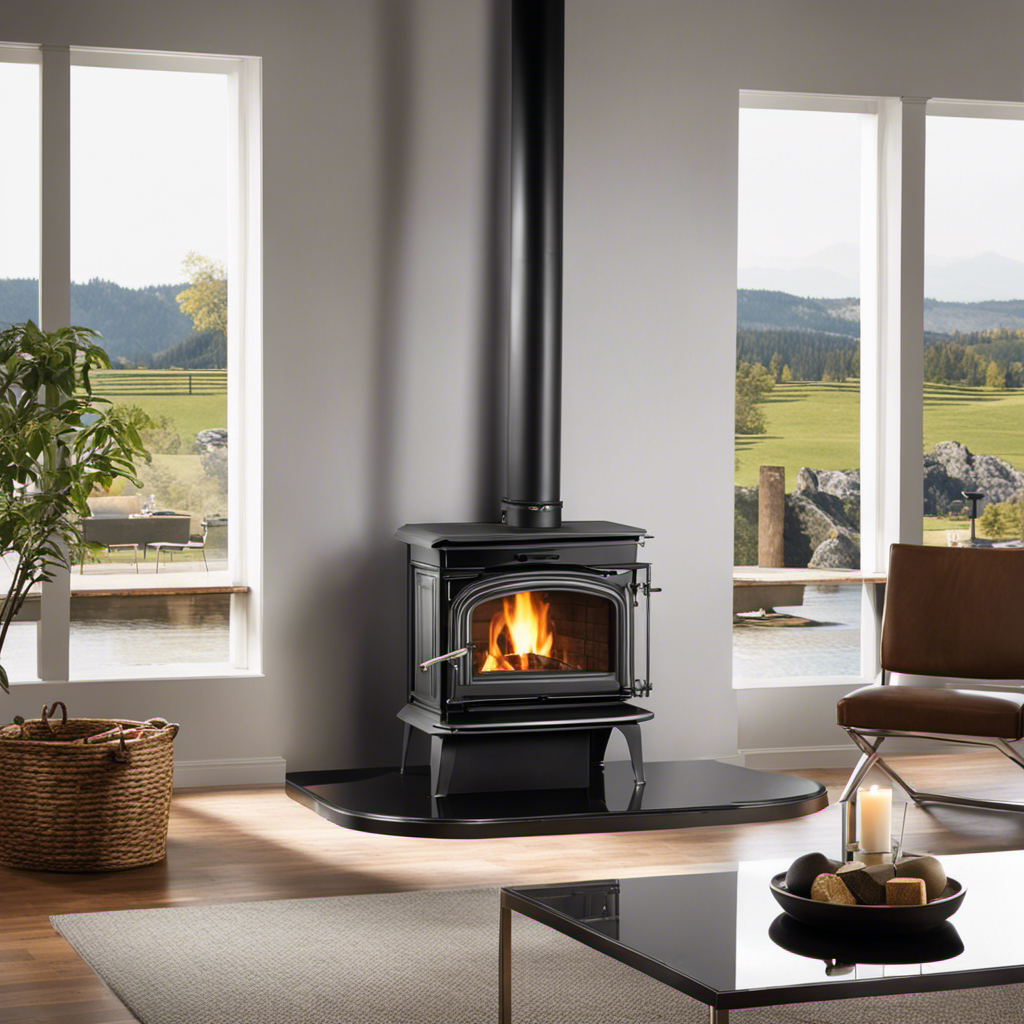
Installing the Wood Stove and Connecting the Venting
I’ve carefully measured the dimensions and now I’m ready to install the wood stove and connect the venting. When it comes to venting options, there are a few key factors to consider to ensure proper installation and safety precautions. Here are four important steps to follow:
-
Determine the best venting system for your wood stove. Options include a traditional chimney, a direct vent system, a through-the-wall vent, or a ventless system. Each has its own advantages and limitations, so it’s crucial to choose the one that suits your needs and meets local building codes.
-
Install the venting system according to manufacturer’s instructions. This involves positioning the stove in the desired location, connecting the stovepipe to the stove’s flue collar, and extending the pipe through the wall or chimney. It’s essential to use the correct size and type of venting materials for optimal performance and safety.
-
Ensure proper clearances. Keep in mind that wood stoves require specific distances between the stove and combustible materials such as walls, floors, and furniture. Adhering to these clearances is vital to prevent fires and maintain the stove’s efficiency.
-
Test the venting system for proper draft and operation. Once the installation is complete, it’s crucial to check for any leaks, obstructions, or backdraft issues. This step ensures that the wood stove is functioning safely and efficiently.
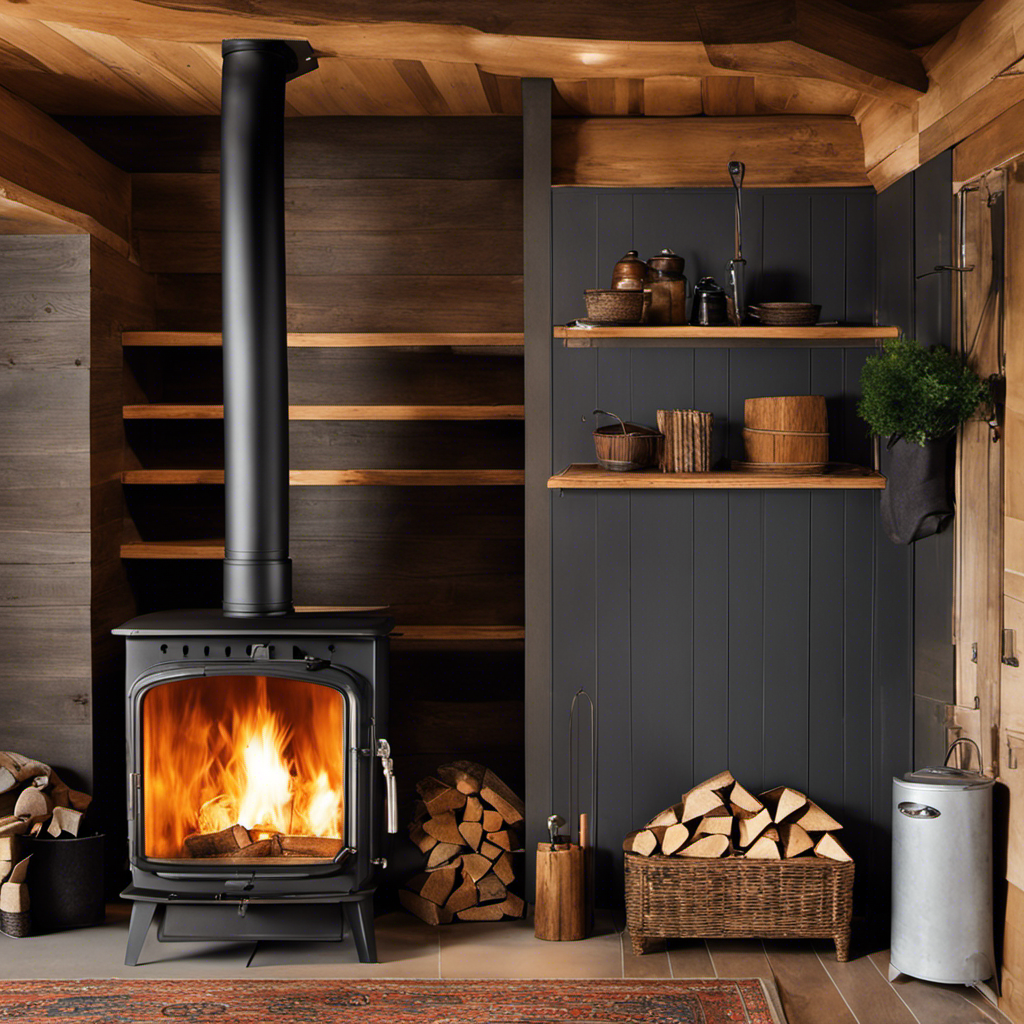
Ensuring Proper Safety and Maintenance for Your Wood Stove
The key to ensuring proper safety and maintenance for your wood stove is regular cleaning and inspection.
Maintaining good ventilation safety is crucial for the safe operation of your wood stove. To ensure proper ventilation, it’s important to regularly clean the stovepipe and chimney to prevent any blockages or buildup of creosote, which can lead to chimney fires.
Additionally, inspect the gasket seals around the stove door and replace them if necessary to maintain a tight seal. Regularly check the stove’s components, such as the firebricks and baffles, for any signs of wear or damage.
It’s also essential to clean the ash regularly to prevent the buildup of combustible materials.
Frequently Asked Questions
Can I Install a Wood Stove Without a Chimney?
Yes, you can install a wood stove without a chimney. There are alternative heating options available such as venting through an exterior wall or using a direct vent system. It’s important to follow local building codes and consult professionals for proper installation.
How Much Does It Cost to Install a Wood Stove Without a Chimney?
The cost of installing a wood stove without a chimney can vary depending on factors like the materials used and alternative ventilation methods. It’s important to consider these cost considerations before proceeding with the installation.
Can I Use an Existing Chimney for My Wood Stove Installation?
Yes, you can use an existing chimney for your wood stove installation. However, if you don’t have one, there are alternative options such as installing a prefabricated chimney or using a direct vent system.
Do I Need a Building Permit to Install a Wood Stove Without a Chimney?
No, a building permit is typically required for wood stove installations, even if there is no chimney involved. It is important to follow local regulations and obtain the necessary permits for a safe and legal installation.
How Do I Prevent Smoke From Entering the Room When Using a Wood Stove Without a Chimney?
To prevent smoke from entering the room when using a wood stove without a chimney, there are several ventilation options available. Proper air circulation, using an exhaust fan, or installing a vent pipe can help ensure smoke is properly directed outside.
Conclusion
Installing a wood stove without a chimney may seem challenging, but with the right guidance, it can be done. By carefully choosing the location, preparing the area, selecting the proper venting system, and following the installation steps, you can enjoy the warmth and coziness of a wood stove in your home.
Just like a puzzle, each piece fits perfectly to create a beautiful picture. So, embrace the adventure of installing a wood stove without a chimney and create a comforting atmosphere in your space.