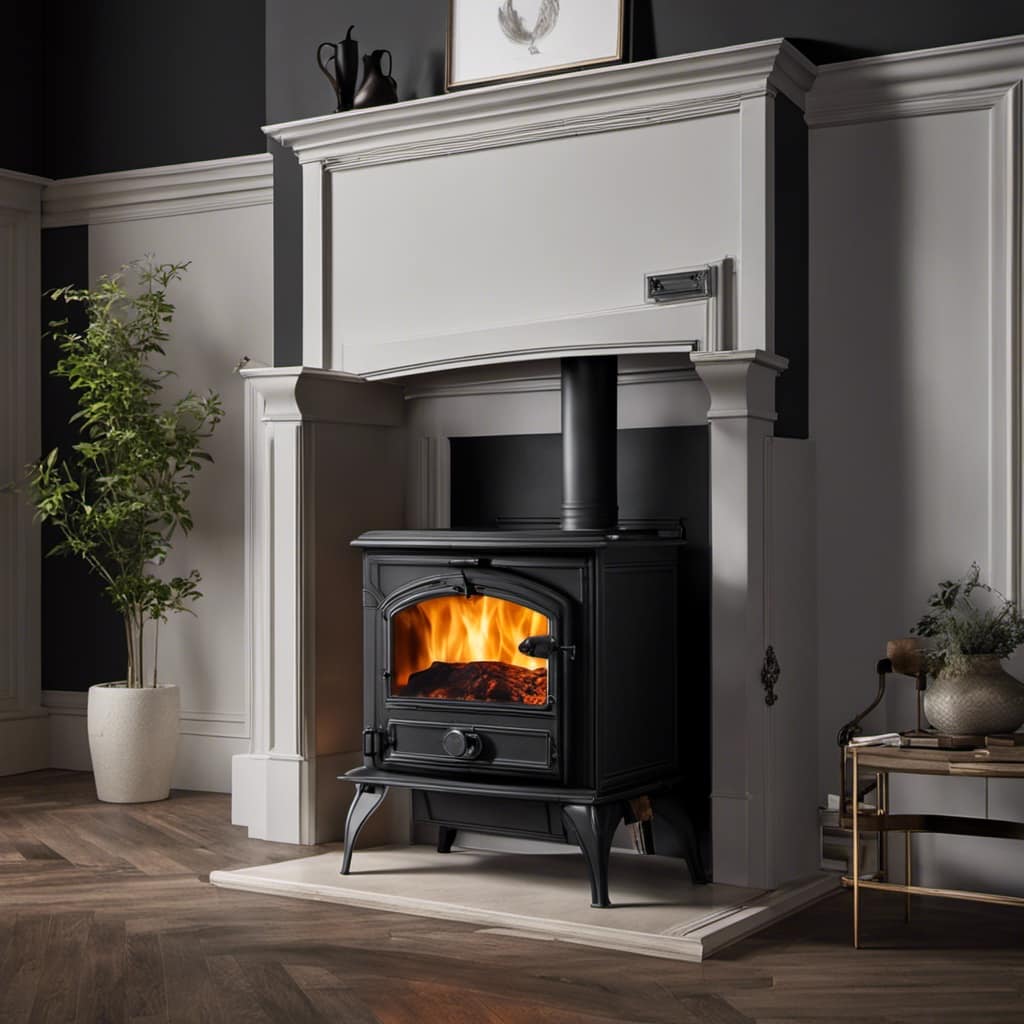
As a fan of DIY projects, I have acquired the necessary skills and knowledge needed to install a wood stove pipe through a wall. While it may appear intimidating at first, with the correct tools and know-how, it is a manageable undertaking.
In this article, I’ll guide you through each step, ensuring a safe and efficient installation. From measuring and cutting the hole to securing and insulating the pipe, you’ll be well-equipped to tackle this task.
So, let’s roll up our sleeves and get started!
Key Takeaways
- Proper placement and alignment of the stove pipe is crucial for safety and efficiency.
- Sealing joints and using high-temperature silicone and metal screws or clamps helps minimize fire risk and prevent the escape of hazardous gases.
- Connecting the stove pipe to the chimney requires checking the chimney condition, proper sizing and fit, and following installation requirements.
- Securing and sealing the stove pipe to the wall with metal brackets and high-temperature silicone prevents movement, sagging, and dislodging, while providing insulation and heat protection.

DURAVENT 6" DURAPLUS Through The Wall KIT
6 In. inner diameter
As an affiliate, we earn on qualifying purchases.
As an affiliate, we earn on qualifying purchases.
Gathering the Necessary Tools and Materials
I’ll need to gather all the necessary tools and materials before I can start installing the wood stove pipe through the wall. This is an important step that ensures a successful installation and prevents any delays or interruptions. Here is a comprehensive list of tools and materials needed for this task.
Tools list:
- Tape measure: This will help you accurately measure the distance between the stove and the wall.
- Pencil: You’ll need this to mark the measurements on the wall.
- Stud finder: This tool will help locate the wall studs for secure installation.
- Hole saw: Used to create the opening in the wall for the pipe.
- Power drill: Necessary for drilling holes and securing the pipe.
Materials needed:
- Wood stove pipe: Ensure you’ve the correct size and type for your stove.
- Wall thimble: This component provides a safe passage for the pipe through the wall.
- Wall brackets: These brackets support the weight of the pipe and keep it secure.
- High-temperature silicone sealant: Use this to seal any gaps or joints to prevent leaks.

Rutland 500°F RTV High Heat Silicone Sealant Black, USA-Made High Temperature Gasket Maker Adhesive – UV Stable, Oil Resistant & Non-Corrosive
Rutland High Temperature Silicone is a great solution to your sealant and adhesive needs
As an affiliate, we earn on qualifying purchases.
As an affiliate, we earn on qualifying purchases.
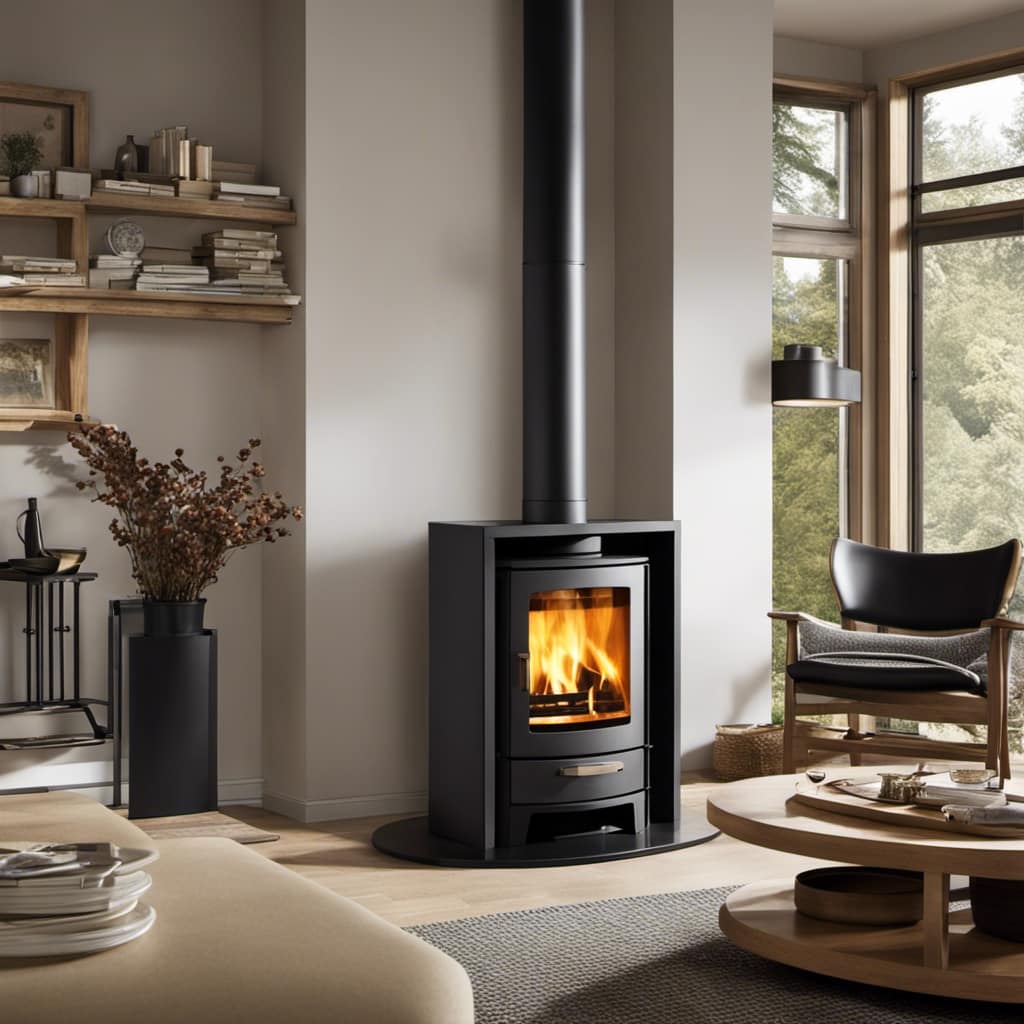
Assessing the Placement and Location of the Stove Pipe
To ensure proper ventilation and safety, it’s important to carefully evaluate where and how the stove pipe should be positioned. When assessing the placement and location of the stove pipe, there are two key factors to consider: evaluating ventilation needs and determining clearance requirements.
First, let’s discuss evaluating ventilation needs. It’s crucial to ensure that the stove pipe is positioned in a way that allows for efficient airflow. This helps to prevent the buildup of harmful gases, such as carbon monoxide, and ensures that the stove operates at its optimal level. To evaluate ventilation needs, consider the size of the room, the stove’s BTU output, and any existing ventilation systems in place.

Next, determining clearance requirements is essential for the safe operation of the wood stove. Clearances refer to the minimum distance that the stove pipe must be kept from combustible materials, such as walls, ceilings, and furniture. These requirements are typically provided by the stove manufacturer and should be strictly adhered to in order to prevent the risk of fire.

Wall Thimble for 6" Double Wall Chimney Pipe with Insulated Cotton, 8" Inner Ring Insulated Through Wall Thimble, 201 Stainless Steel
Wide Compatibility: Suitable for all common 8-inch single-wall pipes or 6-inch double-wall chimney pipes. Its shell has an…
As an affiliate, we earn on qualifying purchases.
As an affiliate, we earn on qualifying purchases.
Measuring and Marking the Spot for the Stove Pipe Hole
After evaluating the ventilation needs and determining the clearance requirements, I measured and marked the spot for the stove pipe hole.
When it comes to measuring the spot for the stove pipe hole, accuracy is key. To ensure precise measurements, I used a measuring tape, which allowed me to measure the exact dimensions required for the hole. Additionally, I made use of marking tools such as a pencil or a marker to mark the spot accurately.
To begin the process, I measured the diameter of the stove pipe. This measurement is crucial as it determines the size of the hole that needs to be cut. Using a measuring tape, I measured the diameter of the stove pipe and marked the spot accordingly.
Next, I measured the distance from the floor to the desired height of the stove pipe. This measurement is essential to ensure that the stove pipe has the required clearance from the floor. Again, using the measuring tape, I measured the distance and marked the spot accordingly.
Lastly, I measured the distance from any nearby combustible materials. This measurement is crucial to ensure the required clearance from combustible materials. With the measuring tape, I measured the distance and marked the spot accordingly.

Fardtry 6 Inch Chimney Pipe Support Bracket, Adjustable Vent Wall Strap, Stainless Steel Stove Pipe Hanger for Single Wall Pipes
Stainless Steel: Made of stainless steel with surface spraying finish, withstand high temperature, resistant to rust and moisture,…
As an affiliate, we earn on qualifying purchases.
As an affiliate, we earn on qualifying purchases.
Cutting the Hole in the Wall for the Stove Pipe
I carefully measured and marked the spot for the stove pipe hole, ensuring that it was in the right location and of the proper size.
Now, it’s time to move on to the next step: cutting the hole in the wall.

This is a crucial part of the installation process, as it needs to be done with precision to ensure a secure and efficient connection for the stove pipe.
Wall Thickness Considerations
The wall thickness may affect the installation process of the wood stove pipe. It’s important to consider the thickness of the wall when planning the installation, as it can impact the efficiency and safety of the wood stove.
Here are some key points to keep in mind:
-
Wall Insulation: If the wall is well-insulated, it can help prevent heat loss and ensure that the wood stove operates efficiently. Insulating the wall around the stove pipe can also reduce the risk of fire hazards.

-
Pipe Diameter: The diameter of the stove pipe should be chosen based on the size of the wood stove and the heating needs of the space. A larger diameter pipe may be required for larger wood stoves to ensure proper ventilation and prevent smoke buildup.
-
Professional Assistance: It’s always recommended to seek professional assistance when installing a wood stove pipe, especially if you’re unsure about the wall thickness or other technical aspects. A professional can ensure that the installation is done correctly and safely.
Taking these factors into account will help ensure a successful installation of the wood stove pipe through the wall.
Proper Placement and Size
When considering proper placement and size, it’s important to ensure that the wood stove pipe is positioned correctly and is the appropriate size for optimal performance. There are a few placement tips to keep in mind. First, the stove pipe should be installed at least 18 inches away from any combustible material, such as walls or furniture. It should also be installed with a slight upward slope to prevent any condensation from collecting and causing damage. Size considerations are also crucial for the efficiency of your wood stove. The diameter of the stove pipe should match the outlet size of the stove itself. This ensures proper airflow and prevents any smoke or gas from leaking into your home. It’s best to consult the manufacturer’s guidelines or seek professional advice to determine the correct size for your specific stove.
| Placement Tips | Size Considerations |
|---|---|
| Install at least 18 inches away from combustible material | Match the diameter to the outlet size of the stove |
| Install with a slight upward slope to prevent condensation | Consult manufacturer’s guidelines or seek professional advice |
| Ensure proper airflow to prevent leaks |
Preparing and Connecting the Stove Pipe Sections
Before connecting the stove pipe sections, it’s important to ensure proper alignment to prevent any leaks or hazards.
I’ll begin by inspecting each section for any damages and making any necessary adjustments.
Once the sections are aligned, I’ll then tightly connect them using the appropriate connectors to ensure a secure and safe connection.
Proper Pipe Alignment
I need to ensure that the wood stove pipe is properly aligned with the wall. Proper alignment is crucial for the efficient functioning of the wood stove and to prevent any potential hazards.
Here are some key considerations for achieving proper pipe alignment:
-
Proper pipe insulation: Insulating the stove pipe not only prevents heat loss but also protects nearby combustible materials. It’s essential to use high-quality insulation materials specifically designed for wood stove pipes.
-
Maintaining proper airflow: Adequate airflow is vital for the proper combustion of the wood and efficient heat distribution. Ensure that the pipe is aligned in a way that allows smooth airflow without any obstructions or bends.
-
Using secure attachments: To maintain the alignment, use secure attachments like adjustable brackets or wall straps. These will keep the pipe in place and prevent any movement or misalignment.
Sealing for Safety
To ensure safety, it’s important to seal all joints and connections of the stove pipe properly. Sealing techniques play a crucial role in preventing the escape of hazardous gases, such as carbon monoxide, and minimizing the risk of fire.
When installing a wood stove pipe through a wall, there are a few safety precautions to keep in mind. First, use high-temperature silicone sealant to seal all connections between the pipe sections. This will create an airtight seal and prevent any leaks.
Additionally, make sure to use metal screws or clamps to secure the joints tightly, ensuring they don’t separate during use.
Lastly, consider using a heat-resistant insulation sleeve to further protect the surrounding wall and maintain optimal efficiency.
Connecting to Chimney
When it comes to connecting a wood stove pipe to an existing chimney, there are a few important considerations to keep in mind. First and foremost, it’s crucial to ensure that the chimney is in good condition and meets the necessary installation requirements. This means checking for any cracks, leaks, or obstructions that could affect the safe operation of your wood stove.
To properly connect the wood stove pipe to the chimney, follow these steps:
- Install a chimney connector, which is a metal pipe that connects the stove to the chimney.
- Make sure the connector is properly sized and fits securely onto the stove’s flue collar.
- Attach the other end of the connector to the chimney, using a chimney adapter or thimble.
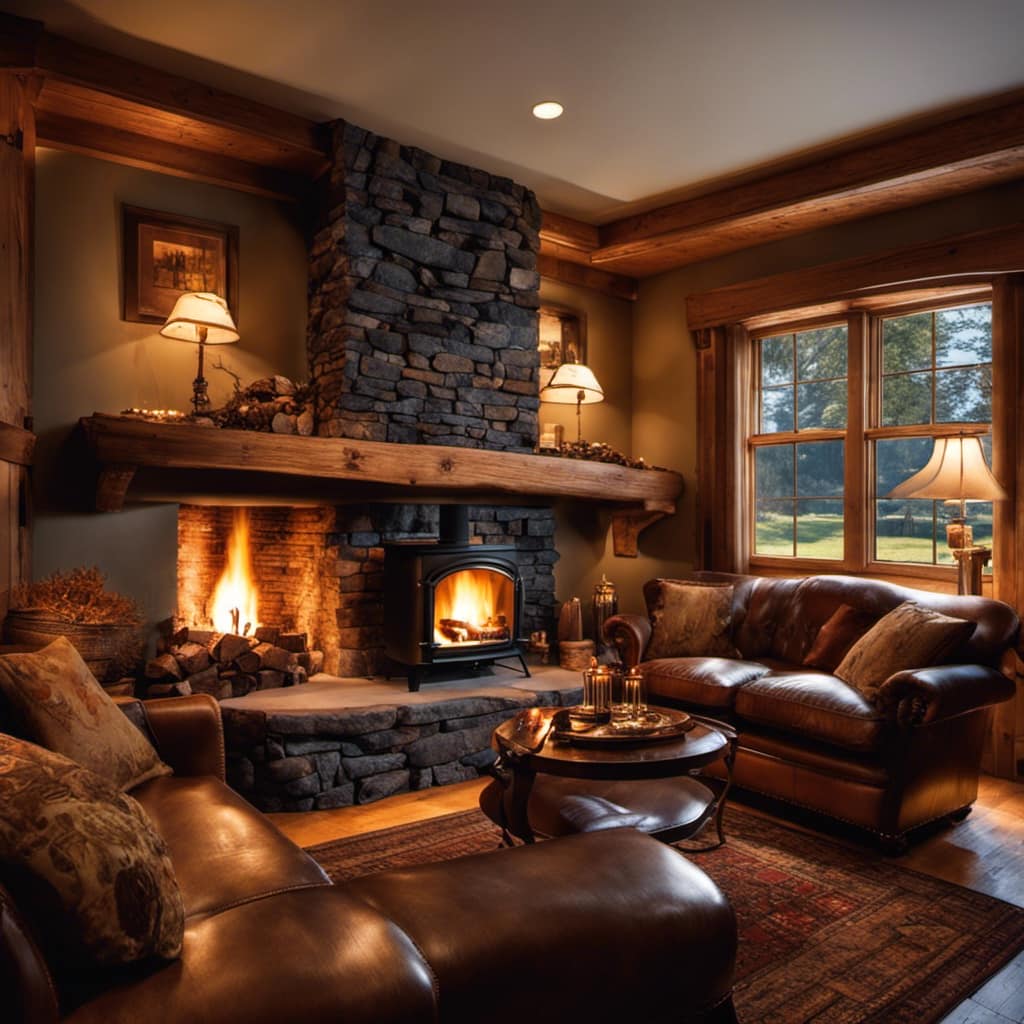
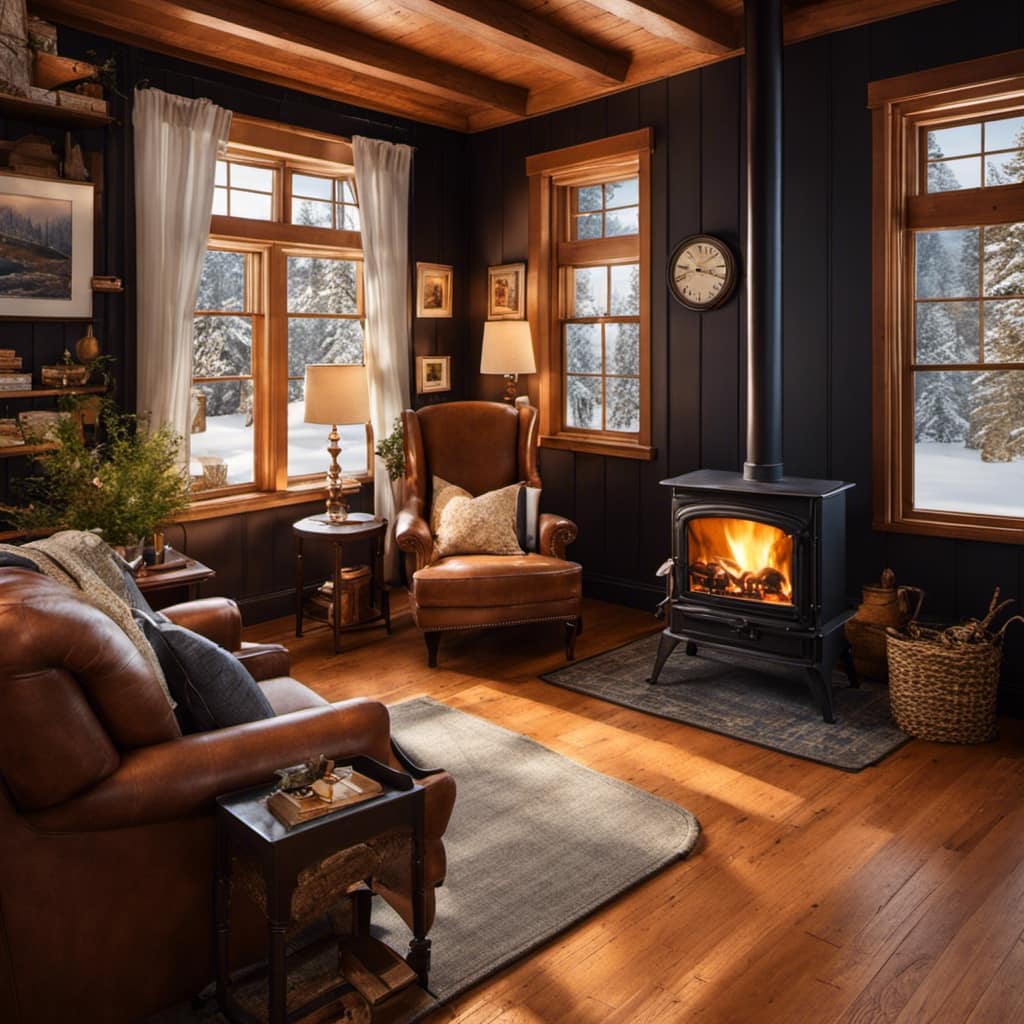
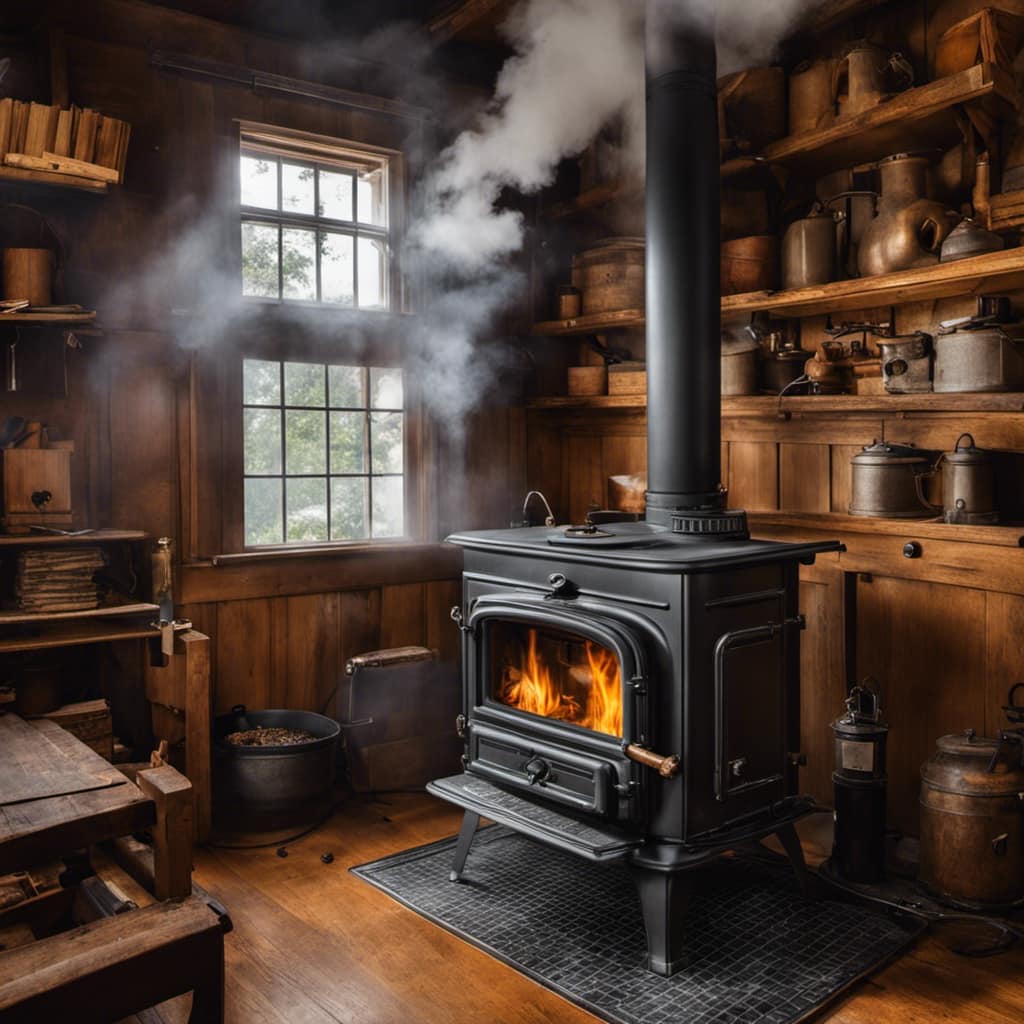
Securing and Sealing the Stove Pipe to the Wall
The stove pipe is secured to the wall using metal brackets and sealed with high-temperature silicone. This ensures a safe and efficient installation of the wood stove pipe through the wall. Securing the stove pipe is crucial to prevent any movement or dislodging that may occur due to the heat and vibrations generated by the wood stove. Metal brackets provide a sturdy support system, keeping the pipe in place and preventing it from sagging or coming loose. The high-temperature silicone not only acts as a sealant but also provides added insulation and protection against heat transfer. It creates a tight seal between the pipe and the wall, preventing any leaks or air gaps that can compromise the efficiency of the wood stove.
To further illustrate the importance of securing and sealing techniques, here is a table summarizing different methods and materials used in stove pipe installations:
| Securing Methods | Sealing Techniques |
|---|---|
| Metal brackets | High-temperature silicone |
| Wall brackets | Fire-resistant gaskets |
| Pipe clamps | Heat-resistant tape |
| Wall straps | Mortar or cement sealant |
| Screw anchors | Fireproof insulation |
Insulating and Fireproofing the Stove Pipe Installation
I must insulate and fireproof the installation of my stove pipe to ensure safety and efficiency.
When it comes to fireproofing materials, there are a few options that can provide an extra layer of protection.
One option is to use a fire-resistant insulation wrap around the stove pipe. This wrap can help prevent the heat from escaping and potentially igniting nearby combustible materials.
Another option is to use a fire-rated sealant to seal any gaps or joints in the stove pipe. This sealant can help prevent the spread of fire in the event of a chimney fire.
Additionally, it’s important to ensure that the stove pipe is installed at the proper clearance from combustible materials, such as walls or ceilings. This can be achieved by using a heat shield or a double-wall stove pipe.
Testing and Troubleshooting the Wood Stove Pipe Installation
To determine if there are any issues with my stove pipe installation, I’ll conduct tests and troubleshoot the system. Testing methods and troubleshooting techniques are essential to ensure the proper functioning and safety of the wood stove pipe.
One of the testing methods involves conducting a smoke test. This test helps identify any leaks or gaps in the stove pipe system. By lighting a small amount of smoke-producing material, such as a smoke bomb, and observing the smoke movement, I can identify any areas where smoke escapes the pipe. This allows me to pinpoint and fix any potential issues.
Another testing method is measuring the temperature of the stove pipe. Using a non-contact infrared thermometer, I can monitor the temperature at various points along the pipe. If there are any significant temperature variations or hotspots, it may indicate a problem with the installation, such as improper insulation or blockage.
In terms of troubleshooting techniques, one common issue is creosote buildup. Regularly inspecting and cleaning the stove pipe can help prevent this problem. Additionally, checking for any signs of corrosion, loose connections, or damage to the pipe is crucial. If any issues are found, they should be addressed promptly to ensure the safe operation of the wood stove.
Frequently Asked Questions
What Are the Safety Precautions to Consider When Installing a Wood Stove Pipe Through a Wall?
When it comes to installing a wood stove pipe through a wall, safety precautions are of utmost importance. It’s crucial to ensure proper ventilation and clearance from combustible materials to prevent fire hazards.
Common mistakes to avoid include inadequate sealing and improper insulation, which can lead to smoke leaks and heat loss. Additionally, following manufacturer’s instructions and local building codes is essential for a safe installation.
Taking these precautions will help ensure a successful and secure wood stove pipe installation.

How Do I Determine the Appropriate Size of the Stove Pipe for My Wood Stove?
Determining the appropriate size of the stove pipe for your wood stove is crucial. It’s like finding the perfect fitting shoe for your foot, but for your stove. You want it to be just right, not too big or too small.
To determine the size, consider the manufacturer’s recommendations and the size of your stove’s flue outlet. Matching these dimensions will ensure efficient and safe operation of your wood stove.
Can I Install a Wood Stove Pipe Through a Wall That Is Not Made of Wood?
Yes, you can install a wood stove pipe through a wall that isn’t made of wood. There are different venting options available for gas stove installation, including venting through walls made of materials such as brick, concrete, or metal.
It’s important to consult with a professional to ensure proper installation and adherence to local building codes. They’ll be able to provide guidance on the specific requirements for your situation.
What Type of Insulation Should I Use to Prevent Heat Loss and Ensure Fire Safety?
To ensure fire safety and prevent heat loss, it’s important to use the right insulation when installing a wood stove pipe through a wall.
When it comes to insulation, I recommend using a high-quality fire-resistant material that can withstand the heat generated by the wood stove.
This will help prevent any potential fire hazards and ensure that the heat is effectively contained within the pipe, reducing heat loss and maximizing the efficiency of your wood stove.
How Often Should I Clean and Maintain the Wood Stove Pipe to Prevent Blockage and Ensure Efficient Operation?
Cleaning and maintaining the wood stove pipe is crucial to prevent blockage and ensure efficient operation. Regular cleaning frequency depends on factors such as the type of wood used and how often the stove is used. As a general guideline, I recommend inspecting and cleaning the pipe at least once a year, or more frequently if you notice any signs of blockage or reduced efficiency.
Here are a few maintenance tips to keep your wood stove pipe in top condition:
-
Use a chimney brush designed for wood stove pipes to clean the interior of the pipe. Start from the bottom and work your way up, using a rotating motion to remove any creosote or soot buildup.
-
Inspect the pipe for any signs of damage, such as cracks or loose joints. These can lead to leaks and decreased efficiency. Replace any damaged sections as necessary.
-
Check the pipe for any obstructions, such as bird nests or debris. These can block the airflow and increase the risk of a chimney fire. Use a chimney cap or spark arrestor to prevent birds and debris from entering the pipe.
-
Keep the area around the wood stove pipe clear of flammable materials. This includes furniture, curtains, and rugs. Maintain a safe distance between the pipe and any combustible surfaces to reduce the risk of a fire.
Remember to follow the manufacturer’s instructions for cleaning and maintenance specific to your wood stove pipe. By keeping your pipe clean and in good condition, you can enjoy a safe and efficient wood burning experience.
Conclusion
Installing a wood stove pipe through a wall is a meticulous process that requires careful planning and execution. By gathering the necessary tools and materials, assessing the placement and location, measuring and marking the spot, cutting the hole, preparing and connecting the sections, securing and sealing, insulating and fireproofing, and testing and troubleshooting, you can ensure a safe and efficient installation.
Like a well-crafted symphony, each step must harmonize perfectly to create a warm and inviting atmosphere in your home.