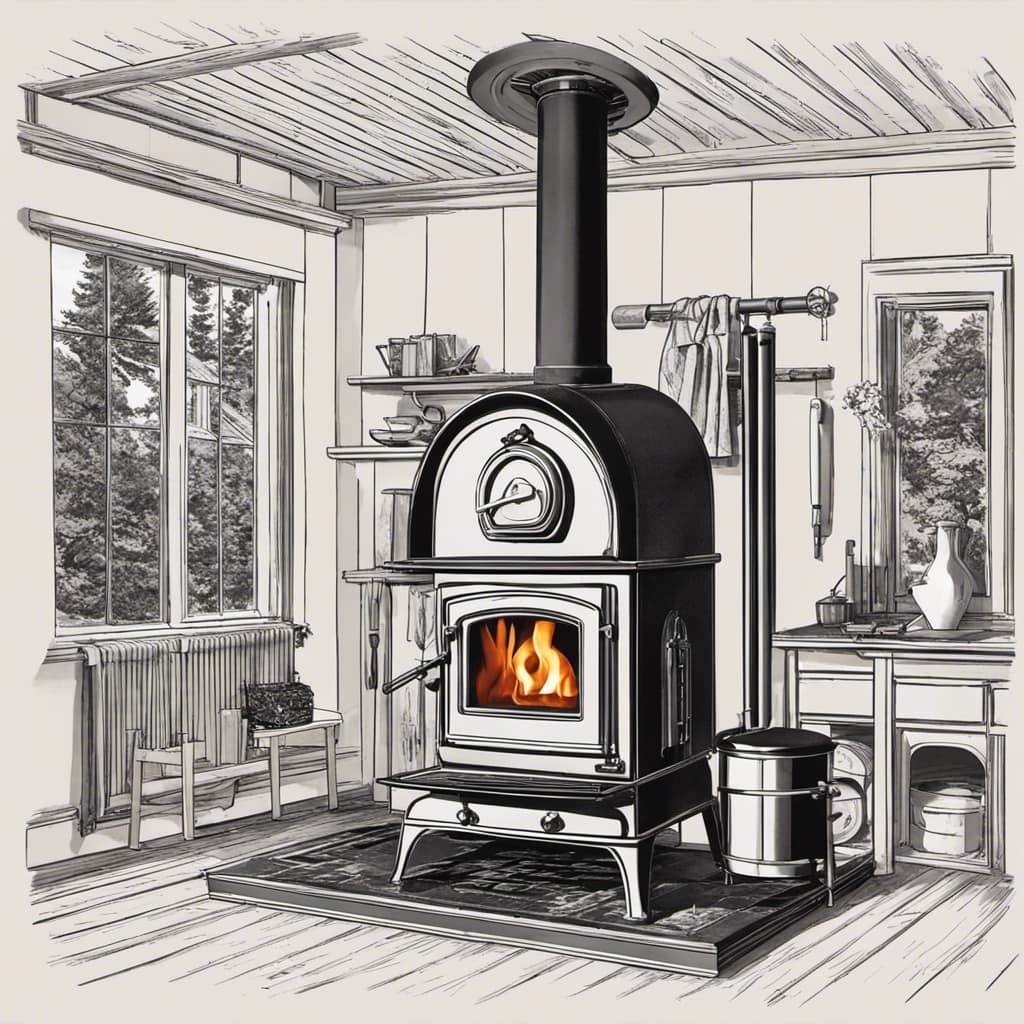
Hey there! Have you ever wondered how to correctly install roof flashing around your wood stove pipe? Look no more, as I have all the details you need right here! In this guide, I will walk you through the process of selecting the appropriate materials, readying your roof, and effectively securing the flashing to prevent any leaks.
By the end, you’ll be confident in your ability to tackle this project and ensure a well-protected and efficient wood stove setup.
So, let’s dive right in!
Key Takeaways
- Choosing the right roof flashing material is important, taking factors such as budget and climate into consideration.
- Thoroughly clean and inspect the roof before installing flashing.
- Securely install the base flashing using the correct size and material, and use high-quality sealant for a watertight seal.
- Regularly inspect and maintain the flashing to prevent leaks and ensure proper installation.
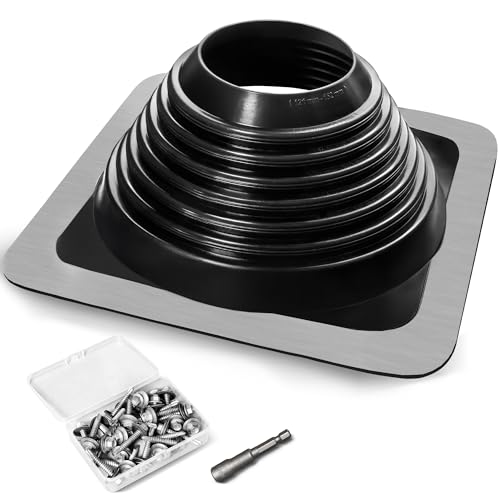
#6 Epdm Metal Roof Vent Boot, Flexible Roofing Boots Fits Pipe Od 4 3/4'' to 10'', Metal Roof Jacks Flashing for Houses Includ Roofing Screws & Hex, Black/ 1 Pcs
Suitable for Corrugated Roofs – The flexible roofing boots square base can perfectly fit various roofs and adapt…
As an affiliate, we earn on qualifying purchases.
As an affiliate, we earn on qualifying purchases.
Choosing the Right Roof Flashing Materials
I need to research which materials are best for roof flashing so that I can make the right choice for my project. When comparing different roof flashing options, there are several materials to consider.
One option is aluminum flashing, which is lightweight and easy to work with. It’s resistant to corrosion and can withstand extreme weather conditions.
Another option is galvanized steel flashing, which is durable and provides excellent protection against water leaks. However, it’s susceptible to rust over time.
Copper flashing is another popular choice due to its aesthetic appeal and durability. It’s resistant to corrosion and can last for many years. However, it’s more expensive compared to other options.
Overall, each material has its pros and cons, and the choice will depend on factors such as budget, climate, and personal preference.


#7 Metal Roof Pipe Flashing Boot, Metal Roofing Pipe Flashing Boot Fits Pipe OD 6" to 11" Wide, Includes Flexible High Temp Silicone Chimney Boot, Hex Socket x2, Roofing Screw x50, Square Base, Red
APPLICABLE PIPE and PIPE DIAMETER: #7 EPDM Flexible Silicone Metal roofing pipe flashing boot fit for Pipe Diameters…
As an affiliate, we earn on qualifying purchases.
As an affiliate, we earn on qualifying purchases.
Preparing the Roof for Flashing Installation
Before installing the flashing, it’s important to thoroughly clean and inspect the roof to ensure a proper installation. This step is crucial in order to avoid any potential leaks or damage to the roof.
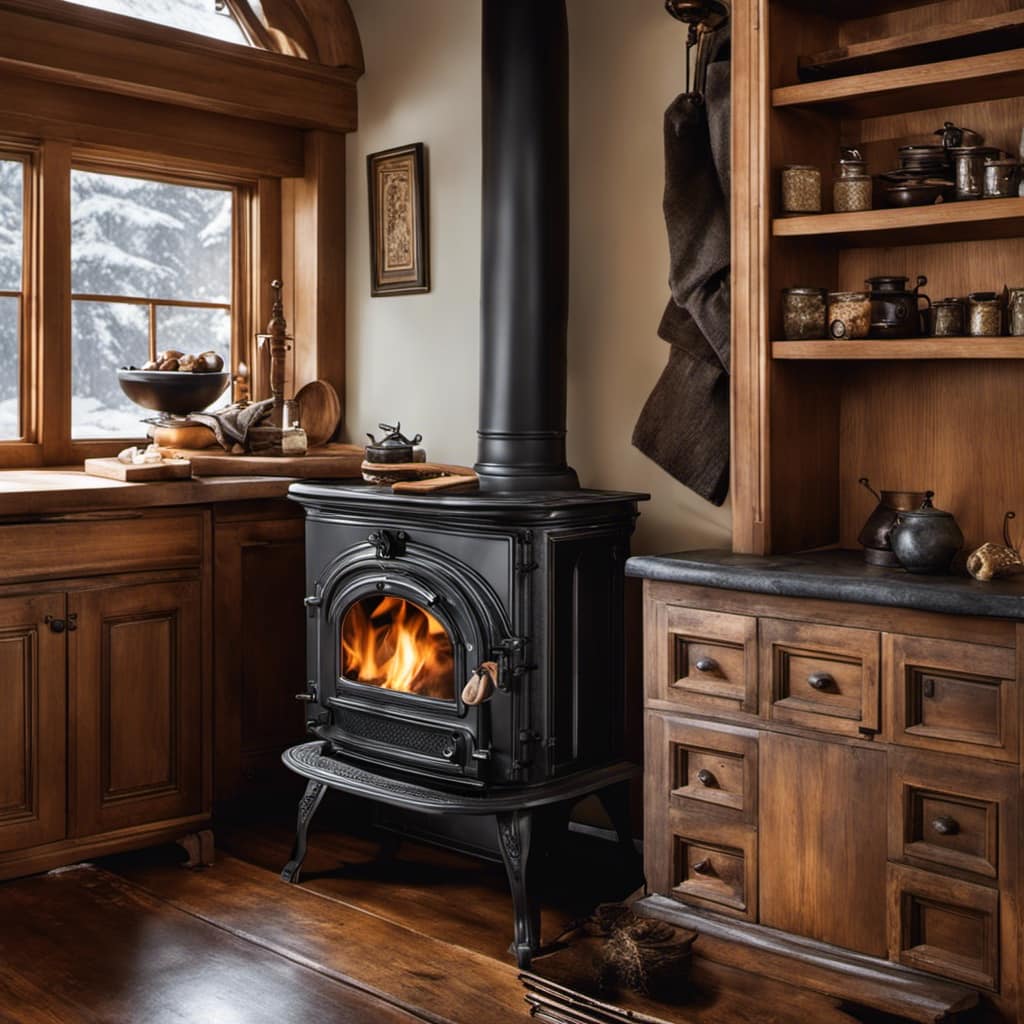
Once the roof has been cleaned and inspected, the next step is to choose the appropriate type of wood stove pipe for your installation. There are two main types of wood stove pipes: single-wall and double-wall.
Single-wall pipes are more affordable and easier to install, but they provide less insulation. On the other hand, double-wall pipes offer better insulation and are safer to use, but they’re more expensive.
It’s important to consider the benefits of roof flashing, such as preventing water leaks and protecting the roof from damage. Properly installed roof flashing can also enhance the overall aesthetic appearance of your wood stove pipe installation.

DAP Ultra Clear Roof Waterproof Rubberized Sealant, Crystal Clear, 10.1 Oz (7079818395)
100% waterproof and weatherproof sealant for use on roof shingles, roof tiles, flashing, gutters, skylights, vents and other…
As an affiliate, we earn on qualifying purchases.
As an affiliate, we earn on qualifying purchases.
Installing the Base Flashing for the Wood Stove Pipe
After carefully measuring and aligning the wood stove pipe, I always secure the base flashing tightly with screws to ensure a secure and leak-proof installation.
When it comes to flashing installation techniques, there are a few key points to keep in mind.
First, make sure to choose the correct size and material for your flashing, as this will determine its durability and effectiveness.
Next, ensure that the flashing is properly positioned and centered on the roof penetration to prevent any water leakage.

It’s also important to use a high-quality sealant to create a watertight seal between the flashing and the roof.
Finally, don’t forget to inspect the flashing regularly for any signs of damage or deterioration, as this can lead to costly leaks and repairs in the future.
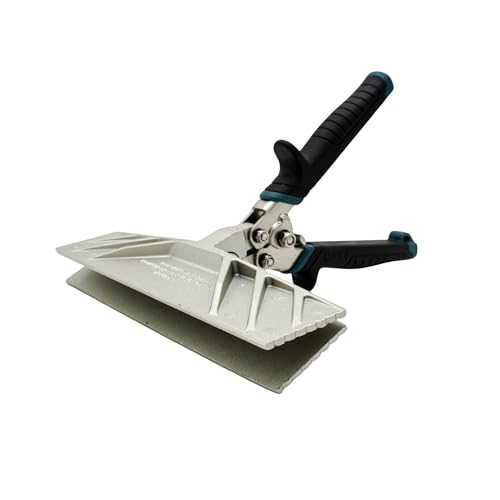
9-Inch Zinc Alloy Hand Seamer Tool for Bending, Folding Aluminum, Vinyl Roof Flashing, Coil and Fascia, Heavy-Duty Construction
DURABLE CONSTRUCTION: Made from heavy-duty zinc alloy for superior strength and long-lasting performance in professional roofing applications
As an affiliate, we earn on qualifying purchases.
As an affiliate, we earn on qualifying purchases.
Securing and Sealing the Flashing to Prevent Leaks
To prevent leaks, it’s crucial to securely fasten and tightly seal the flashing. This ensures that no water or moisture can penetrate the roof and cause damage.
When installing flashing, there are a few common mistakes to avoid, such as not properly overlapping the flashing with the shingles or not using the correct type of flashing material.
To prevent rust and corrosion, it’s essential to use rust-resistant materials for the flashing. Additionally, make sure to seal all seams and joints with high-quality sealant to create a watertight barrier.
Regular maintenance is also important to prevent any potential issues. By inspecting the flashing regularly and addressing any damage or wear promptly, you can ensure that your roof remains leak-free.
Testing and Inspecting the Roof Flashing for Proper Installation
How can I ensure that the roof flashing is properly installed and functioning correctly?
Inspecting flashing durability is crucial to troubleshooting any potential flashing issues. When checking the roof flashing, start by examining the material used. Ensure that it’s of high quality and specifically designed for your type of roof. Look for any signs of wear and tear, such as cracks or corrosion.
Additionally, inspect the flashing’s position and alignment. It should be securely fastened to the roof and tightly sealed around any penetrations, such as pipes or vents. Pay close attention to the flashing’s connection points and make sure there are no gaps or loose sections.
Frequently Asked Questions
How Do I Determine the Size of the Wood Stove Pipe Flashing I Need for My Roof?
To determine the size of the wood stove pipe flashing needed for my roof, I use a measuring technique. By measuring the diameter of the pipe and following manufacturer guidelines, I ensure a precise fit for proper installation.
Can I Install Roof Flashing for a Wood Stove Pipe on a Flat Roof?
Yes, you can use metal flashing for a wood stove pipe on a flat roof. However, there are some common problems to be aware of, such as leaks and improper installation. It is important to follow proper instructions and consult a professional if needed.
Do I Need to Remove the Shingles Around the Area Where the Wood Stove Pipe Will Be Installed?
Should I use a professional for installing roof flashing for a wood stove pipe? Can I install roof flashing for a wood stove pipe without removing the shingles? These are important questions to consider before starting the installation process.
Can I Use a Different Type of Sealant to Secure the Flashing Instead of the Recommended One?
I wouldn’t recommend using a different sealant for the flashing. The recommended sealant is specifically designed for this purpose and has been tested for durability and fire resistance. Using a different sealant may compromise the integrity of the installation.
How Often Should I Inspect and Maintain the Roof Flashing for the Wood Stove Pipe?
How often should I inspect and maintain the roof flashing for my wood stove pipe? Regular inspections are crucial to ensure the flashing is secure and functioning properly. Follow maintenance tips to prevent leaks and maintain the integrity of the flashing.
Conclusion
After carefully selecting the right materials and preparing the roof, installing roof flashing for a wood stove pipe is a precise and detailed process. By securing and sealing the flashing properly, you can prevent leaks and ensure a safe and efficient wood stove operation.
Take the time to test and inspect the flashing to confirm its proper installation, providing peace of mind and a cozy atmosphere as you gather around your wood stove.