Were you aware that properly installing a wood stove gasket could enhance your stove’s efficiency by as much as 20%?
If you’re looking to save on heating costs and keep your home cozy, it’s essential to have a well-functioning gasket.
In this article, I’ll guide you through the step-by-step process of installing a new wood stove gasket.
With just a few tools and materials, you’ll be able to tackle this DIY project and enjoy the benefits of a properly sealed stove.
Key Takeaways
- A properly installed wood stove gasket improves stove efficiency by up to 20%.
- The gasket creates an airtight seal, preventing air leakage and maintaining combustion process efficiency.
- Regular inspection and replacement of the gasket is important for optimal performance.
- Choosing a heat-resistant and durable material like fiberglass or ceramic is crucial for the gasket’s effectiveness.
Top picks for "install wood stove"
Open Amazon search results for this keyword.
As an affiliate, we earn on qualifying purchases.
Understanding the Importance of a Wood Stove Gasket
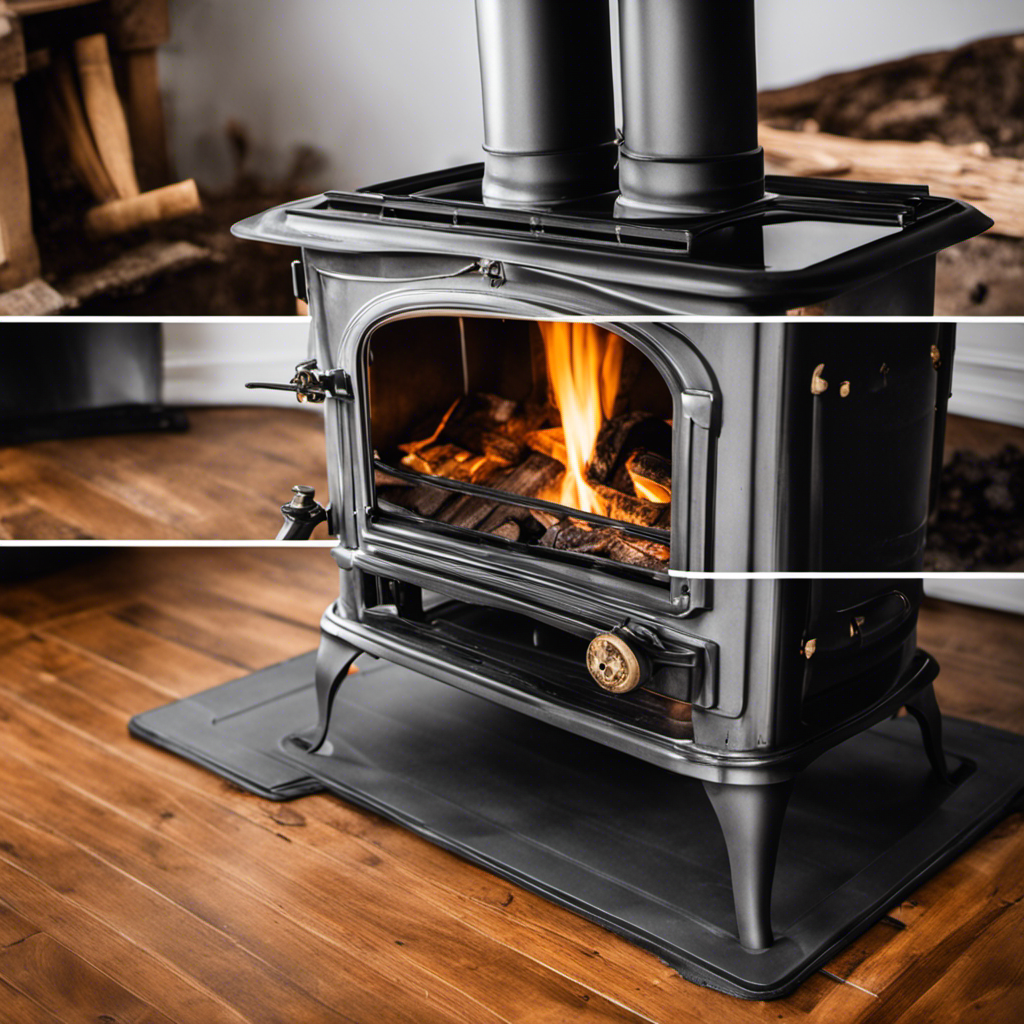
I can’t stress enough the importance of a wood stove gasket in ensuring the efficiency and safety of your wood-burning stove. A wood stove gasket, also known as a door seal, plays a crucial role in creating an airtight seal between the stove’s door and body.
This seal prevents unwanted air from entering the stove, which could disrupt the combustion process and reduce the stove’s efficiency. Moreover, a properly installed gasket helps to prevent the escape of harmful gases, such as carbon monoxide, into your living space.
Common problems with wood stove gaskets include wear and tear over time, resulting in air leakage and decreased efficiency. It’s essential to regularly inspect and replace the gasket to maintain optimal performance.
Now, let’s move on to gathering the necessary tools and materials for the installation process.
Gathering the Necessary Tools and Materials
To properly install a new wood stove gasket, you’ll need a few tools and materials, such as a screwdriver and high-temperature adhesive. Here is a list of the items you’ll need:
- Screwdriver: This will be used to remove the screws holding the old gasket in place.
- High-temperature adhesive: This is essential for securing the new gasket and ensuring it stays in place even with high temperatures.
- Measuring tape: Properly measuring the gasket length is crucial to ensure a snug fit and optimal performance.
Choosing the right gasket material is also important. Look for materials that are heat-resistant and durable, such as fiberglass or ceramic. These materials can withstand the high temperatures generated by the wood stove without deteriorating.
Now that we’ve gathered the necessary tools and materials, let’s move on to the next step: removing the old gasket and cleaning the stove.
Removing the Old Gasket and Cleaning the Stove
Before starting the installation process, gather all the necessary tools and materials mentioned earlier, as well as a clean cloth for wiping away any debris when removing the old gasket and cleaning the stove.
When it comes to removing the old gasket and cleaning the stove, it’s important to take your time and be thorough. The first step is to carefully remove the old gasket, ensuring that no residue is left behind. A clean cloth can be used to wipe away any remaining gasket residue.
Once the old gasket has been completely removed, it’s time to clean the stove. Choosing the right cleaning solution is essential to ensure that the stove is properly cleaned and ready for the new gasket. A mild soap and water solution or a specialized stove cleaner can be used to remove any dirt or grime. It’s important to follow the manufacturer’s instructions when using a cleaning solution.
Once the stove is clean and dry, it’s time to move on to the next step of installing the new wood stove gasket.
Installing the New Wood Stove Gasket
Once the gasket is aligned properly, carefully press it into place using a flathead screwdriver.
When replacing a gasket on a wood stove, it’s important to follow proper installation techniques to ensure a tight seal. Here are three steps to guide you through the process:
-
Prepare the surface: Before installing the new gasket, make sure the surface is clean and free of any debris. Use a wire brush to remove any residue from the old gasket or adhesive. This will help the new gasket adhere properly.
-
Apply adhesive: Apply a thin, even layer of high-temperature adhesive to the surface where the gasket will be placed. Be sure to follow the manufacturer’s instructions for the adhesive, as different types may have specific curing times.
-
Press the gasket: Carefully align the gasket with the channel or groove where it will be placed. Starting from one end, use a flathead screwdriver to press the gasket into place, making sure it’s firmly secured.
Testing and Maintaining the Gasket’s Performance
I need to regularly check and adjust the gasket to make sure it maintains its performance. The gasket is an important component of my wood stove, as it helps to create a tight seal and prevent any air leaks. To ensure that the gasket is working effectively, I employ various testing techniques and troubleshooting tips. One way I test the gasket is by conducting a visual inspection, looking for any signs of wear or damage. I also use the dollar bill test, where I place a dollar bill between the door and the gasket and try to pull it out. If the bill slides out easily, it’s a sign that the gasket needs to be replaced. Additionally, I regularly clean the gasket to remove any debris or soot buildup, as this can affect its performance. By following these maintenance steps, I can ensure that my wood stove gasket remains in optimal condition.
| Testing Techniques | Troubleshooting Tips |
|---|---|
| Visual Inspection | Clean the gasket |
| Dollar Bill Test | Replace if necessary |
| Regular maintenance |
Conclusion
In conclusion, by following these simple steps, you can easily install a new wood stove gasket and ensure the optimal performance of your stove.
With the right tools and materials, removing the old gasket and cleaning the stove is a breeze.
Installing the new gasket is straightforward, and with proper testing and maintenance, you can enjoy a well-sealed and efficient wood stove.
So go ahead and give your stove the TLC it deserves for cozy and enjoyable fires.


