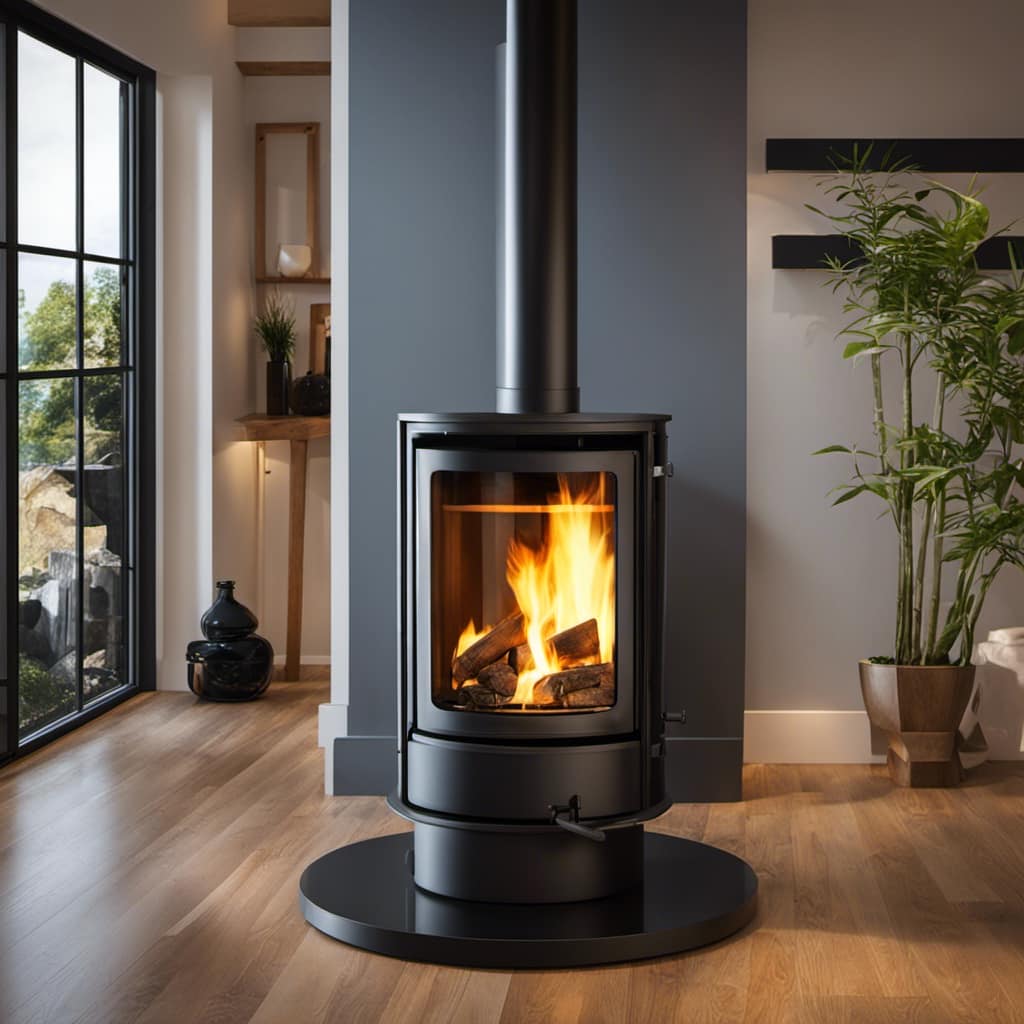
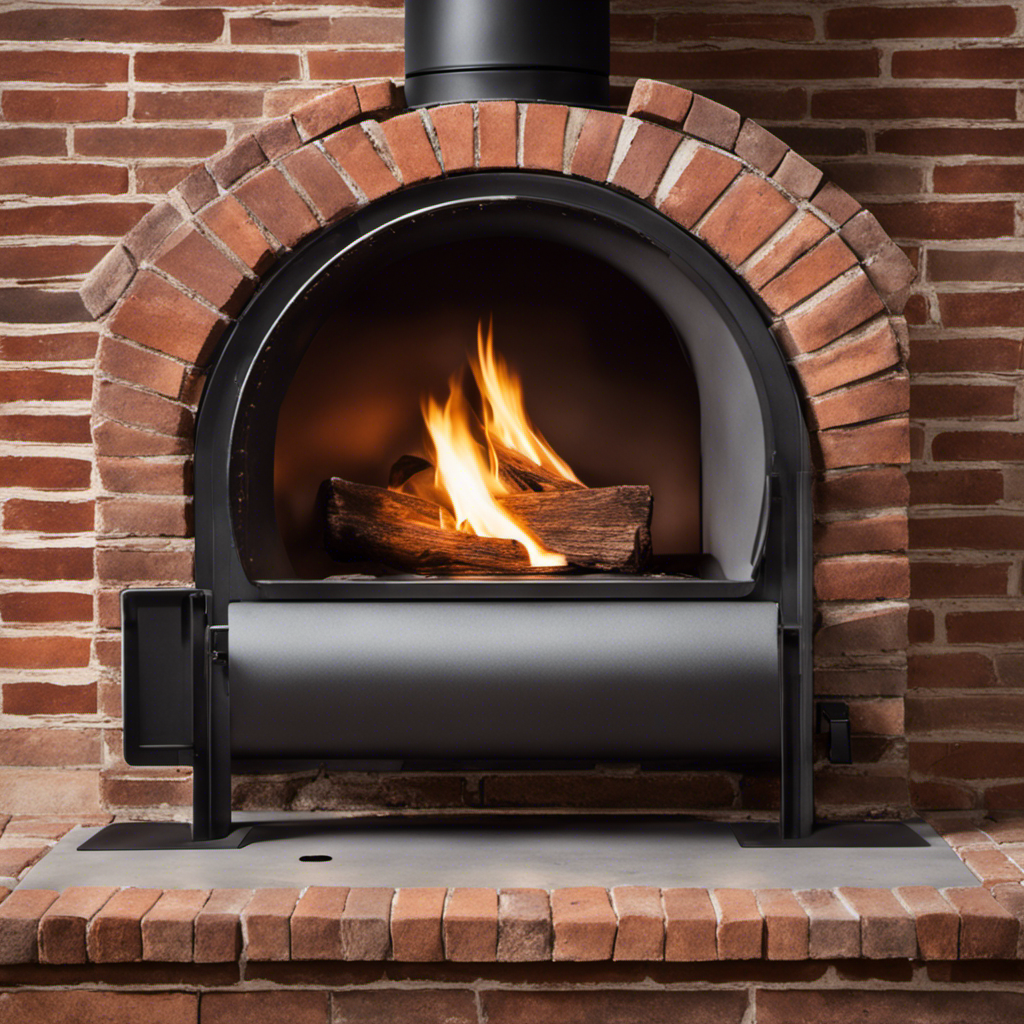
I’ve always held the conviction that the essence of a warm and inviting home lies in the presence of an operational wood stove.
And when it comes to installing a flue on that wood stove, it’s crucial to get it right. That’s why I’m here to guide you through the process, step by step.
From choosing the right flue to testing and maintaining the system, I’ll provide you with the technical knowledge and detailed instructions you need.
Let’s get started on creating a safe and efficient flue system for your wood stove.
Key Takeaways
- Flue size and material choice are crucial for efficiency and safety of the wood stove
- Consult manufacturer’s guidelines or professionals for correct flue size and material options
- Proper preparation of the wood stove, including cleaning and inspection, is necessary before flue installation
- Securely install the flue pipe and chimney cap to prevent debris and moisture entry

Takelablaze Stove Pipe Flue Extension Stainless Steel Tent Stove Chimney Pipe 2.36”x 11.8" Chimney Pipes Camping Stove Accessories, 4 Sections
What You Get: Package includes 4pcs of stove pipes, The length of each section is 11.8inch/30cm, the diameter…
As an affiliate, we earn on qualifying purchases.
As an affiliate, we earn on qualifying purchases.
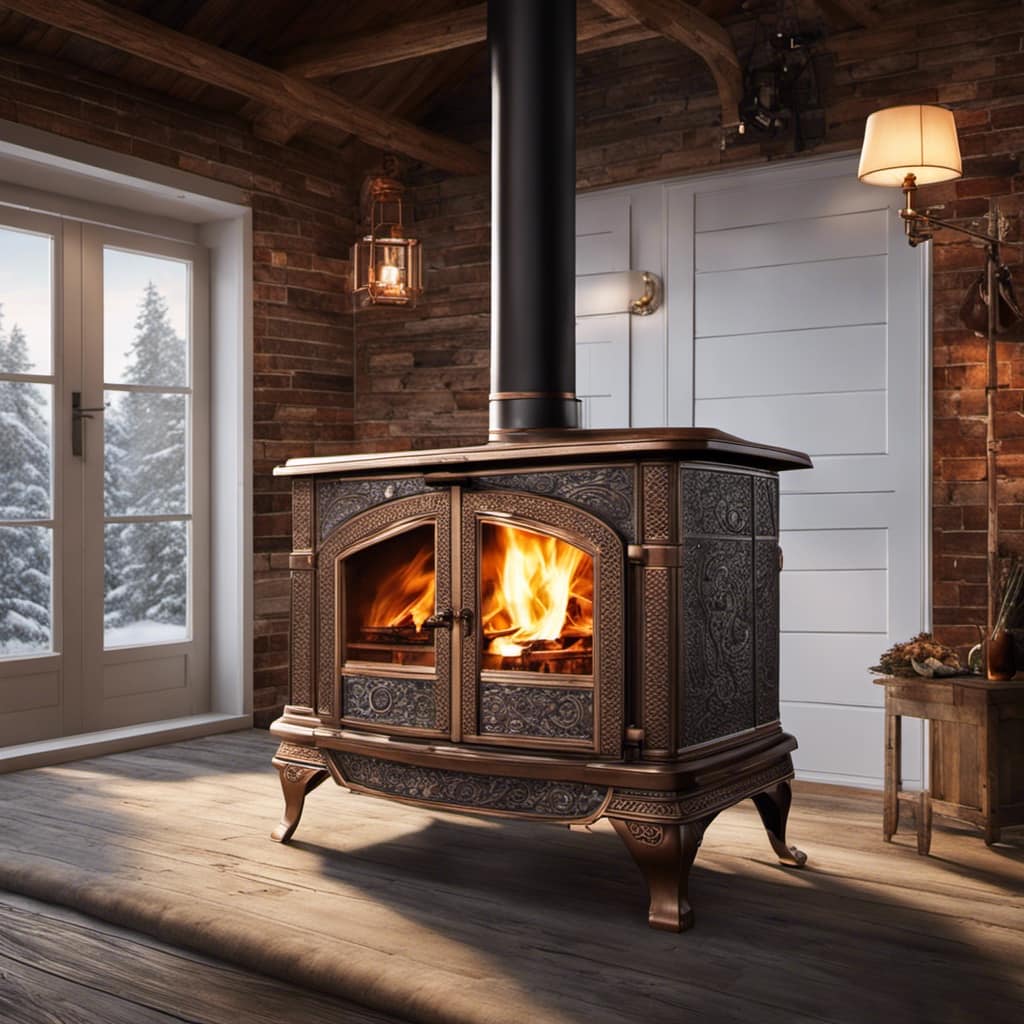
Choosing the Right Flue for Your Wood Stove
I’m having trouble deciding which flue is the right one for my wood stove. The size of the flue is an important consideration as it affects the efficiency and safety of the stove. The flue should be sized correctly to allow for proper airflow and to prevent the buildup of smoke and harmful gases. It’s important to consult the manufacturer’s guidelines or a professional to determine the appropriate flue size for your specific wood stove.
Additionally, there are various flue material options available, such as stainless steel, cast iron, or clay. Each material has its own advantages and considerations, including durability, insulation properties, and cost. Considering the flue size and material options will help ensure a successful installation.
Now that I understand the importance of choosing the right flue, it’s time to gather the necessary tools and materials.

Sealegend 30 Feet Chimney Sweep Kit Chimney Brush, Chimney Cleaning Kit and Rotary Chimney Cleaning System, Fireplace Brush Tool with 9 Nylon Flexible Rods
[Button Locking Design] The chimney sweep kit features a beautiful chrome-plated button design that ensures that it will…
As an affiliate, we earn on qualifying purchases.
As an affiliate, we earn on qualifying purchases.
Gathering the Necessary Tools and Materials
To properly install the flue, I’ll need a chimney brush and a ladder to clean out any debris. Once the chimney is clear, I can move on to selecting the right flue size. This is crucial for proper ventilation and efficient operation of the wood stove. Here are the steps I’ll follow:
- Measure the diameter of the stove’s flue collar.
- Determine the recommended flue size based on the stove manufacturer’s guidelines.
- Choose a flue that matches the stove’s requirements, ensuring a proper fit.
In addition to selecting the correct flue size, proper insulation is also essential. This helps prevent heat loss and ensures optimal performance. I’ll make sure to use high-quality insulation materials, such as ceramic fiber or rock wool, to insulate the flue properly.

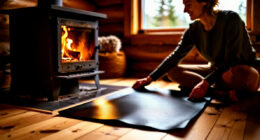
QWORK Fireproof Pipe Wrap, Pipe Insulation Webbing Anti-Scald Chimney Ribbon Furnace Flue Protector with 2 Clips
Temperature Resistant: Withstand sustained high temperatures up to 752 F/400°C and peak temperatures up to 1085 F/538°C.
As an affiliate, we earn on qualifying purchases.
As an affiliate, we earn on qualifying purchases.
Preparing the Wood Stove for Flue Installation
I’ll start by removing any debris and cleaning out the stove pipe before installing the flue. The first step in preparing the wood stove for flue installation is to ensure that the stove pipe is clear of any obstructions or build-up. This is crucial for the proper functioning of the flue system. I’ll carefully inspect the pipe to make sure there are no cracks or damages that could compromise its integrity.
Next, I’ll measure the diameter of the stove pipe to determine the correct sizing requirements for the flue. It’s important to choose a flue that matches the size of the stove pipe to ensure a tight and secure fit. Additionally, I’ll take all necessary safety precautions, such as wearing protective gloves and eyewear, to prevent any injuries during this process.
Now that the stove pipe is clean and the sizing requirements are determined, I can move on to installing the flue pipe and chimney cap.

6 Inch Round Chimney Cap,Cone Top Chimney Cap with Screen,Roof Rain Wood Stove Pipe Cover Guard Outside Topper,Fireplace Exhaust Cover for 6" Stove Pipe-Galvanized Steel,Maximize Airflow Better Vent
Chimney Protector & Better Ventilation: 6 inch round chimney cap keep the leaves rain,snow and small animals from…
As an affiliate, we earn on qualifying purchases.
As an affiliate, we earn on qualifying purchases.
Installing the Flue Pipe and Chimney Cap
I will carefully attach the flue pipe to the stove pipe, and then secure the chimney cap in place.
When installing the flue pipe, it’s crucial to follow proper procedures to ensure optimal chimney maintenance and prevent any potential issues with flue functionality. Here are three key steps to consider:
-
Align the flue pipe and stove pipe: Make sure the flue pipe is properly aligned with the stove pipe to ensure a secure fit. This will prevent any leaks or gaps that could affect the efficiency of the flue system.
-
Secure the connection: Use high-quality metal screws or clamps to secure the flue pipe to the stove pipe. This will ensure a tight and stable connection, minimizing the risk of any disconnection or movement during operation.
-
Install the chimney cap: The chimney cap plays a vital role in preventing debris, animals, and moisture from entering the flue system. Carefully install the chimney cap, ensuring it’s securely attached to the flue pipe.
By following these steps, you can effectively install the flue pipe and chimney cap, ensuring proper functionality and minimizing the need for troubleshooting flue issues.
Now, let’s move on to testing and maintaining the flue system for optimal performance.
Testing and Maintaining the Flue System
I’m regularly inspecting and cleaning the flue system to ensure its proper functioning and prevent any potential hazards.
Flue system troubleshooting is a crucial aspect of maintaining a safe and efficient wood stove. A poorly maintained flue can lead to a variety of problems, such as inadequate draft, excessive smoke, or even chimney fires.
Regular maintenance involves inspecting the flue pipe for any signs of damage or blockage, such as creosote buildup or debris. Additionally, it’s important to ensure that the flue damper is working correctly and fully opening and closing.
Cleaning the flue system involves removing any obstructions or debris using a chimney brush or professional cleaning tools.
Frequently Asked Questions
Can I Install a Flue on a Wood Stove Without Professional Help?
Yes, I can install a flue on a wood stove without professional help. It is important to have a good understanding of wood stove maintenance and follow the proper installation instructions for safety.
How Often Should I Clean My Flue System?
Regular flue maintenance is essential for the safe and efficient operation of your wood stove. You may be wondering how often you should clean your flue system. Let’s delve into the importance of regular maintenance.
Can I Use the Same Flue Pipe for Multiple Wood Stoves?
Yes, you can use the same flue pipe for multiple wood stoves, as long as the flue pipe is compatible with each stove. It is important to ensure proper installation and safety measures are followed.
Is It Necessary to Use High-Temperature Sealant When Installing the Flue Pipe?
Using high-temperature sealant when installing a flue pipe is crucial. Not using it can lead to potential risks like leaks, fire hazards, and inefficient stove performance. Explore alternative sealants, but prioritize safety.
Can I Use a Different Type of Chimney Cap for My Wood Stove?
Yes, you can use different chimney caps for your wood stove. There are alternative flue options available that can accommodate various types of caps, providing flexibility in design and functionality.
Conclusion
In conclusion, installing a flue on a wood stove is a technical and detailed process that requires the right tools and materials.
By choosing the appropriate flue, properly preparing the wood stove, and correctly installing the flue pipe and chimney cap, you can ensure the safe and efficient operation of your wood stove.
Regular testing and maintenance of the flue system will help to maintain its effectiveness and ensure a cozy and warm home.