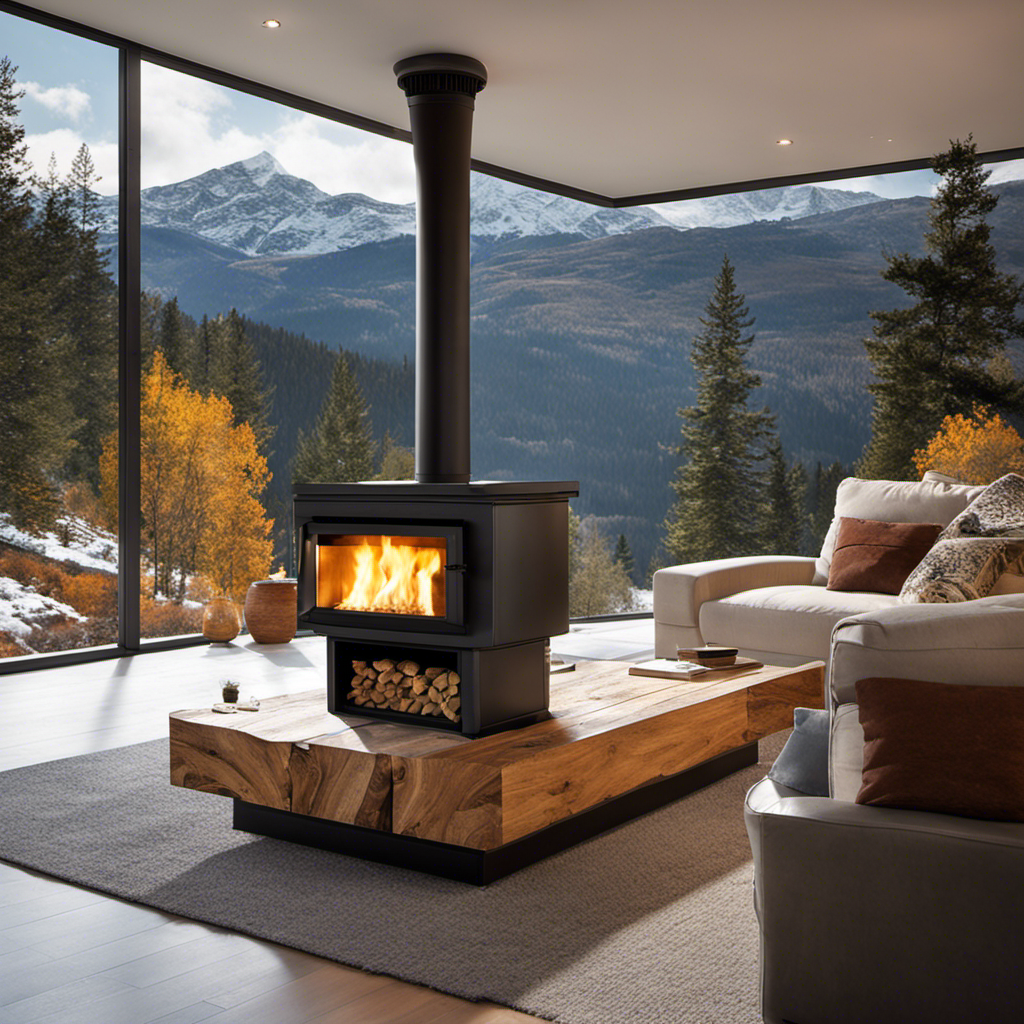
I understand your apprehension about setting up a pellet stove and routing the vent through a wooden floor may seem daunting. However, there’s no need to worry! This article is crafted to take you through the steps one by one, simplifying the process more than you might have first thought.
With the right tools and materials, careful planning, and precise installation, you’ll have a perfectly ducted pellet stove system in no time.
So let’s dive in and learn how to efficiently and effectively duct a pellet stove through a wood floor.
Key Takeaways
- Consider the requirements for the ducting system, including dimensions, layout, and structural integrity of the flooring.
- Choose appropriate ducting based on ease of installation, durability, and cost, considering the layout of the wood floor and obstacles.
- Ensure proper ventilation by selecting an appropriate venting system size, following manufacturer’s guidelines for clearances, and regularly inspecting and cleaning the venting system.
- Connect the ductwork to the pellet stove securely, sealing any gaps or joints and optimizing airflow for efficient heat distribution.

Duravent 3 Inch PelletVent Stainless Steel Double Wall Vent Pipe Kit – Pellet Stove Exhaust for Indoor Heater, Horizontal Venting System with Cleanout Tee Cap
Complete Horizontal Vent Kit: Includes five 12-inch pipes, 90-degree elbow tee, cleanout tee with cap, appliance adapter, wall…
As an affiliate, we earn on qualifying purchases.
As an affiliate, we earn on qualifying purchases.
Required Tools and Materials
To get started, you’ll need a few tools and materials to properly duct the pellet stove through a wood floor. First, gather a reciprocating saw, measuring tape, drill, screws, and ductwork. Additionally, make sure to have a stud finder and a level to ensure proper installation.
Assessing space is crucial before beginning the project. Measure the distance from the pellet stove to the desired vent location on the wood floor. Take into consideration any obstacles such as furniture or walls that may hinder the ductwork installation.
Once you have gathered all the necessary tools and materials and assessed the space, you are ready to move on to the next step of assessing the space for ductwork without causing any damage to the floor or surrounding areas.

Wood Stove Fan, Pipe Fireplace Fan with Magnetic Thermometer, 6 Blades Stove Fan on Chimney, Silent Motors, Push Horizontal Air Flow, Heat Powered Wood Stove Fan for Wood Burning Stove/Gas/Pellet/Log
【Efficient Heat Distribution】: Wood Stove fan non electric, Heat powered by wood burning stove, thermal fins convert the…
As an affiliate, we earn on qualifying purchases.
As an affiliate, we earn on qualifying purchases.
Assessing the Space for Ductwork
When considering the feasibility of floor ductwork, it’s crucial to assess the available space for ducting. This assessment involves determining the exact requirements for the ducting system, including the dimensions and layout.
Floor Ductwork Feasibility
The feasibility of ducting a pellet stove through a wood floor is determined by the structural integrity and thickness of the flooring. Before considering this option, it is important to weigh the advantages and disadvantages of floor ductwork.
| Advantages | Disadvantages |
|---|---|
| Efficient heat distribution | Limited airflow capacity |
| Concealed installation | Potential for floor damage |
| Saves space | Higher installation cost |
Floor ductwork offers efficient heat distribution, ensuring that every corner of the room receives warmth. Additionally, the concealed installation provides a clean and aesthetic look to the space. However, the limited airflow capacity may not be suitable for larger areas, and there is a risk of potential damage to the floor during installation. Furthermore, the installation cost for floor ductwork is generally higher compared to other options.
Considering the advantages and disadvantages, it is crucial to assess the space requirements for ducting, such as the available clearance and the necessary vent sizes.
Space Requirements for Ducting
You should assess the available clearance and necessary vent sizes to determine the space requirements for ducting.
When considering the space requirements for ducting a pellet stove through a wood floor, there are several factors to consider:
-
Clearance: Measure the distance between the floor and any obstacles such as joists or beams. This will help determine the height of the ducting that can be accommodated.
-
Vent Sizes: Determine the diameter of the vent required for your pellet stove. This will determine the size of the hole that needs to be cut in the floor for the ducting.
-
Ducting Options: Evaluate the different types of ducting available, such as flexible aluminum or rigid metal ducting. Consider their pros and cons, including ease of installation, durability, and cost.
Once you have assessed the space requirements and chosen the appropriate ducting, you can proceed to planning the ducting path, ensuring proper airflow and efficiency.
Duravent 3 Inch PelletVent Stainless Steel Double Wall Vent Pipe Kit – Pellet Stove Exhaust for Indoor Heater, Horizontal Venting System with Cleanout Tee Cap
Complete Horizontal Vent Kit: Includes five 12-inch pipes, 90-degree elbow tee, cleanout tee with cap, appliance adapter, wall…
As an affiliate, we earn on qualifying purchases.
As an affiliate, we earn on qualifying purchases.
Planning the Ducting Path
To plan the ducting path for your pellet stove, start by considering the layout of your wood floor and identifying the most efficient route.
There are several planning considerations and potential obstacles to keep in mind. First, you need to ensure that the ducting can be routed in a way that maximizes heat distribution throughout your home.
Take note of any existing obstacles such as walls, furniture, or other structures that may impede the path of the ducting. Additionally, consider the proximity of the pellet stove to the exterior of the house, as this will affect the length of the ducting required.

HHT Quadra-Fire Pellet Stove & Insert Clean Out Tool
Quadra-Fire, Heatilator & Eco-Choice Pellet Stove & Insert Clean Out Tool
As an affiliate, we earn on qualifying purchases.
As an affiliate, we earn on qualifying purchases.
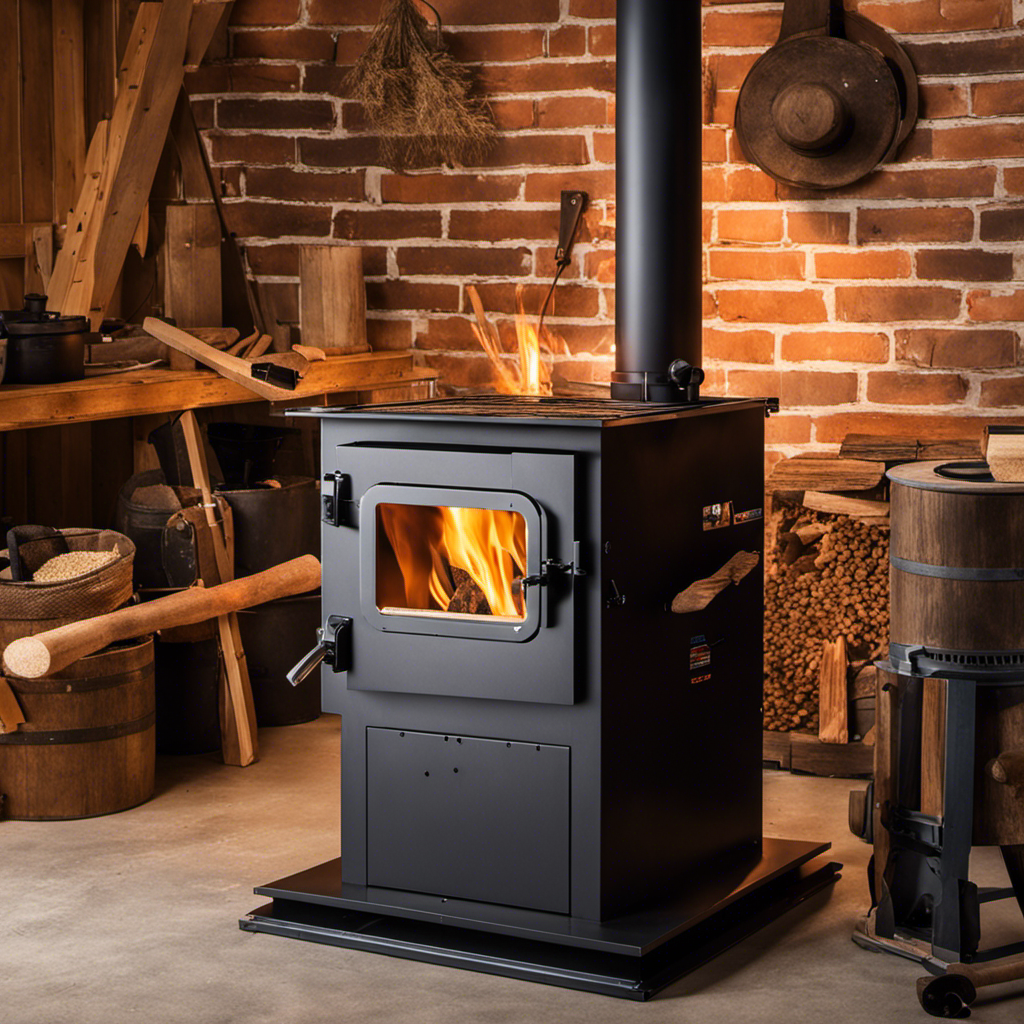
Cutting the Hole in the Wood Floor
Start by measuring the dimensions of the area where the hole needs to be cut. This will ensure that the hole is the correct size for the ductwork.
When cutting the hole in the wood floor for the pellet stove ducting, there are a few cutting techniques and safety precautions to keep in mind:
- Use a jigsaw or reciprocating saw to make the cut. These tools provide precise and controlled cuts through wood.
- Wear safety goggles and gloves to protect yourself from any flying debris or sharp edges.
- Make sure to follow the manufacturer’s instructions for cutting the hole, as different pellet stove models may have specific requirements.
Once the hole is cut, you can proceed with installing the ductwork through the floor, ensuring a proper and efficient ventilation system for your pellet stove.
Installing the Ductwork Through the Floor
When it comes to installing ductwork through the floor, there are several options to consider. It is important to choose the right materials for the job, ensuring they are durable and compatible with the type of flooring you have.
Additionally, proper ventilation is crucial to ensure the efficient and safe operation of the duct system.
Floor Duct Installation Options
There are multiple options for installing a floor duct for your pellet stove. Here are three floor duct installation options to consider:
-
Flush-Mount Design: This design involves cutting a hole in the floor and installing a flush-mount duct that sits level with the flooring. This option provides a seamless look and can be easily concealed with a floor vent cover.
-
Raised Design: With this design, the duct is installed above the floor level. This allows for better airflow and heat distribution throughout the room. However, it may require additional space and may not be suitable for all flooring types.
-
Underfloor Design: This design involves installing the duct underneath the floor. It requires careful planning and coordination with other utilities, but it offers a hidden and space-saving solution.
When considering the floor duct design, keep in mind factors such as aesthetics, space availability, and ease of installation.
Transitioning into the subsequent section about choosing the right materials, it is important to select materials that are durable, heat-resistant, and compatible with your chosen floor duct design.
Choosing the Right Materials
Now that we have explored the different floor duct installation options, let’s discuss the importance of choosing the right materials for the job.
When it comes to ducting a pellet stove through a wood floor, it is crucial to select materials that can withstand the heat and provide proper insulation. One common choice for this application is insulated stainless steel ducting, which offers excellent durability and heat resistance.
Additionally, it is essential to consider the maintenance of the ducting system. Regular cleaning and inspection of the ducts are necessary to ensure optimal performance and prevent any blockages or obstructions.
By choosing the right materials and maintaining the ducting system, you can ensure a safe and efficient operation of your pellet stove.
Now, let’s move on to the next section, where we will discuss ensuring proper ventilation.
Ensuring Proper Ventilation
To ensure proper ventilation, it’s important to focus on selecting the appropriate venting system for your pellet stove installation. Here are three key considerations for proper ventilation:
-
Size: Make sure the venting system is sized correctly for your pellet stove. This will maintain optimal air flow and prevent potential backdraft issues.
-
Clearances: Follow the manufacturer’s guidelines for clearances around the venting system. This prevents fire hazards and ensures safe operation.
-
Maintenance: Regularly inspect and clean the venting system to prevent blockages or creosote buildup. Proper maintenance maintains efficient ventilation and extends the stove’s lifespan.
By following these guidelines, you can troubleshoot common ventilation issues and keep your pellet stove operating smoothly.
Now, let’s move on to connecting the ductwork to the pellet stove.
Connecting the Ductwork to the Pellet Stove
You can easily connect the ductwork to the pellet stove using standard HVAC materials. Start by connecting the stovepipe to the back of the stove, ensuring a secure fit. This connection is crucial for maintaining proper airflow and allowing the stove to function efficiently.
Use high-temperature silicone sealant to seal any gaps or joints to prevent air leakage. Next, attach the ductwork to the stovepipe using metal duct connectors or clamps. Make sure the connections are tight and secure to avoid any leaks. It is important to maintain a smooth and straight duct run to optimize airflow.
Now, let’s move on to securing and insulating the ductwork for a complete installation that meets safety standards and ensures efficient heat distribution throughout your home.
Securing and Insulating the Ductwork
Securing and insulating the ductwork is crucial for ensuring efficient heat distribution and meeting safety standards in your home. Here are three important steps to consider when securing and insulating your ductwork:
-
Use metal straps or hangers: Secure the ductwork to the floor joists using metal straps or hangers. This will prevent the ducts from sagging or shifting over time.
-
Seal all joints: Use foil tape or mastic sealant to seal all joints in the ductwork. This will prevent air leaks and ensure that the heated air is properly distributed throughout your home.
-
Insulate the ductwork: Wrap insulation around the ductwork to prevent heat loss and condensation. Insulating the ducts will improve energy efficiency and help maintain a consistent temperature in your living spaces.
By following these steps, you can ensure that your ductwork is secure and properly insulated.
Now let’s move on to testing and troubleshooting the ducted pellet stove system to ensure it’s functioning optimally.
Testing and Troubleshooting the Ducted Pellet Stove System
Testing and troubleshooting the ducted pellet stove system can help identify any issues or malfunctions that may be affecting its optimal functionality.
It is important to regularly check the system to ensure it is working efficiently.
One common issue that may arise is inadequate airflow, which can be caused by a clogged or dirty air filter. Cleaning or replacing the filter can help resolve this problem.
Another common issue is uneven heating throughout the ducted system. This can be due to a blockage or leak in the ductwork. Inspecting and repairing any blockages or leaks can optimize the stove’s performance.
Additionally, it is essential to check for any error codes on the stove’s control panel, as these can indicate specific issues that need to be addressed.
Regular testing and troubleshooting can help maintain the ducted pellet stove system in top condition.
Frequently Asked Questions
What Are the Benefits of Ducting a Pellet Stove Through a Wood Floor?
The benefits of ducting a pellet stove through a wood floor include improved heat distribution, increased energy efficiency, and a cleaner aesthetic. The installation process involves properly sealing the ductwork and ensuring proper ventilation.
Can I Duct a Pellet Stove Through a Second-Floor Wood Floor?
Can I duct a pellet stove through a second-floor wood floor? Yes, you can. The installation process involves carefully cutting a hole, installing the ductwork, and sealing it properly. Regular maintenance and cleaning are essential to ensure proper functioning and safety.
How Much Clearance Is Required Between the Ductwork and the Wood Floor?
Clearance requirements for ducting a pellet stove through a wood floor depend on local building codes. The installation process should ensure proper insulation, secure attachment, and adequate spacing between the ductwork and the wood floor to prevent heat transfer and potential fire hazards.
Are There Any Specific Safety Precautions to Consider When Ducting a Pellet Stove Through a Wood Floor?
When ducting a pellet stove through a wood floor, it is crucial to take specific safety precautions to minimize potential risks. Proper ventilation, fireproofing, and maintaining clearance between the ductwork and the floor are essential.
Can I Use Flexible Ductwork Instead of Rigid Ductwork When Ducting a Pellet Stove Through a Wood Floor?
I can use flexible ductwork instead of rigid ductwork when ducting a pellet stove through a wood floor. The benefits of using flexible ductwork include easier installation and the ability to navigate around obstacles. Proper installation techniques ensure efficient and safe operation.
Conclusion
In conclusion, I successfully installed a ducted pellet stove system through my wood floor. After carefully assessing the space and planning the ducting path, I cut a precise hole and connected the ductwork to the stove. This ensured efficient heat distribution throughout my home. I also took the extra step of securing and insulating the ductwork to add an extra layer of protection. Through testing and troubleshooting, I can confidently say that my pellet stove is now operating at its optimal level. It’s like having a cozy, warm embrace from a trusted companion on a chilly winter night.