Connect with us

Wood Stove

How To Build A Small Wood Stove

Published

on


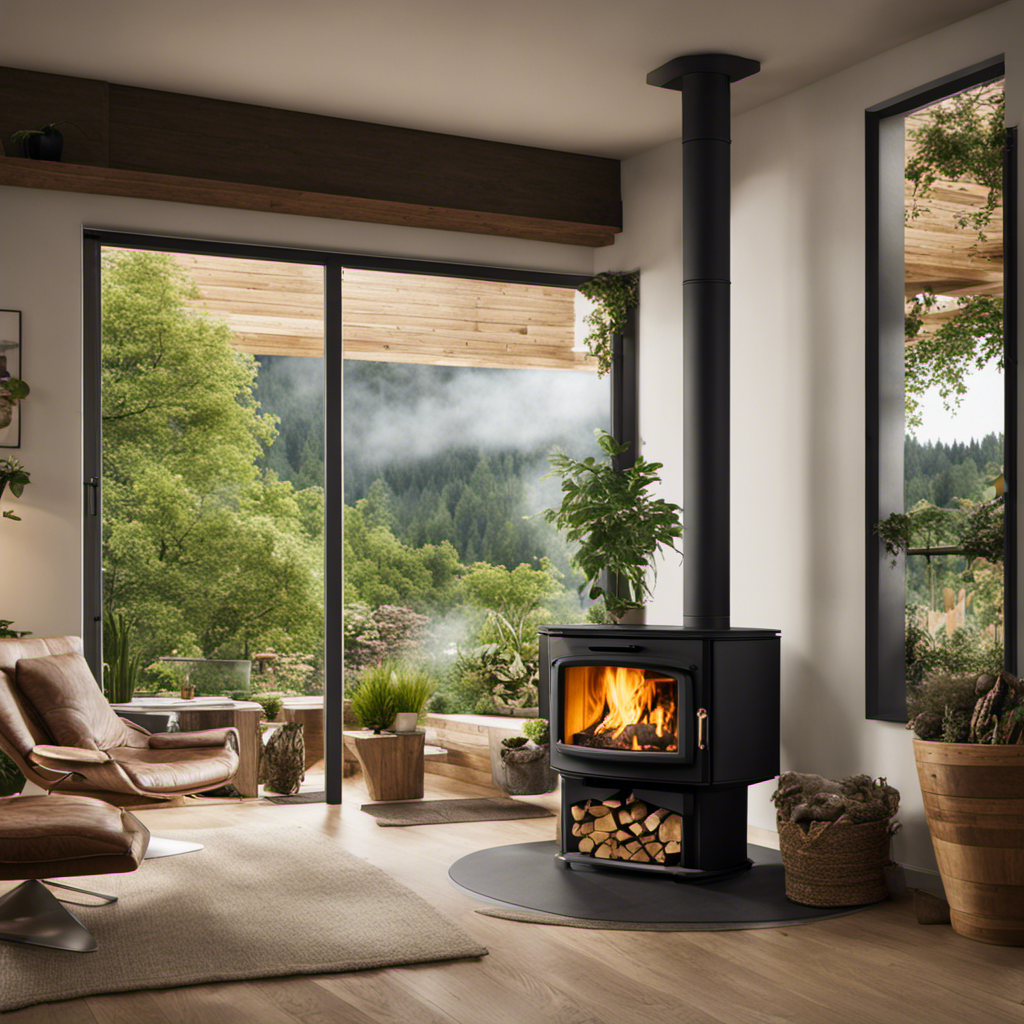
As someone passionate about DIY projects, I’ve always been fascinated by the idea of building a small wood stove. Did you know that smaller wood stoves are often more efficient and environmentally friendly than their larger counterparts?

In this article, I will guide you through the process of gathering materials, designing and planning, and constructing your very own small wood stove. Get ready to unleash your inner craftsman and create a cozy, sustainable heating solution for your home.

Key Takeaways

  • Gather all necessary materials and follow safety precautions during construction
  • Choose a stove size that matches the space and consider heat output
  • Construct the firebox with heat-resistant materials and incorporate a heat exchanger
  • Properly design and install the chimney and flue system for proper airflow and smoke prevention

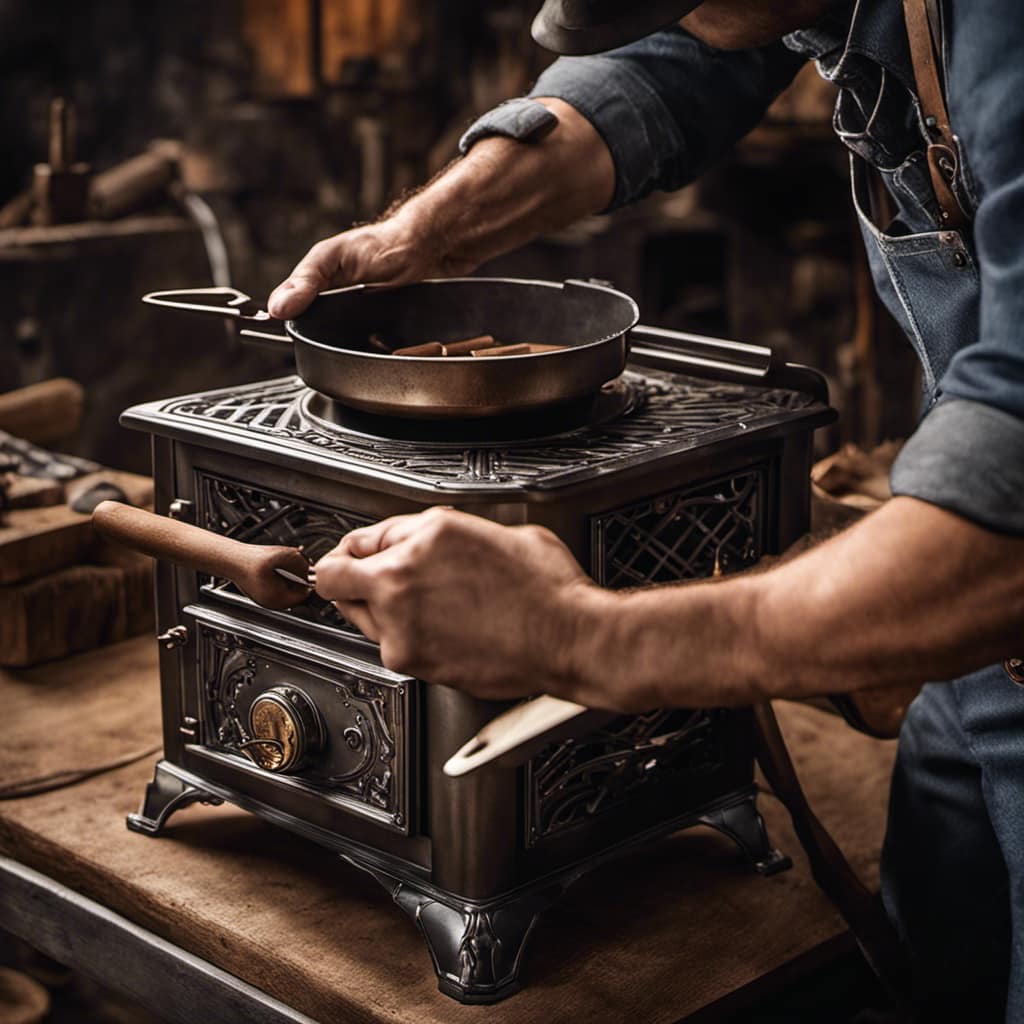
Gathering the Necessary Materials

I need to gather three pieces of stainless steel for the small wood stove project.

When choosing the right wood for your stove, it’s important to consider its moisture content. Green or wet wood will produce more smoke and less heat, while dry wood burns more efficiently.regency wood stove reviews

Safety precautions during construction are crucial to avoid accidents. Make sure you have a well-ventilated area to work in, wear protective gloves and goggles, and keep a fire extinguisher nearby.

It’s also important to follow the manufacturer’s instructions when assembling the stove to ensure proper installation.

Once I’ve gathered the stainless steel pieces, I can move on to designing and planning my small wood stove, where I’ll consider factors such as size, efficiency, and heat output.

Advertisement

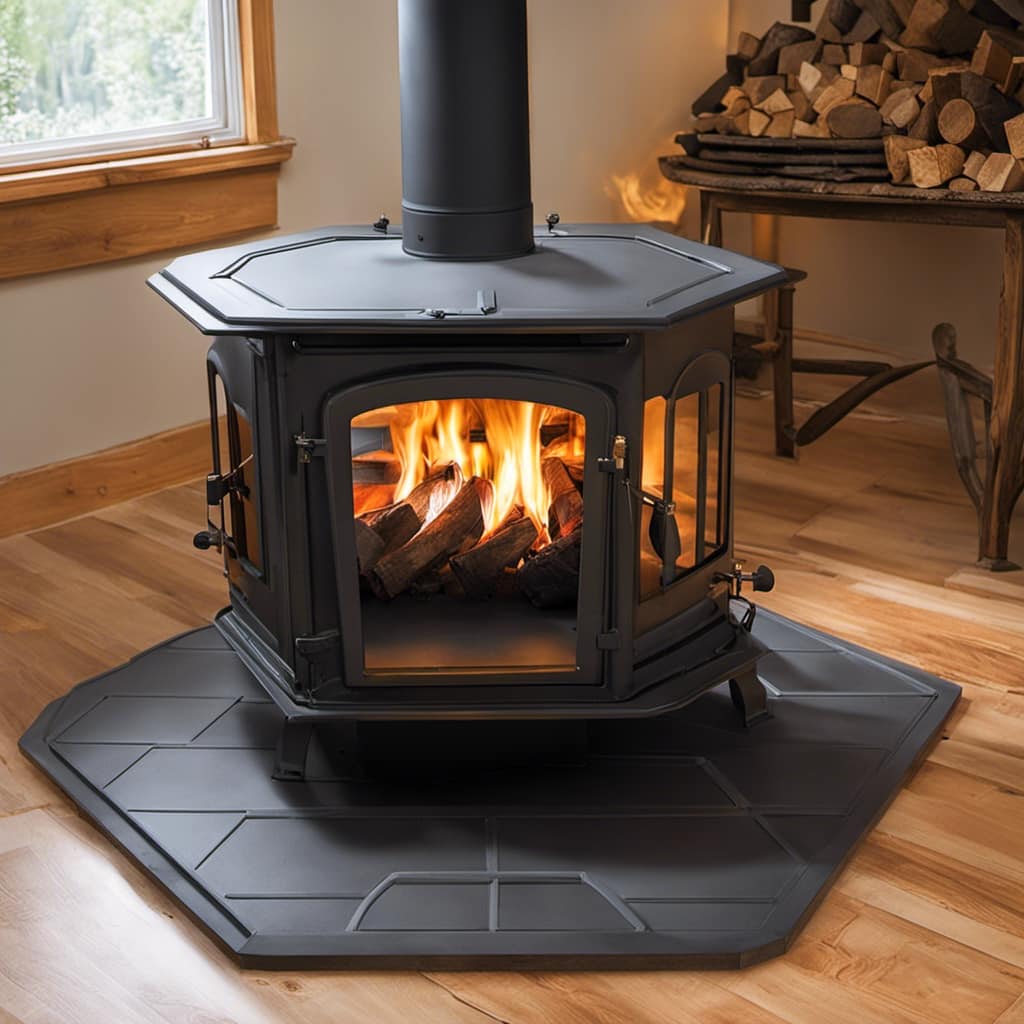
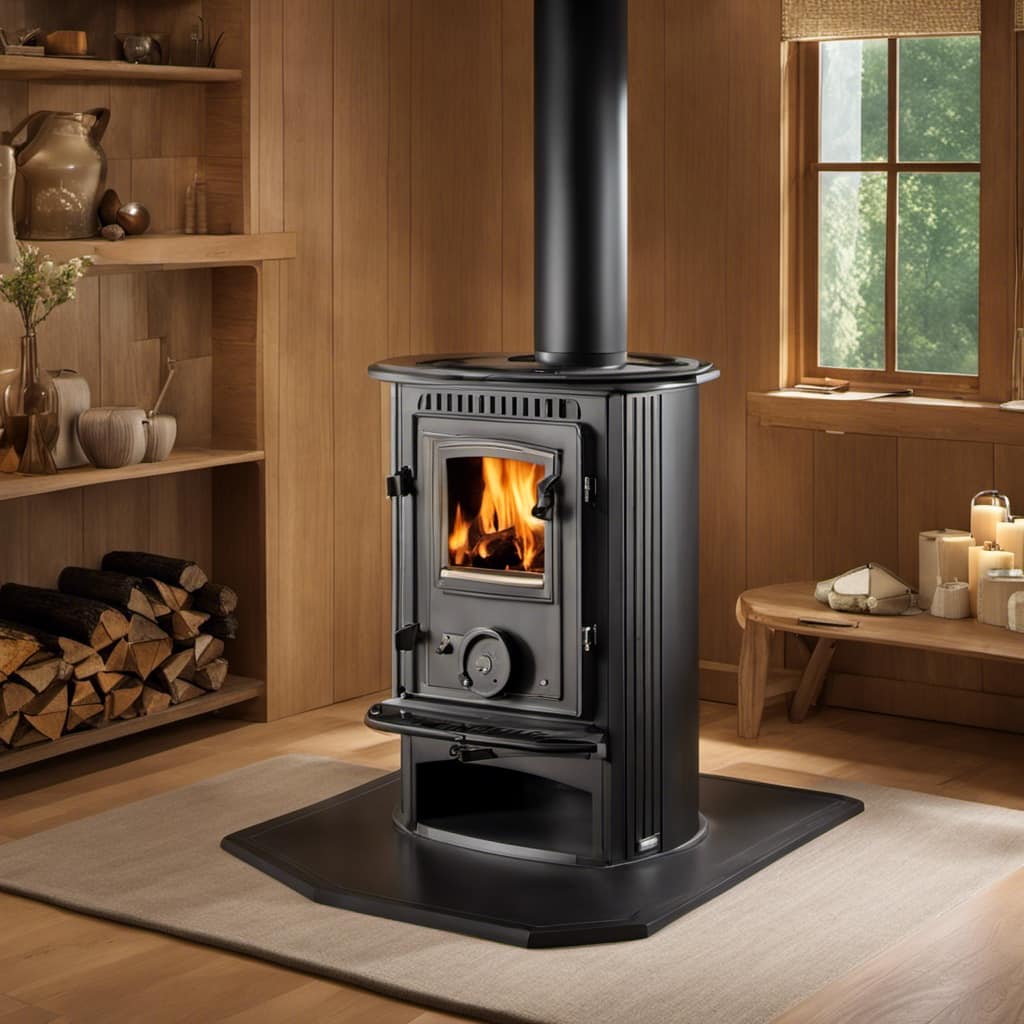
Designing and Planning Your Small Wood Stove

To ensure optimal efficiency, consider the size and heat output of your small wood stove when designing and planning.wood stoves for heating amazon

When it comes to designing considerations, it’s important to choose a stove that matches the size of the space you intend to heat. A stove that’s too small may not provide sufficient warmth, while one that’s too large may generate excessive heat.

Additionally, take into account the heat output of the stove. This will determine how much heat the stove can produce and distribute.

Safety precautions should also be a top priority. Ensure that the stove is installed according to manufacturer guidelines and local building codes. Adequate clearance should be maintained between the stove and any combustible materials. Installing a heat shield can help protect nearby walls and reduce the risk of fire.

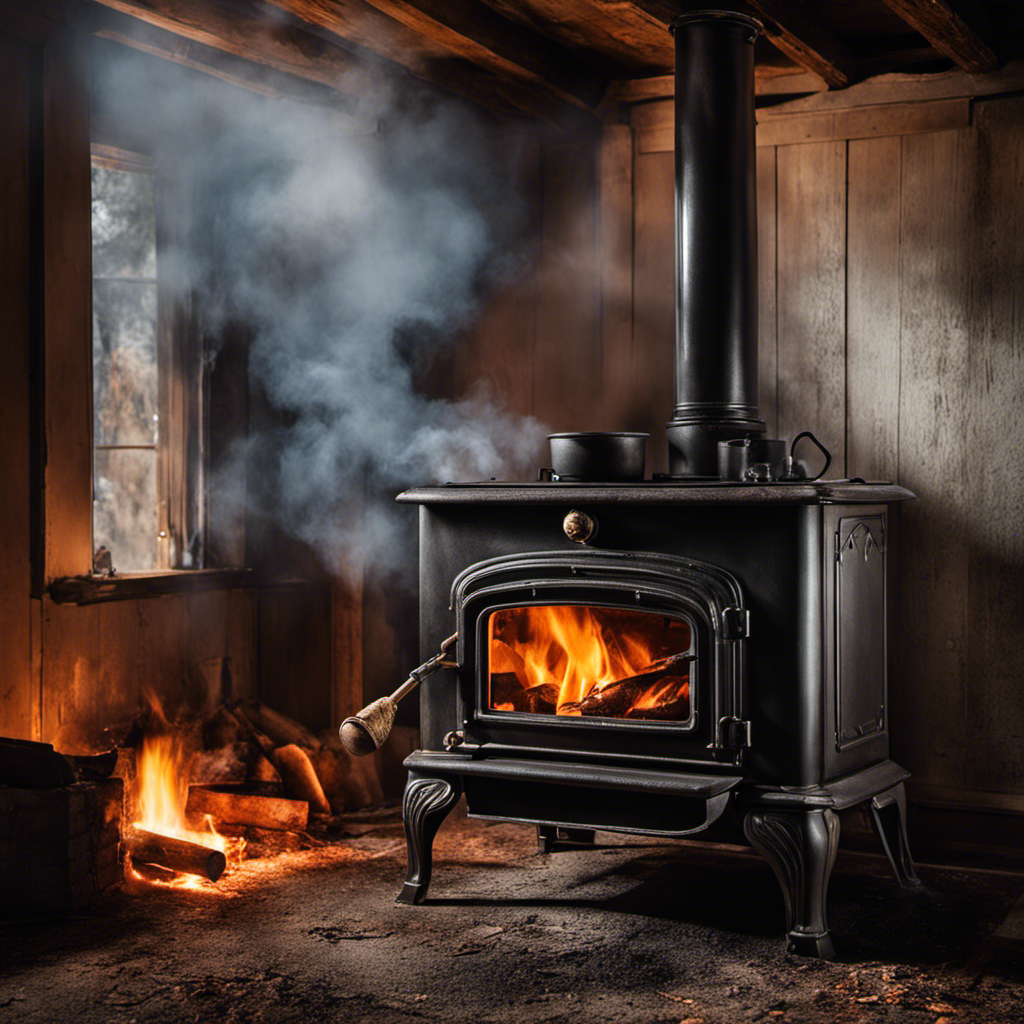
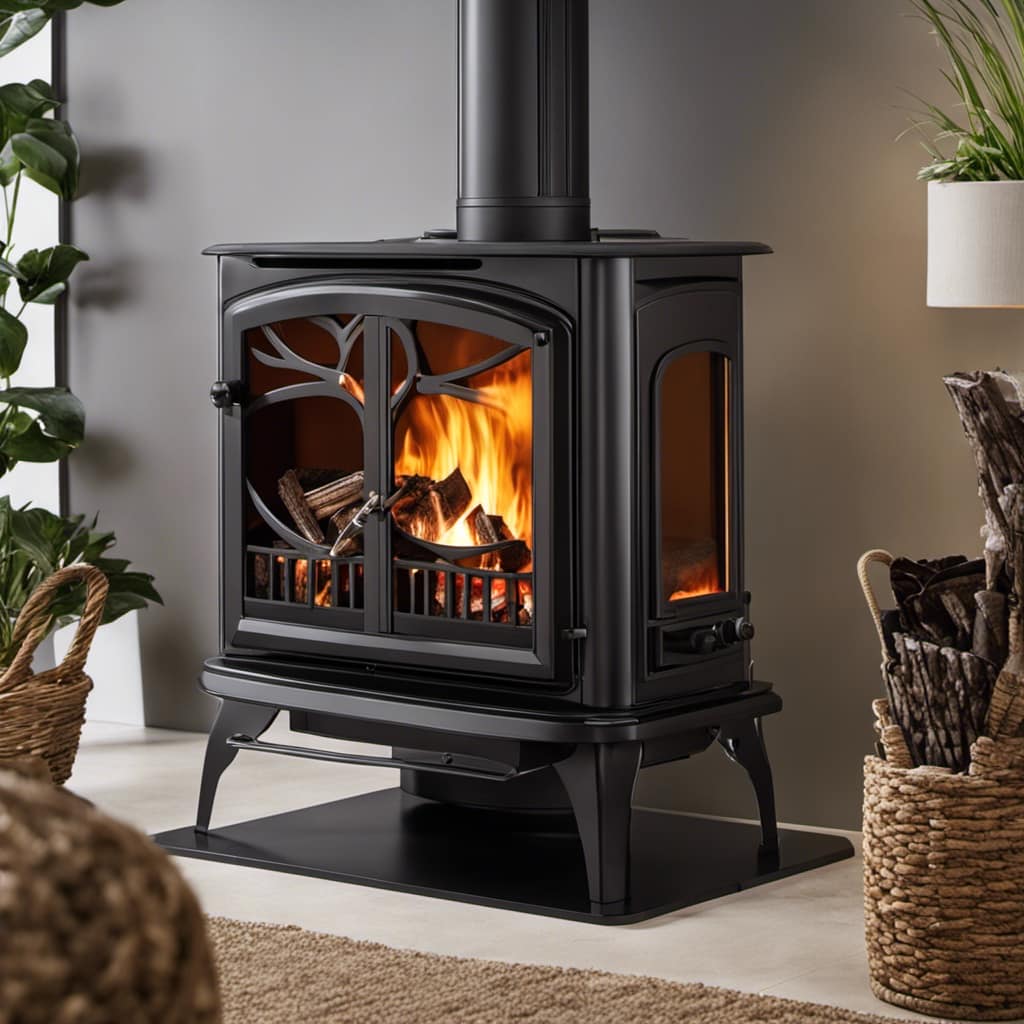
Building the Firebox and Heat Exchanger

After carefully designing and planning, I began building the firebox and heat exchanger for my small wood stove. Building techniques and safety considerations were paramount during this process. I started by constructing the firebox using thick, heat-resistant materials such as metal or firebricks. This ensures that the firebox can withstand high temperatures and prevents heat transfer to surrounding surfaces. Additionally, I incorporated a heat exchanger into the design to maximize heat output and efficiency. The heat exchanger consists of a series of pipes or tubes that allow the hot gases from the firebox to transfer their heat to the surrounding air or water. To further emphasize the importance of safety considerations, I have provided a table below outlining some key safety measures to be followed during the construction process.wood stove pipe kits

Safety Considerations Building Techniques
1. Use proper insulating materials to prevent heat transfer to surrounding surfaces 1. Ensure proper ventilation to prevent the buildup of toxic gases
2. Install a carbon monoxide detector near the wood stove 2. Use fire-resistant materials for all components
3. Follow local building codes and regulations 3. Allow sufficient clearance between the wood stove and flammable materials
4. Install a fireproof barrier around the wood stove 4. Regularly inspect and clean the chimney to prevent creosote buildup
5. Have a fire extinguisher nearby and know how to use it 5. Use proper sealing techniques to prevent air leaks and improve efficiency

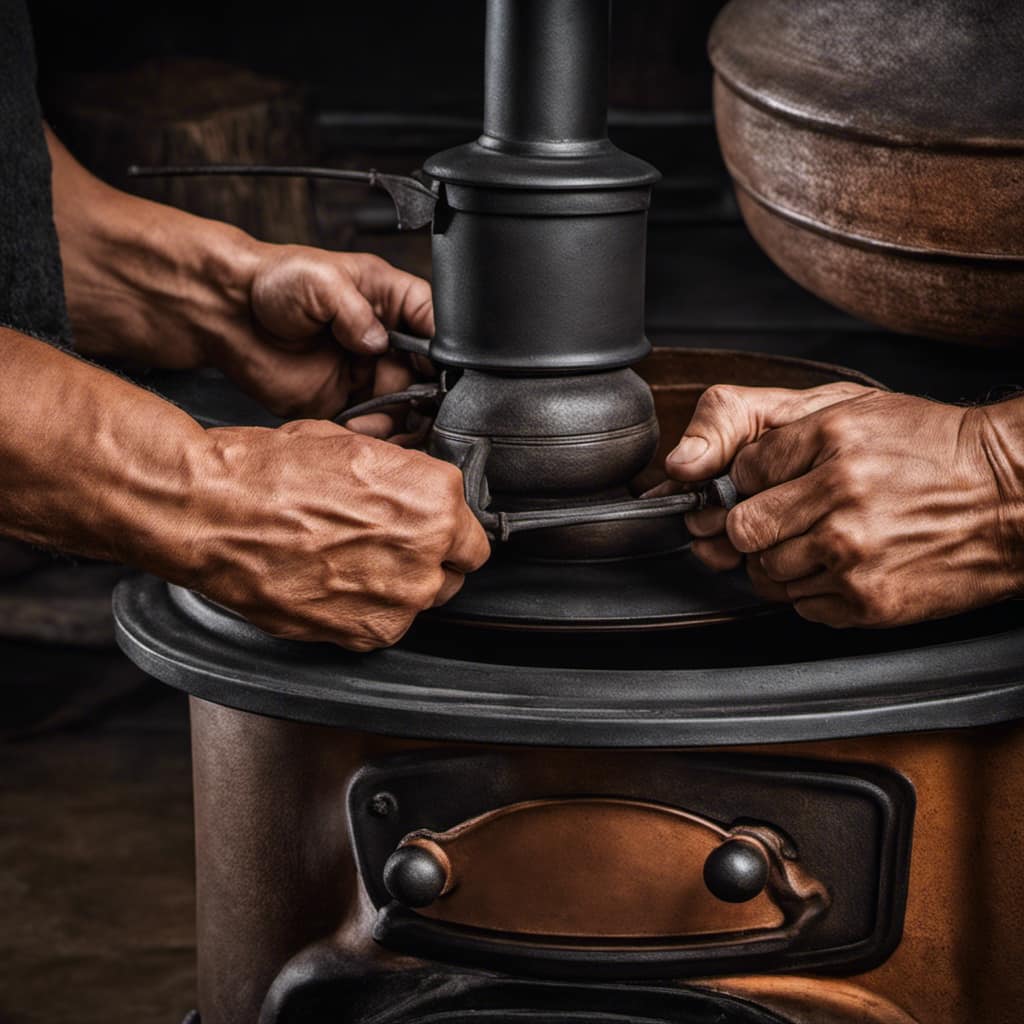
Constructing the Chimney and Flue System

During the construction of my small wood stove, I carefully installed the chimney and flue system to ensure efficient ventilation. Choosing the right chimney size is crucial for proper airflow and preventing smoke buildup. Understanding flue pipe installation is essential to prevent leaks and maintain a safe environment.

Here are two key points to consider:

Advertisement
  • Proper chimney size:

  • Select a chimney that matches the size and capacity of your wood stove.small wood stove for shed

  • Calculate the height and diameter based on the clearance requirements and the amount of heat generated.

  • Flue pipe installation:

  • Use high-quality, insulated flue pipes to minimize heat loss and improve draft.

  • Ensure a tight connection between each pipe section to prevent smoke leakage.wood stove fireplace ideas

Can the Same Materials and Steps be Used to Build a Small Wood Stove as a Barrel Wood Stove?

Yes, the same materials and steps can be used to build a small wood stove as a barrel wood stove. By following a barrel wood stove tutorial, you can easily adapt the process to create a smaller version. With the right materials and careful construction, you can enjoy the benefits of a homemade wood stove.

Testing and Maintaining Your Small Wood Stove

I have tested and maintained my small wood stove regularly for the past year, and I can confidently say that it has provided me with reliable heat during the winter months. To ensure its efficiency and functionality, I follow a few key tips and troubleshoot common issues that may arise.

Tips for Improving Wood Stove Efficiency Troubleshooting Common Wood Stove Issues
Use dry and seasoned firewood Insufficient heat output
Properly load the wood stove Smoke leaking into the room
Maintain proper airflow Difficulty in starting the fire

To improve wood stove efficiency, it is crucial to use dry and seasoned firewood. Wet or unseasoned wood can lead to poor combustion and reduced heat output. Properly loading the wood stove with small and dry pieces of wood will allow for better airflow and more efficient burning. Maintaining proper airflow by adjusting the air vents will also optimize combustion and heat output.

In case of common issues, if your wood stove is not producing sufficient heat, it may be due to incorrect loading or lack of proper airflow. Adjusting the wood placement and ensuring the vents are open can help resolve this issue. If you notice smoke leaking into the room, check for any gaps or cracks in the stove’s seals and gaskets, and replace them if necessary. Difficulty in starting the fire can be resolved by using newspaper or fire starters to ignite the wood, ensuring there is enough air supply for combustion.

Regular testing and maintenance of your small wood stove is crucial for its efficient performance. By following these tips and troubleshooting common issues promptly, you can enjoy a reliable and efficient heat source during the winter months.jotul wood stove parts

Frequently Asked Questions

What Are the Safety Precautions to Consider When Using a Small Wood Stove?

When using a small wood stove, it’s important to take safety precautions. Ensure proper ventilation, keep flammable materials away, and use a fire screen. Regular maintenance, like cleaning the chimney, also helps prevent accidents.

How Do I Properly Clean and Maintain My Small Wood Stove?

To properly clean and maintain a small wood stove, use a wire brush to remove soot and creosote buildup from the interior. Regularly check and clean the chimney, and inspect and replace any damaged parts.

Advertisement

Can a Small Wood Stove Be Used in a Mobile Home or Rv?

Using a small wood stove in a mobile home or RV has its pros and cons. It can provide efficient heating and a cozy atmosphere, but space and ventilation must be carefully managed to ensure safety and efficiency. Maximize space by choosing a compact, well-insulated stove and installing it in a well-ventilated area. Use proper safety precautions and regularly maintain the stove to ensure optimal performance.

Are There Any Regulations or Permits Required for Installing a Small Wood Stove in a Residential Area?

There may be regulations and permits required for installing a small wood stove in a residential area. It’s important to check with local authorities to ensure compliance and obtain any necessary permits before installation.wood cook stove

What Are the Potential Environmental Impacts of Using a Small Wood Stove for Heating?

Using a small wood stove for heating may have potential health risks and air quality concerns. It is important to consider the environmental impacts, such as emissions and particulate matter, when using this type of heating system.

Conclusion

In conclusion, building a small wood stove is like crafting your very own cozy cabin in the woods. With the right materials and careful planning, you can create a reliable source of heat for your space.

Remember to follow safety guidelines and regularly maintain your stove to ensure its efficiency and longevity.

So why not embark on this DIY adventure and bring warmth and comfort to your home with a homemade wood stove?

Advertisement
truck camper wood stove

Growing up surrounded by the vast beauty of nature, Sierra was always drawn to the call of the wild. While others sought the comfort of the familiar, she ventured out, embracing the unpredictable and finding stories in the heartbeat of nature.   At the epicenter of every remarkable venture lies a dynamic team—a fusion of diverse talents, visions, and passions. The essence of Best Small Wood Stoves is crafted and refined by such a trio: Sierra, Logan, and Terra. Their collective expertise has transformed the platform into a leading authority on small wood stoves, radiating warmth and knowledge in equal measure.

Continue Reading
Advertisement

Wood Stove

How To Wire Up A Brunco 190 Wood Stove

Published

on

By

An image depicting a step-by-step guide for wiring a Brunco 190 Wood Stove

The cozy embrace of a wood stove on cold evenings has long been dear to me. However, when it came to installing my Brunco 190, the task seemed somewhat overwhelming.

That’s why I created this guide to help others navigate the electrical requirements and successfully wire their own wood stove.

In just a few simple steps, you’ll be able to enjoy the comforting heat of your Brunco 190 with confidence.

Let’s get started!

Key Takeaways

  • Consult the owner’s manual or contact the manufacturer for specific electrical requirements.
  • Gather the necessary tools and materials, including wire cutters, connectors, and the appropriate wire gauge.
  • Ensure proper grounding to prevent electrical shocks and fire hazards.
  • Perform testing and troubleshooting to ensure proper wiring connection and electrical supply.

Understanding the Electrical Requirements

I need to understand the electrical requirements in order to properly wire up my Brunco 190 wood stove. When it comes to electrical safety precautions, it’s crucial to have a clear understanding of what’s required.

The first step is to consult the owner’s manual or contact the manufacturer to gather information about the specific electrical requirements for the stove. This will include details about the voltage, amperage, and wiring configuration needed. It’s important to ensure that the electrical circuit can handle the load of the stove without overloading or causing any safety hazards.

Advertisement

In order to ensure the proper installation and compliance with local electrical codes, it’s recommended to hire a certified electrician who specializes in wood stove installations. They’ll have the knowledge and expertise to safely wire up the stove and ensure it meets all necessary electrical requirements.

Gathering the Necessary Tools and Materials

To properly wire up my Brunco 190 wood stove, I’ll need to gather all of the necessary tools and materials, such as wire cutters and connectors. Before starting the wiring process, it’s essential to select the appropriate wire gauge. This depends on the stove’s electrical requirements and the distance from the power source. Choosing the correct wire gauge ensures the safe and efficient operation of the wood stove.

Additionally, ensuring proper grounding is crucial for preventing electrical shocks and fire hazards. Grounding the stove involves connecting it to a grounding rod or an existing grounding system in the house.

Once I’ve gathered all the tools and materials and have selected the appropriate wire gauge, I can proceed to the next step of preparing the wood stove for wiring.

Preparing the Wood Stove for Wiring

Before starting the wiring process, I’ll first need to carefully inspect and clean the wood stove, ensuring that it’s free from any debris or obstructions. This is an important step to ensure the safety and efficiency of the wiring. Here are four key things to keep in mind while preparing the wood stove for wiring:

Advertisement

  1. Inspect the stove for any signs of damage or wear. Look for loose or frayed wires, cracks, or any other issues that could affect the wiring process.

  2. Remove any ashes or leftover wood from the stove. This will help prevent any potential fire hazards and make it easier to access the areas where the cables will be installed.

  3. Clean the stove thoroughly, both inside and outside. Use a soft brush or cloth to remove dust, dirt, and grease. This will provide a clean surface for the cables to be insulated and connected.

  4. Ensure that the area around the wood stove is clear of any flammable materials. Keep a safe distance from curtains, furniture, and other combustible objects to prevent accidents.

Wiring the Brunco 190 Wood Stove

After carefully inspecting and preparing the wood stove, I can now begin wiring it up. Before connecting the power, it’s important to take safety precautions to avoid any accidents or electrical issues. Here is a step-by-step guide on how to wire up the Brunco 190 Wood Stove:

Step Procedure
1 Turn off the power supply to the stove to ensure your safety during the wiring process.
2 Connect the power cord to the designated terminals on the back of the stove. Make sure to follow the manufacturer’s instructions for proper wiring.
3 Run the power cord through a conduit to protect it from damage and secure it to the wall.
4 Finally, double-check all connections to ensure they are secure and properly insulated before restoring power to the stove.

Testing and Troubleshooting the Wiring Connection

I am currently in the process of testing and troubleshooting the wiring connection for the Brunco 190 Wood Stove. It’s crucial to ensure that the wiring is correctly installed and functioning properly for the stove to work efficiently and safely.

Here are four important steps I’m following to resolve any connection issues:

  1. Visual Inspection: I thoroughly examine the wiring for any visible signs of damage, such as frayed or exposed wires.

  2. Continuity Testing: Using a multimeter, I check for continuity to verify if the wires are connected and conducting electricity as intended.

  3. Voltage Testing: I measure the voltage across the wires to confirm if the electrical supply is reaching the stove.

  4. Grounding Test: I assess the grounding connection to ensure proper electrical safety.

Frequently Asked Questions

How Much Does the Brunco 190 Wood Stove Weigh and How Do I Safely Transport It?

The weight of the Brunco 190 wood stove is crucial to consider for safe transportation. To transport it safely, make sure to have a sturdy dolly or cart and secure it properly to prevent any accidents.

Are There Any Specific Building Codes or Regulations That I Need to Consider When Wiring the Wood Stove?

When it comes to wiring a wood stove, building code considerations and safety regulations are crucial. I remember learning this the hard way when I didn’t follow the rules and ended up with a dangerous electrical situation.

Advertisement

Can I Install a Thermostat to Control the Temperature of the Wood Stove?

Yes, you can install a thermostat to control the temperature of the wood stove. It’s a great way to ensure that the stove maintains a comfortable temperature and prevents overheating.

What Are the Recommended Maintenance and Cleaning Procedures for the Wood Stove’s Electrical Components?

Recommended maintenance procedures for the wood stove’s electrical components include regularly inspecting for any loose connections or damaged wires, cleaning off dust and debris, and ensuring proper ventilation. Cleaning procedures involve using a soft cloth to wipe down the components and avoiding the use of harsh chemicals.

Can I Connect the Wood Stove to a Generator or Solar Power System for Backup Power?

Yes, you can connect the wood stove to a generator or solar power system for backup power. It’s important to follow the manufacturer’s instructions and consult a professional electrician to ensure proper installation and safety.

Conclusion

In the dance of electrical connections, wiring up a Brunco 190 wood stove becomes a symphony of precision and understanding. Like a maestro, we gather the tools and materials, prepare the stove for its electrical journey, and carefully wire it up.

With each connection, we bring warmth and life to the stove, creating a harmonious bond between electricity and fire. Through testing and troubleshooting, we ensure a flawless performance, allowing the wood stove to shine brightly in its purpose.

Advertisement

Continue Reading

Wood Stove

How To Unbolt A Blaze King Wood Stove Door

Published

on

By

An image capturing the intricate process of removing a Blaze King wood stove door

I’ve come to understand the importance of effectively managing a wood stove to maintain a warm and welcoming environment at home. In the guide that follows, I’ll be sharing my knowledge on how to master this undertaking successfully.

Did you know that the door of a Blaze King wood stove may need to be unbolted for maintenance or repairs? With the right tools and a little know-how, you’ll be able to remove and reassemble the door with ease, ensuring your wood stove remains in top condition.

Let’s get started!

Key Takeaways

  • Use a wrench to loosen the bolts on the door hinges and remove them carefully.
  • Ensure the wood stove is cool and clean before removing the door.
  • Inspect the bolts, hinges, and hinge pins for any damage or rust.
  • Gently detach the door from the stove body and set it aside in a safe place.

Tools and Materials Needed

I’ll need a wrench to loosen the bolts on the Blaze King wood stove door.

Before starting, make sure you have all the necessary tools and materials. Here’s a list of what you’ll need:

  • A wrench, preferably a socket wrench, to fit the bolt size
  • A small container to hold the bolts and nuts
  • A soft cloth or towel to protect the stove’s surface.

Step by step, here’s how to unbolt the door:

  1. First, locate the bolts on the door hinges.
  2. Then, use the wrench to loosen the bolts by turning them counterclockwise.
  3. Once all the bolts are loose, carefully remove them and place them in the container.
  4. Finally, gently lift the door off its hinges.

With the door unbolted, you can now proceed to prepare the wood stove for door removal.

Preparing the Wood Stove for Door Removal

I can begin preparing the wood stove for door removal by carefully cleaning the stove’s surface and removing any debris. Before I start, I ensure that the stove is cool and not in use.

Advertisement

Using a soft cloth, I gently wipe the stove’s surface to remove any dirt or dust. This step is essential to prevent any particles from getting inside the stove during the door removal process.

Next, I inspect the stove for any damage or wear. I check for any cracks or signs of deterioration that may affect the door’s removal. If I notice any issues, I address them before proceeding further.

Once I’m satisfied with the surface cleaning and inspection, I’m ready to move on to removing the bolts and hinges, which will allow me to detach the door from the wood stove.

Removing the Bolts and Hinges

To remove the bolts and hinges, I carefully unscrew the four bolts
and use a screwdriver to detach the hinges from the wood stove door.

This process is crucial for troubleshooting issues with a Blaze King wood stove door,
especially if the hinges are rusty. Rusty hinges can cause the door
to become stiff or difficult to open and close.

Advertisement

By removing the bolts and hinges, I can inspect them for any signs of rust or damage.
If I notice rust, I can clean it off using a wire brush and apply a lubricant to prevent future rusting.

Troubleshooting issues with the door hinges is essential to ensure smooth operation
and prevent any potential safety hazards.

Detaching the Door From the Stove Body

Inspecting the stove body and examining any potential damage is crucial before detaching the door to ensure a smooth and safe process. Proper maintenance for a Blaze King wood stove door is essential to avoid common issues with wood stove door detachment.

Here are four steps to successfully detach the door:

  1. Begin by carefully removing any screws or bolts that secure the door to the stove body.

  2. Gently pull the door away from the stove body, being mindful of any resistance or stuck parts.

  3. Inspect the hinges and hinges pins for wear or damage, as these can cause difficulty in detaching the door.

  4. Once the door is detached, set it aside in a safe place to prevent any accidental damage or injury.

By following these steps and ensuring proper maintenance, you can safely detach the door from your Blaze King wood stove.

Advertisement

Now, let’s move on to reassembling the door and the final steps.

Reassembling the Door and Final Steps

After carefully inspecting the hinges and hinge pins, it’s time to reassemble the door and complete the final steps.

When reassembling the door of a Blaze King wood stove, it’s crucial to secure the hinges properly to ensure proper functionality and safety. Start by aligning the door with the stove body, making sure the hinge pins are inserted into their respective holes. Once in place, gently push the door towards the stove until it fully closes.

Next, tighten the hinge screws using a screwdriver, ensuring that they’re securely fastened. It’s important to check that the door opens and closes smoothly without any friction or resistance.

Finally, test the door by gently pulling and pushing on it to ensure that it’s securely attached and operating correctly.

Advertisement

Frequently Asked Questions

How Do I Know When It’s Time to Remove the Door of My Blaze King Wood Stove?

When signs of wear and tear start appearing on my Blaze King wood stove door, I know it’s time to remove it. I follow these steps to safely unbolt the door and ensure proper maintenance.

Can I Remove the Door of My Blaze King Wood Stove Without Any Assistance?

Certainly! Removing the door of a Blaze King wood stove without assistance is possible. However, if you encounter any issues such as bolt stripping, troubleshooting might be required to ensure a successful removal.

Are There Any Special Precautions I Should Take Before Removing the Door of My Blaze King Wood Stove?

Before removing the door of my Blaze King wood stove, I take some precautions. I ensure the stove is completely cool and use protective gloves. The only tool required is a wrench to unbolt the door.

What Should I Do if I Accidentally Strip the Bolts While Removing the Door of My Blaze King Wood Stove?

If I accidentally strip the bolts while removing the door of my Blaze King wood stove, I would first try using a rubber band or a hammer to grip the stripped bolt. If that fails, I may need to resort to drilling it out.

Can I Replace the Hinges on My Blaze King Wood Stove Door if They Become Damaged or Worn Out?

Yes, you can replace the hinges on a Blaze King wood stove door if they become damaged or worn out. There are alternative methods to remove the door, but replacing the hinges is a more permanent solution.

Advertisement

Conclusion

After following these steps, you’ll be amazed at how effortlessly you can unbolt a Blaze King wood stove door. The process may seem daunting at first, but with the right tools and a little know-how, it becomes a breeze.

Remember to take your time and be patient as you detach the bolts and hinges.

Once you’ve reassembled the door, you’ll feel like a seasoned pro, ready to enjoy the warmth and comfort of your wood stove.

Continue Reading

Wood Stove

How To Use Flue Wood Stove

Published

on

By

An image showcasing a cozy living room with a traditional flue wood stove as the focal point

I’ve always been enchanted by the distinct allure of the gentle crackles and mild warmth emanating from a wood stove. There’s an undeniable magic in huddling near the dancing flames during a cool night.

But using a flue wood stove requires some know-how. In this article, I’ll guide you through the essential steps to effectively and safely use your flue wood stove.

From selecting the right wood to adjusting the damper, we’ll cover everything you need to know for a toasty and efficient fire.

Let’s get started!

Key Takeaways

  • Select seasoned hardwoods like oak, maple, or hickory for efficient burning.
  • Properly store wood off the ground in a dry and well-ventilated area to prevent rot and mold growth.
  • Thoroughly clean the chimney and regularly remove ashes to maintain proper air circulation.
  • Ensure the flue is clear and unobstructed, and consider installing a chimney cap for safety.

Selecting the Right Wood for Your Flue Wood Stove

I love using my flue wood stove, but I’m not sure if I’m selecting the right wood for it. When it comes to choosing firewood for your flue wood stove, there are a few factors to consider.

First, you want to make sure the wood is seasoned properly. Green or wet wood won’t burn efficiently and can cause excessive smoke and creosote buildup in your flue. It’s best to use well-seasoned hardwoods like oak, maple, or hickory, which have a lower moisture content.

Advertisement

Additionally, proper wood storage is crucial for maintaining the quality of your firewood. Wood should be stored off the ground, in a dry and well-ventilated area, to prevent rot and mold growth.

Preparing the Firebox and Chimney for Use

To ensure a safe and efficient fire, I always start by thoroughly cleaning the firebox and chimney before using my flue wood stove. Cleaning the chimney is crucial to prevent the buildup of creosote, a highly flammable substance that can cause chimney fires. I use a chimney brush to remove any soot and debris, ensuring that the flue is clear and unobstructed.

Maintaining the firebox is equally important, as it allows for proper air circulation and prevents the risk of a dangerous buildup of ash and debris. I regularly remove ashes and clean the firebox using a fireplace shovel and brush.

By following these steps, I can ensure that my flue wood stove operates safely and efficiently.

Now, let’s move on to lighting and maintaining a safe fire in your flue wood stove.

Advertisement

Lighting and Maintaining a Safe Fire in Your Flue Wood Stove

How can you properly light and maintain a safe fire in your flue wood stove?

When it comes to fire safety, it’s crucial to follow the right procedures for lighting and maintaining a fire in your flue wood stove.

First, ensure that your flue is open and the damper is fully functional to allow for proper ventilation.

Next, gather dry kindling and small pieces of wood to start the fire. Place the kindling in the center of the firebox, followed by the small pieces of wood arranged in a crisscross pattern.

Use a long match or fireplace lighter to ignite the kindling. Once the fire is established, add larger pieces of wood slowly, ensuring that the fire is well-ventilated and not smoldering.

Advertisement

Remember to regularly remove ashes and clean the flue for optimal performance and fire safety.

Adjusting the Damper for Optimal Heat and Efficiency

The key to maximizing heat and efficiency in your flue wood stove is adjusting the damper. The damper controls the airflow, which directly affects the combustion process and heat output. To achieve optimal damper settings, start by fully opening the damper before lighting the fire. Once the fire is established, gradually adjust the damper to control the burn rate and heat output.

If you notice excessive smoke or a weak flame, the damper may be closed too much, restricting airflow. On the other hand, if the fire burns too quickly or produces too much heat, the damper may be open too wide. Troubleshooting common damper issues involves making small adjustments and observing the fire’s behavior. By finding the perfect balance, you can ensure efficient heat production in your flue wood stove.

To continue enjoying the benefits of your flue wood stove, it’s essential to regularly clean and maintain it for longevity. Cleaning the flue and chimney removes creosote buildup, reducing the risk of chimney fires. Use a chimney brush and rods to remove the soot and debris. Additionally, clean the stove’s interior by removing ashes and wiping down the surfaces. Inspect the stove’s components for any signs of damage or wear and replace as necessary.

Maintaining proper airflow and ensuring a tight seal on the stove’s doors and gaskets are also crucial for efficient operation. By implementing a regular cleaning and maintenance routine, you can extend the lifespan of your flue wood stove and continue enjoying its warmth and efficiency for years to come.

Advertisement

Cleaning and Maintaining Your Flue Wood Stove for Longevity

I always make sure to clean and maintain my flue wood stove regularly to ensure its longevity. Proper cleaning and maintenance not only prolongs the lifespan of the stove but also ensures its optimal performance.

Here are some essential steps and tips to help you clean and maintain your flue wood stove effectively:

  • Use cleaning tools such as a wire brush, stove polish, and glass cleaner to remove soot, ash, and creosote buildup from the stove’s surfaces.
  • Inspect and clean the flue pipe regularly to prevent blockages and improve the stove’s efficiency.
  • Troubleshoot common issues like a weak draft or excessive smoke by checking the chimney cap, damper, and air vents for any obstructions.

Frequently Asked Questions

How Do I Properly Season Firewood for Use in a Flue Wood Stove?

To properly season firewood for a flue wood stove, it is essential to let it dry for at least 6 months. Seasoned firewood burns efficiently, produces more heat, and reduces the amount of smoke and creosote buildup in the flue.

Can I Use Softwood in My Flue Wood Stove?

Yes, I can use softwood in my flue wood stove, but it’s better to use hardwood. Hardwood burns longer and produces more heat, making it more efficient for heating.

Are There Any Specific Safety Precautions I Should Take When Lighting a Fire in My Flue Wood Stove?

When lighting a fire in my flue wood stove, I always take proper fire safety precautions. This includes using well-seasoned firewood to prevent excessive smoke and creosote buildup, which can be a fire hazard.

How Do I Know if My Damper Is Functioning Correctly and How Can I Adjust It?

To ensure my damper is functioning correctly, I check for any blockages or build-up and make sure it opens and closes smoothly. If I need to adjust it, I refer to the stove’s manual for specific instructions.

Advertisement

Is There a Recommended Schedule for Cleaning and Maintaining My Flue Wood Stove to Ensure Its Longevity?

There is a recommended cleaning schedule and tips for maintaining a flue wood stove to ensure its longevity. Regular cleaning, inspection, and proper use of the stove can help prevent issues and prolong its lifespan.

Conclusion

In the journey of using a flue wood stove, selecting the right wood is like choosing the path to success.

Preparing the firebox and chimney is like laying a strong foundation for your dreams.

Lighting and maintaining a safe fire is like nurturing your aspirations with care.

Adjusting the damper is like finding the perfect balance in life.

Advertisement

Cleaning and maintaining the stove is like preserving the wisdom gained along the way.

Embrace these steps, and your flue wood stove will guide you towards a warm and fulfilling future.

Continue Reading

Trending