Connect with us

Wood Stove

How To Break In A Wood Stove

Published

on


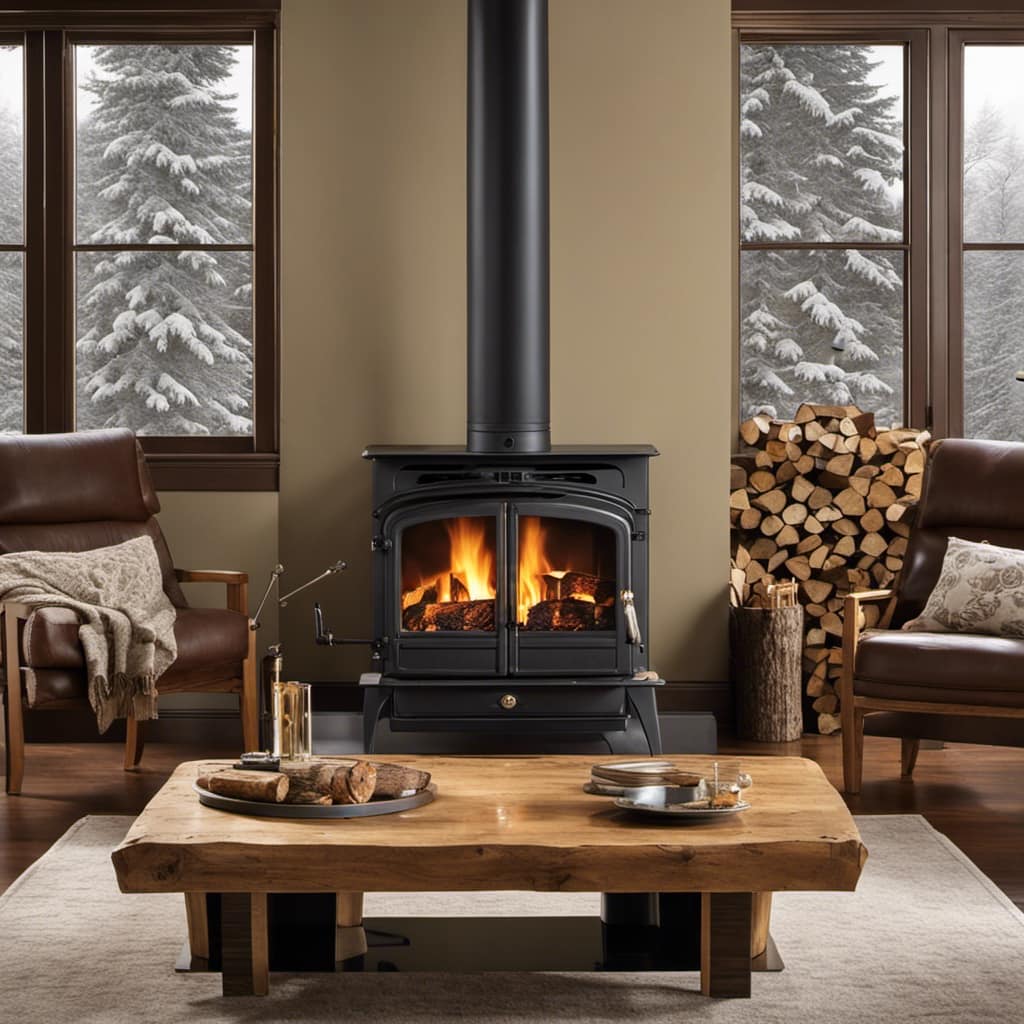
I will instruct you on the correct technique for seasoning a wood stove.

It’s all about choosing the right wood, preparing the stove, and controlling those initial fires.

Gradually increasing burn time and heat output is key.

I’ll also guide you on maintaining and monitoring the stove during the break-in process.wood burning oven

Trust me, I’ve done this countless times and I’m here to share my expertise with you.

Let’s get started!

Advertisement

Key Takeaways

  • Select well-seasoned firewood with a moisture content of around 20% for efficient burning and to prevent stove damage.
  • Monitor and adjust airflow using the damper to ensure maximum airflow and proper combustion.
  • Gradually increase burn time and heat output while monitoring temperature levels for optimal performance.
  • Regularly maintain and monitor the stove by checking temperature gauge, cleaning ash and debris, and inspecting gaskets and seals for air leaks.

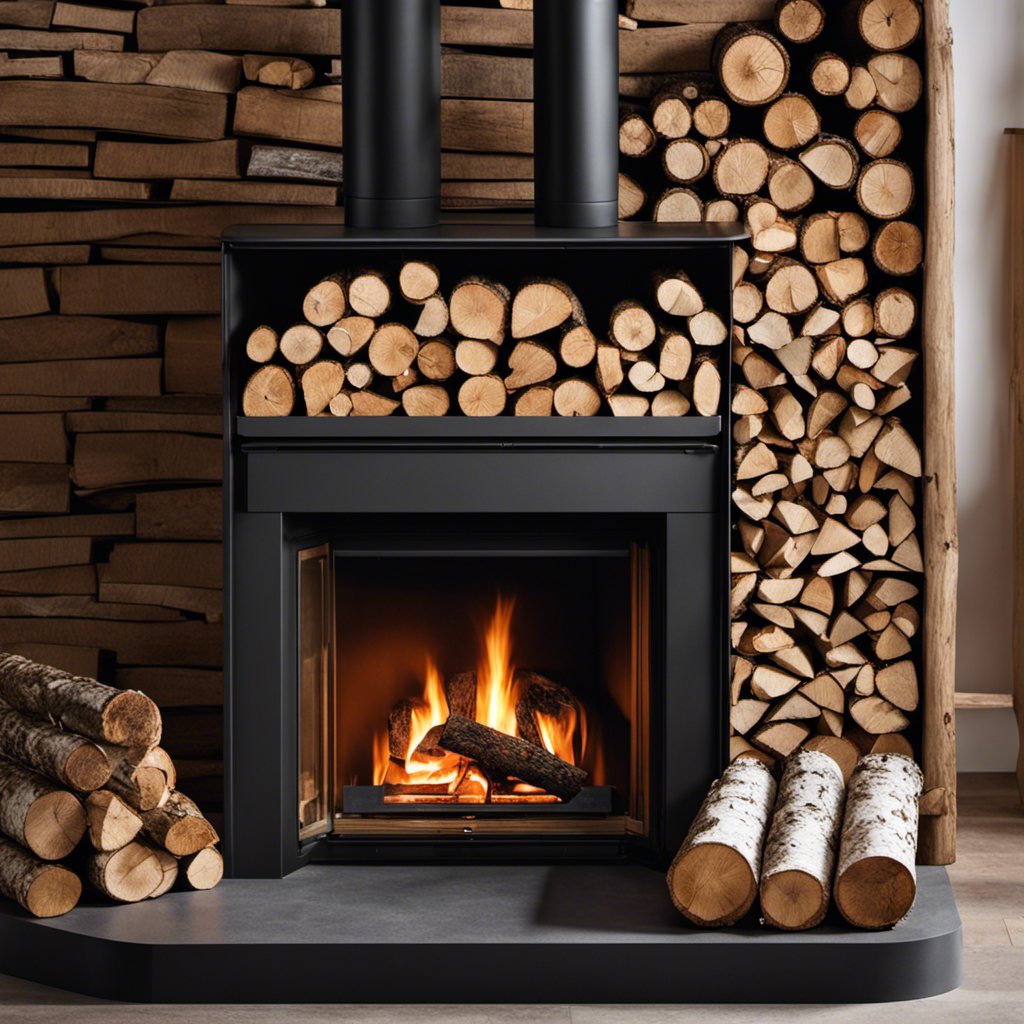
Choosing the Right Wood for Break-in

I should select the appropriate type of wood for the break-in process of my wood stove. Proper seasoning techniques for firewood are crucial to ensure efficient burning and prevent damage to the stove.

When choosing the right wood, one important factor to consider is the moisture content. Green or freshly cut wood contains a high moisture content, making it unsuitable for immediate use. It’s recommended to select well-seasoned firewood with a moisture content of around 20%. Seasoned wood burns cleaner and produces more heat, improving the performance of the stove.wood stoves for sale at lowes

To properly season firewood, it should be cut to the desired length and split to expose the inner sections. The wood should then be stacked in a dry, well-ventilated area for at least six months to a year. This allows the wood to dry out and reach the ideal moisture level for efficient burning.

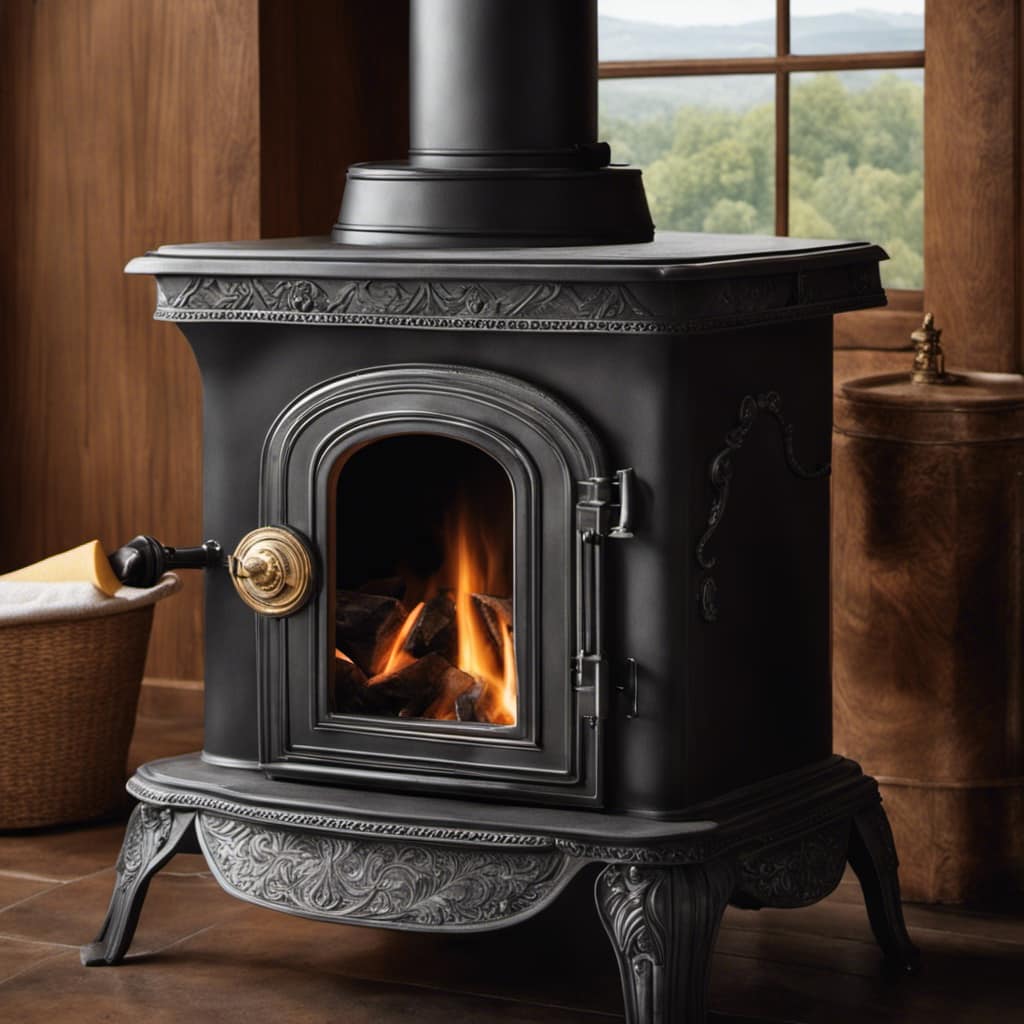
Preparing the Stove for First Use

Before using it for the first time, I like to make sure the stove is properly prepared.

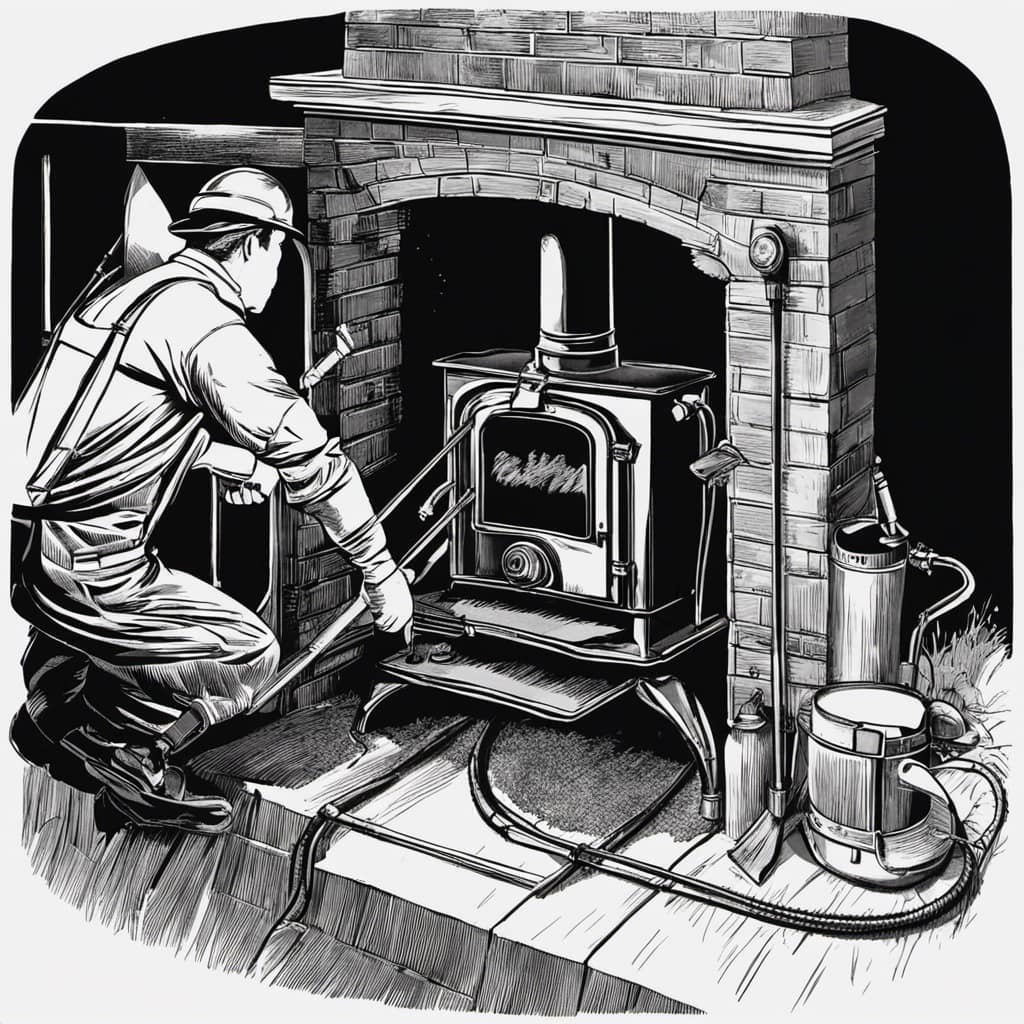
Proper ventilation for a wood stove is crucial for safe and efficient operation. I start by checking that all the vents are open and clear of any obstructions. This allows for a good airflow and prevents the build-up of harmful gases inside the house.

Next, I make sure to clear the chimney before first use. Over time, creosote and debris can accumulate in the chimney, posing a fire hazard. I use a chimney brush to thoroughly clean the flue and remove any blockages. This ensures that the smoke can be properly vented outside and prevents the risk of chimney fires.lopi wood stove prices

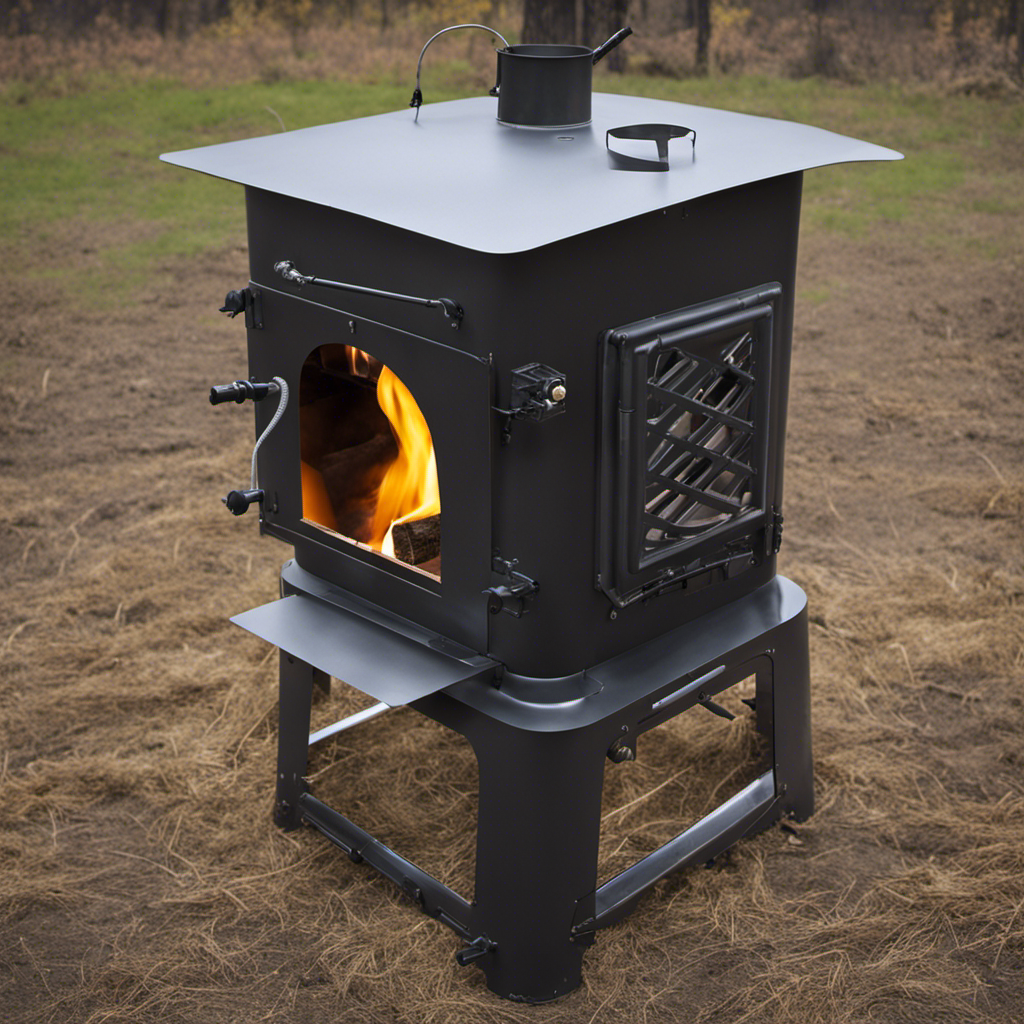
Controlling the Initial Fires

To control the initial fires, it’s important to monitor the airflow and adjust the damper accordingly. This will ensure a steady and efficient burn. Here are some key points to consider when controlling airflow during the initial fires:

  • Open the damper fully to allow for maximum airflow.
  • Use seasoned wood for better combustion and less smoke.
  • Arrange the wood in a way that allows for proper airflow between the logs.
  • Keep the stove door slightly ajar to provide additional oxygen for the fire.
  • Use a stove thermometer to monitor the temperature and adjust the damper as needed.

Controlling the airflow during the initial fires is crucial for a successful break-in period. It allows the stove to reach its optimal operating temperature and ensures a clean burn. By following these steps, you’ll set a solid foundation for gradually increasing burn time and heat output.

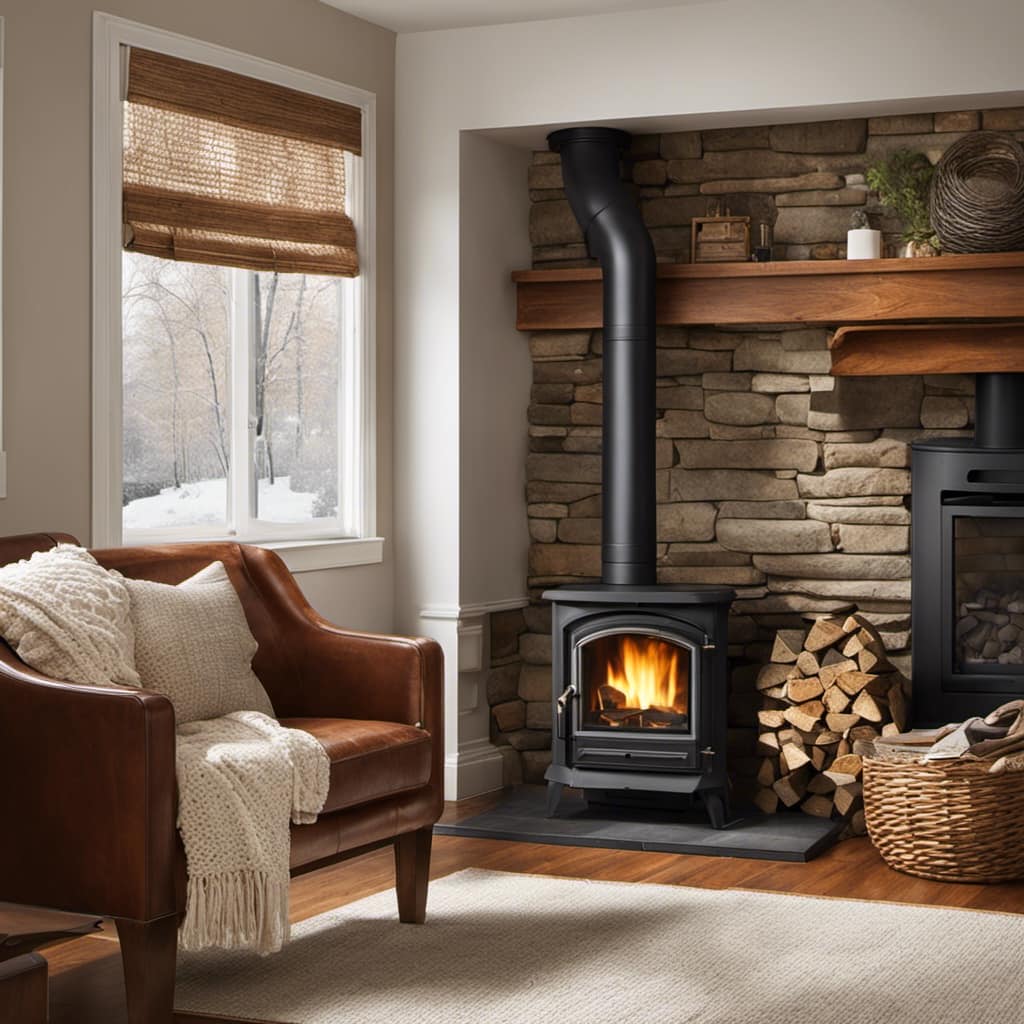
Gradually Increasing Burn Time and Heat Output

By gradually increasing the burn time and heat output, I can optimize the performance of my fireplace. This process allows the wood stove to adjust and acclimate to longer burn cycles, resulting in a more efficient and reliable heating source. Monitoring temperature levels is crucial during this phase to ensure that the stove is operating within the optimal range. I use a reliable thermometer to keep a close eye on the temperature and make adjustments as needed. Additionally, ensuring proper ventilation is essential to prevent the buildup of harmful gases and maintain a healthy indoor air quality. Opening the damper and adjusting the air intake controls will help regulate the airflow and maintain a clean burn. Through this gradual process, I can achieve optimal performance and maximize the efficiency of my wood stove.

Advertisement
Temperature Levels Proper Ventilation
Monitor regularly to prevent overheating or underperformance Adjust the damper and air intake controls for optimal airflow
Use a reliable thermometer to track temperature changes Keep the area around the stove clear of obstructions
Make adjustments as needed to maintain an optimal burn Regularly clean the chimney and flue to ensure proper ventilation
Avoid excessive creosote buildup by maintaining proper airflow Consider installing a carbon monoxide detector for added safety

Are There Risks or Dangers in Using a Wood Stove with Bolts?

Using a wood stove with bolts can pose serious risks and dangers. The presence of bolts can disrupt the proper functioning of the stove, leading to potential safety hazards such as leaks or malfunctions. To avoid these risks, it is essential to know how to remove bolts and ensure the stove is properly maintained.

Maintaining and Monitoring the Stove During Break-in

During the break-in period, I carefully observe temperature levels and ensure proper ventilation to optimize the performance of my new heating appliance. This is crucial to ensure the longevity and efficiency of the wood stove. Here are some key steps I take to maintain and monitor the stove during this period:vogelzang wood stove

  • I regularly check the temperature gauge to ensure it stays within the recommended range. This helps prevent overheating or insufficient heat output.

  • I make sure to keep the air vents open to allow for proper airflow. This helps with the combustion process and ensures the wood burns efficiently.

  • I clean the stove regularly to remove any ash or debris that can hinder its performance.

  • I inspect the gaskets and seals to ensure they’re intact and functioning properly. This prevents any air leaks that can affect the stove’s efficiency.wood burning stove with blower

  • I keep a log of the stove’s performance, noting any irregularities or issues that may need to be addressed.

Frequently Asked Questions

What Are the Potential Dangers or Risks Associated With Breaking in a Wood Stove?

Potential risks associated with breaking in a wood stove include improper ventilation leading to carbon monoxide poisoning, chimney fires, and burns. Safety precautions such as following manufacturer’s instructions, using proper fuel, and regular maintenance can mitigate these dangers.

Can I Use Any Type of Wood for the Break-In Process?

When breaking in a wood stove, it’s crucial to select the right type of wood. Different woods have varying burn rates and moisture levels. Proper wood selection ensures a successful and efficient break-in process.

How Long Does the Break-In Period Typically Last?

The length of the break-in period for a wood stove can vary depending on factors like stove type and usage. However, typically it lasts around 5-10 fires. To ensure a successful break-in, follow these tips.

Advertisement
wood stoves for sale craigslist

Are There Any Specific Maintenance Tasks That Need to Be Done After the Break-In Period?

After the break-in period, regular maintenance tasks are necessary to keep a wood stove in good condition. This includes cleaning the stovepipe, inspecting the gaskets, and removing any ash buildup.

Can I Use My Wood Stove for Cooking During the Break-In Period?

During the break-in period, it’s not recommended to use a wood stove for cooking. This helps ensure proper maintenance and prevents any damage. However, once the break-in period is over, there are many benefits to using a wood stove for cooking.

Conclusion

In conclusion, breaking in a wood stove is an important step to ensure its optimal performance and longevity.

By choosing the right wood, preparing the stove properly, and gradually increasing burn time and heat output, you can ensure a smooth break-in process.antique wood burning stove

It’s interesting to note that according to a study, properly breaking in a wood stove can increase its efficiency by up to 20%, saving you money on fuel in the long run.

So take the time to break in your wood stove properly and enjoy its benefits for years to come.

Advertisement

Growing up surrounded by the vast beauty of nature, Sierra was always drawn to the call of the wild. While others sought the comfort of the familiar, she ventured out, embracing the unpredictable and finding stories in the heartbeat of nature.   At the epicenter of every remarkable venture lies a dynamic team—a fusion of diverse talents, visions, and passions. The essence of Best Small Wood Stoves is crafted and refined by such a trio: Sierra, Logan, and Terra. Their collective expertise has transformed the platform into a leading authority on small wood stoves, radiating warmth and knowledge in equal measure.

Continue Reading
Advertisement

Wood Stove

How To Get A Wood Stove To Draw Better

Published

on

By

An image showcasing a close-up of a wood stove's chimney, with billowing smoke gracefully spiraling upwards

I’ve always held dear the soothing warmth that radiates from a wood stove during a cool evening.

But when it’s struggling to draw properly, it can be frustrating. That’s why I’ve learned some tricks to improve its performance.

In this article, I’ll share my knowledge and experience on understanding the principles of draft, ensuring proper airflow, choosing the right wood, and clearing obstructions.

By using these techniques, you’ll be able to enhance the draw of your wood stove and enjoy its comforting heat to the fullest.

Key Takeaways

  • Properly size and insulate the chimney to maintain a strong draft.
  • Clear debris and seal leaks to ensure proper airflow and prevent air leaks.
  • Use hardwoods like oak or maple for better draw, as they burn slower and produce less smoke.
  • Regularly inspect and clean the flue to remove obstructions and maintain optimal draft.

Understanding the Principles of Draft in a Wood Stove

I’ve been experimenting with different techniques to improve the draft in my wood stove.

Improving combustion and troubleshooting draft issues are essential for efficient and effective heating.

Advertisement

To understand how to improve the draft, it’s crucial to grasp the principles behind it. Draft in a wood stove relies on the natural flow of air from the firebox through the chimney.

The temperature difference between the firebox and the outside air creates a pressure difference, resulting in the upward movement of hot gases.

Several factors can affect draft, including chimney height, diameter, and insulation.

A properly sized and insulated chimney can help maintain a strong draft, while obstructions or leaks can hinder it.

Ensuring Proper Airflow for Improved Stove Performance

Addressing obstructions and leaks, while ensuring proper insulation and chimney size, significantly improves the airflow in a wood stove, leading to improved stove performance. To achieve better ventilation and maximize the efficiency of your wood stove, consider the following:

Advertisement

  • Clearing any debris or obstructions from the chimney to allow for proper airflow.
  • Sealing any leaks or gaps in the stove or chimney to prevent air leaks.
  • Adjusting damper settings to control the amount of air entering the stove.
  • Installing a stovepipe thermometer to monitor and optimize the temperature.
  • Adding an external air supply to provide fresh air directly to the fire.

By implementing these measures, you can enhance the ventilation of your wood stove and ensure that it operates at its best.

However, improving ventilation isn’t the only factor that affects the draw of a wood stove. Another crucial aspect is choosing the right wood.

Choosing the Right Wood for Better Draw

To achieve a better draw, it is important to select the right type of wood and use it in conjunction with proper ventilation techniques. Choosing the right firewood can greatly impact the performance of your wood stove. Softwoods, such as pine or fir, are known to burn quickly and produce a high amount of smoke, which can hinder airflow. Hardwoods, on the other hand, like oak or maple, burn slower and produce less smoke, making them ideal for improving airflow. In addition to choosing the right wood, improving airflow is crucial. Ensuring proper ventilation by opening the damper fully and providing enough space for air to circulate around the stove will enhance the draw. By considering these factors, you can optimize your wood stove’s performance and enjoy a more efficient and enjoyable heating experience.

Pros Cons Best For
Burns slower Can be more expensive Hardwoods (e.g., oak, maple)
Produces less smoke Requires more drying time
Provides better airflow

Clearing Obstructions and Cleaning the Flue for Optimal Draft

I need to clean the flue at least once a year to ensure optimal draft and prevent any obstructions. Chimney maintenance is crucial for the proper functioning of a wood stove, as it helps to prevent smoke issues and ensures efficient burning.

Here are some key points to consider when it comes to clearing obstructions and cleaning the flue:

  • Regularly inspect and clean the flue to remove any creosote buildup or debris.
  • Use a chimney brush and rods to thoroughly clean the flue from top to bottom.
  • Check for any cracks or damages in the flue liner and repair them promptly.
  • Install a chimney cap to prevent animals from entering and obstructing the flue.
  • Consider hiring a professional chimney sweep for a thorough cleaning and inspection.

By following these maintenance practices, you can troubleshoot smoke issues and ensure that your wood stove operates at its best.

Now, let’s explore additional techniques to enhance the draw of your wood stove.

Advertisement

Utilizing Additional Techniques to Enhance the Draw of Your Wood Stove

One technique I’ve found helpful for enhancing the draw of my wood stove is using a damper and adjusting it accordingly.

A damper is a device that controls the airflow within the chimney. By installing a damper, you can regulate the amount of air entering the stove, which directly affects the draw.

When the damper is fully open, more air is allowed into the stove, creating a stronger draw. Conversely, when the damper is partially or fully closed, less air is allowed in, resulting in a weaker draw.

Another technique that can be used in conjunction with a damper is using chimney fans. These fans are designed to increase the air flow within the chimney and can significantly enhance the draw of the wood stove.

Frequently Asked Questions

Can I Use Any Type of Wood in a Wood Stove?

Yes, you can use various types of wood in a wood stove. However, it’s important to use seasoned wood as it burns more efficiently, produces more heat, and creates less creosote buildup in the chimney.

Advertisement

How Often Should I Clean the Flue of My Wood Stove?

To ensure proper functioning and safety, it is important to clean the flue of a wood stove regularly. The frequency of flue cleaning depends on usage and the type of wood burned. Regular maintenance is essential for optimal wood stove performance.

Can I Install a Wood Stove in a Mobile Home?

Installing a wood stove in a mobile home requires adherence to specific regulations. However, the benefits of having a wood stove in a mobile home include increased warmth, energy efficiency, and cost savings on heating bills.

What Is the Average Lifespan of a Wood Stove?

The average lifespan of a wood stove can vary depending on factors such as maintenance and usage. To extend the lifespan, regular cleaning, proper installation, and using dry seasoned wood are recommended.

Are There Any Safety Precautions I Should Take When Using a Wood Stove?

When using a wood stove, it’s crucial to prioritize safety. Proper ventilation and carbon monoxide monitoring are essential. Additionally, regular chimney inspections and maintenance play a vital role in ensuring the safety of your wood stove.

Conclusion

In conclusion, just like a river that flows freely, a well-drawing wood stove requires understanding, maintenance, and the right fuel. By grasping the principles of draft, ensuring proper airflow, choosing the right wood, and clearing obstructions, you can enhance the performance of your wood stove.

Advertisement

Think of your wood stove as a majestic dragon that needs care and attention to unleash its full potential. With these techniques, you can create a warm and cozy atmosphere that will captivate and comfort all who gather around it.

Continue Reading

Wood Stove

How To Plug A Hole Chimney Unused Wood Stove Hole

Published

on

By

An image showcasing a sturdy metal plate precisely covering a dormant wood stove hole in a brick chimney

So, you find yourself with an empty space where there used to be a wood stove connected to your chimney, and you’re considering the best method to seal it off.

Well, you’re in luck because I’ve got all the steps you need to do just that.

From assessing the hole to gathering materials and sealing it up with insulation, I’ll guide you through each step.

By the time we’re done, your chimney will be hole-free and ready to go.

Let’s get started, shall we?

Advertisement

Key Takeaways

  • Prioritize safety and promptly address any issues with the chimney hole
  • Gather the necessary materials such as bricks, mortar, chimney cap, and insulation
  • Clean out debris and obstructions before sealing the hole with insulation
  • Regularly inspect and maintain the sealed hole to ensure its good condition

Assessing the Chimney Hole

I’m currently evaluating the condition of the chimney hole to determine the necessary repairs.

When it comes to chimney repair, it’s essential to prioritize safety. A damaged chimney can pose serious risks, including the potential for carbon monoxide leaks and chimney fires.

As I inspect the chimney hole, I’m looking for any signs of deterioration or damage. This may include cracks, loose bricks, or a deteriorated chimney cap. It’s crucial to address these issues promptly to ensure the safety of your home and family.

Depending on the severity of the damage, repairs may range from simple fixes, such as sealing cracks, to more extensive repairs, such as rebuilding sections of the chimney.

Gathering the Necessary Materials

Before starting the repairs, I’ll gather the necessary materials, such as bricks, mortar, and a chimney cap.

Choosing the right insulation is crucial to ensure that the unused wood stove hole is properly sealed. It’s important to consider factors such as heat resistance and moisture protection when selecting insulation. Fiberglass insulation with a high R-value is often recommended for this purpose.

Advertisement

Additionally, proper disposal of wood stove components is essential for safety and environmental reasons. Any leftover wood, ashes, or debris should be carefully removed and disposed of according to local regulations. It’s important to avoid burning or dumping these materials, as they can release harmful pollutants into the air or contaminate soil and water sources.

Preparing the Chimney Hole

I’ll clean out any debris from the chimney hole to prepare it for sealing. Before I start repairing the chimney hole, it’s important to ensure that it’s free from any debris or obstructions. I’ll use a chimney brush or a vacuum cleaner to remove any soot, ash, or other buildup that may have accumulated over time. This step is crucial in order to create a clean surface for the sealing material to adhere to.

Once the chimney hole is cleaned, I can begin the process of sealing it. There are various methods and materials that can be used for this purpose. One option is to use a chimney plug or cap specifically designed for sealing unused chimney flues. These plugs are easy to install and provide a tight seal to prevent drafts and water leakage.

Alternatively, if you’re looking for alternative uses for the unused wood stove hole, you can consider converting it into a decorative feature. Some ideas include installing a small shelf or display area, creating a faux fireplace with decorative logs, or even turning it into a planter for indoor plants.

Sealing the Hole With Insulation

To effectively seal the hole, I can use insulation and a cap to prevent drafts and water leakage. There are different types of insulation that can be used for this purpose.

Advertisement

One common type is fiberglass insulation, which is easy to install and provides good thermal insulation. Another option is spray foam insulation, which can be applied directly to the hole and expands to fill any gaps or cracks. It provides excellent air sealing and insulation properties.

When sealing the hole, it’s important to avoid common mistakes. One common mistake isn’t properly cleaning the area before applying the insulation. Dust, debris, and old caulk should be removed to ensure a proper seal. Another mistake is using the wrong type of insulation for the specific hole. It’s important to choose an insulation material that’s suitable for the size and shape of the hole.

Finishing Touches and Maintenance

I’ve already sealed the hole, so now I just need to do some finishing touches and maintenance to ensure it stays in good condition. Here are some chimney hole repair tips and DIY wood stove removal suggestions for maintaining the hole:

  • Inspect Regularly: Check the sealed hole periodically for any signs of damage or wear. Look for cracks, gaps, or any signs of moisture leakage. This will help you catch any issues early on and prevent further damage.

  • Clean the Area: Keep the area around the sealed hole clean and free from debris. This will prevent any potential blockages and ensure proper airflow.

  • Weatherproofing: Apply a weatherproof sealant or caulk around the edges of the sealed hole. This will provide an extra layer of protection against the elements, preventing water penetration and potential damage.

Frequently Asked Questions

Can I Use Regular Household Items Instead of the Recommended Materials for Sealing the Chimney Hole?

Yes, you can use alternative materials to seal the chimney hole. It’s a cost-effective solution that many people opt for. However, it’s important to ensure that the materials you choose are safe and effective for this purpose.

How Long Does the Insulation Material Typically Last Before Needing to Be Replaced?

Insulation material typically lasts around 20 to 30 years before needing replacement. It’s important to choose the right insulation material based on factors like heat resistance and durability. Signs of replacement include wear, damage, and decreased energy efficiency.

Advertisement

Is It Necessary to Hire a Professional to Plug the Chimney Hole or Can It Be Done as a DIY Project?

I’ve found that plugging the chimney hole can be a DIY project, depending on your skill level and comfort. However, hiring a professional ensures proper sealing and reduces the risk of damage. Budget-friendly alternatives include using chimney caps or sealing with fire-resistant materials.

Can I Use the Same Method to Plug a Hole in a Chimney That Is Still in Use?

I can’t use the same method to plug a chimney hole that is still in use. It’s important to prioritize chimney hole safety and maintenance when dealing with an active chimney. It’s best to consult a professional for a proper solution.

Are There Any Safety Precautions I Should Take While Plugging the Chimney Hole?

When plugging a chimney hole, it is important to take safety precautions. Make sure to wear protective gear and work in a well-ventilated area. Additionally, consider alternative materials like chimney plugs or expanding foam to effectively seal the hole.

Conclusion

In conclusion, plugging a hole in a chimney is a simple and cost-effective way to prevent drafts and heat loss. By assessing the hole, gathering the necessary materials, preparing the chimney, sealing it with insulation, and adding finishing touches, you can ensure a snug and efficient solution.

Remember to regularly check and maintain the seal to keep your home cozy and energy-efficient. So, say goodbye to chilly drafts and hello to a well-insulated home!

Advertisement

Continue Reading

Wood Stove

How To Install A Flue On A Wood Stove

Published

on

By

An image of a skilled individual wearing protective gear, positioned near a wood stove

I’ve always held the conviction that the essence of a warm and inviting home lies in the presence of an operational wood stove.

And when it comes to installing a flue on that wood stove, it’s crucial to get it right. That’s why I’m here to guide you through the process, step by step.

From choosing the right flue to testing and maintaining the system, I’ll provide you with the technical knowledge and detailed instructions you need.

Let’s get started on creating a safe and efficient flue system for your wood stove.

Key Takeaways

  • Flue size and material choice are crucial for efficiency and safety of the wood stove
  • Consult manufacturer’s guidelines or professionals for correct flue size and material options
  • Proper preparation of the wood stove, including cleaning and inspection, is necessary before flue installation
  • Securely install the flue pipe and chimney cap to prevent debris and moisture entry

Choosing the Right Flue for Your Wood Stove

I’m having trouble deciding which flue is the right one for my wood stove. The size of the flue is an important consideration as it affects the efficiency and safety of the stove. The flue should be sized correctly to allow for proper airflow and to prevent the buildup of smoke and harmful gases. It’s important to consult the manufacturer’s guidelines or a professional to determine the appropriate flue size for your specific wood stove.

Additionally, there are various flue material options available, such as stainless steel, cast iron, or clay. Each material has its own advantages and considerations, including durability, insulation properties, and cost. Considering the flue size and material options will help ensure a successful installation.

Advertisement

Now that I understand the importance of choosing the right flue, it’s time to gather the necessary tools and materials.

Gathering the Necessary Tools and Materials

To properly install the flue, I’ll need a chimney brush and a ladder to clean out any debris. Once the chimney is clear, I can move on to selecting the right flue size. This is crucial for proper ventilation and efficient operation of the wood stove. Here are the steps I’ll follow:

  1. Measure the diameter of the stove’s flue collar.
  2. Determine the recommended flue size based on the stove manufacturer’s guidelines.
  3. Choose a flue that matches the stove’s requirements, ensuring a proper fit.

In addition to selecting the correct flue size, proper insulation is also essential. This helps prevent heat loss and ensures optimal performance. I’ll make sure to use high-quality insulation materials, such as ceramic fiber or rock wool, to insulate the flue properly.

Preparing the Wood Stove for Flue Installation

I’ll start by removing any debris and cleaning out the stove pipe before installing the flue. The first step in preparing the wood stove for flue installation is to ensure that the stove pipe is clear of any obstructions or build-up. This is crucial for the proper functioning of the flue system. I’ll carefully inspect the pipe to make sure there are no cracks or damages that could compromise its integrity.

Next, I’ll measure the diameter of the stove pipe to determine the correct sizing requirements for the flue. It’s important to choose a flue that matches the size of the stove pipe to ensure a tight and secure fit. Additionally, I’ll take all necessary safety precautions, such as wearing protective gloves and eyewear, to prevent any injuries during this process.

Now that the stove pipe is clean and the sizing requirements are determined, I can move on to installing the flue pipe and chimney cap.

Advertisement

Installing the Flue Pipe and Chimney Cap

I will carefully attach the flue pipe to the stove pipe, and then secure the chimney cap in place.

When installing the flue pipe, it’s crucial to follow proper procedures to ensure optimal chimney maintenance and prevent any potential issues with flue functionality. Here are three key steps to consider:

  1. Align the flue pipe and stove pipe: Make sure the flue pipe is properly aligned with the stove pipe to ensure a secure fit. This will prevent any leaks or gaps that could affect the efficiency of the flue system.

  2. Secure the connection: Use high-quality metal screws or clamps to secure the flue pipe to the stove pipe. This will ensure a tight and stable connection, minimizing the risk of any disconnection or movement during operation.

  3. Install the chimney cap: The chimney cap plays a vital role in preventing debris, animals, and moisture from entering the flue system. Carefully install the chimney cap, ensuring it’s securely attached to the flue pipe.

By following these steps, you can effectively install the flue pipe and chimney cap, ensuring proper functionality and minimizing the need for troubleshooting flue issues.

Now, let’s move on to testing and maintaining the flue system for optimal performance.

Testing and Maintaining the Flue System

I’m regularly inspecting and cleaning the flue system to ensure its proper functioning and prevent any potential hazards.

Advertisement

Flue system troubleshooting is a crucial aspect of maintaining a safe and efficient wood stove. A poorly maintained flue can lead to a variety of problems, such as inadequate draft, excessive smoke, or even chimney fires.

Regular maintenance involves inspecting the flue pipe for any signs of damage or blockage, such as creosote buildup or debris. Additionally, it’s important to ensure that the flue damper is working correctly and fully opening and closing.

Cleaning the flue system involves removing any obstructions or debris using a chimney brush or professional cleaning tools.

Frequently Asked Questions

Can I Install a Flue on a Wood Stove Without Professional Help?

Yes, I can install a flue on a wood stove without professional help. It is important to have a good understanding of wood stove maintenance and follow the proper installation instructions for safety.

How Often Should I Clean My Flue System?

Regular flue maintenance is essential for the safe and efficient operation of your wood stove. You may be wondering how often you should clean your flue system. Let’s delve into the importance of regular maintenance.

Advertisement

Can I Use the Same Flue Pipe for Multiple Wood Stoves?

Yes, you can use the same flue pipe for multiple wood stoves, as long as the flue pipe is compatible with each stove. It is important to ensure proper installation and safety measures are followed.

Is It Necessary to Use High-Temperature Sealant When Installing the Flue Pipe?

Using high-temperature sealant when installing a flue pipe is crucial. Not using it can lead to potential risks like leaks, fire hazards, and inefficient stove performance. Explore alternative sealants, but prioritize safety.

Can I Use a Different Type of Chimney Cap for My Wood Stove?

Yes, you can use different chimney caps for your wood stove. There are alternative flue options available that can accommodate various types of caps, providing flexibility in design and functionality.

Conclusion

In conclusion, installing a flue on a wood stove is a technical and detailed process that requires the right tools and materials.

By choosing the appropriate flue, properly preparing the wood stove, and correctly installing the flue pipe and chimney cap, you can ensure the safe and efficient operation of your wood stove.

Advertisement

Regular testing and maintenance of the flue system will help to maintain its effectiveness and ensure a cozy and warm home.

Continue Reading

Trending