I’ve just installed a new wood stove and am excitedly anticipating its initial real-life application.
In this article, I’ll share my step-by-step guide on how to season and maintain your new wood stove.
We’ll cover everything from preparing the stove for use to controlling airflow and draft.
Follow these tips and you’ll be enjoying the cozy warmth of your wood stove in no time.
Let’s get started!
Key Takeaways
- Clean out ashes and check the flue before using the wood stove.
- Season the stove with small fires to remove residual oils and excess moisture.
- Gradually increase the heat output while taking safety precautions and monitoring the stove’s temperature.
- Properly control airflow and draft to ensure safe and efficient operation.

Hanaoyo Wood Stove Thermometer with Large Dial, Magnetic Stove Pipe Thermometer for Wood, Gas, Pellet Stoves (1 Piece)
Premium Quality: Our stove thermometer is designed with aluminum dial, metal thermometer sensor, brass pointer and metal handle,…
As an affiliate, we earn on qualifying purchases.
As an affiliate, we earn on qualifying purchases.
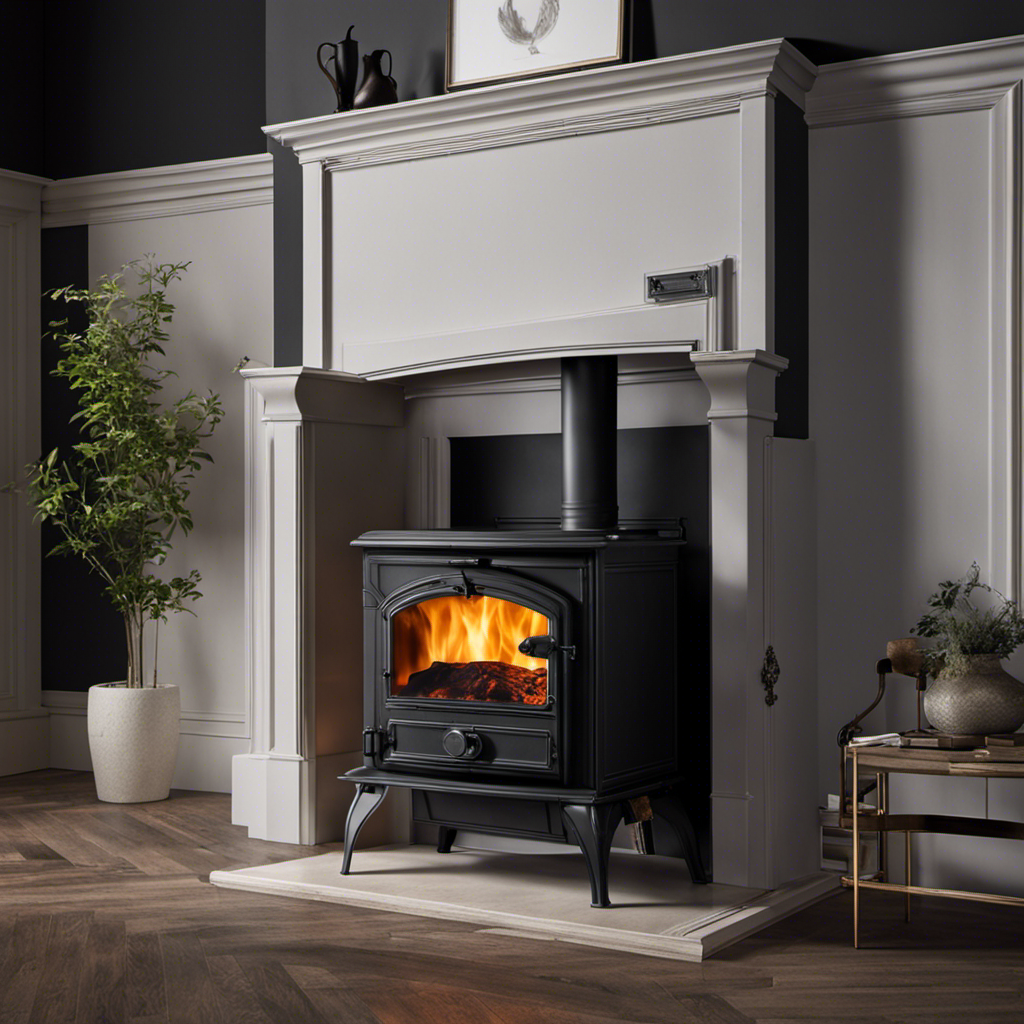
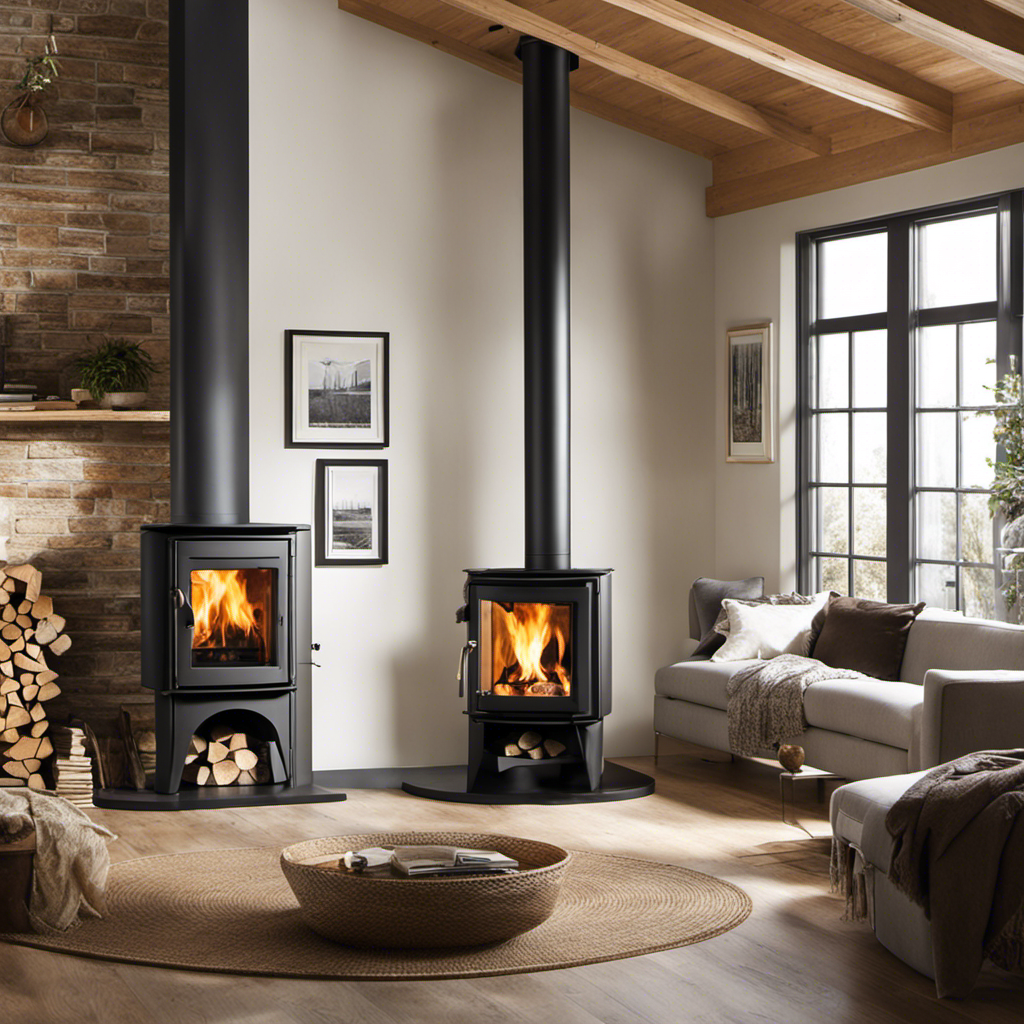
Preparing Your Wood Stove for Use
I’m getting my wood stove ready for use by cleaning out the ashes and checking the flue. It’s important to start with a clean slate to ensure efficient and safe operation.
Choosing the right firewood is essential for optimal performance. Hardwoods like oak or maple are ideal as they burn longer and produce more heat. Softwoods, on the other hand, like pine or spruce, ignite quickly but burn faster. Remember to avoid using green or unseasoned wood as it can create excessive smoke and creosote buildup.
Additionally, ensuring proper ventilation is crucial for the wood stove to function effectively. Make sure the flue is open and clear of any obstructions to allow for proper airflow and prevent smoke from filling your home.

Sealegend 30 Feet Chimney Sweep Kit Chimney Brush, Chimney Cleaning Kit and Rotary Chimney Cleaning System, Fireplace Brush Tool with 9 Nylon Flexible Rods
[Button Locking Design] The chimney sweep kit features a beautiful chrome-plated button design that ensures that it will…
As an affiliate, we earn on qualifying purchases.
As an affiliate, we earn on qualifying purchases.
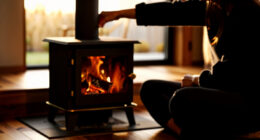
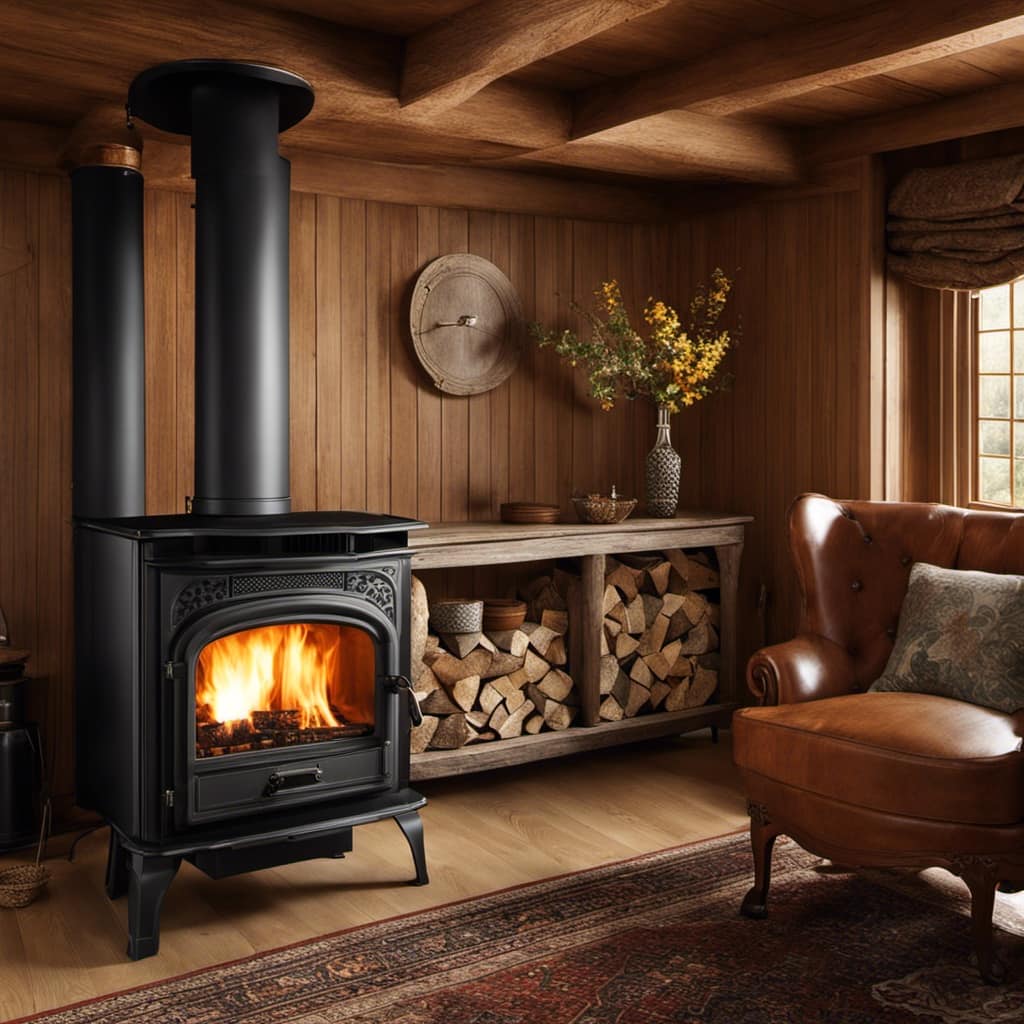
Seasoning the Stove With Small Fires
To properly prepare my stove for use, it’s crucial to gradually introduce small fires in order to season it. Seasoning the stove involves slowly and carefully burning small fires to help the stove adjust to the heat and prevent damage.
There are several benefits of seasoning a new wood stove. Firstly, it helps to remove any residual manufacturing oils or coatings that may be present on the stove. Secondly, it allows the stove to expand and contract gradually, reducing the risk of cracks or other structural issues. Additionally, seasoning the stove helps to burn off any excess moisture that may be present in the stove or surrounding materials.
It’s important to avoid common mistakes during the seasoning process, such as starting with large fires or using wet or green wood. By following the proper seasoning techniques, I can ensure that my wood stove will be ready for efficient and safe use.
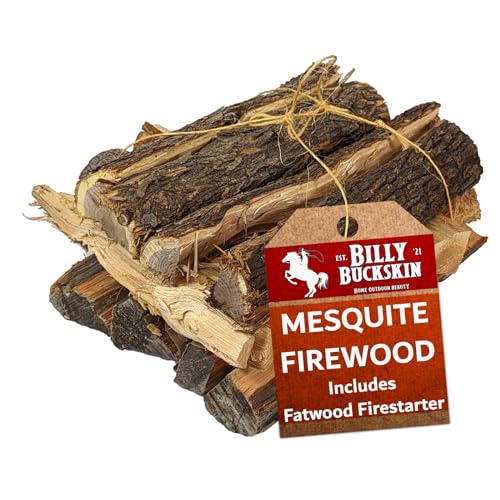
Billy Buckskin 18 LB Mesquite Firewood Bundle – Aromatic & Seasoned Wood Logs with Fatwood Starter Sticks for Fire Pit, Campfire, Fireplace, Wood Stoves and Outdoor Grilling
MESQUITE WOOD FOR BOLD FLAVOR & HEAT: This 18 LB mesquite firewood burns hot and long with a…
As an affiliate, we earn on qualifying purchases.
As an affiliate, we earn on qualifying purchases.
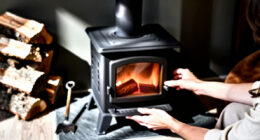
Gradually Increasing the Heat Output
As I increase the heat output, my stove gradually adjusts to the higher temperatures. It’s important to take safety precautions and ensure proper ventilation when operating a wood stove. To help you better understand the importance of these measures, let’s take a look at a table showcasing potential risks and the corresponding actions to mitigate them:
| Risk | Action |
|---|---|
| Carbon Monoxide Poisoning | Install a carbon monoxide detector and ensure proper airflow. |
| Fire Hazard | Keep flammable materials at a safe distance and use a fireproof hearth pad. |
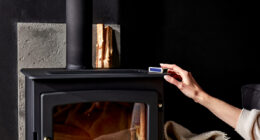
| Overheating | Monitor the stove’s temperature and use a stove thermometer. |
| Smoke Backup | Clean the chimney regularly and ensure it is clear of obstructions. |

Mom's Choice Gold Awards Winner – Stove Knob Covers for Child Safety (5 + 1 Pack) Double-Key Design and Upgraded Universal Size Gas Knob Covers Clear View Childproof Oven Knob Covers for Kids and Pets
1. [Easy to Use for Adults] The new unlocking method with a improved safety factor makes it hard…
As an affiliate, we earn on qualifying purchases.
As an affiliate, we earn on qualifying purchases.
Properly Controlling Airflow and Draft
Properly controlling the airflow and draft is essential for maintaining a safe and efficient operation of the stove. When it comes to controlling temperature, there are a few key factors to consider.
Air Intake: Adjusting the air intake controls the amount of oxygen that enters the stove. This, in turn, affects the combustion process and heat output. Finding the right balance is crucial for achieving the desired temperature and avoiding excessive creosote buildup.
Flue Damper: The flue damper helps regulate the draft by controlling the flow of smoke and gases out of the stove. By adjusting the damper, you can control the rate of combustion and prevent the stove from overheating.
Secondary Air: Some stoves have secondary air controls that allow for additional air to be introduced into the firebox. This helps to burn off any remaining gases, reducing creosote buildup and improving the overall efficiency of the stove.
What is the proper way to break in a new wood stove?
When breaking in a new wood stove, start by lighting a small fire with seasoned hardwood to slowly warm up and cure the stove. Gradually increase the fire size over several days to allow the stove to properly expand and contract without causing damage. Regularly monitor the stove to ensure a smooth breaking in process.
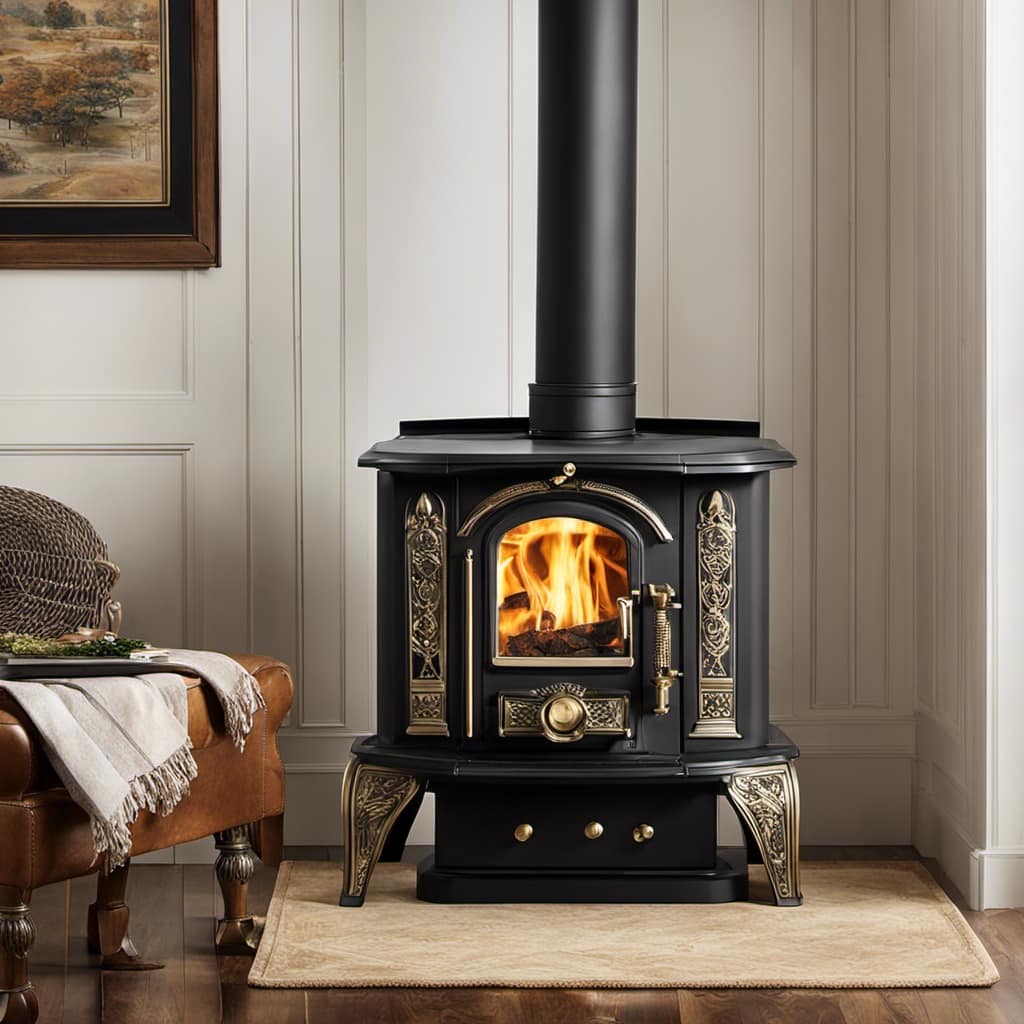
Maintaining and Cleaning Your New Wood Stove
Maintaining and cleaning my new wood stove is an important part of ensuring its longevity and efficiency. One key aspect of proper maintenance is using the right type of wood.
Hardwoods, such as oak or maple, are ideal for a new wood stove as they burn hotter and produce less creosote. Softwoods, like pine or cedar, should be avoided as they create more creosote buildup and can lead to chimney fires.
To prevent creosote buildup, it’s crucial to burn fires at a high temperature and avoid smoldering or damp wood. Regularly inspecting and cleaning the chimney, flue, and stovepipe is also essential.
Frequently Asked Questions
How Long Does It Take for a New Wood Stove to Fully Break In?
It typically takes about a week for a new wood stove to fully break in. During this time, it is important to properly season the stove, maintain it regularly, and clean it to ensure optimal performance and longevity.
Can I Use Any Type of Wood to Season the Stove With Small Fires?
I can use different types of wood to season the stove with small fires. However, it is important to take safety precautions during the break-in period.
Is It Normal for the Stove to Emit a Strong Smell During the Break-In Period?
During the break-in period, it is normal for a new wood stove to emit a strong smell. Breaking in a wood stove is necessary for its long-term performance and helps to prevent damage.
What Should I Do if I Notice Excessive Smoke Coming Out of the Stove During the Initial Use?
If excessive smoke billows from your new wood stove, troubleshoot by adjusting the damper and ensuring proper air flow. Don’t fret, with a little know-how, you’ll prevent excessive smoke and enjoy a cozy fire.
Can I Use the Stove for Cooking During the Break-In Process?
During the break-in process, it is not recommended to use the wood stove for cooking. This allows for proper seasoning of the wood, ensuring better performance and efficiency in the long run.
Conclusion
After following the proper steps to break in your new wood stove, you can enjoy the warmth and efficiency it brings to your home. By gradually increasing the heat output and controlling airflow and draft, you can ensure optimal performance.
Remember to regularly maintain and clean your stove to prolong its lifespan. With these techniques, your wood stove will provide you with reliable heat for years to come.