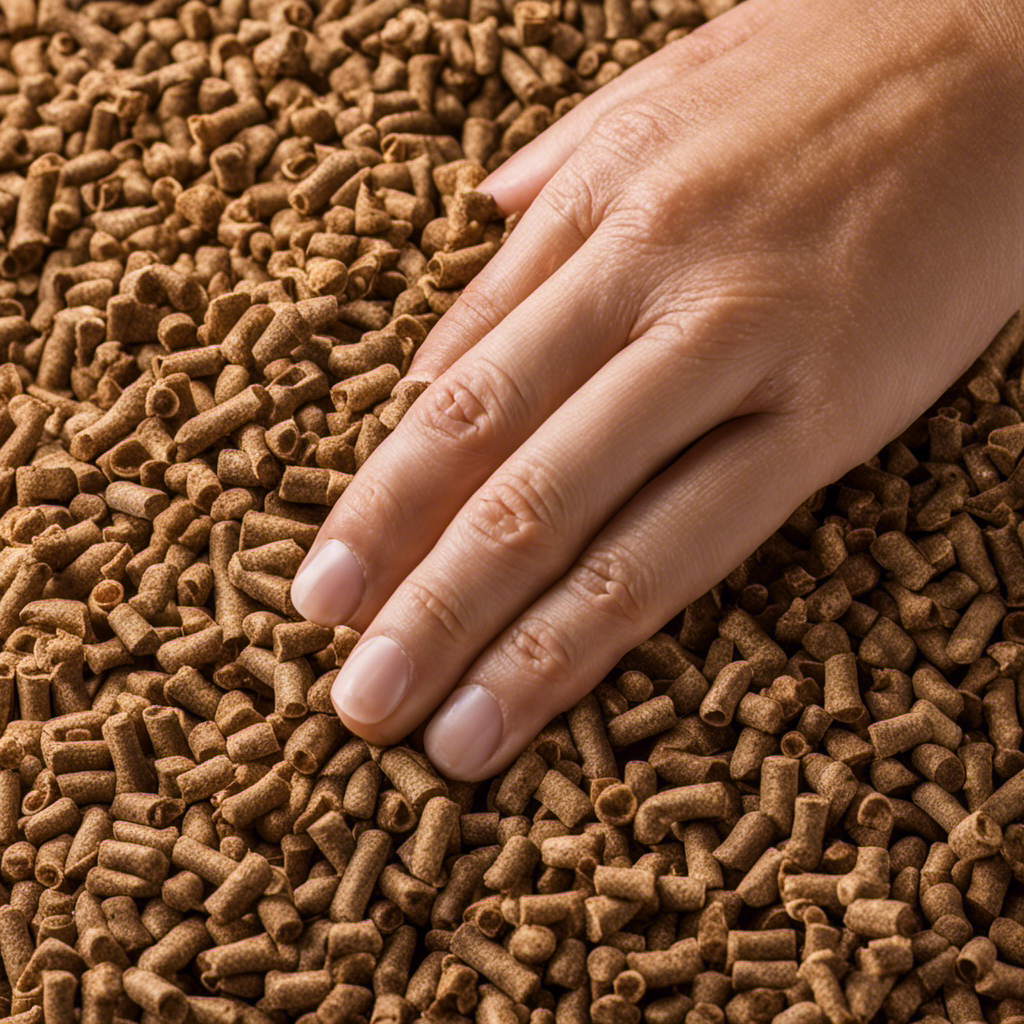
The idea of building my own wood pellet mill has continually fascinated me. The potential to produce a renewable energy source directly from my own home fills me with deep excitement.
In this article, I will guide you through the process of building a homemade wood pellet mill, step by step. From gathering the necessary tools and materials to troubleshooting and maintenance tips, I will provide you with all the information you need to successfully create your very own pellet mill.
Let’s get started!
Key Takeaways
- The key tools and materials needed for a homemade wood pellet mill include a hammer mill, pellet mill, reliable pellet mill, regular cleaning and lubrication equipment.
- Building the frame and constructing the pelletizing chamber require measuring and cutting lumber, securing pieces together, ensuring a square and level frame, and choosing durable and heat-resistant materials for the chamber.
- Necessary materials and tools for installation include steel plate, welding machine, hopper, drill, motor, bearings, and a hammer for assembling parts.
- Installing the pellet die and building the pellet feeder mechanism involve aligning and securely installing the pellet die, assembling components such as the hopper, auger, motor, belt, and pulley, and troubleshooting blockages or malfunctioning parts.

JARYANNIX 220V Three-Phase 6mm Wood Pellet Maker with 2-Head Rollers, Agricultural Waste Pelletizer,130lbs/h Pellets for Small Farm Use
Wide Application : Transforms agricultural and forestry waste such as sawdust , rice husks , and corn stalks…
As an affiliate, we earn on qualifying purchases.
As an affiliate, we earn on qualifying purchases.
Tools and Materials Needed
To make a homemade wood pellet mill, you’ll need a few tools and materials. The key to successful pellet mill operation is to have the right equipment.
First, you’ll need a hammer mill to crush the wood into small particles. This is important for achieving the desired size and consistency of the pellets.
Next, you’ll need a pellet mill, which is the main machine for compressing the wood particles into pellets. It’s crucial to choose a reliable and efficient pellet mill to ensure smooth operation.
Lastly, don’t forget about pellet mill maintenance. Regular cleaning and lubrication of the machine will prolong its lifespan and improve its performance.
Now that you have the necessary tools and knowledge, let’s move on to building the frame of the pellet mill, which is the foundation for the rest of the construction process.

Sanbege 9.6" Wooden Mallet, Solid Beechwood Ice Hammer, Damage Free Striking Carpenter Hand Tool for Woodworking, Wood Carving, Leather Work, Walnut Cracking
MATERIAL: The whole mallet is well crafted from solid beech wood in high hardness and impact-resistance, the surface…
As an affiliate, we earn on qualifying purchases.
As an affiliate, we earn on qualifying purchases.
Building the Frame of the Pellet Mill
You’ll need to start by constructing the frame for your DIY pellet mill. This is an essential step in building a pellet mill that will ensure stability and durability. Here are the key woodworking techniques to follow for optimal pellet mill efficiency:
- Measure and cut the lumber to the desired dimensions for the frame.
- Use a miter saw or circular saw to make precise cuts.
- Secure the pieces together using wood screws or nails.
- Use clamps or a square to ensure the frame is square and level.
By carefully constructing the frame using these woodworking techniques, you’ll create a solid foundation for your pellet mill. This will contribute to its overall efficiency and longevity.
Now, let’s move on to constructing the pelletizing chamber, where the magic of turning wood into pellets happens.

Wood Pellet Maker, Manual Animal Feed Pellet Machine, Making Machine for Small Pets & Birds (1.5mm Die for Silvereyes) – Upgraded Handheld Maker with Anti-Spill Design, Feed
Upgraded Manual Animal Feed Pellet Machine features a thickened body, widened feeding, and added anti-spill mouth for smooth,…
As an affiliate, we earn on qualifying purchases.
As an affiliate, we earn on qualifying purchases.
Constructing the Pelletizing Chamber
When constructing the pelletizing chamber for my homemade wood pellet mill, there are several important considerations to keep in mind.
Firstly, the chamber design should promote efficient pellet formation and prevent clogging.
Secondly, it is crucial to choose the right materials for the chamber that are durable and heat-resistant.
Lastly, having the necessary tools such as welding equipment and measuring instruments will ensure precise construction and a well-functioning pelletizing chamber.
Chamber Design Considerations
The chamber design is crucial in determining the efficiency of a homemade wood pellet mill. The quality of the pellets produced and the rate at which they are produced depend largely on the design of the chamber.
The chamber should be designed in such a way that it allows for the optimal compression of the wood particles, ensuring that the pellets are dense and of high quality. It is important to consider factors such as the size and shape of the chamber, as well as the positioning of the rollers and die. These factors will affect the compression and heat transfer within the chamber, ultimately impacting the pellet production rate.
Furthermore, the chamber design should also take into account the ease of cleaning and maintenance to ensure smooth operation.
Now, let’s move on to the necessary materials and tools for building a homemade wood pellet mill.
Necessary Materials and Tools
For this project, you’re going to need a few basic materials and tools. Here’s a list of what you’ll need:
| Materials | Tools | Building Techniques |
|---|---|---|
| Steel plate | Welding machine | Welding the steel plate to create the structure |
| Hopper | Drill | Drilling holes for the pellet input and output |
| Motor | Saw | Cutting the steel plate into desired sizes |
| Bearings | Hammer | Assembling the parts together |
Building your own wood pellet mill requires some basic building techniques. One important tip is to ensure that the steel plate is properly welded to create a sturdy structure. Troubleshooting tips include checking for any loose connections or parts that may affect the performance of the mill. Once the mill is assembled, the next step is installing the pellet die, which will be discussed in the subsequent section.

TECHTONGDA 4mm Feed Pellet Mill Machine with 4 Head Rollers Round Inlet Feed Pelletizer Feed Pellet Making Machine for Poultry Livestock Farm Animal 3.5KW 220V 440LBS/H
[Feed Pellet Mill Machine] The feed pellet mill machine is an equipment for compressing raw materials into pellets….
As an affiliate, we earn on qualifying purchases.
As an affiliate, we earn on qualifying purchases.
Installing the Pellet Die
Start by carefully aligning the pellet die with the roller shaft. This step is crucial for proper installation and smooth operation of your homemade wood pellet mill.
To install the pellet die, first, ensure that both the die and the roller shaft are clean and free from any debris. Next, place the die onto the shaft, making sure that the holes on the die align perfectly with the pins on the shaft. Gently rotate the die to ensure it is securely in place.
If you encounter any issues during installation, such as misalignment or difficulty fitting the die onto the shaft, troubleshoot by checking for any obstructions or damage to the die or shaft.
Once the pellet die is securely installed, you can proceed to the next section on building the pellet feeder mechanism, which will feed the raw materials into the mill for pelletization.
Building the Pellet Feeder Mechanism
To build the pellet feeder mechanism, you’ll need to gather the necessary components and assemble them according to the provided instructions. The pellet feeding mechanism design is crucial for the efficient operation of your homemade wood pellet mill. It ensures a steady flow of pellets into the die, resulting in consistent pellet production.
Here is a table outlining the components required for the pellet feeder mechanism:
| Component | Quantity | Function |
|---|---|---|
| Hopper | 1 | Holds the pellets to be fed |
| Auger | 1 | Transports the pellets from the hopper to the die |
| Motor | 1 | Powers the auger |
| Belt | 1 | Connects the motor to the auger |
| Pulley | 1 | Transfers power from the motor to the belt |
Troubleshooting the pellet feeder is essential to ensure smooth operation. Common issues include blockages in the hopper or auger, loose belts, or a malfunctioning motor. Regular maintenance and inspection will help identify and resolve any problems.
Now, let’s move on to adding the motor and power source, which will complete the setup of your homemade wood pellet mill.
Adding the Motor and Power Source
You’ll need to ensure that the motor is securely attached and connected to the power source to complete the setup. Here’s what you need to know about motor installation and power source options:
-
Choose the right motor: Select a motor that is compatible with the size and power requirements of your wood pellet mill. Consider factors such as RPM (revolutions per minute) and horsepower to ensure optimal performance.
-
Mount the motor: Attach the motor securely to the frame of the pellet mill, ensuring that it is stable and won’t move during operation. Use appropriate bolts or clamps to hold it in place.
-
Connect to the power source: Depending on your preference and availability, you can connect the motor to either a direct electric power source or use a belt-driven system connected to a separate engine or power generator.
With the motor installed and power source connected, you’re ready to move on to testing and troubleshooting any potential issues to ensure smooth operation of your homemade wood pellet mill.
Testing and Troubleshooting
Once the motor is securely attached and connected to the power source, it’s time to test and troubleshoot any potential issues that may arise.
To ensure proper functioning of the wood pellet mill, it is crucial to employ effective troubleshooting techniques and performance testing methods.
Start by running the motor at different speeds to check if it operates smoothly and without any unusual noises. Observe the pellet mill’s overall performance, including the feeding and compression processes.
If there are issues, such as uneven or low pellet production, check for blockages in the pellet die or foreign objects in the feed hopper. Additionally, inspect the motor and power connections for any loose or damaged parts.
By conducting thorough testing and troubleshooting, you can identify and resolve any problems, ensuring optimal performance of your homemade wood pellet mill.
Now, let’s move on to discussing some essential maintenance and safety tips.
Maintenance and Safety Tips
When it comes to maintaining and operating a wood pellet mill, safety should be a top priority. To ensure the safety of yourself and others, it’s essential to follow the recommended safety equipment guidelines.
Additionally, implementing preventive maintenance guidelines will help to prolong the lifespan of your mill and reduce the risk of accidents or breakdowns.
Safety Equipment Recommendations
Make sure to wear proper safety gear such as goggles, gloves, and a dust mask when operating your homemade wood pellet mill. Safety equipment is of utmost importance to protect yourself from potential hazards and maintain a safe working environment. Here are some recommendations for safety gear:
| Safety Gear | Importance |
|---|---|
| Goggles | Protects your eyes |
| Gloves | Shields your hands |
| Dust mask | Prevents inhalation |
Goggles are essential for shielding your eyes from any flying debris. Gloves provide protection for your hands, preventing injuries from sharp edges or splinters. A dust mask is important to prevent inhalation of dust particles, which can be harmful to your respiratory system. Remember, safety should always be a top priority when operating any machinery. Now, let’s move on to the preventive maintenance guidelines to ensure the longevity and efficiency of your homemade wood pellet mill.
Preventive Maintenance Guidelines
Now that we’ve covered the importance of safety equipment, let’s discuss the preventive maintenance guidelines for your homemade wood pellet mill.
Following a regular maintenance schedule is crucial to ensure the optimal performance and longevity of your machine.
Start by inspecting all moving parts, such as the rollers and bearings, for any signs of wear and tear. Lubricate them as needed to reduce friction and prevent damage.
Additionally, clean out any debris or dust that may accumulate in the machine, as this can affect its efficiency.
It’s also essential to familiarize yourself with troubleshooting techniques to quickly identify and address any issues that may arise. This could include problems with the motor, feeding mechanism, or pellet compression.
Frequently Asked Questions
How Long Does It Take to Build a Homemade Wood Pellet Mill?
It takes several weeks to build a homemade wood pellet mill. The building time depends on your skills and the availability of necessary equipment.
Can I Use Any Type of Wood to Make Pellets?
Yes, you can use different types of wood to make pellets. Sawdust is a common choice, but other materials like wood chips and even agricultural waste can also be used.
What Are the Common Issues That Can Occur During the Testing Phase?
During testing, common issues that can occur with a homemade wood pellet mill include inconsistent pellet quality, motor overheating, and clogging. Troubleshooting tips include adjusting die clearance, monitoring motor temperature, and ensuring proper feedstock moisture levels for optimizing performance and troubleshooting common problems.
Are There Any Specific Safety Precautions That Need to Be Taken While Operating the Homemade Wood Pellet Mill?
When operating a homemade wood pellet mill, it is crucial to prioritize safety measures. Follow operating guidelines, such as wearing protective gear and keeping children away. Safety is paramount to prevent accidents and ensure a smooth operation.
How Often Should I Perform Maintenance on the Pellet Mill to Ensure Optimal Performance?
I perform regular maintenance on my homemade wood pellet mill to ensure optimal performance. It’s important to check for any wear or damage, clean the machine, and lubricate moving parts. Troubleshooting tips can help identify and fix any issues that may arise.
Conclusion
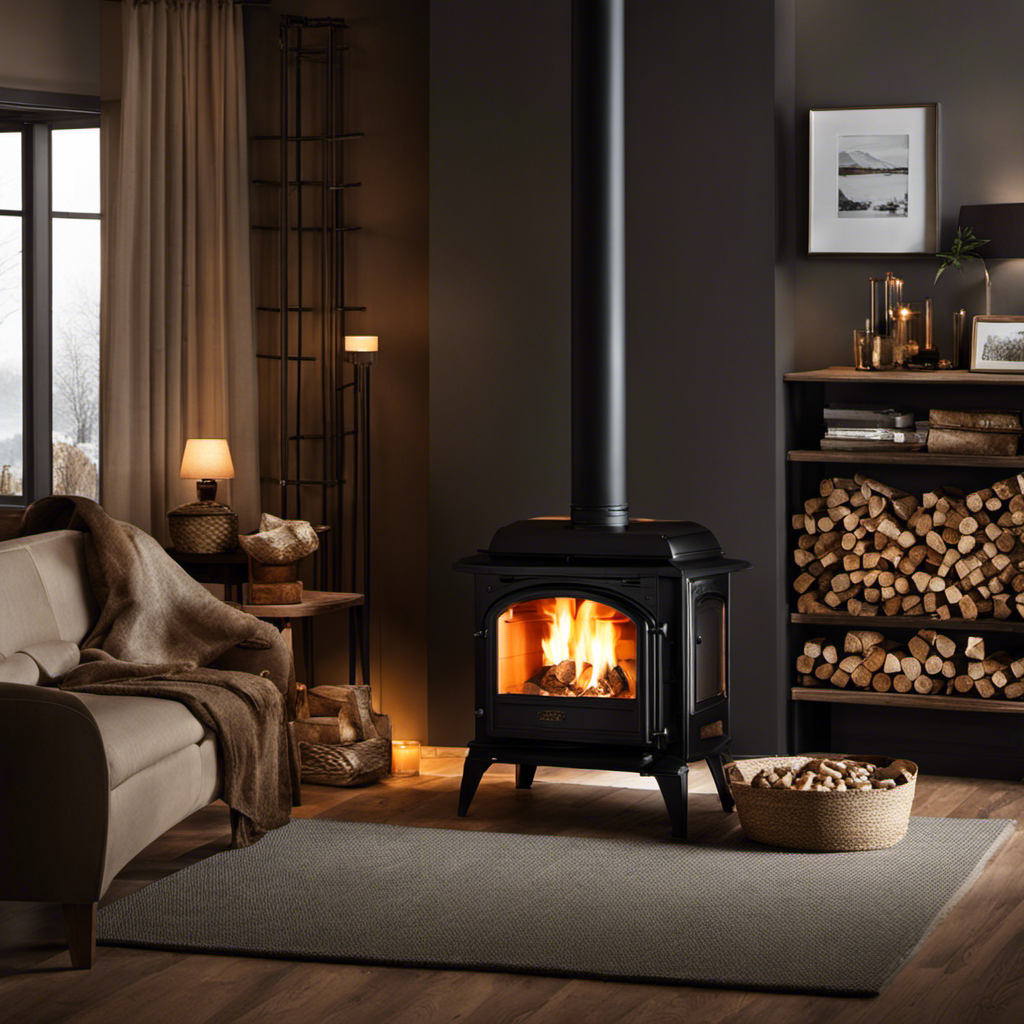
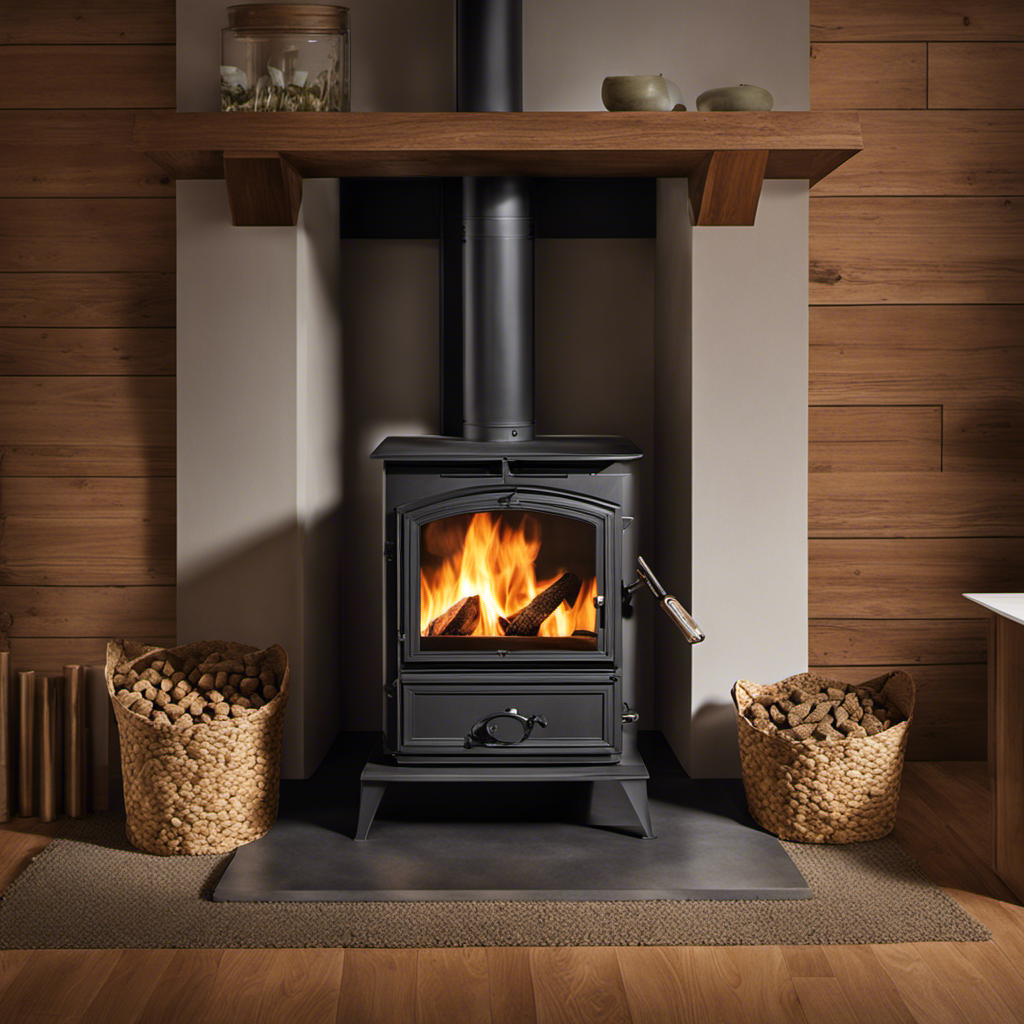
In conclusion, building a homemade wood pellet mill can be a rewarding and cost-effective project for those who are willing to put in the time and effort. By following the steps outlined in this article, you can create your own pellet mill and produce high-quality wood pellets for various purposes.
For example, John, a woodworker from Ohio, built his own wood pellet mill and now uses the pellets he produces to heat his workshop during the winter months, saving him money on heating costs.
Start your own pellet mill project today and enjoy the benefits it brings.