I’ve been using wood pellet grills for a considerable period, and I must say, the unique and delicious flavor they impart to your dishes is genuinely remarkable.
But before you can enjoy that delicious smoky taste, you need to know how to properly light your grill. In this article, I’ll walk you through the step-by-step process of lighting a wood pellet grill.
From understanding the grill itself to troubleshooting common lighting issues, I’ve got all the knowledge and experience to help you become a pro at lighting your grill.
So let’s dive in and get started!
Key Takeaways
- The wood pellet grill is a versatile appliance that combines a smoker, oven, and grill, using wood pellets as fuel.
- When choosing wood pellets, consider the desired flavor profile, with different types of wood pellets offering different flavors such as strong smoky, bold and robust, intense smokiness, or sweeter and milder.
- Before lighting the grill, clear debris, position it for proper airflow and consistent temperature, and ensure it is in a sheltered area on level ground to prevent tilting or instability.
- To safely light the grill, check for common ignition issues, such as electrical connections and igniter function, and follow safety precautions like checking for gas leaks and keeping flammable materials away from the grill. Use long-handled lighters or electric fire starters and fill the hopper with high-quality wood pellets.

Replacement Parts Hot Igniter Kit, Compatible with Pit boss Pellet Grill and Camp Pellet Grill, igniter Comes with one Fuses
- Compatibility: Fits Pit Boss, Camp Chef, Oklahoma Joes
- Heating Element: 200W, 120V, 24.5-inch wire
- Installation: Requires 1/8-1/4 inch display in hot pot
As an affiliate, we earn on qualifying purchases.
As an affiliate, we earn on qualifying purchases.
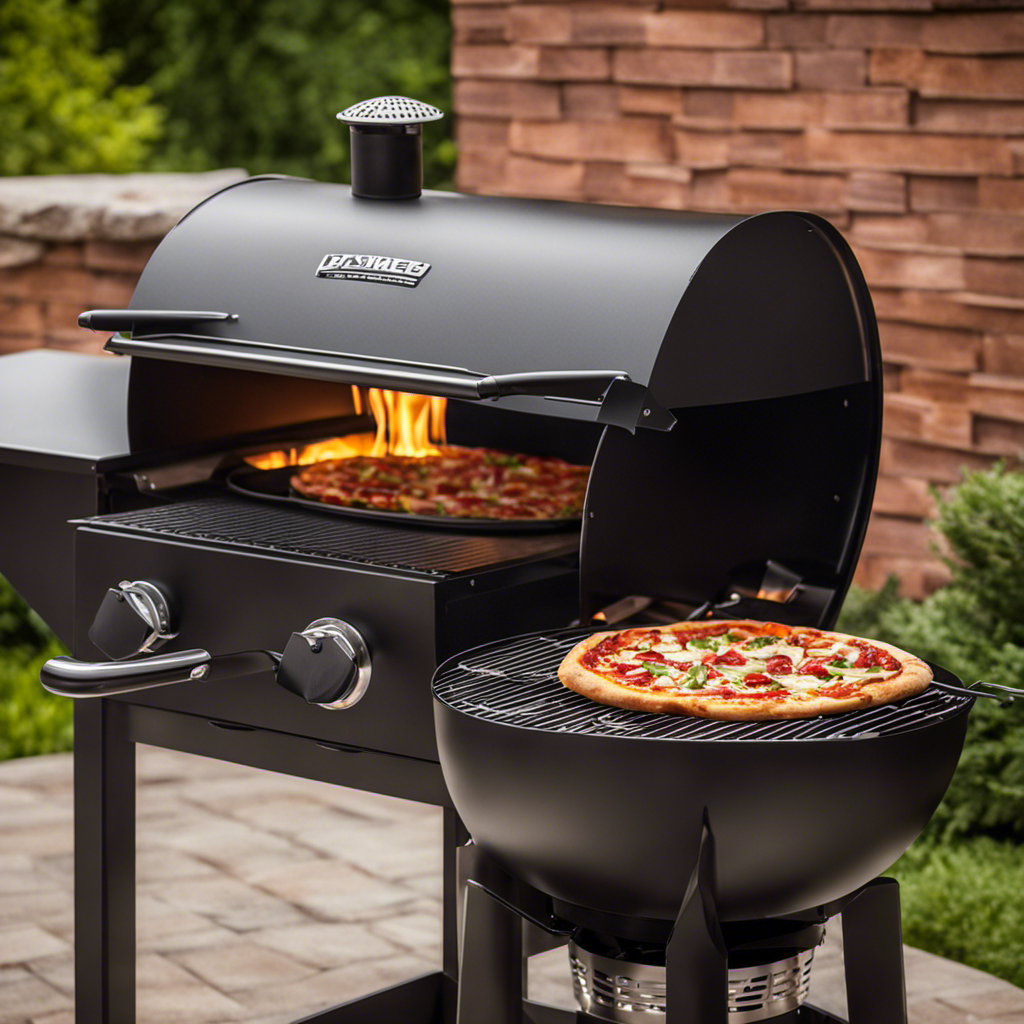
Understanding the Wood Pellet Grill
To understand the wood pellet grill, you’ll need to know how it works and what makes it different from other types of grills.
A wood pellet grill is a combination of a smoker, an oven, and a grill all in one. It uses wood pellets as fuel, which are made from compressed sawdust without any additives or chemicals.
One of the benefits of using wood pellets for grilling is that they produce a clean and natural smoke flavor that enhances the taste of the food. Another advantage is that these grills are easy to maintain since the ash generated during cooking can be easily emptied out.
Now that we’ve covered the basics of a wood pellet grill, let’s move on to choosing the right wood pellets for optimal results in your grilling experience.
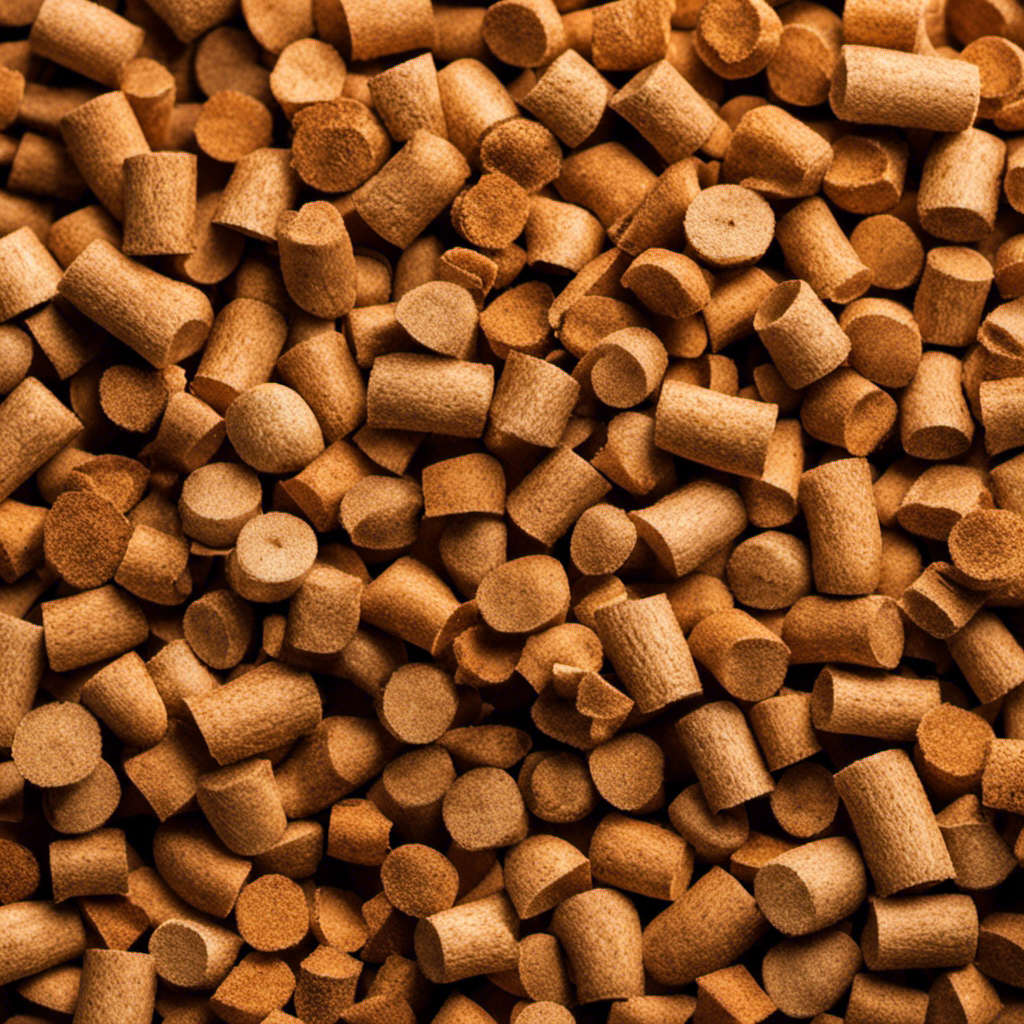
Choosing the Right Wood Pellets
When selecting the right wood pellets for your grill, consider the flavor profile you want to achieve. Different types of wood pellets impart distinct flavors to your food, so it’s important to choose wisely. Some common wood pellet types include oak, hickory, mesquite, cherry, and apple.
Oak pellets provide a strong smoky flavor, while hickory adds a bold and robust taste. Mesquite is known for its intense smokiness that pairs well with red meats. On the other hand, cherry and apple offer a sweeter and milder flavor that complements poultry and fish beautifully.
In addition to considering the flavor profile, it’s crucial to ensure that your wood pellets have optimal moisture levels. The ideal moisture content for wood pellets should be around 6-8%. This ensures efficient combustion and prevents excessive smoke production. Wet or overly dry pellets can lead to inconsistent heat output and negatively impact the taste of your food.
Now that you’ve chosen the perfect wood pellets for your grill, let’s move on to preparing the grill for lighting…
Preparing the Grill for Lighting
First, make sure you have cleared any debris from the grill and ensured that it is placed on a stable surface. This will ensure a safe and efficient lighting process.
Now, let’s dive into some positioning tips to help you get the best results from your wood pellet grill:
- Proper Airflow: Position the grill in an area with good ventilation to allow proper airflow for combustion.
- Sheltered Area: Find a spot that is sheltered from strong winds or direct sunlight to maintain a consistent temperature.
- Level Ground: Ensure that the grill is positioned on level ground to prevent any tilting or instability.
By following these positioning tips, you can optimize your grilling experience and achieve delicious, evenly cooked meals. If you encounter any issues during the lighting process, there are troubleshooting methods available such as checking for clogs in the fuel hopper or inspecting the igniter for any damage.
Now, let’s move on to positioning the igniter and pellet fuel without further ado.
Positioning the Igniter and Pellet Fuel
When it comes to positioning the igniter on a wood pellet grill, there’s definitely an optimal placement that can ensure quick and efficient ignition.
In addition to igniter placement, I’ll also share some valuable tips on how to distribute pellet fuel evenly for better heat distribution and cooking performance.
Lastly, I’ll discuss common ignition issues that grillers may encounter and provide expert advice on troubleshooting and resolving these problems.
Igniter Placement Best?
For best results, it’s important to consider the placement of the igniter on a wood pellet grill. The igniter plays a crucial role in starting the fire and ensuring even heat distribution throughout the cooking process. To troubleshoot any issues with the igniter, it’s essential to understand the best placement techniques.
Based on my experience, I have found that placing the igniter in a central location provides optimal ignition coverage. This allows for an even distribution of heat across the grill surface. Additionally, positioning the igniter slightly above or below the center helps prevent any potential flare-ups.
To further illustrate these techniques, here is a table showcasing different igniter placements:
| Placement Technique | Benefits |
|---|---|
| Center | Even heat distribution |
| Slightly Above | Prevents flare-ups |
| Slightly Below | Prevents flare-ups |
Pellet Fuel Distribution Tips
To optimize your grilling experience, it’s crucial to distribute the pellet fuel evenly throughout the cooking area. Proper distribution ensures consistent heat and smoke production, resulting in perfectly cooked meals every time. Here are three tips for achieving optimal pellet fuel distribution:
-
Pellet Fuel Storage: Store your pellets in a dry, cool place to maintain their quality. Moisture can cause pellets to clump together, making it difficult for them to flow smoothly into the grill’s hopper.
-
Even Spreading: When loading the hopper, spread the pellets evenly across its entire surface. This helps prevent any areas from receiving an excessive amount of fuel, which could lead to uneven heating.
-
Layering Technique: To ensure continuous combustion and efficient fuel consumption, layer fresh pellets on top of partially burned ones when refilling the hopper during longer cooking sessions.
By following these pellet fuel distribution tips, you’ll be well on your way to achieving excellent results with your wood pellet grill.
Now let’s address some common ignition issues that you may encounter during the lighting process without skipping a beat.
Common Ignition Issues
If you’re experiencing ignition issues, it may be helpful to check the electrical connections and ensure that the igniter is properly functioning. Ignition troubleshooting can be frustrating, but with a few simple steps, you can usually get your wood pellet grill up and running smoothly again.
First, make sure the power cord is securely connected to an outlet. Then, inspect the wires for any signs of damage or fraying. If everything looks good there, it’s time to move on to the igniter itself. Check that it’s clean and free from any debris or buildup that could prevent it from sparking properly. Remember to always follow safety precautions when working with electricity and turn off the grill before making any adjustments.
Now that we’ve addressed common ignition issues, let’s move on to igniting the wood pellet grill without delay.
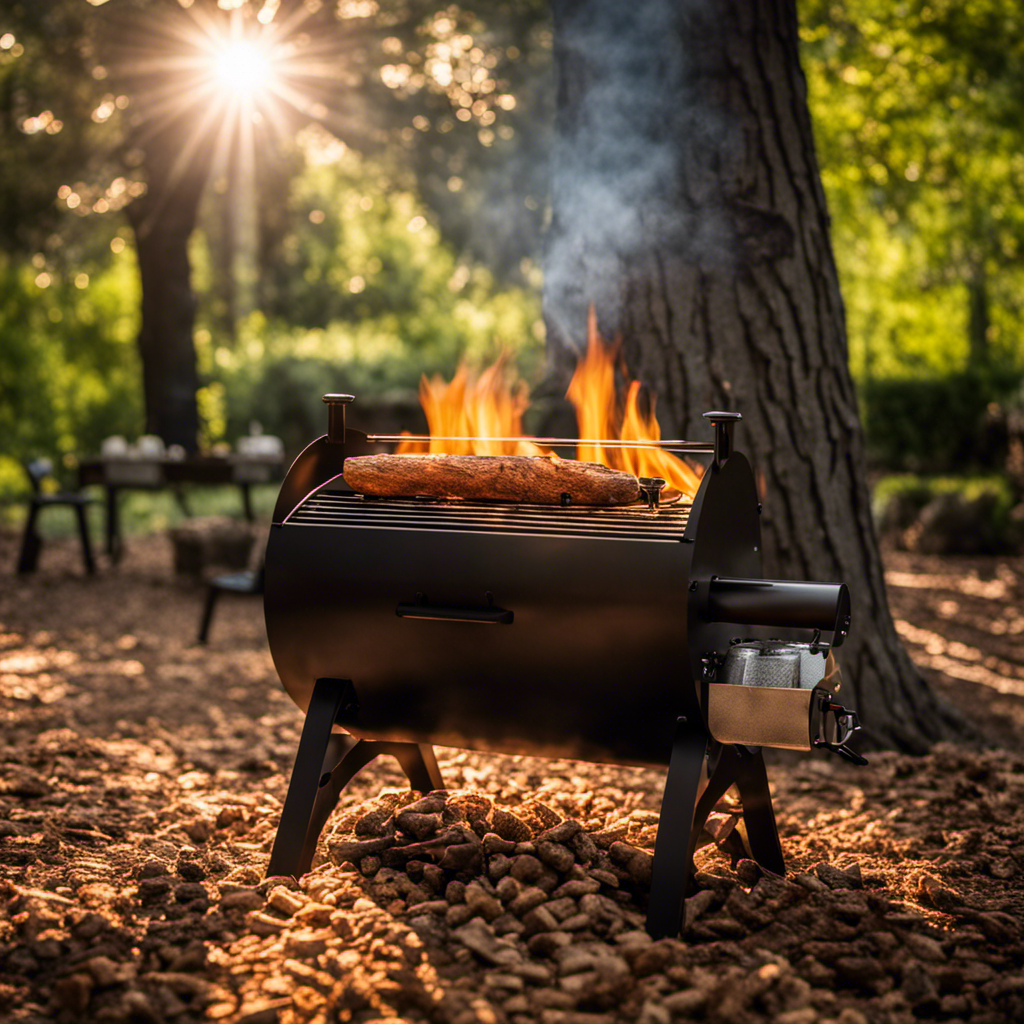
Igniting the Wood Pellet Grill
Before lighting the wood pellet grill, make sure the hopper is filled with pellets and the grill’s control panel is turned on.
When it comes to igniting a wood pellet grill, there are a few techniques you can use. The most common method is using an electric ignition system, which provides a reliable spark to start the fire. Another option is using a torch or lighter to manually ignite the pellets.
If you encounter any issues during the ignition process, there are troubleshooting tips that can help. Make sure to check for obstructions in the fuel delivery system and ensure that the pellets are dry and not clumped together.
Once you have successfully ignited your wood pellet grill, it’s time to adjust the temperature and airflow to achieve your desired cooking conditions.
Adjusting the Temperature and Airflow
Once you’ve ignited the grill, you can easily adjust the temperature and airflow to achieve your desired cooking conditions. Controlling the airflow is crucial for maintaining a steady flame and controlling the heat inside the grill.
Here are some key tips for effectively adjusting the temperature and airflow on your wood pellet grill:
-
Use the air vents: Most grills have intake and exhaust vents that allow you to control the amount of oxygen getting into the firebox. Opening them up increases airflow and raises the temperature, while closing them restricts airflow and lowers the temperature.
-
Adjusting the fan speed: If your grill has a fan, you can adjust its speed to regulate how much air is being circulated inside. Increasing fan speed helps in boosting combustion, while reducing it slows down heat production.
-
Positioning of food: Where you place your food on the grates can also impact temperature control. Moving closer to or away from direct heat sources will result in different cooking temperatures.
-
Using heat deflector plates: These plates help distribute heat more evenly across your grill’s cooking surface, allowing for better temperature control.
By mastering these techniques, you’ll be able to fine-tune your cooking experience on a wood pellet grill with precise airflow control and perfect temperature adjustments.
Now let’s explore how monitoring flame and smoke production plays a crucial role in achieving delicious results.
Monitoring the Flame and Smoke Production
To achieve delicious results, it’s important for you to closely monitor the flame and smoke production on your wood pellet grill. The flame intensity plays a crucial role in determining the cooking temperature and achieving that perfect sear on your meats. By adjusting the airflow and feed rate of pellets, you can control the flame intensity.
A higher feed rate will result in a stronger flame, while reducing it will lower the intensity. Additionally, monitoring the smoke production is essential for enhancing the flavor profile of your food. Different types of wood pellets produce varying levels of smoke, which directly impacts the taste of your dishes. Experimenting with different wood flavors will allow you to customize your meals according to personal preference.
Now, let’s move on to adding additional pellets for longer cooks…
Adding Additional Pellets for Longer Cooks
As you continue to monitor the flame and smoke production on your wood pellet grill, you may find that some recipes require longer cook times. This means you’ll need to add additional pellets to ensure a steady heat source throughout the entire cooking process.
Here are some tips for adding pellets for longer cooks:
- Start by checking the hopper to see how much fuel is left.
- Carefully pour in more pellets, making sure not to overload the hopper.
- Spread the new pellets evenly over the old ones to maintain consistent heat distribution.
- Keep an eye on pellet consumption during the cook, adjusting as needed.
Adding additional pellets for long cook times is essential to maintaining a steady temperature and achieving perfectly cooked dishes. However, it’s important to be mindful of pellet consumption and avoid overloading the hopper.
Now let’s move on to troubleshooting common lighting issues without skipping a beat.
Troubleshooting Common Lighting Issues
When it comes to troubleshooting common lighting issues on a wood pellet grill, two key points to consider are wet pellets causing problems and airflow issues affecting ignition.
Wet pellets can be problematic because they don’t burn efficiently, leading to poor ignition and difficulty in maintaining a steady flame. Additionally, airflow issues can prevent proper oxygen supply to the fire pot, resulting in incomplete combustion and difficulty in lighting the pellets.
It’s important to address these issues in order to ensure a successful and hassle-free grilling experience.
Wet Pellets Causing Problems
Using wet pellets in a wood pellet grill can cause problems with the temperature and smoke production. Moisture in the pellets can prevent them from burning efficiently, leading to inconsistent heating and reduced smoke flavor. To prevent moisture damage, it is crucial to store your pellets in a dry place and keep them properly sealed.
If you encounter wet pellet issues, troubleshooting can help salvage your grilling experience. One common solution is to spread out the wet pellets on a baking sheet and place them in an oven at a low temperature (around 175°F) for a few hours to dry them out. Alternatively, you can mix dry pellets with the wet ones to absorb excess moisture.
By addressing these wet pellet issues effectively, you can ensure optimal performance of your wood pellet grill.
Moving on to airflow issues affecting ignition…
Airflow Issues Affecting Ignition
To ensure proper ignition, you’ll want to check for any airflow issues in your grill. Ignition troubleshooting is an important step in lighting a wood pellet grill. When the air doesn’t flow properly, it can lead to difficulty starting the fire and uneven heat distribution.
One common issue is a clogged auger tube, which can prevent pellets from reaching the fire pot. To fix this, simply remove any debris or blockage from the tube.
Another potential problem could be a dirty or blocked exhaust vent. Clean it thoroughly to improve airflow and promote better combustion.
By addressing these airflow issues, you’ll significantly increase your chances of successful ignition and achieve consistent cooking temperatures on your wood pellet grill.
Now that we’ve discussed how to troubleshoot ignition issues by improving airflow, let’s move on to some safety tips for lighting a wood pellet grill without compromising security.
Safety Tips for Lighting a Wood Pellet Grill
Before lighting a wood pellet grill, it’s important to follow safety tips. Igniter safety and proper lighting techniques are crucial to ensure a safe and successful grilling experience. Here are some key tips to keep in mind:
| Safety Tips | Lighting Techniques |
|---|---|
| 1. Check for any gas leaks before igniting the grill. | 1. Fill the hopper with high-quality wood pellets. |
| 2. Keep flammable materials away from the grill. | 2. Turn on the power switch and set the temperature control panel to "Smoke" mode. |
| 3. Use long-handled lighters or electric fire starters for ignition. | 3. Open the lid slightly to allow oxygen flow, then press and hold the ignite button until flames appear. |
Following these safety tips will help you avoid accidents and ensure that your wood pellet grill lights up smoothly every time you use it.
Frequently Asked Questions
Can I Use Regular Charcoal or Gas to Light a Wood Pellet Grill?
I wouldn’t recommend using regular charcoal or gas to light a wood pellet grill. Instead, consider using propane as an alternative. Additionally, I suggest using a chimney starter instead of lighter fluid for better results and added benefits.
How Long Does It Typically Take for a Wood Pellet Grill to Reach the Desired Temperature?
Oh, the joy of waiting for my wood pellet grill to reach that perfect temperature! Typically, it takes about 10-15 minutes. The benefits? Consistent heat distribution and that distinct smoky flavor. Worth the wait!
Can I Leave the Grill Unattended While It Is Lighting and Heating Up?
Yes, you can leave the grill unattended while it’s lighting and heating up, but it’s important to take safety precautions. Ensure proper ventilation, keep a fire extinguisher nearby, and never leave it completely unsupervised.
What Should I Do if the Grill Doesn’t Ignite After Following the Lighting Instructions?
If the grill doesn’t ignite after following the lighting instructions, there are troubleshooting tips you can try. You could also consider alternative ignition methods such as using a torch or starter gel.
Can I Use Lighter Fluid or Other Accelerants to Help Light the Grill Faster?
I wouldn’t recommend using accelerants like lighter fluid to light a wood pellet grill. It can be dangerous and compromise the flavor of your food. Follow the proper lighting instructions for safety and optimal results.
Conclusion
In conclusion, lighting a wood pellet grill is an art that takes practice and patience. As I’ve shared my knowledge and experience with you, I hope you now feel confident in your ability to light up your grill and start cooking delicious meals.
Remember to choose the right wood pellets, position the igniter correctly, and monitor the flame and smoke production for optimum results. And always prioritize safety while enjoying the process.
So go on, ignite that grill and let the suspense of smoky flavors take over your senses!