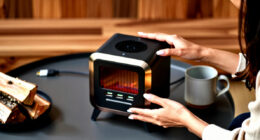
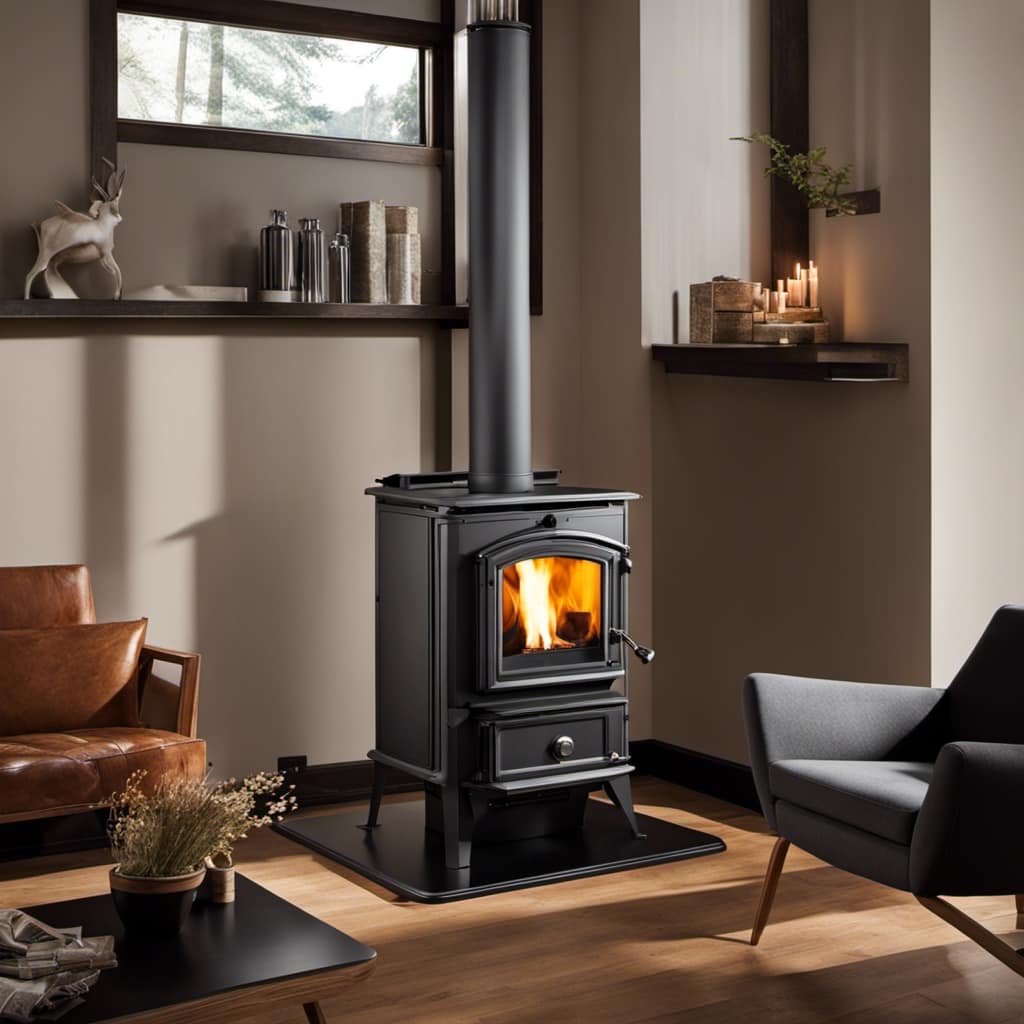
Connect with us

Wood Stove

How Does A Damper Work On A Wood Stove

Published

on

I’ve always been fascinated by how a damper works in a wood stove.

It’s fascinating how a simple mechanism can control the airflow and heat output of a fire.

In this article, we’ll delve into the components and mechanisms of a wood stove damper, exploring its impact on the efficiency and performance of the stove.

Whether you’re a seasoned wood stove user or just curious about its inner workings, join me on this technical journey to uncover the secrets of a wood stove damper.

Key Takeaways

  • A damper in a wood stove controls airflow and regulates fire intensity.
  • Regular maintenance of the damper is important for proper functioning.
  • Different types of dampers, such as manual and automatic, offer different functions and options for regulation.
  • Adjusting the damper can impact heat output and efficiency by controlling the amount of oxygen entering the firebox.

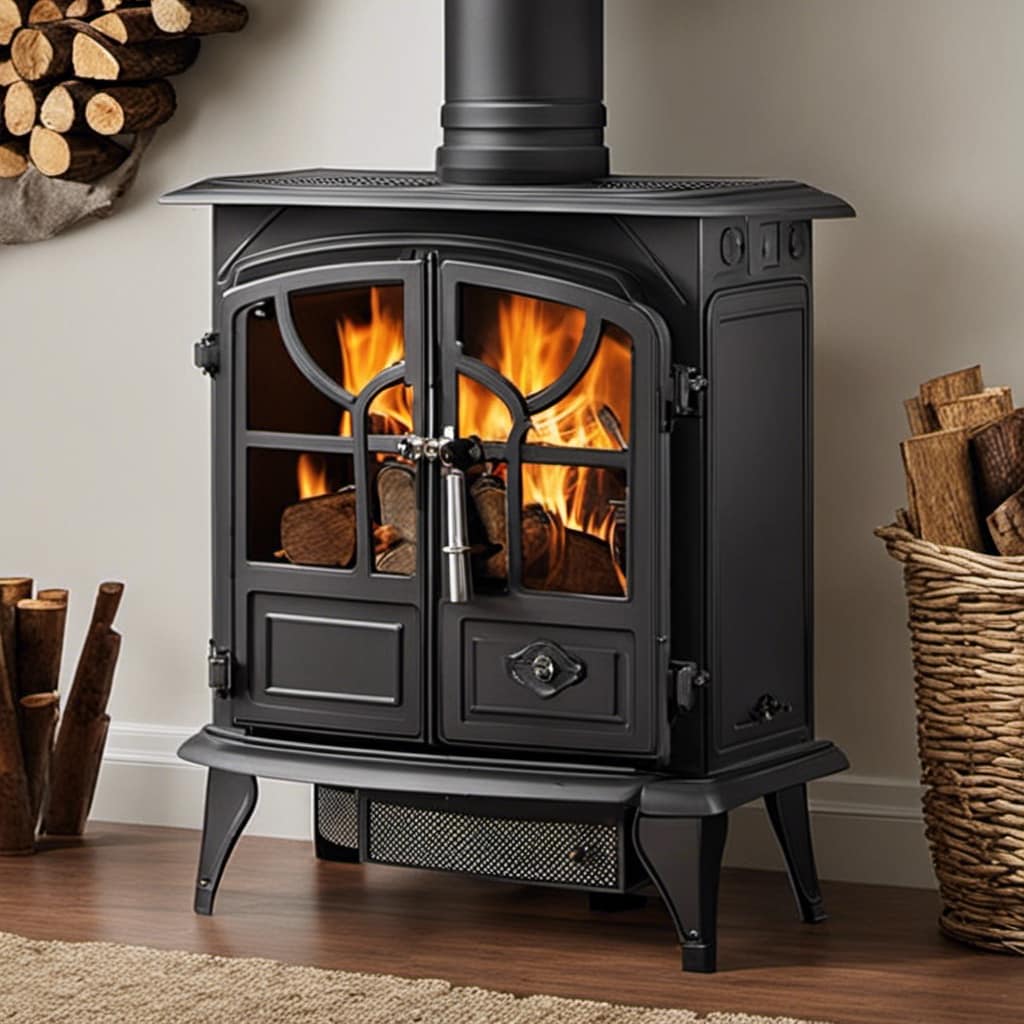
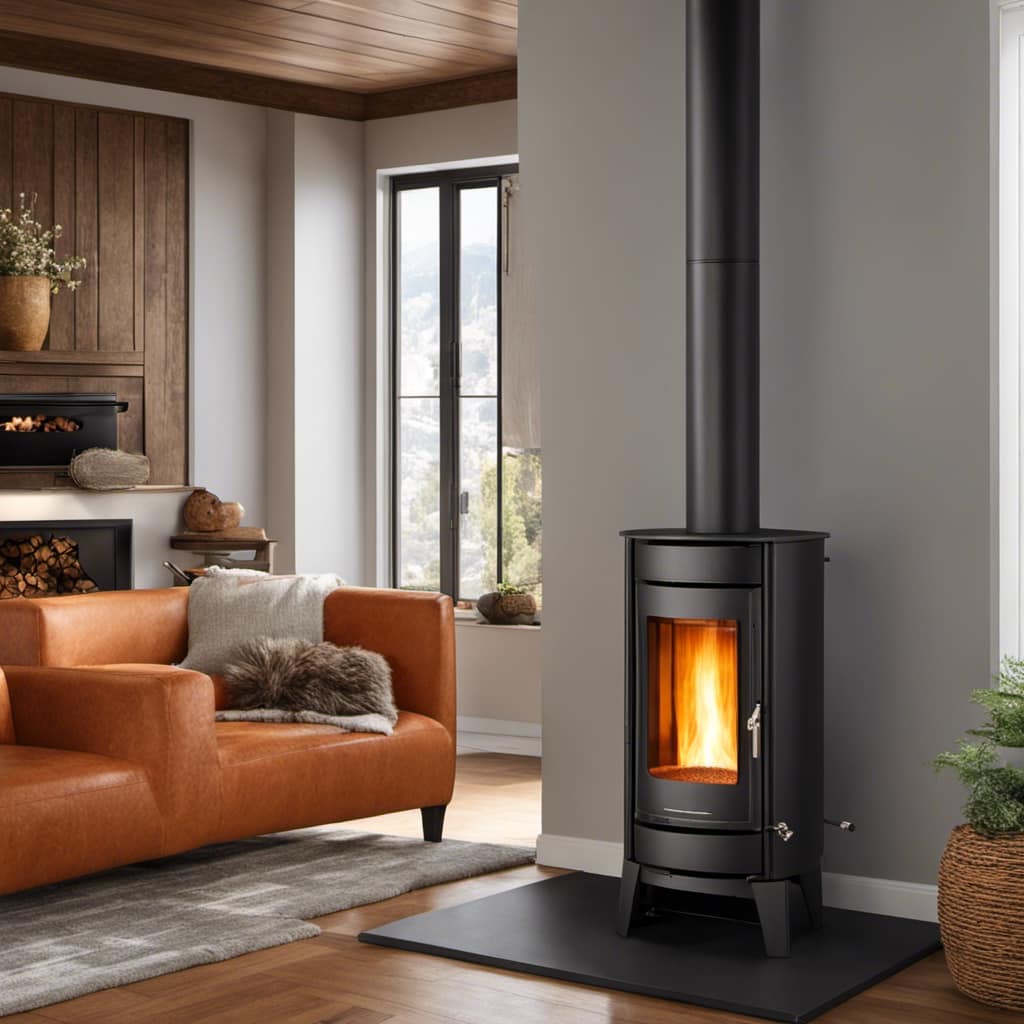
The Purpose of a Damper in a Wood Stove

The purpose of a damper in a wood stove is to control the airflow and regulate the intensity of the fire. It plays a crucial role in maintaining a safe and efficient wood-burning experience. Regular maintenance of the damper is of utmost importance to ensure its proper functioning. Over time, soot and creosote can build up on the damper, obstructing airflow and reducing its effectiveness. Cleaning the damper regularly helps prevent blockages and allows for better control of the fire.

Simpson Duravent Stove Pipe Damper 6" Dia. 24 Ga Cast Iron

There are different types of dampers available for wood stoves, including manual dampers and automatic dampers. Manual dampers are controlled manually and require adjustment by the user, while automatic dampers use a thermostat to regulate the airflow automatically. Choosing the right type of damper depends on personal preference and the specific needs of the wood stove user.

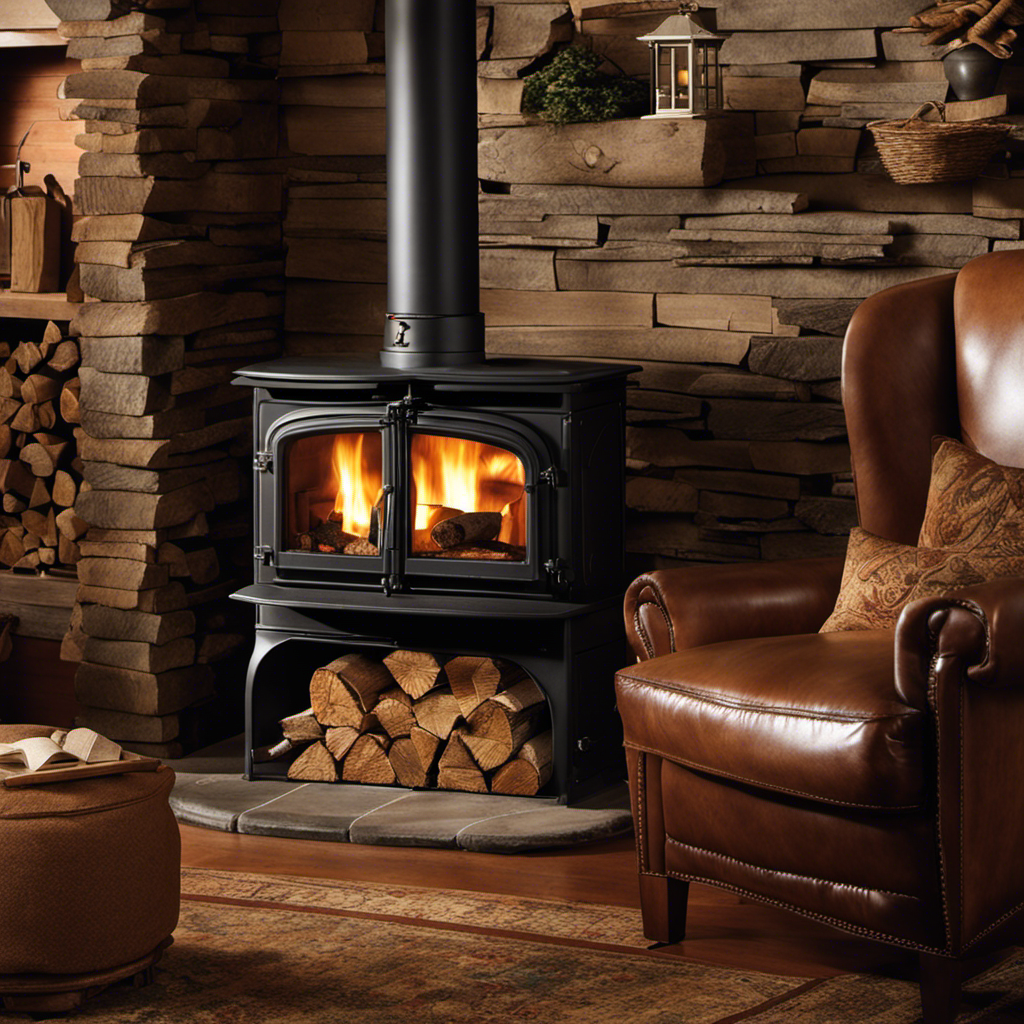
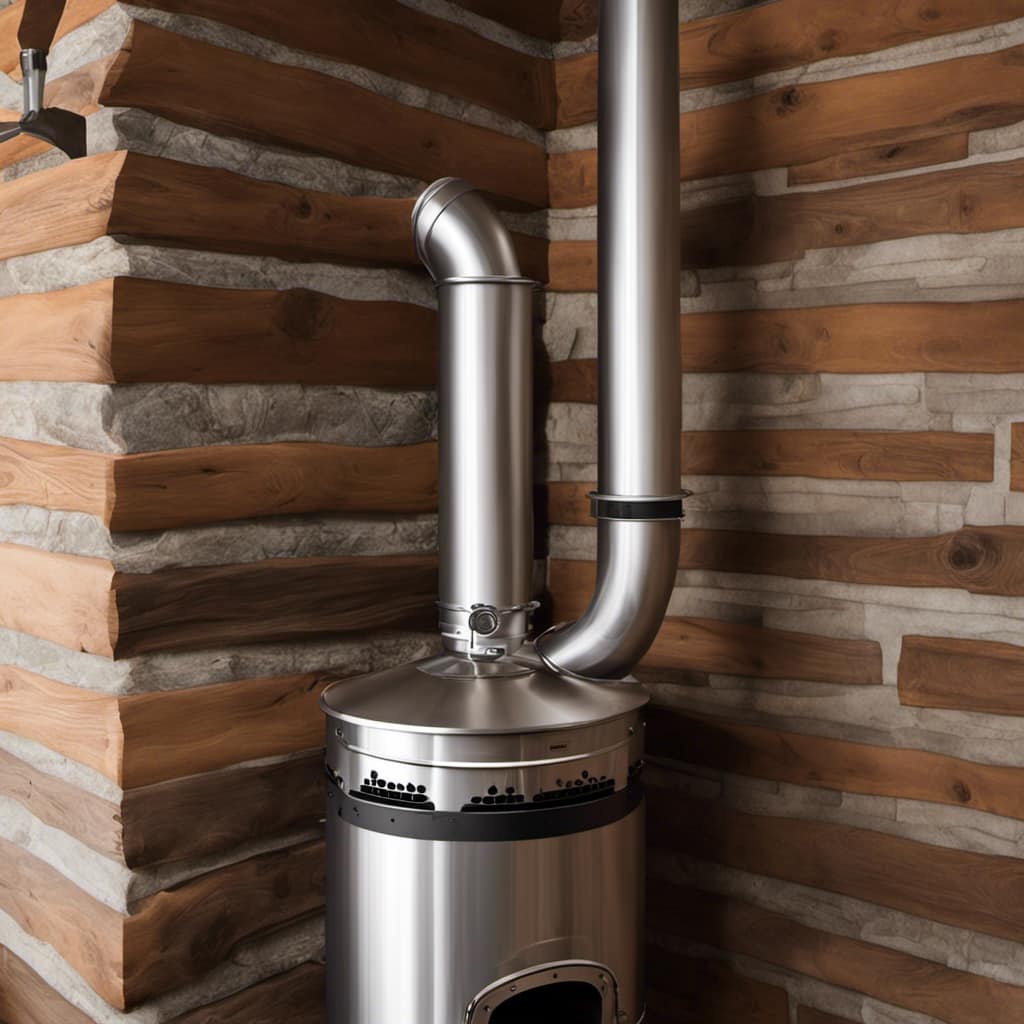
Components and Mechanisms of a Wood Stove Damper

I can explain how the components and mechanisms of a damper regulate airflow in my wood stove. A wood stove damper is an essential part of the stove that controls the amount of air entering and exiting the firebox. It consists of various components, including a handle, a plate or flap, and a mechanism that allows for adjustment.

Advertisement

The purpose of the damper is to regulate the combustion process, ensuring efficient burning and heat output. There are different types of wood stove dampers, such as throat, baffle, and secondary air dampers. Each type has its own design and function, but they all work towards the same goal of controlling airflow.

Common problems with wood stove dampers include rusting, sticking, and improper adjustment. Regular maintenance and cleaning are necessary to keep the damper functioning properly.

ComponentFunction
HandleAllows for adjustment of the damper
Plate/FlapControls the airflow
MechanismConnects the handle to the plate/flap
GasketCreates a seal to prevent air leakage

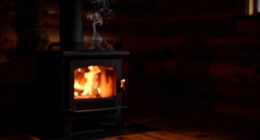
How a Damper Controls Airflow in a Wood Stove

By adjusting the handle, I can control the amount of air entering and exiting the firebox, ensuring efficient burning and heat output in my wood stove.

Proper ventilation is crucial for the safe and effective operation of a wood stove. Without adequate airflow, the fire may not burn efficiently, leading to incomplete combustion and the production of harmful gases like carbon monoxide.

A properly functioning damper plays a vital role in regulating the airflow. However, there are common problems that can occur with wood stove dampers, such as rusting, warping, or clogging due to soot buildup.

To troubleshoot these issues, it’s important to regularly inspect and clean the damper, ensuring that it moves freely and seals tightly. Additionally, adjusting the damper according to the manufacturer’s recommendations can optimize heat output and efficiency in the wood stove.

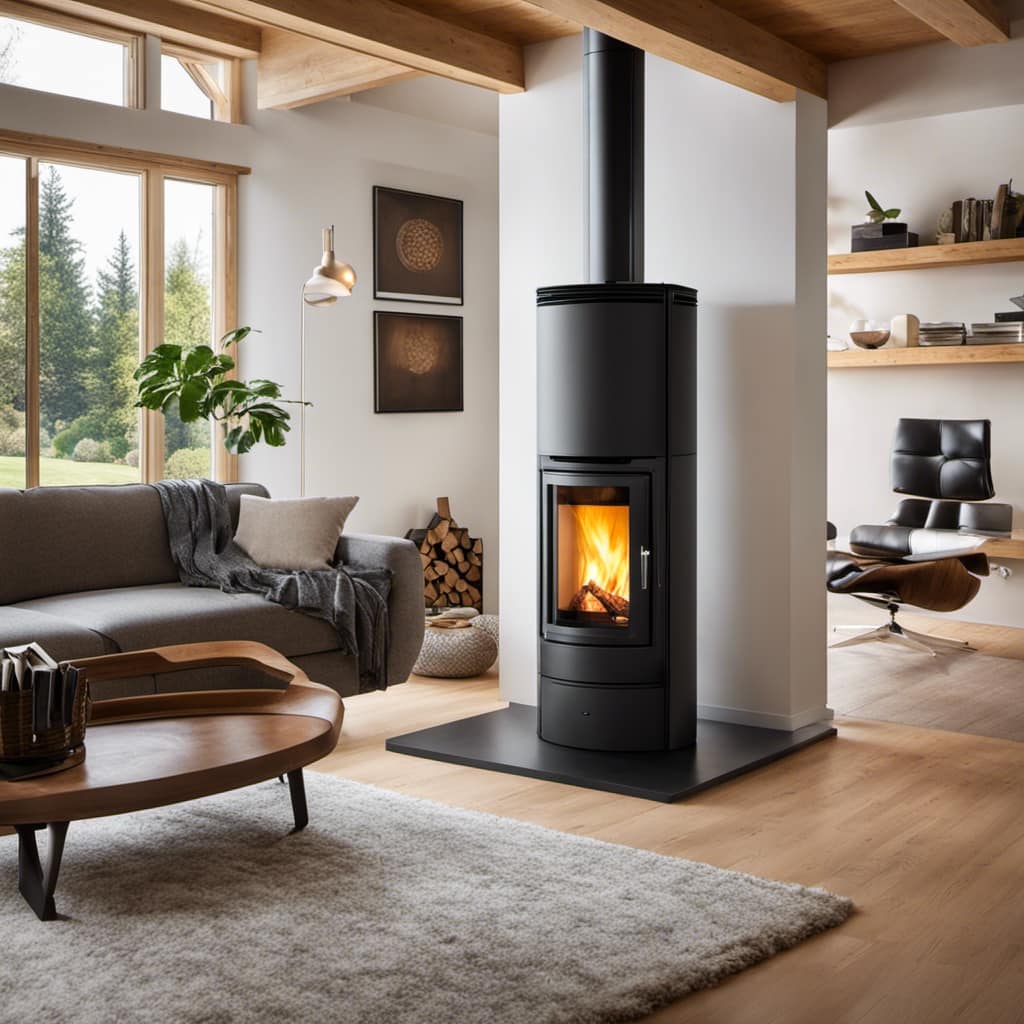
The Impact of a Damper on Heat Output and Efficiency

Adjusting the damper can significantly increase the heat output and efficiency of my wood stove. The position of the damper has a direct effect on the amount of wood consumed and the distribution of temperature within the stove.

When the damper is fully open, more oxygen is allowed into the stove, resulting in higher combustion rates and increased heat output. However, this also leads to faster wood consumption.

Advertisement

On the other hand, when the damper is partially closed, it restricts the airflow, resulting in slower combustion rates and reduced heat output. This can help conserve wood, but may lead to uneven temperature distribution within the stove.

Finding the right balance is crucial for optimizing heat output and efficiency.

Now, let’s explore some tips for properly using and maintaining a wood stove damper.

Tips for Properly Using and Maintaining a Wood Stove Damper

Properly maintaining the damper ensures optimal heat output and efficiency of my wood stove.

When it comes to using and maintaining a wood stove damper, there are a few key tips to keep in mind:

Advertisement
  • Common damper problems and troubleshooting: Familiarize yourself with common damper issues such as rust, debris buildup, and improper seal. Troubleshooting these problems will help maintain the damper’s functionality.

  • Cleaning and inspecting a wood stove damper: Regularly clean and inspect the damper to remove any creosote buildup or debris that may hinder its performance. Use a brush or vacuum to clean the damper thoroughly.

  • Proper operation: Know how to open and close the damper properly to control the airflow and heat output. Avoid leaving the damper fully open for extended periods to prevent excessive heat loss.

  • Professional maintenance: Consider having a professional inspect and service the damper annually to ensure it’s in good working condition and to address any potential issues.

Following these tips will help you maximize the efficiency and longevity of your wood stove damper.

Frequently Asked Questions

Can a Wood Stove Damper Be Installed on Any Type of Wood Stove?

Yes, a wood stove damper can be installed on most types of wood stoves. The installation process may vary depending on the specific stove model, but generally, dampers can be added to improve the stove’s efficiency and control the airflow.

How Often Should the Damper on a Wood Stove Be Inspected and Cleaned?

Inspect and clean the wood stove damper regularly to ensure proper functioning. Signs of a dirty damper include difficulty in controlling airflow and excessive smoke. Cleaning frequency depends on usage, but once a year is a good rule of thumb.

Is It Possible to Adjust the Damper to Control the Intensity of the Fire in a Wood Stove?

Yes, you can adjust the damper on a wood stove to control the intensity of the fire. By manipulating the damper, you can regulate the airflow and maintain the desired temperature inside the stove.

Can a Wood Stove Damper Help to Reduce Smoke and Odors in the Room?

A wood stove damper can help reduce smoke and odors in the room by controlling the airflow and combustion rate. By adjusting the damper, I can improve indoor air quality and create a more pleasant and efficient heating experience.

Advertisement

Are There Any Safety Precautions to Keep in Mind When Using a Wood Stove Damper?

Are there any safety precautions to keep in mind when using a wood stove damper? To operate a wood stove damper correctly, ensure proper ventilation, regularly clean and inspect the damper, and never leave the stove unattended while in use.

Conclusion

In conclusion, the wood stove damper is a crucial component that regulates airflow in order to control heat output and improve efficiency.

By understanding its purpose, components, and mechanisms, as well as properly using and maintaining it, one can ensure optimal performance of their wood stove.

So, don’t let your wood stove go ‘up in smoke’ – make sure you harness the power of the damper to keep your home warm and cozy all winter long.

Terra grew up with a soul deeply connected to nature. Her earliest memories are of sun-drenched meadows, whispering woods, and the rhythmic dance of waves on a moonlit night. Every gust of wind, rustling leaf, and distant horizon beckoned her with tales waiting to be told.

Continue Reading
Advertisement

Wood Stove

How To Get A Wood Stove To Draw Better

Published

on

By

An image showcasing a close-up of a wood stove's chimney, with billowing smoke gracefully spiraling upwards

I’ve always held dear the soothing warmth that radiates from a wood stove during a cool evening.

But when it’s struggling to draw properly, it can be frustrating. That’s why I’ve learned some tricks to improve its performance.

In this article, I’ll share my knowledge and experience on understanding the principles of draft, ensuring proper airflow, choosing the right wood, and clearing obstructions.

By using these techniques, you’ll be able to enhance the draw of your wood stove and enjoy its comforting heat to the fullest.

Key Takeaways

  • Properly size and insulate the chimney to maintain a strong draft.
  • Clear debris and seal leaks to ensure proper airflow and prevent air leaks.
  • Use hardwoods like oak or maple for better draw, as they burn slower and produce less smoke.
  • Regularly inspect and clean the flue to remove obstructions and maintain optimal draft.

Understanding the Principles of Draft in a Wood Stove

I’ve been experimenting with different techniques to improve the draft in my wood stove.

Improving combustion and troubleshooting draft issues are essential for efficient and effective heating.

Advertisement

To understand how to improve the draft, it’s crucial to grasp the principles behind it. Draft in a wood stove relies on the natural flow of air from the firebox through the chimney.

The temperature difference between the firebox and the outside air creates a pressure difference, resulting in the upward movement of hot gases.

Several factors can affect draft, including chimney height, diameter, and insulation.

A properly sized and insulated chimney can help maintain a strong draft, while obstructions or leaks can hinder it.

Ensuring Proper Airflow for Improved Stove Performance

Addressing obstructions and leaks, while ensuring proper insulation and chimney size, significantly improves the airflow in a wood stove, leading to improved stove performance. To achieve better ventilation and maximize the efficiency of your wood stove, consider the following:

Advertisement

  • Clearing any debris or obstructions from the chimney to allow for proper airflow.
  • Sealing any leaks or gaps in the stove or chimney to prevent air leaks.
  • Adjusting damper settings to control the amount of air entering the stove.
  • Installing a stovepipe thermometer to monitor and optimize the temperature.
  • Adding an external air supply to provide fresh air directly to the fire.

By implementing these measures, you can enhance the ventilation of your wood stove and ensure that it operates at its best.

However, improving ventilation isn’t the only factor that affects the draw of a wood stove. Another crucial aspect is choosing the right wood.

Choosing the Right Wood for Better Draw

To achieve a better draw, it is important to select the right type of wood and use it in conjunction with proper ventilation techniques. Choosing the right firewood can greatly impact the performance of your wood stove. Softwoods, such as pine or fir, are known to burn quickly and produce a high amount of smoke, which can hinder airflow. Hardwoods, on the other hand, like oak or maple, burn slower and produce less smoke, making them ideal for improving airflow. In addition to choosing the right wood, improving airflow is crucial. Ensuring proper ventilation by opening the damper fully and providing enough space for air to circulate around the stove will enhance the draw. By considering these factors, you can optimize your wood stove’s performance and enjoy a more efficient and enjoyable heating experience.

Pros Cons Best For
Burns slower Can be more expensive Hardwoods (e.g., oak, maple)
Produces less smoke Requires more drying time
Provides better airflow

Clearing Obstructions and Cleaning the Flue for Optimal Draft

I need to clean the flue at least once a year to ensure optimal draft and prevent any obstructions. Chimney maintenance is crucial for the proper functioning of a wood stove, as it helps to prevent smoke issues and ensures efficient burning.

Here are some key points to consider when it comes to clearing obstructions and cleaning the flue:

  • Regularly inspect and clean the flue to remove any creosote buildup or debris.
  • Use a chimney brush and rods to thoroughly clean the flue from top to bottom.
  • Check for any cracks or damages in the flue liner and repair them promptly.
  • Install a chimney cap to prevent animals from entering and obstructing the flue.
  • Consider hiring a professional chimney sweep for a thorough cleaning and inspection.

By following these maintenance practices, you can troubleshoot smoke issues and ensure that your wood stove operates at its best.

Now, let’s explore additional techniques to enhance the draw of your wood stove.

Advertisement

Utilizing Additional Techniques to Enhance the Draw of Your Wood Stove

One technique I’ve found helpful for enhancing the draw of my wood stove is using a damper and adjusting it accordingly.

A damper is a device that controls the airflow within the chimney. By installing a damper, you can regulate the amount of air entering the stove, which directly affects the draw.

When the damper is fully open, more air is allowed into the stove, creating a stronger draw. Conversely, when the damper is partially or fully closed, less air is allowed in, resulting in a weaker draw.

Another technique that can be used in conjunction with a damper is using chimney fans. These fans are designed to increase the air flow within the chimney and can significantly enhance the draw of the wood stove.

Frequently Asked Questions

Can I Use Any Type of Wood in a Wood Stove?

Yes, you can use various types of wood in a wood stove. However, it’s important to use seasoned wood as it burns more efficiently, produces more heat, and creates less creosote buildup in the chimney.

Advertisement

How Often Should I Clean the Flue of My Wood Stove?

To ensure proper functioning and safety, it is important to clean the flue of a wood stove regularly. The frequency of flue cleaning depends on usage and the type of wood burned. Regular maintenance is essential for optimal wood stove performance.

Can I Install a Wood Stove in a Mobile Home?

Installing a wood stove in a mobile home requires adherence to specific regulations. However, the benefits of having a wood stove in a mobile home include increased warmth, energy efficiency, and cost savings on heating bills.

What Is the Average Lifespan of a Wood Stove?

The average lifespan of a wood stove can vary depending on factors such as maintenance and usage. To extend the lifespan, regular cleaning, proper installation, and using dry seasoned wood are recommended.

Are There Any Safety Precautions I Should Take When Using a Wood Stove?

When using a wood stove, it’s crucial to prioritize safety. Proper ventilation and carbon monoxide monitoring are essential. Additionally, regular chimney inspections and maintenance play a vital role in ensuring the safety of your wood stove.

Conclusion

In conclusion, just like a river that flows freely, a well-drawing wood stove requires understanding, maintenance, and the right fuel. By grasping the principles of draft, ensuring proper airflow, choosing the right wood, and clearing obstructions, you can enhance the performance of your wood stove.

Advertisement

Think of your wood stove as a majestic dragon that needs care and attention to unleash its full potential. With these techniques, you can create a warm and cozy atmosphere that will captivate and comfort all who gather around it.

Continue Reading

Wood Stove

How To Plug A Hole Chimney Unused Wood Stove Hole

Published

on

By

An image showcasing a sturdy metal plate precisely covering a dormant wood stove hole in a brick chimney

So, you find yourself with an empty space where there used to be a wood stove connected to your chimney, and you’re considering the best method to seal it off.

Well, you’re in luck because I’ve got all the steps you need to do just that.

From assessing the hole to gathering materials and sealing it up with insulation, I’ll guide you through each step.

By the time we’re done, your chimney will be hole-free and ready to go.

Let’s get started, shall we?

Advertisement

Key Takeaways

  • Prioritize safety and promptly address any issues with the chimney hole
  • Gather the necessary materials such as bricks, mortar, chimney cap, and insulation
  • Clean out debris and obstructions before sealing the hole with insulation
  • Regularly inspect and maintain the sealed hole to ensure its good condition

Assessing the Chimney Hole

I’m currently evaluating the condition of the chimney hole to determine the necessary repairs.

When it comes to chimney repair, it’s essential to prioritize safety. A damaged chimney can pose serious risks, including the potential for carbon monoxide leaks and chimney fires.

As I inspect the chimney hole, I’m looking for any signs of deterioration or damage. This may include cracks, loose bricks, or a deteriorated chimney cap. It’s crucial to address these issues promptly to ensure the safety of your home and family.

Depending on the severity of the damage, repairs may range from simple fixes, such as sealing cracks, to more extensive repairs, such as rebuilding sections of the chimney.

Gathering the Necessary Materials

Before starting the repairs, I’ll gather the necessary materials, such as bricks, mortar, and a chimney cap.

Choosing the right insulation is crucial to ensure that the unused wood stove hole is properly sealed. It’s important to consider factors such as heat resistance and moisture protection when selecting insulation. Fiberglass insulation with a high R-value is often recommended for this purpose.

Advertisement

Additionally, proper disposal of wood stove components is essential for safety and environmental reasons. Any leftover wood, ashes, or debris should be carefully removed and disposed of according to local regulations. It’s important to avoid burning or dumping these materials, as they can release harmful pollutants into the air or contaminate soil and water sources.

Preparing the Chimney Hole

I’ll clean out any debris from the chimney hole to prepare it for sealing. Before I start repairing the chimney hole, it’s important to ensure that it’s free from any debris or obstructions. I’ll use a chimney brush or a vacuum cleaner to remove any soot, ash, or other buildup that may have accumulated over time. This step is crucial in order to create a clean surface for the sealing material to adhere to.

Once the chimney hole is cleaned, I can begin the process of sealing it. There are various methods and materials that can be used for this purpose. One option is to use a chimney plug or cap specifically designed for sealing unused chimney flues. These plugs are easy to install and provide a tight seal to prevent drafts and water leakage.

Alternatively, if you’re looking for alternative uses for the unused wood stove hole, you can consider converting it into a decorative feature. Some ideas include installing a small shelf or display area, creating a faux fireplace with decorative logs, or even turning it into a planter for indoor plants.

Sealing the Hole With Insulation

To effectively seal the hole, I can use insulation and a cap to prevent drafts and water leakage. There are different types of insulation that can be used for this purpose.

Advertisement

One common type is fiberglass insulation, which is easy to install and provides good thermal insulation. Another option is spray foam insulation, which can be applied directly to the hole and expands to fill any gaps or cracks. It provides excellent air sealing and insulation properties.

When sealing the hole, it’s important to avoid common mistakes. One common mistake isn’t properly cleaning the area before applying the insulation. Dust, debris, and old caulk should be removed to ensure a proper seal. Another mistake is using the wrong type of insulation for the specific hole. It’s important to choose an insulation material that’s suitable for the size and shape of the hole.

Finishing Touches and Maintenance

I’ve already sealed the hole, so now I just need to do some finishing touches and maintenance to ensure it stays in good condition. Here are some chimney hole repair tips and DIY wood stove removal suggestions for maintaining the hole:

  • Inspect Regularly: Check the sealed hole periodically for any signs of damage or wear. Look for cracks, gaps, or any signs of moisture leakage. This will help you catch any issues early on and prevent further damage.

  • Clean the Area: Keep the area around the sealed hole clean and free from debris. This will prevent any potential blockages and ensure proper airflow.

  • Weatherproofing: Apply a weatherproof sealant or caulk around the edges of the sealed hole. This will provide an extra layer of protection against the elements, preventing water penetration and potential damage.

Frequently Asked Questions

Can I Use Regular Household Items Instead of the Recommended Materials for Sealing the Chimney Hole?

Yes, you can use alternative materials to seal the chimney hole. It’s a cost-effective solution that many people opt for. However, it’s important to ensure that the materials you choose are safe and effective for this purpose.

How Long Does the Insulation Material Typically Last Before Needing to Be Replaced?

Insulation material typically lasts around 20 to 30 years before needing replacement. It’s important to choose the right insulation material based on factors like heat resistance and durability. Signs of replacement include wear, damage, and decreased energy efficiency.

Advertisement

Is It Necessary to Hire a Professional to Plug the Chimney Hole or Can It Be Done as a DIY Project?

I’ve found that plugging the chimney hole can be a DIY project, depending on your skill level and comfort. However, hiring a professional ensures proper sealing and reduces the risk of damage. Budget-friendly alternatives include using chimney caps or sealing with fire-resistant materials.

Can I Use the Same Method to Plug a Hole in a Chimney That Is Still in Use?

I can’t use the same method to plug a chimney hole that is still in use. It’s important to prioritize chimney hole safety and maintenance when dealing with an active chimney. It’s best to consult a professional for a proper solution.

Are There Any Safety Precautions I Should Take While Plugging the Chimney Hole?

When plugging a chimney hole, it is important to take safety precautions. Make sure to wear protective gear and work in a well-ventilated area. Additionally, consider alternative materials like chimney plugs or expanding foam to effectively seal the hole.

Conclusion

In conclusion, plugging a hole in a chimney is a simple and cost-effective way to prevent drafts and heat loss. By assessing the hole, gathering the necessary materials, preparing the chimney, sealing it with insulation, and adding finishing touches, you can ensure a snug and efficient solution.

Remember to regularly check and maintain the seal to keep your home cozy and energy-efficient. So, say goodbye to chilly drafts and hello to a well-insulated home!

Advertisement

Continue Reading

Wood Stove

How To Install A Flue On A Wood Stove

Published

on

By

An image of a skilled individual wearing protective gear, positioned near a wood stove

I’ve always held the conviction that the essence of a warm and inviting home lies in the presence of an operational wood stove.

And when it comes to installing a flue on that wood stove, it’s crucial to get it right. That’s why I’m here to guide you through the process, step by step.

From choosing the right flue to testing and maintaining the system, I’ll provide you with the technical knowledge and detailed instructions you need.

Let’s get started on creating a safe and efficient flue system for your wood stove.

Key Takeaways

  • Flue size and material choice are crucial for efficiency and safety of the wood stove
  • Consult manufacturer’s guidelines or professionals for correct flue size and material options
  • Proper preparation of the wood stove, including cleaning and inspection, is necessary before flue installation
  • Securely install the flue pipe and chimney cap to prevent debris and moisture entry

Choosing the Right Flue for Your Wood Stove

I’m having trouble deciding which flue is the right one for my wood stove. The size of the flue is an important consideration as it affects the efficiency and safety of the stove. The flue should be sized correctly to allow for proper airflow and to prevent the buildup of smoke and harmful gases. It’s important to consult the manufacturer’s guidelines or a professional to determine the appropriate flue size for your specific wood stove.

Additionally, there are various flue material options available, such as stainless steel, cast iron, or clay. Each material has its own advantages and considerations, including durability, insulation properties, and cost. Considering the flue size and material options will help ensure a successful installation.

Advertisement

Now that I understand the importance of choosing the right flue, it’s time to gather the necessary tools and materials.

Gathering the Necessary Tools and Materials

To properly install the flue, I’ll need a chimney brush and a ladder to clean out any debris. Once the chimney is clear, I can move on to selecting the right flue size. This is crucial for proper ventilation and efficient operation of the wood stove. Here are the steps I’ll follow:

  1. Measure the diameter of the stove’s flue collar.
  2. Determine the recommended flue size based on the stove manufacturer’s guidelines.
  3. Choose a flue that matches the stove’s requirements, ensuring a proper fit.

In addition to selecting the correct flue size, proper insulation is also essential. This helps prevent heat loss and ensures optimal performance. I’ll make sure to use high-quality insulation materials, such as ceramic fiber or rock wool, to insulate the flue properly.

Preparing the Wood Stove for Flue Installation

I’ll start by removing any debris and cleaning out the stove pipe before installing the flue. The first step in preparing the wood stove for flue installation is to ensure that the stove pipe is clear of any obstructions or build-up. This is crucial for the proper functioning of the flue system. I’ll carefully inspect the pipe to make sure there are no cracks or damages that could compromise its integrity.

Next, I’ll measure the diameter of the stove pipe to determine the correct sizing requirements for the flue. It’s important to choose a flue that matches the size of the stove pipe to ensure a tight and secure fit. Additionally, I’ll take all necessary safety precautions, such as wearing protective gloves and eyewear, to prevent any injuries during this process.

Now that the stove pipe is clean and the sizing requirements are determined, I can move on to installing the flue pipe and chimney cap.

Advertisement

Installing the Flue Pipe and Chimney Cap

I will carefully attach the flue pipe to the stove pipe, and then secure the chimney cap in place.

When installing the flue pipe, it’s crucial to follow proper procedures to ensure optimal chimney maintenance and prevent any potential issues with flue functionality. Here are three key steps to consider:

  1. Align the flue pipe and stove pipe: Make sure the flue pipe is properly aligned with the stove pipe to ensure a secure fit. This will prevent any leaks or gaps that could affect the efficiency of the flue system.

  2. Secure the connection: Use high-quality metal screws or clamps to secure the flue pipe to the stove pipe. This will ensure a tight and stable connection, minimizing the risk of any disconnection or movement during operation.

  3. Install the chimney cap: The chimney cap plays a vital role in preventing debris, animals, and moisture from entering the flue system. Carefully install the chimney cap, ensuring it’s securely attached to the flue pipe.

By following these steps, you can effectively install the flue pipe and chimney cap, ensuring proper functionality and minimizing the need for troubleshooting flue issues.

Now, let’s move on to testing and maintaining the flue system for optimal performance.

Testing and Maintaining the Flue System

I’m regularly inspecting and cleaning the flue system to ensure its proper functioning and prevent any potential hazards.

Advertisement

Flue system troubleshooting is a crucial aspect of maintaining a safe and efficient wood stove. A poorly maintained flue can lead to a variety of problems, such as inadequate draft, excessive smoke, or even chimney fires.

Regular maintenance involves inspecting the flue pipe for any signs of damage or blockage, such as creosote buildup or debris. Additionally, it’s important to ensure that the flue damper is working correctly and fully opening and closing.

Cleaning the flue system involves removing any obstructions or debris using a chimney brush or professional cleaning tools.

Frequently Asked Questions

Can I Install a Flue on a Wood Stove Without Professional Help?

Yes, I can install a flue on a wood stove without professional help. It is important to have a good understanding of wood stove maintenance and follow the proper installation instructions for safety.

How Often Should I Clean My Flue System?

Regular flue maintenance is essential for the safe and efficient operation of your wood stove. You may be wondering how often you should clean your flue system. Let’s delve into the importance of regular maintenance.

Advertisement

Can I Use the Same Flue Pipe for Multiple Wood Stoves?

Yes, you can use the same flue pipe for multiple wood stoves, as long as the flue pipe is compatible with each stove. It is important to ensure proper installation and safety measures are followed.

Is It Necessary to Use High-Temperature Sealant When Installing the Flue Pipe?

Using high-temperature sealant when installing a flue pipe is crucial. Not using it can lead to potential risks like leaks, fire hazards, and inefficient stove performance. Explore alternative sealants, but prioritize safety.

Can I Use a Different Type of Chimney Cap for My Wood Stove?

Yes, you can use different chimney caps for your wood stove. There are alternative flue options available that can accommodate various types of caps, providing flexibility in design and functionality.

Conclusion

In conclusion, installing a flue on a wood stove is a technical and detailed process that requires the right tools and materials.

By choosing the appropriate flue, properly preparing the wood stove, and correctly installing the flue pipe and chimney cap, you can ensure the safe and efficient operation of your wood stove.

Advertisement

Regular testing and maintenance of the flue system will help to maintain its effectiveness and ensure a cozy and warm home.

Continue Reading

Trending