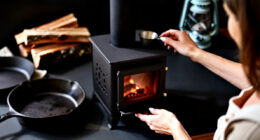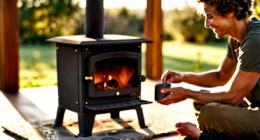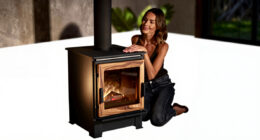

As someone who deeply loves their wood pellet stove, I completely get how annoying it is to deal with a glass that’s cracked or completely broken. But there’s no need to stress anymore because I’m here to guide you through the process of replacing the glass on your Enviro Mini Wood Pellet Stove.
In this article, I will provide you with all the necessary steps, tools, and tips to successfully complete this task.
So, grab your gloves and let’s get started on restoring the warmth and beauty of your beloved stove.
Key Takeaways
- Properly prepare the wood pellets by ensuring they are dry and free of debris or moisture.
- Assess the condition of the glass for cracks, chips, or discoloration.
- Remove the door and unscrew the retaining clips to replace the glass.
- Ensure proper ventilation to prevent excessive heat buildup.

Stove Parts 4 Less Enviro Glass Gasket (72 Inches Long): EC-058
Compatible Replacement for Part # EC-058 and EF4i-058, EG20-089, EG25-089, EG30-089, EF-058, EG32-089, EG31-089, EG40-123, EC-058A, EC-058B.
As an affiliate, we earn on qualifying purchases.
As an affiliate, we earn on qualifying purchases.
Understanding the Glass Replacement Process
To replace the glass in your Enviro Mini wood pellet stove, you’ll need to understand the glass replacement process.
First, it’s important to prepare the wood pellets properly. Make sure they are dry and free of any debris or moisture, as this can cause issues with the stove’s performance. Troubleshooting common issues such as poor combustion or excessive smoke can often be resolved by ensuring the pellets are of high quality.
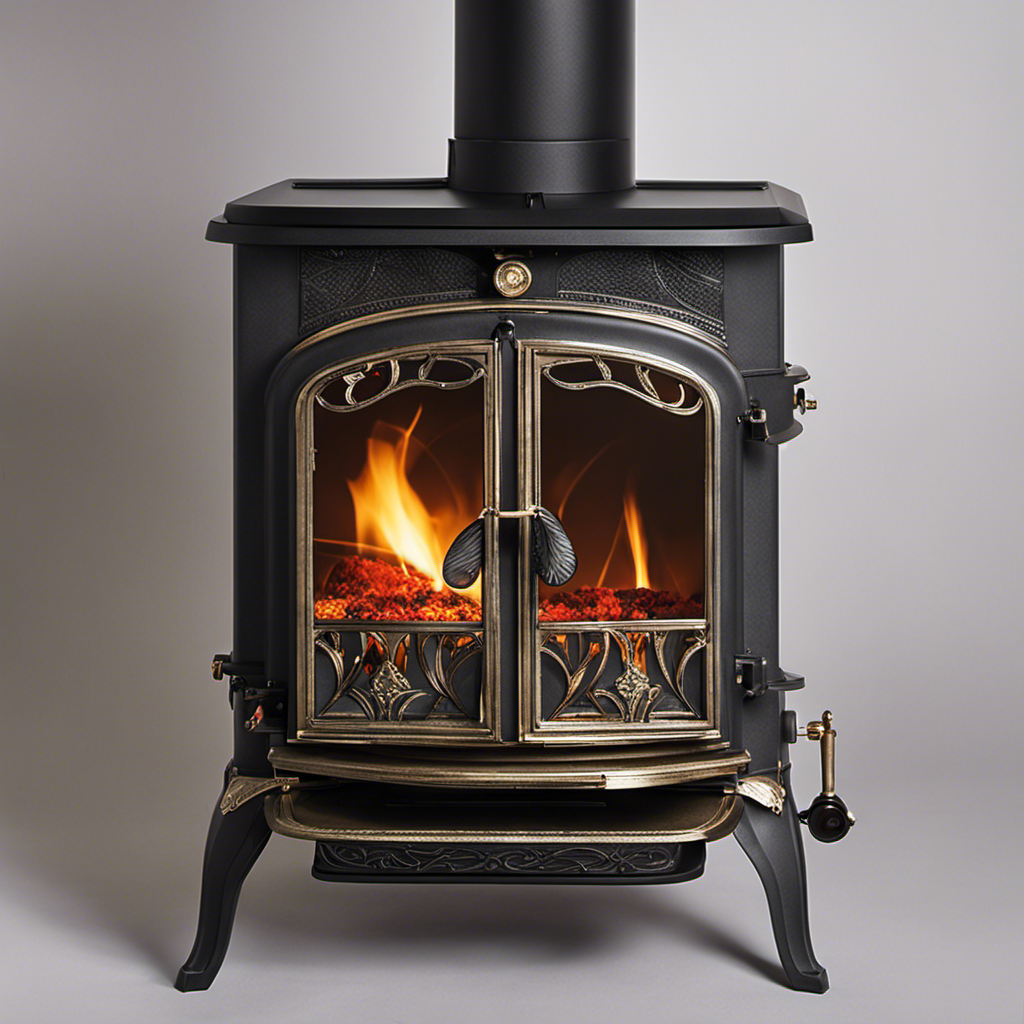
Once the pellets are ready, it’s time to assess the condition of the glass. Look for any cracks, chips, or discoloration that may affect the stove’s efficiency or pose a safety hazard.

High-Temperature Pyroceram Ceramic Glass 6.5” x 9”, 1380°F Rated, 3/16" Thick Wood Stove Replacement Panel for Fireplace Inserts, Pellet Stoves, and Wood Burning Stove Doors
High-Temp Rated Up to 1380°F Crafted from premium Pyroceram ceramic glass designed to handle extreme heat. Ideal for…
As an affiliate, we earn on qualifying purchases.
As an affiliate, we earn on qualifying purchases.
Assessing the Condition of the Glass
When it comes to assessing the condition of the glass in my enviro mini wood pellet stove, there are a few key points to keep in mind.
First, I always make sure to inspect for any cracks or damage that could compromise the integrity of the glass. This not only ensures the safety of my stove but also prevents any potential issues down the line.
Second, regular cleaning is essential to maintain the clarity and functionality of the glass. I use a non-abrasive cleaner and a soft cloth to remove any soot or residue that may have accumulated over time.
Lastly, proper maintenance is crucial to prolong the lifespan of the glass. This includes checking for loose bolts or screws, as well as ensuring proper ventilation to prevent excessive heat buildup.
Inspecting for Cracks
First, carefully examine the glass for any cracks or damage before attempting to replace it in your Enviro Mini wood pellet stove. Inspecting for cracks is crucial to ensure a proper installation and prevent further damage to the stove.
Start by visually inspecting the glass for any visible cracks or chips. Run your fingers along the edges to check for any hidden cracks. If you notice any damage, it is essential to replace the glass before using the stove again.
To replace the glass, you will need to remove the door and unscrew the retaining clips holding the glass in place. Gently lift out the old glass and replace it with a new one.
Now, let’s move on to the next section about cleaning and maintenance, which is equally important for the longevity of your Enviro Mini wood pellet stove.
Cleaning and Maintenance
Regularly cleaning and maintaining your stove is essential for optimal performance and safety. To ensure your stove operates efficiently, here are some cleaning techniques and troubleshooting tips:
-
Cleaning Techniques: Use a soft cloth and mild detergent to wipe down the exterior of the stove. Remove any debris from the burner and flue using a brush or vacuum cleaner.
-
Troubleshooting Tips: If you notice a decrease in heat output, check for clogged air vents and clean them if necessary. If your stove is emitting excessive smoke, inspect the flue pipe for blockages and clear them.
By following these cleaning techniques and troubleshooting tips, you can keep your stove in top condition.
To continue with the maintenance process, let’s move on to gathering the necessary tools and materials.

JUFZQO Wood & Pellet Stove Door Glass Kit Fit for Englander, 9 1/8" x 9 1/8" Wood Stove Glass with Sealing Strip Replace AC-G9
High-Temperature Resistance: Utilizing high-quality ceramic heat-resistant materials, it can withstand continuous extreme temperatures up to 2190°F (1200°C) with…
As an affiliate, we earn on qualifying purchases.
As an affiliate, we earn on qualifying purchases.
Gathering the Necessary Tools and Materials
When it comes to replacing the glass in an enviro mini wood pellet stove, there are a few key points to consider.
First and foremost, gathering the necessary tools and materials is essential. You will need a heat-resistant glass, a screwdriver or wrench for removing the old glass, and a sealant to secure the new glass in place.
Additionally, proper preparation steps, such as cleaning the stove and ensuring the area is clear of debris, are crucial to ensure a successful replacement.
Lastly, safety precautions should be taken into consideration, such as wearing protective gloves and eyewear, as well as allowing the stove to cool down before starting the replacement process.
Essential Tools and Materials
You’ll need a few essential tools and materials to replace the glass in an enviro mini wood pellet stove. Here is a list of what you’ll need:
| Tools and Equipment | Materials | Safety Equipment |
|---|---|---|
| Screwdriver | Replacement Glass | Safety Glasses |
| Pliers | High-Temperature Sealant | Gloves |
| Heat-Resistant Gloves | Gasket Material | Dust Mask |
| Putty Knife | Glass Cleaner | |
| Vacuum Cleaner |
To replace the glass in your stove, follow these step-by-step instructions:
- Turn off the stove and allow it to cool completely.
- Use the screwdriver and pliers to remove any screws or clips securing the old glass.
- Carefully remove the old glass and clean the area with glass cleaner.
- Apply a thin layer of high-temperature sealant to the gasket material.
- Place the new glass on the gasket and secure it with screws or clips.
Now that you have gathered the necessary tools and materials, let’s move on to the proper preparation steps for replacing the glass in your enviro mini wood pellet stove.
Proper Preparation Steps
Before beginning the glass replacement process, make sure to gather all the necessary tools and materials. Here are the proper preparation steps to follow:
-
Preparing the surface: Start by cleaning the area around the glass thoroughly. Use a gentle glass cleaner and a soft cloth to remove any dust, dirt, or residue. Ensure that the surface is dry before moving on to the next step.
-
Applying adhesive: Apply a thin layer of high-temperature adhesive to the edge of the glass. Make sure to use a heat-resistant adhesive specifically designed for this purpose. Carefully position the glass onto the stove, aligning it properly. Press it firmly against the adhesive to create a secure bond.
-
Allow the adhesive to cure: Follow the manufacturer’s instructions regarding the curing time for the adhesive. It is crucial to let it fully cure before using the stove to prevent any accidents or damage.
By properly preparing the surface and applying the adhesive, you can ensure a successful glass replacement.
Now, let’s move on to the safety precautions to consider when replacing the glass.
Safety Precautions to Consider
To ensure your safety during the glass replacement process, it’s important to take certain precautions. By following these measures, you can prevent accidents and ensure a smooth replacement.
First and foremost, make sure to wear appropriate safety equipment such as gloves and safety glasses to protect yourself from any potential harm.
Additionally, it’s crucial to disconnect the power supply to the stove before beginning any work. This will minimize the risk of electric shock.
Lastly, take your time and handle the glass with care to avoid any breakage or injury.
With these safety precautions in mind, you can proceed confidently to the next section, which involves removing the damaged glass.

Weiman Glass & Ceramic Cooktop, Stove Top & Oven Cleaner Kit – Kitchen Cleaner Cream, 3 Scrubbing Pads & Scraper for Burnt-On Food & Grease, Clean Shine – Safe for Induction, Electric & Gas Cooktops
REVITALIZE WITHOUT SCRATCHING: Non-abrasive cooktop pads help easily remove heavily burned on foods, grease & grime. Our cooktop…
As an affiliate, we earn on qualifying purchases.
As an affiliate, we earn on qualifying purchases.
Removing the Damaged Glass
First, carefully inspect the damaged glass for any cracks or chips. Evaluating the damage is crucial to determine the best course of action. If the glass is severely cracked or chipped, it will need to be replaced.
Luckily, there are several replacement options available for Enviro Mini wood pellet stoves. You can either order a replacement glass directly from the manufacturer or visit a local stove shop to find a suitable replacement. It’s important to ensure that the replacement glass matches the dimensions and specifications of the original glass.
Once the replacement glass is obtained, it’s time to move on to the next step of the process: cleaning and preparing the stove for installation. It’s essential to ensure that the stove is clean and free from any debris before installing the new glass.
Cleaning and Preparing the Stove for Installation
After removing the damaged glass from my Enviro Mini wood pellet stove, it was time to clean and prepare the stove for the installation of the new glass. This step is crucial to ensure a proper fit and to prevent any potential risks during operation.
To clean the stove, I followed these techniques:
| Cleaning Technique | Description |
|---|---|
| Vacuuming | I used a vacuum with a brush attachment to remove any loose debris and ash from the stove. |
| Scrubbing | Using a soft brush and mild soap, I gently scrubbed the interior surfaces of the stove to remove any stubborn stains or buildup. |
| Wiping | With a damp cloth, I wiped down the exterior of the stove to remove any dust or dirt. |
It’s important to take caution while cleaning the stove, as it can still be hot or have sharp edges. Once the cleaning was done, I was ready to install the new glass.
Transitioning into the next section, let’s move on to the installation of the new glass in the Enviro Mini wood pellet stove.
Installing the New Glass
Once the stove is cleaned and prepared, it’s time to start installing the new glass. Here are some key techniques to keep in mind for a successful installation:
-
Measure twice, cut once: Before attempting to install the glass, ensure that you have accurate measurements of the opening. This will help you cut the glass to the correct size and avoid any unnecessary mistakes.
-
Use proper tools and materials: It’s important to have the right tools for the job, such as a glass cutter and glass cleaner. Additionally, make sure to use high-quality materials, such as heat-resistant glass, to ensure durability and safety.
-
Secure the glass properly: When installing the glass, use a high-temperature adhesive or gasket to secure it firmly in place. This will prevent any leaks or drafts and ensure that the stove operates efficiently.
By following these installing techniques, you can avoid common mistakes and ensure a successful replacement.
Now, let’s move on to the next step: ensuring proper sealing and insulation without compromising the stove’s performance.
Ensuring Proper Sealing and Insulation
To ensure proper sealing and insulation, it’s essential to carefully examine the gasket and replace it if necessary. The gasket is a crucial component of the glass replacement process as it prevents air leaks and ensures maximum efficiency. When inspecting the gasket, pay close attention to any signs of wear or damage such as cracks, tears, or gaps. If you notice any issues, it’s important to replace the gasket immediately to maintain the stove’s performance. Here is a table outlining the proper sealing techniques and the importance of insulation in the glass replacement process:
| Proper Sealing Techniques | Importance of Insulation |
|---|---|
| Clean the surface before applying the gasket | Prevents air leaks |
| Ensure the gasket is properly aligned and centered | Maximizes efficiency |
| Use a high-quality gasket material | Provides long-lasting sealing |
Now that we have ensured proper sealing and insulation, let’s move on to testing and troubleshooting the replacement.
Testing and Troubleshooting the Replacement
Make sure you carefully examine the newly replaced gasket for any signs of air leaks or gaps, as this could affect the efficiency of your stove. Here are some testing methods and troubleshooting tips to ensure the replacement is working properly:
-
Visual inspection: Look for any visible gaps or areas where the gasket is not properly sealed. Pay attention to corners, edges, and any joints where the gasket meets other components.
-
Smoke test: Light a piece of paper or incense stick and hold it near the gasket. If you notice smoke being drawn towards the gasket, it could indicate an air leak.
-
Temperature test: During operation, feel the area around the gasket. If it feels significantly hotter than the surrounding area, there may be a leak.
-
Draft test: Place a thin strip of paper near the gasket while the stove is running. If the paper is being pulled towards the gasket, it suggests a leak.
Can I Use the Same Replacement Glass for a Wood Pellet Stove and a Regular Wood-burning Stove?
Yes, you can use the same replacement glass for a wood pellet stove and a regular wood-burning stove. The key is to ensure that the glass is heat-resistant and can handle the high temperatures produced when burning wood in a pellet stove or a traditional wood-burning stove.
Can A Wood Pellet Stove Function Without Electricity?
Yes, a wood pellet stove can function without electricity. In fact, many models are designed to operate independently, making them a reliable heat source during power outages. This makes wood pellet stoves a popular option for those seeking a dependable heating solution in emergencies.
Frequently Asked Questions
How Much Does It Cost to Replace the Glass in an Enviro Mini Wood Pellet Stove?
Replacing the glass in an Enviro Mini Wood Pellet Stove can cost around $100 to $300, depending on the type of glass and whether you choose to do it yourself or hire a professional for installation.
Can I Replace the Glass in My Stove Myself, or Do I Need to Hire a Professional?
When it comes to replacing the glass in your stove, you have the option of doing it yourself or hiring a professional. Let’s discuss the benefits of both approaches.
Can I Use Any Type of Glass for the Replacement, or Does It Need to Be a Specific Kind?
Sure, you can use different types of glass for the replacement, but it needs to be heat-resistant and suitable for wood pellet stoves. Here are some tips for maintaining the glass in your stove.
How Long Does It Typically Take to Replace the Glass in an Enviro Mini Wood Pellet Stove?
To properly remove the broken glass from an Enviro Mini Wood Pellet Stove, you will need a screwdriver and gloves. The replacement process usually takes around 30 minutes, depending on your level of experience.
What Are Some Common Mistakes to Avoid When Replacing the Glass in a Wood Pellet Stove?
When replacing glass in a wood pellet stove, it’s important to avoid common mistakes. Here are some tips for a successful replacement: handle the glass with care, clean the stove thoroughly, and ensure a proper fit.
Conclusion
After successfully replacing the glass in my Enviro Mini wood pellet stove, I can confidently say that it was a breeze!
Who would have thought that a task like this could be so straightforward and hassle-free?
With just a few simple steps, some basic tools, and a bit of patience, I was able to restore the functionality and beauty of my stove in no time.
So next time you find yourself in need of glass replacement, don’t fret – it’s easier than you think!