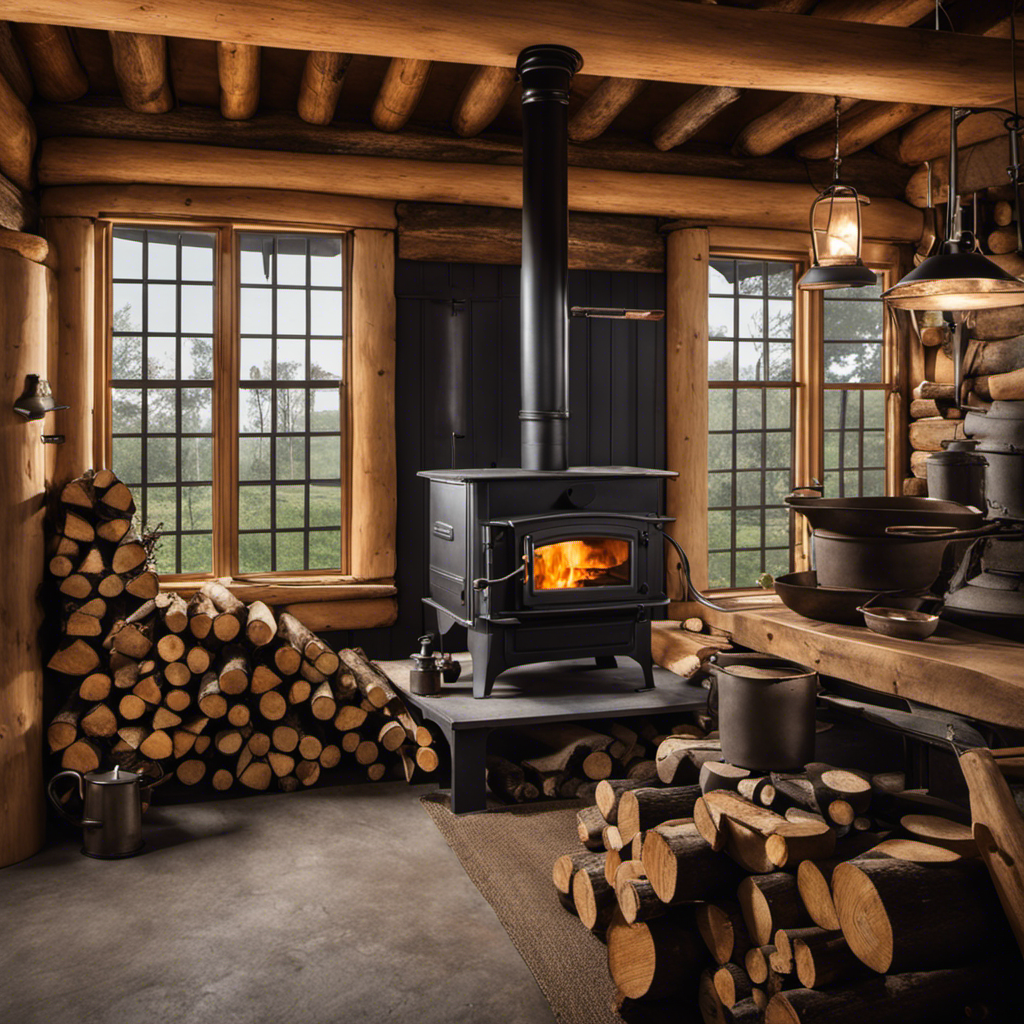
Connect with us

Wood Stove

How Can I Cap My Wood Stove Pipe

Published

on

How Can I Cap My Wood Stove Pipe

Allow me to show you a simple method for capping your wood stove chimney.

No more worrying about drafts or debris entering your home.

With a few simple steps, you’ll have a secure and efficient wood stove pipe cap installed.

Get ready to enjoy a cozy and safe heating experience.

wood burner clearance sale

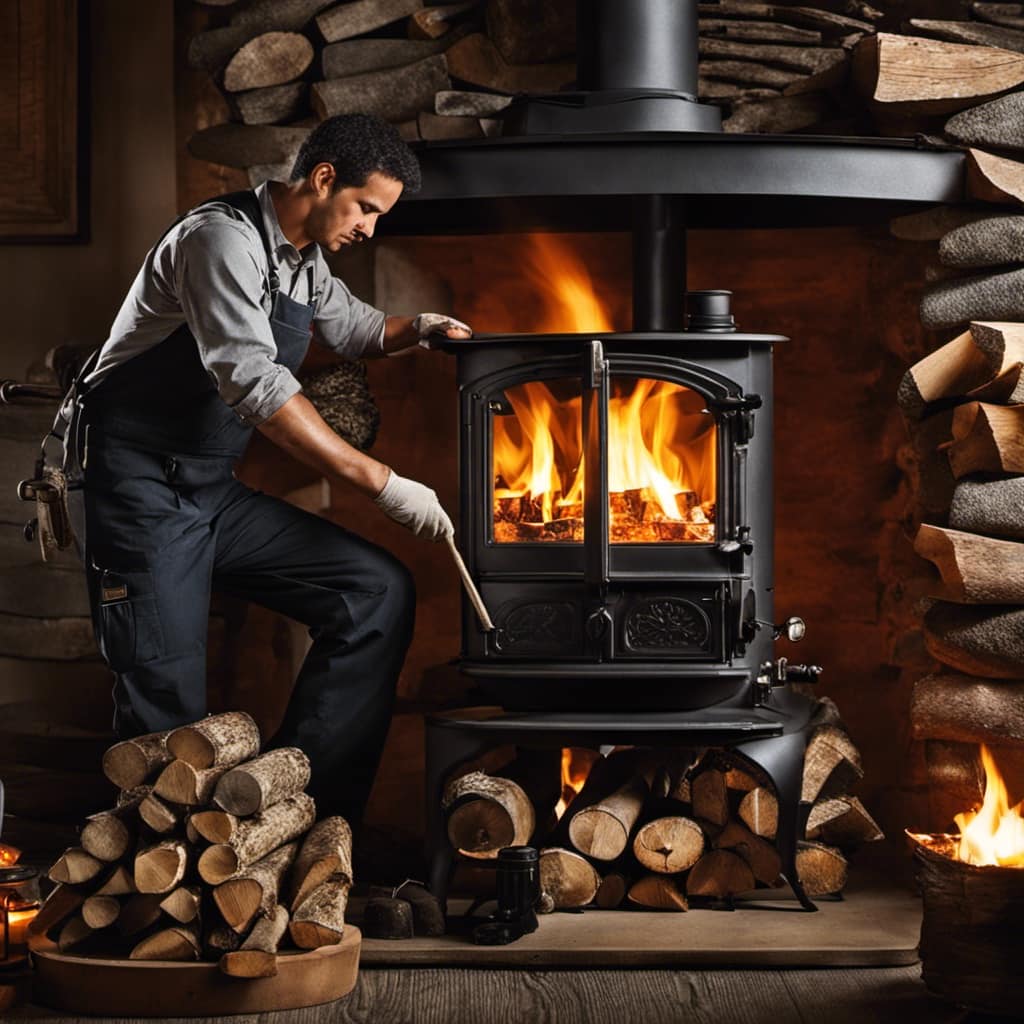
Let’s dive in and get started!

Advertisement

Key Takeaways

  • There are different types of wood stove pipe caps, including metal caps, single flue caps, multi-flue caps, and spark arrestor caps.
  • When choosing a wood stove pipe cap, factors to consider include matching the flue size with the cap size, using high-quality materials, considering maintenance requirements, and ensuring heat and corrosion resistance.
  • The installation of a wood stove pipe cap involves securely tightening screws, choosing the correct cap size, cleaning the pipe before installation, placing the cap over the end of the pipe, and regularly inspecting and cleaning the cap for proper airflow.
  • Capping your wood stove pipe offers benefits such as improving stove efficiency, reducing emissions, enhancing safety, preventing downdrafts and heat loss, and promoting cleaner air quality.

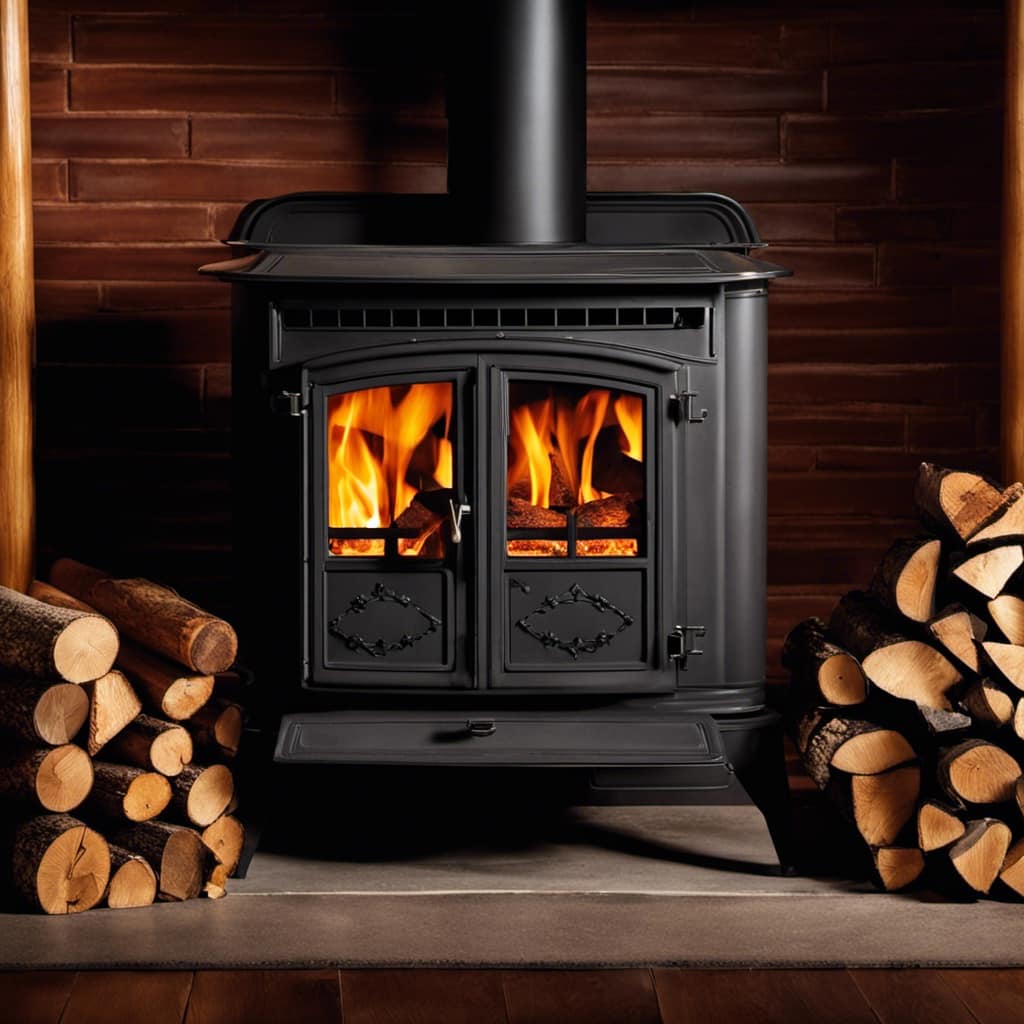
Different Types of Wood Stove Pipe Caps

I prefer using a metal cap for my wood stove pipe to prevent rain or debris from entering. There are various types of chimney caps available in the market today.

Some popular options include single flue caps, multi-flue caps, and spark arrestor caps. Single flue caps are designed to cover individual flues, while multi-flue caps can cover multiple flues at once. Spark arrestor caps are specifically designed to prevent sparks and embers from escaping the chimney.

When installing a wood stove pipe cap, it’s important to ensure that it fits securely and tightly. Proper installation will prevent any leaks or drafts. Additionally, it’s recommended to regularly inspect and clean the cap to remove any buildup of creosote or debris.

wood stove accessories

Factors to Consider When Choosing a Wood Stove Pipe Cap

One important factor to consider when choosing a wood stove pipe cap is the size of the flue it needs to cover. Selecting the right size cap ensures proper venting and prevents any potential issues with smoke or backdrafts.

Here are three key considerations when choosing a wood stove pipe cap:

  1. Flue Size: Measure the diameter of your flue to determine the appropriate cap size. It’s crucial to select a cap that matches the flue’s dimensions to ensure a secure and effective fit.

  2. Material and Durability: Look for a cap made of high-quality materials, such as stainless steel or cast iron, that can withstand high temperatures and resist corrosion. This ensures the longevity and reliability of the cap.

    small wood stove

  3. Maintenance Requirements: Consider the maintenance needs of the cap. Opt for a cap that’s easy to clean and maintain, as regular upkeep is essential for optimal performance and safety.

Proper maintenance for wood stove pipe caps and choosing the right size cap are crucial steps in ensuring the efficient and safe operation of your wood stove.

Advertisement

Now, let’s move on to a step-by-step guide to installing a wood stove pipe cap.

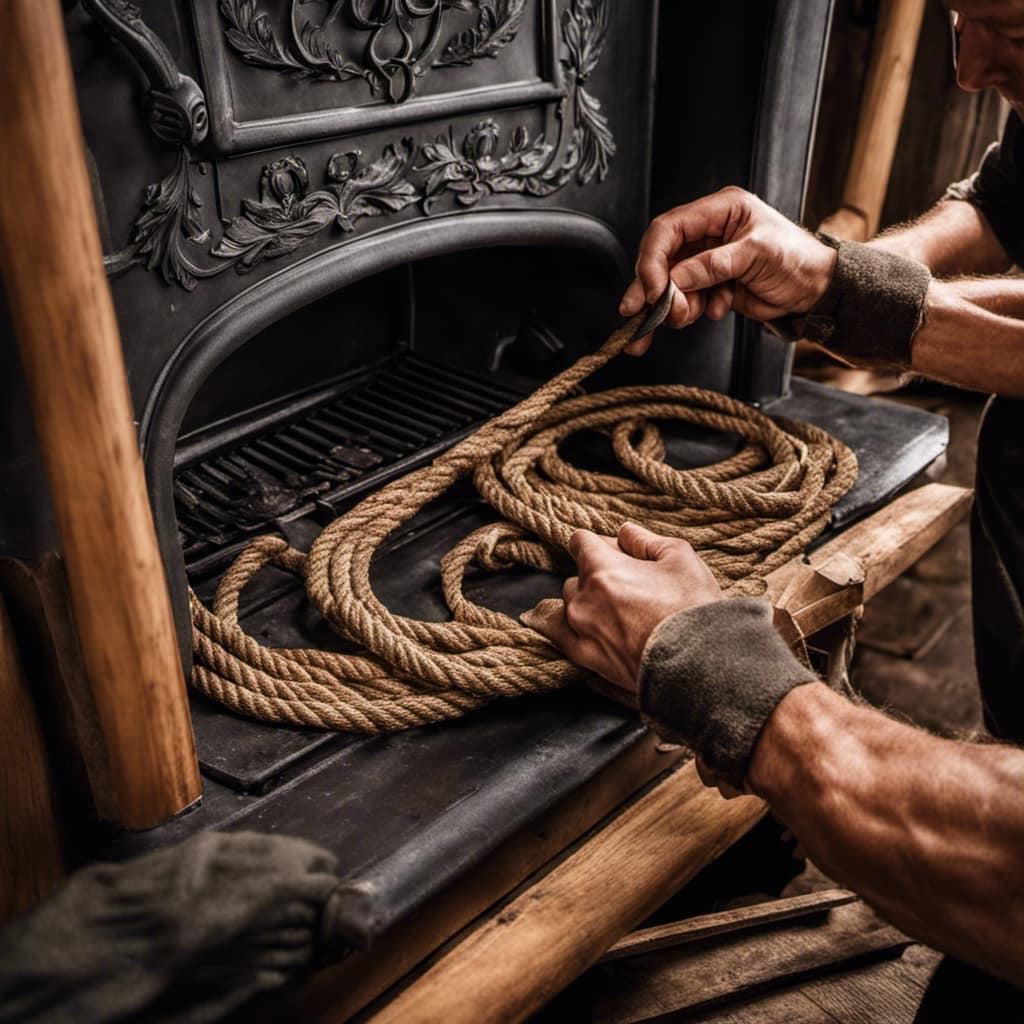
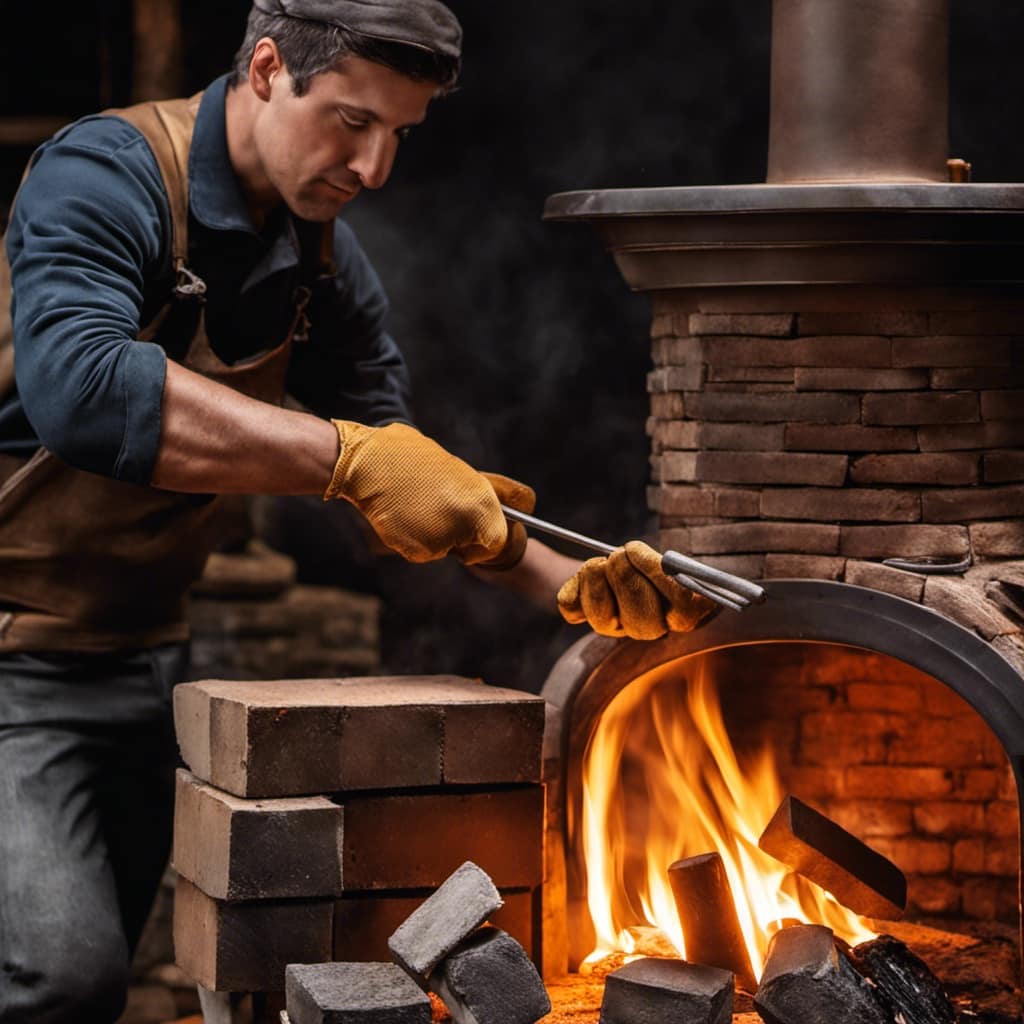
Step-by-Step Guide to Installing a Wood Stove Pipe Cap

Installing a wood stove pipe cap requires a wrench to securely tighten the screws in place.

truck camping wood stove

When it comes to installing a wood stove pipe cap, there are a few important installation tips to keep in mind.

First, make sure to choose a cap that’s the correct size for your stove pipe. Measure the diameter of your pipe carefully to ensure a proper fit.

Next, clean the pipe thoroughly before installation to remove any debris or buildup that may interfere with the cap’s installation.

Advertisement

Once you have the correct cap and a clean pipe, simply place the cap over the end of the pipe and use the wrench to tighten the screws securely.

jotul wood stove parts

Regular maintenance is also essential for the longevity of your wood stove pipe cap. Be sure to inspect and clean the cap regularly, removing any debris or creosote buildup that may obstruct airflow.

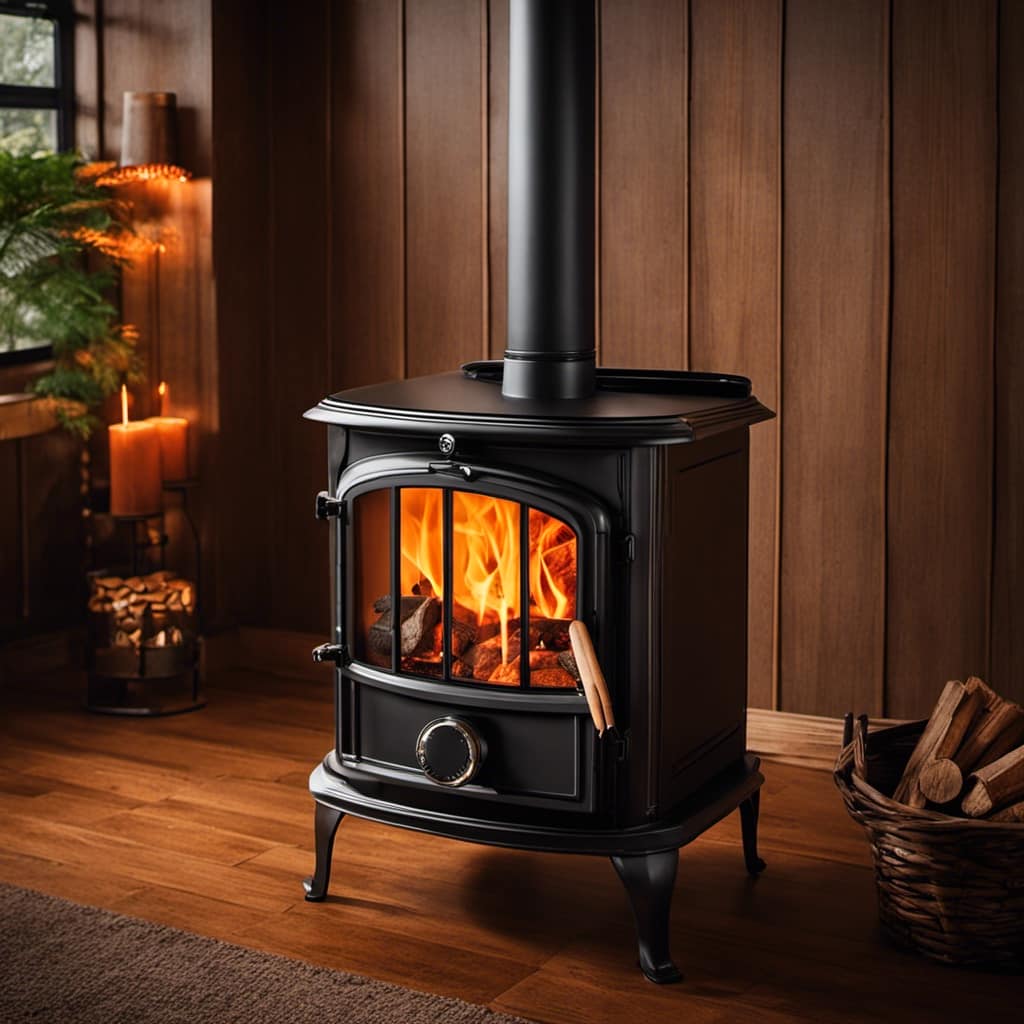
Benefits of Capping Your Wood Stove Pipe

Capping your wood stove pipe can effectively prevent downdrafts and reduce heat loss. Here are three reasons why capping your wood stove pipe is beneficial:

  1. Cost effective solutions: Installing a wood stove pipe cap is a cost-effective way to improve the efficiency of your wood stove. By preventing downdrafts, you can ensure that the heat generated by your wood stove stays in your home, reducing the need for additional heating sources and saving you money on heating bills.

  2. Environmental advantages: Wood stove pipe caps help to reduce the emission of harmful pollutants into the environment. By preventing downdrafts, they ensure that the smoke and pollutants from your wood stove are properly vented outside, promoting cleaner air quality both inside and outside of your home.

    fisher wood stove

  3. Increased safety: Capping your wood stove pipe adds an extra layer of safety by preventing sparks and embers from escaping the pipe and potentially causing a fire hazard.

Capping your wood stove pipe offers several benefits, but it’s important to be aware of common issues that may arise. Transitioning into the next section, let’s explore troubleshooting tips for wood stove pipe caps.

Troubleshooting Common Issues With Wood Stove Pipe Caps

Since I’ve been experiencing some issues with my wood stove pipe cap, I wanted to find some troubleshooting tips to address these problems.

Advertisement

It’s important to address common problems with wood stove pipe caps as they can impact the overall efficiency and safety of your wood stove.

jotul wood stove for sale craigslist

One common issue is a loose or damaged cap, which can result in smoke leakage and reduced draft. To fix this, ensure that the cap is securely attached and replace any damaged parts.

Another problem is creosote buildup on the cap, which can be a fire hazard. Regular maintenance is crucial to prevent this. Clean the cap regularly using a chimney brush or a wire brush.

Additionally, check for any obstructions or debris that may be blocking the cap’s functionality.

Frequently Asked Questions

How Often Should I Clean My Wood Stove Pipe Cap?

I inspect my wood stove pipe cap regularly to ensure it’s in good condition. Signs of damage or wear include rust, cracks, or loose fittings. It’s important to address any issues promptly to maintain safety and efficiency.

Advertisement

lopi wood stove prices

Can I Use Any Type of Cap on My Wood Stove Pipe?

I can choose from a variety of wood stove pipe caps. To find the right one, I should consider factors like material, size, and design. It’s important to ensure a proper fit for safety and efficiency.

Are There Any Safety Precautions I Should Take When Installing a Wood Stove Pipe Cap?

When installing a wood stove pipe cap, it is crucial to prioritize safety. Some common mistakes to avoid include not properly securing the cap, using inadequate materials, and neglecting to clean the chimney beforehand.

What Are the Signs That My Wood Stove Pipe Cap Needs to Be Replaced?

When a wood stove pipe cap shows signs of damage like rust, cracks, or loose fittings, it needs to be replaced. To replace it, carefully remove the old cap and install a new one following the manufacturer’s instructions.

Can I Use a Wood Stove Pipe Cap to Control the Draft in My Stove?

Using a wood stove pipe cap is a great way to control the draft in your stove. It helps with wood stove pipe maintenance and offers benefits like increased efficiency and reduced heat loss.

wood burning stove lowes

Conclusion

In conclusion, capping your wood stove pipe is a simple but important step to ensure the safety and efficiency of your wood stove. By choosing the right type of cap and following the installation guide, you can prevent debris, animals, and rain from entering your pipe, while also improving draft and preventing backflow.

Advertisement

So don’t hesitate to cap your wood stove pipe and enjoy a safer and more efficient heating experience. Remember, an ounce of prevention is worth a pound of cure!

Growing up surrounded by the vast beauty of nature, Sierra was always drawn to the call of the wild. While others sought the comfort of the familiar, she ventured out, embracing the unpredictable and finding stories in the heartbeat of nature.   At the epicenter of every remarkable venture lies a dynamic team—a fusion of diverse talents, visions, and passions. The essence of Best Small Wood Stoves is crafted and refined by such a trio: Sierra, Logan, and Terra. Their collective expertise has transformed the platform into a leading authority on small wood stoves, radiating warmth and knowledge in equal measure.

Continue Reading
Advertisement

Wood Stove

How To Use Flue Wood Stove

Published

on

By

An image showcasing a cozy living room with a traditional flue wood stove as the focal point

I’ve always been enchanted by the distinct allure of the gentle crackles and mild warmth emanating from a wood stove. There’s an undeniable magic in huddling near the dancing flames during a cool night.

But using a flue wood stove requires some know-how. In this article, I’ll guide you through the essential steps to effectively and safely use your flue wood stove.

From selecting the right wood to adjusting the damper, we’ll cover everything you need to know for a toasty and efficient fire.

Let’s get started!

Key Takeaways

  • Select seasoned hardwoods like oak, maple, or hickory for efficient burning.
  • Properly store wood off the ground in a dry and well-ventilated area to prevent rot and mold growth.
  • Thoroughly clean the chimney and regularly remove ashes to maintain proper air circulation.
  • Ensure the flue is clear and unobstructed, and consider installing a chimney cap for safety.

Selecting the Right Wood for Your Flue Wood Stove

I love using my flue wood stove, but I’m not sure if I’m selecting the right wood for it. When it comes to choosing firewood for your flue wood stove, there are a few factors to consider.

First, you want to make sure the wood is seasoned properly. Green or wet wood won’t burn efficiently and can cause excessive smoke and creosote buildup in your flue. It’s best to use well-seasoned hardwoods like oak, maple, or hickory, which have a lower moisture content.

Advertisement

Additionally, proper wood storage is crucial for maintaining the quality of your firewood. Wood should be stored off the ground, in a dry and well-ventilated area, to prevent rot and mold growth.

Preparing the Firebox and Chimney for Use

To ensure a safe and efficient fire, I always start by thoroughly cleaning the firebox and chimney before using my flue wood stove. Cleaning the chimney is crucial to prevent the buildup of creosote, a highly flammable substance that can cause chimney fires. I use a chimney brush to remove any soot and debris, ensuring that the flue is clear and unobstructed.

Maintaining the firebox is equally important, as it allows for proper air circulation and prevents the risk of a dangerous buildup of ash and debris. I regularly remove ashes and clean the firebox using a fireplace shovel and brush.

By following these steps, I can ensure that my flue wood stove operates safely and efficiently.

Now, let’s move on to lighting and maintaining a safe fire in your flue wood stove.

Advertisement

Lighting and Maintaining a Safe Fire in Your Flue Wood Stove

How can you properly light and maintain a safe fire in your flue wood stove?

When it comes to fire safety, it’s crucial to follow the right procedures for lighting and maintaining a fire in your flue wood stove.

First, ensure that your flue is open and the damper is fully functional to allow for proper ventilation.

Next, gather dry kindling and small pieces of wood to start the fire. Place the kindling in the center of the firebox, followed by the small pieces of wood arranged in a crisscross pattern.

Use a long match or fireplace lighter to ignite the kindling. Once the fire is established, add larger pieces of wood slowly, ensuring that the fire is well-ventilated and not smoldering.

Advertisement

Remember to regularly remove ashes and clean the flue for optimal performance and fire safety.

Adjusting the Damper for Optimal Heat and Efficiency

The key to maximizing heat and efficiency in your flue wood stove is adjusting the damper. The damper controls the airflow, which directly affects the combustion process and heat output. To achieve optimal damper settings, start by fully opening the damper before lighting the fire. Once the fire is established, gradually adjust the damper to control the burn rate and heat output.

If you notice excessive smoke or a weak flame, the damper may be closed too much, restricting airflow. On the other hand, if the fire burns too quickly or produces too much heat, the damper may be open too wide. Troubleshooting common damper issues involves making small adjustments and observing the fire’s behavior. By finding the perfect balance, you can ensure efficient heat production in your flue wood stove.

To continue enjoying the benefits of your flue wood stove, it’s essential to regularly clean and maintain it for longevity. Cleaning the flue and chimney removes creosote buildup, reducing the risk of chimney fires. Use a chimney brush and rods to remove the soot and debris. Additionally, clean the stove’s interior by removing ashes and wiping down the surfaces. Inspect the stove’s components for any signs of damage or wear and replace as necessary.

Maintaining proper airflow and ensuring a tight seal on the stove’s doors and gaskets are also crucial for efficient operation. By implementing a regular cleaning and maintenance routine, you can extend the lifespan of your flue wood stove and continue enjoying its warmth and efficiency for years to come.

Advertisement

Cleaning and Maintaining Your Flue Wood Stove for Longevity

I always make sure to clean and maintain my flue wood stove regularly to ensure its longevity. Proper cleaning and maintenance not only prolongs the lifespan of the stove but also ensures its optimal performance.

Here are some essential steps and tips to help you clean and maintain your flue wood stove effectively:

  • Use cleaning tools such as a wire brush, stove polish, and glass cleaner to remove soot, ash, and creosote buildup from the stove’s surfaces.
  • Inspect and clean the flue pipe regularly to prevent blockages and improve the stove’s efficiency.
  • Troubleshoot common issues like a weak draft or excessive smoke by checking the chimney cap, damper, and air vents for any obstructions.

Frequently Asked Questions

How Do I Properly Season Firewood for Use in a Flue Wood Stove?

To properly season firewood for a flue wood stove, it is essential to let it dry for at least 6 months. Seasoned firewood burns efficiently, produces more heat, and reduces the amount of smoke and creosote buildup in the flue.

Can I Use Softwood in My Flue Wood Stove?

Yes, I can use softwood in my flue wood stove, but it’s better to use hardwood. Hardwood burns longer and produces more heat, making it more efficient for heating.

Are There Any Specific Safety Precautions I Should Take When Lighting a Fire in My Flue Wood Stove?

When lighting a fire in my flue wood stove, I always take proper fire safety precautions. This includes using well-seasoned firewood to prevent excessive smoke and creosote buildup, which can be a fire hazard.

How Do I Know if My Damper Is Functioning Correctly and How Can I Adjust It?

To ensure my damper is functioning correctly, I check for any blockages or build-up and make sure it opens and closes smoothly. If I need to adjust it, I refer to the stove’s manual for specific instructions.

Advertisement

Is There a Recommended Schedule for Cleaning and Maintaining My Flue Wood Stove to Ensure Its Longevity?

There is a recommended cleaning schedule and tips for maintaining a flue wood stove to ensure its longevity. Regular cleaning, inspection, and proper use of the stove can help prevent issues and prolong its lifespan.

Conclusion

In the journey of using a flue wood stove, selecting the right wood is like choosing the path to success.

Preparing the firebox and chimney is like laying a strong foundation for your dreams.

Lighting and maintaining a safe fire is like nurturing your aspirations with care.

Adjusting the damper is like finding the perfect balance in life.

Advertisement

Cleaning and maintaining the stove is like preserving the wisdom gained along the way.

Embrace these steps, and your flue wood stove will guide you towards a warm and fulfilling future.

Continue Reading

Wood Stove

Why Is My Wood Stove Insert Not Dampening Down Enough

Published

on

By

An image showcasing a closed wood stove insert with visible flames and intense heat escaping from the gaps around the door

As I sit next to the snapping flames, it becomes clear to me that my wood stove insert is not successfully diminishing the noise. It feels similar to attempting to soothe a wild horse, as the fire continues to resist any efforts at being subdued.

In this article, I will delve into the possible culprits behind this stubborn behavior: air leakages, inadequate insulation, damaged dampers, improper firewood selection, and insufficient combustion air supply.

Join me as we unravel the mysteries of taming the fiery beast within our wood stoves.

Key Takeaways

  • Air leakages and improper seals can prevent the wood stove insert from dampening down properly.
  • Inadequate insulation can lead to poor draft control and incomplete combustion.
  • Damaged or faulty dampers can affect airflow control and result in excessive heat output.
  • Improper firewood selection, such as high moisture content, can hinder combustion and increase smoke production.

Possible Air Leakages

I’m worried about possible air leakages in my wood stove insert, causing it to not dampen down enough.

One of the main factors affecting the dampening down of a wood stove insert is the airflow control. If there are air leakages, it can disrupt the proper regulation of airflow, leading to difficulties in dampening down the fire.

To address this issue, it’s essential to ensure that the seals around the stove and the chimney are intact. Regular chimney maintenance is crucial to prevent any air leakages. Inspecting and repairing any damaged gaskets or seals can help improve the efficiency of the wood stove insert and enhance the dampening down process.

Advertisement

Inadequate Insulation

The insulation in my wood stove insert is inadequate, causing heat loss and inefficient burning. This issue can be attributed to a few key factors:

  • Insufficient insulation: The lack of proper insulation allows heat to escape from the wood stove insert, resulting in wasted energy and reduced heating efficiency.

  • Poor draft control: Inadequate insulation can also lead to poor draft control, causing difficulty in regulating the airflow and combustion process within the stove. This can result in incomplete combustion and increased emissions.

  • Increased fuel consumption: Due to the inadequate insulation, the wood stove insert requires more fuel to maintain desired temperatures, leading to higher heating costs and environmental impact.

To address these problems, it’s necessary to improve the insulation of the wood stove insert. This will enhance heat retention, optimize draft control, and promote efficient burning. Additionally, it’s important to check for any damaged or faulty dampers, as they can also contribute to heat loss and inefficient burning.

Damaged or Faulty Dampers

I’ll check for any damaged or faulty dampers to see if they’re causing the issue with my wood stove insert. Damaged dampers can lead to poor airflow control, resulting in insufficient dampening down of the wood stove. This can lead to excessive heat output and difficulty in controlling the burn rate. Faulty dampers can also contribute to smoke escaping into the room, causing discomfort and potential health hazards.

Additionally, it’s important to consider the possibility of a damaged chimney or incorrect installation, as these can also affect the performance of the wood stove insert. A damaged chimney can hinder proper ventilation, while incorrect installation may lead to improper sealing, resulting in air leaks and reduced efficiency.

Therefore, thorough inspection of the dampers, chimney, and installation is crucial to identify and resolve any issues with the wood stove insert.

Advertisement

Improper Firewood Selection

Since I’ve been experiencing difficulties with my wood stove insert, I need to ensure that I’m not using improperly selected firewood. When it comes to selecting firewood for your wood stove insert, it’s important to consider two key factors: moisture content and wood density.

  • Moisture Content:

  • Optimal moisture content for firewood is around 20%.

  • High moisture content leads to poor combustion and excessive smoke.

  • Use a moisture meter to check the moisture level of your firewood.

  • Wood Density:

  • Dense firewood burns longer and produces more heat.

  • Hardwoods like oak and hickory have higher density.

  • Avoid softwoods like pine, as they’ve lower density.

Insufficient Combustion Air Supply

I’m experiencing a draft issue with my wood stove insert, so I can’t seem to get enough combustion air. This can be a result of ventilation issues or inadequate maintenance. To address this problem, it’s important to understand the role of combustion air and how it affects the operation of a wood stove insert.

Ventilation Issues Inadequate Maintenance
Clogged Chimney Dirty Air Intake
Blocked Air Vents Damaged Gasket
Insufficient Draft Neglected Cleaning

Ventilation issues can arise from a clogged chimney or blocked air vents, limiting the flow of fresh air into the stove. Inadequate maintenance, such as a dirty air intake or damaged gasket, can also impede proper combustion air supply. Neglected cleaning can lead to an accumulation of debris and ash, further restricting airflow. To ensure sufficient combustion air, it is crucial to regularly clean and maintain the wood stove insert, addressing any ventilation issues promptly.

Frequently Asked Questions

Can a Wood Stove Insert Be Too Large for a Room, Causing It to Not Dampen Down Enough?

Yes, a wood stove insert can be too large for a room, which can affect its ability to dampen down. Wood stove insert sizing should be appropriate for the room size to ensure optimal performance.

Are There Any Specific Maintenance Steps I Can Take to Prevent Air Leakages in My Wood Stove Insert?

Are there specific maintenance steps I can take to prevent air leakages in my wood stove insert? Proper insulation and regular inspection of gaskets, seals, and dampers can help ensure optimal performance and minimize air leaks.

Advertisement

How Can I Determine if My Wood Stove Insert Has a Damaged or Faulty Damper?

To determine if my wood stove insert has a damaged or faulty damper, I can perform a thorough damper inspection. By using troubleshooting techniques, I can identify any issues that may be causing insufficient dampening.

Are There Any Guidelines for Selecting the Right Type of Firewood to Ensure Proper Dampening in a Wood Stove Insert?

When selecting firewood for a wood stove insert, it is important to consider the type of wood and its moisture content. Best practices for dampening involve using seasoned hardwoods with a moisture content of around 20%.

What Are the Signs of Insufficient Combustion Air Supply in a Wood Stove Insert, and How Can It Be Addressed?

When my wood stove insert wasn’t dampening down enough, I realized it was due to insufficient combustion air supply. To address this, I cleaned the air intake vents and adjusted them for better airflow.

Conclusion

In conclusion, if your wood stove insert isn’t dampening down enough, it could be due to possible air leakages, inadequate insulation, damaged or faulty dampers, improper firewood selection, or insufficient combustion air supply.

It’s important to address these issues to ensure optimal performance and efficiency. Remember, a stitch in time saves nine, so don’t delay in resolving these problems to enjoy a cozy and well-regulated fire.

Advertisement
Continue Reading

Wood Stove

How To Use Wood Chief Wood Stove

Published

on

By

An image capturing the cozy ambiance of a living room, with a crackling Wood Chief Wood Stove as the focal point

Similar to the welcoming warmth of a crackling fire during a chilly winter evening, the Wood Chief Wood Stove brings a comforting heat to your home. In this guide, I will offer tips on maximizing its use while maintaining safety.

From checking safety precautions to mastering the art of lighting the stove, I’ll walk you through each step.

With proper care and maintenance, you’ll be able to enjoy the comforting heat and ambiance of your Wood Chief Wood Stove for years to come.

Key Takeaways

  • Clear the area around the stove of flammable materials.
  • Stack firewood neatly and use a combination of smaller and larger pieces for efficient burning.
  • Use small, dry kindling and a firelighter to light the stove.
  • Adjust the damper and airflow to control the heat output and maintain a consistent temperature.

Check the Safety Precautions

I’ll make sure to follow all of the safety precautions before using the wood stove. Safety measures are crucial when dealing with a wood stove to prevent any accidents or injuries.

Firstly, I’ll ensure that the area around the stove is clear of any flammable materials, such as curtains or furniture. It’s essential to have a fire extinguisher nearby and check that it’s in working condition.

I’ll also make sure to open a window or door to provide proper ventilation and avoid the risk of carbon monoxide poisoning. Additionally, I’ll double-check that the stove is installed correctly and that the chimney is clean and free from any blockages.

Advertisement

Taking these precautionary steps will ensure a safe and enjoyable experience while using the wood stove.

Properly Prepare the Firewood

To properly prepare the firewood, I’ll stack it neatly and use a combination of smaller and larger pieces for a more efficient burn. Stacking techniques play a crucial role in maximizing the heat output and minimizing smoke production. By arranging the wood in a tight, vertical stack, air can circulate freely, allowing for better combustion. Additionally, alternating between smaller and larger pieces creates a balanced fire that burns steadily and evenly.

When it comes to firewood, the seasoning process is equally important. Seasoning refers to the process of drying the wood to reduce its moisture content. This is crucial because wet or green wood not only produces less heat but also leads to more smoke and creosote buildup in the chimney. To properly season the firewood, it should be split and stored in a dry, well-ventilated area for at least six months. A moisture meter can be used to ensure the wood has reached the optimal moisture content of around 20%. Properly seasoned firewood not only burns more efficiently but also reduces the risk of chimney fires.

To illustrate the importance of stacking techniques and the seasoning process, let’s take a look at the following table:

Stacking Technique Seasoning Process
Vertical stacking Split and store in a dry area
Combination of smaller and larger pieces Season for at least six months
Allows for better air circulation Use a moisture meter to check moisture content
Maximizes heat output and minimizes smoke production Optimal moisture content is around 20%

Mastering the Art of Lighting the Stove

Since I’ve learned the proper stacking techniques and the importance of properly seasoned firewood, I can now focus on mastering the art of lighting the stove. Igniting techniques play a crucial role in starting a fire efficiently and safely.

Advertisement

Firstly, I make sure to use small, dry kindling as a base. I create a small pyramid shape and place a firelighter in the center.

Next, I carefully light the firelighter and give it a few minutes to catch. Once the kindling is burning steadily, I add larger pieces of wood gradually, ensuring proper airflow by leaving enough space between the logs. This allows oxygen to circulate, promoting a clean and efficient burn.

Controlling the Heat Output

While learning to control the heat output of my wood stove, I discovered that adjusting the damper and airflow can significantly affect the temperature in the room. By manipulating these heat regulation techniques, I have been able to optimize fuel efficiency and create a comfortable living space. The table below outlines the different adjustments I made and their corresponding effects on the room temperature:

Heat Regulation Technique Effect on Room Temperature
Opening the damper fully Increases temperature
Closing the damper partially Decreases temperature
Adjusting the airflow Fine-tunes temperature

To achieve the desired temperature, I found that a combination of damper adjustment and airflow control works best. By opening the damper fully and adjusting the airflow to a moderate level, I can maintain a consistent and comfortable temperature. This not only helps in optimizing fuel efficiency but also ensures a cozy atmosphere during cold winter months.

Cleaning and Maintenance Tips

I have found that regularly cleaning and maintaining my wood stove, such as sweeping the chimney and wiping down the surfaces, is crucial for its efficient operation. Here are some cleaning techniques and troubleshooting tips that I’ve learned over the years:

Advertisement
  1. Chimney Sweeping: Regularly clean the chimney to remove creosote buildup, which can lead to chimney fires. Use a chimney brush to remove any soot or debris.

  2. Surface Cleaning: Wipe down the surfaces of the wood stove with a damp cloth to remove dust and ashes. Avoid using harsh chemicals that can damage the stove’s finish.

  3. Ash Removal: Empty the ash pan regularly to prevent airflow obstruction. Dispose of the ashes in a metal container and store it away from flammable materials.

  4. Troubleshooting Common Issues: If you notice a weak or inconsistent flame, check the air vents to ensure they aren’t blocked. If the stove isn’t producing enough heat, check the gaskets and seals for any leaks.

Frequently Asked Questions

What Are the Recommended Clearances for Safely Installing a Wood Chief Wood Stove?

For safe installation of a Wood Chief wood stove, it is important to follow the recommended clearances. These clearances ensure proper ventilation and prevent any potential fire hazards.

Can I Use Softwood or Only Hardwood for My Firewood?

I can use both softwood and hardwood for my firewood, but there are advantages and disadvantages to each. Softwood burns faster and produces more heat, while hardwood burns slower and creates longer-lasting coals.

How Long Does It Take for the Stove to Reach Its Maximum Heat Output?

It usually takes about 30 minutes for the wood stove to reach its maximum heat output. To ensure efficiency, make sure to use dry hardwood, maintain proper airflow, and practice effective wood burning techniques.

Is It Safe to Leave the Stove Unattended While It’s Burning?

It is not safe to leave any wood stove unattended while it’s burning. Proper safety precautions must be followed, such as using a fire screen and ensuring there are no flammable materials nearby. Regular maintenance is also important to ensure safe and efficient operation.

Are There Any Specific Cleaning Products or Tools That I Should Use for Maintaining the Wood Chief Wood Stove?

For maintaining the wood chief wood stove, I recommend using specific cleaning products and tools. It’s important to choose products that are safe for use on the stove’s surfaces and to have the right tools to clean hard-to-reach areas.

Advertisement

Conclusion

Now that you have learned the basics of using a wood chief wood stove, you can enjoy the warmth and coziness it provides. Remember to always prioritize safety and follow the proper precautions.

With the right preparation, you can easily light the stove and control its heat output. Regular cleaning and maintenance will ensure its longevity.

So, why wait? Start using your wood chief wood stove and experience the comforting ambiance it brings to your home.

Isn’t it time to embrace the beauty of a crackling fire?

Advertisement
Continue Reading

Trending