Connect with us

Wood Stove

How To Use Wood Chief Wood Stove

Published

on

An image capturing the cozy ambiance of a living room, with a crackling Wood Chief Wood Stove as the focal point

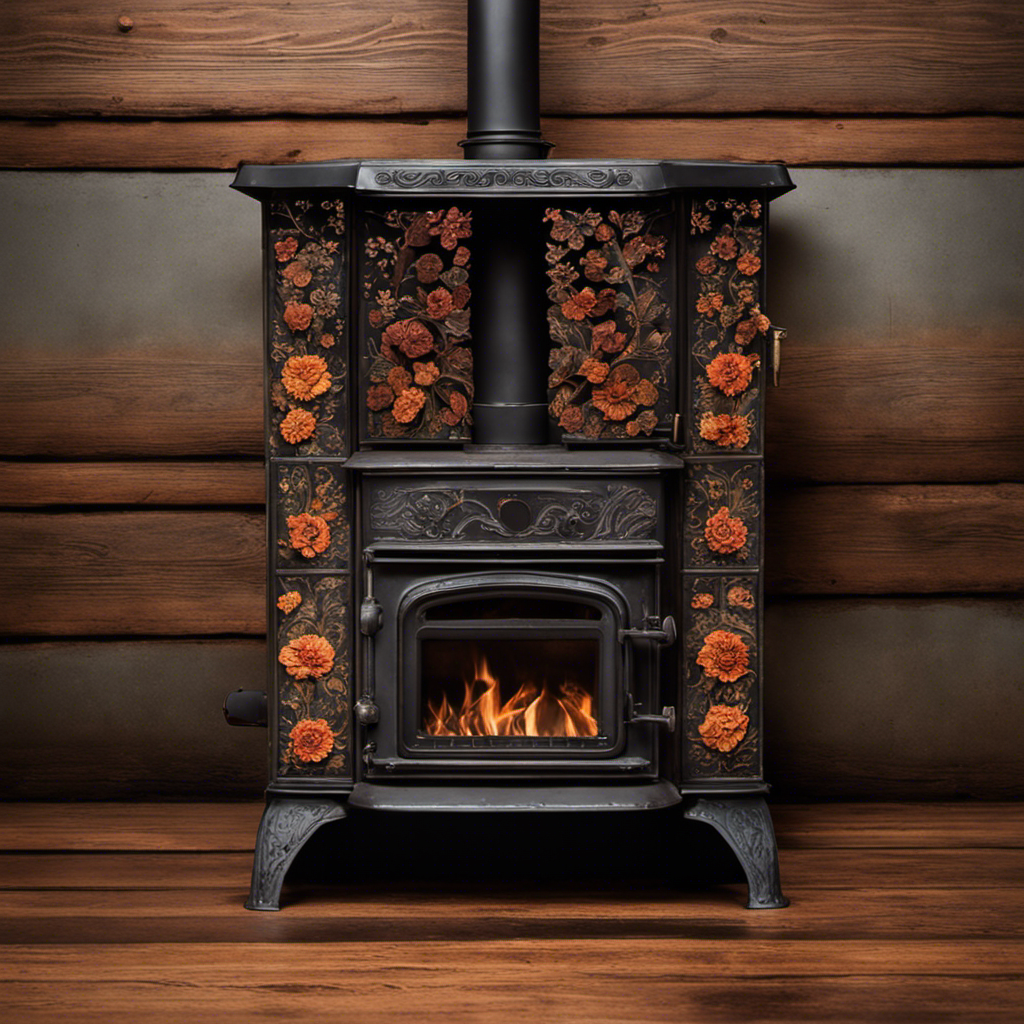
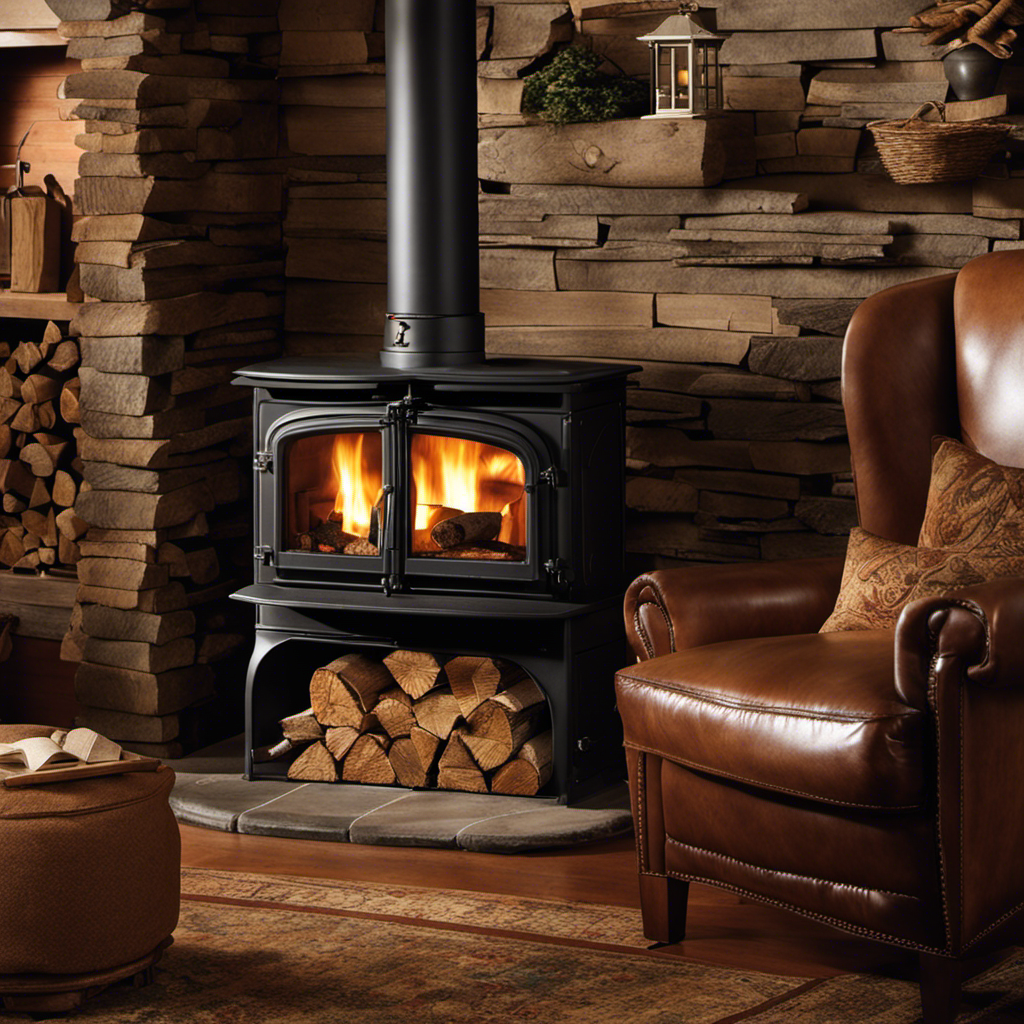
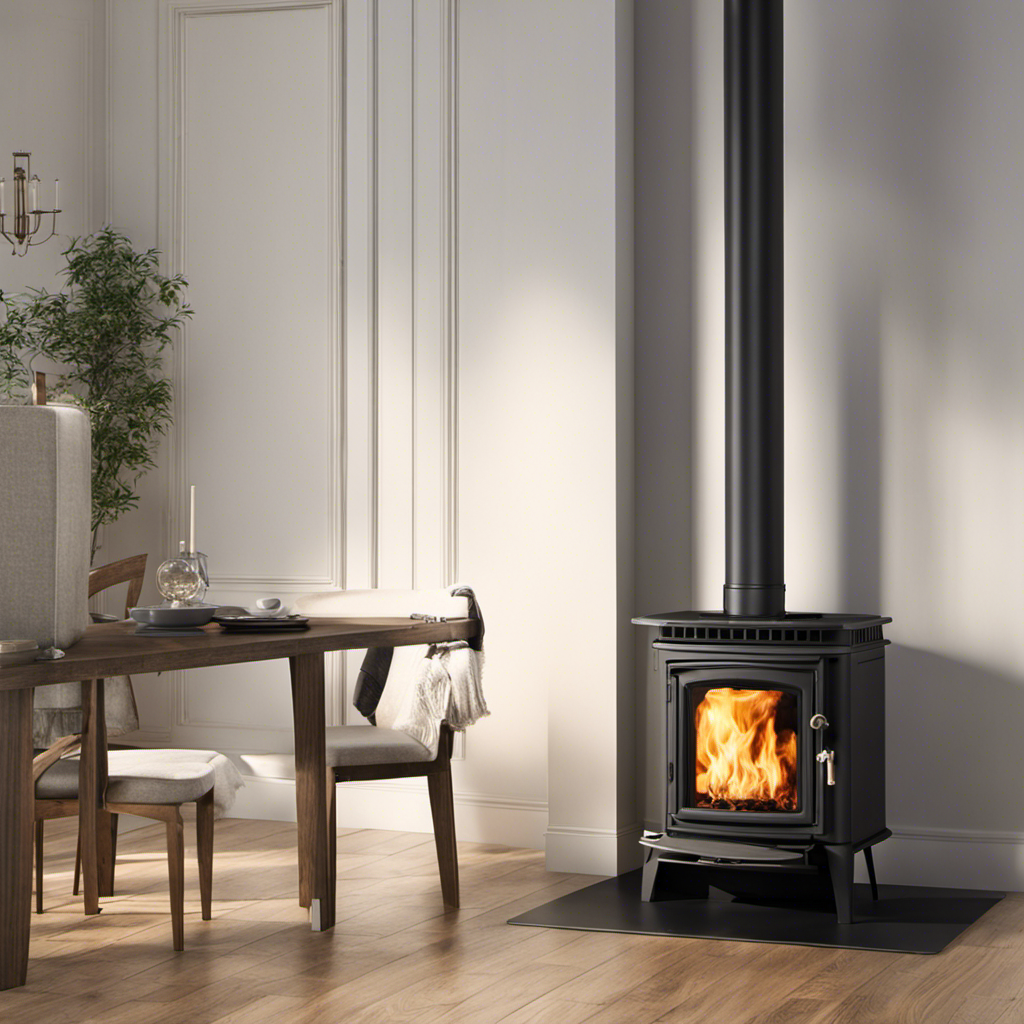
Similar to the welcoming warmth of a crackling fire during a chilly winter evening, the Wood Chief Wood Stove brings a comforting heat to your home. In this guide, I will offer tips on maximizing its use while maintaining safety.

From checking safety precautions to mastering the art of lighting the stove, I’ll walk you through each step.

With proper care and maintenance, you’ll be able to enjoy the comforting heat and ambiance of your Wood Chief Wood Stove for years to come.

Key Takeaways

  • Clear the area around the stove of flammable materials.
  • Stack firewood neatly and use a combination of smaller and larger pieces for efficient burning.
  • Use small, dry kindling and a firelighter to light the stove.
  • Adjust the damper and airflow to control the heat output and maintain a consistent temperature.

Check the Safety Precautions

I’ll make sure to follow all of the safety precautions before using the wood stove. Safety measures are crucial when dealing with a wood stove to prevent any accidents or injuries.

Firstly, I’ll ensure that the area around the stove is clear of any flammable materials, such as curtains or furniture. It’s essential to have a fire extinguisher nearby and check that it’s in working condition.

I’ll also make sure to open a window or door to provide proper ventilation and avoid the risk of carbon monoxide poisoning. Additionally, I’ll double-check that the stove is installed correctly and that the chimney is clean and free from any blockages.

Advertisement

Taking these precautionary steps will ensure a safe and enjoyable experience while using the wood stove.

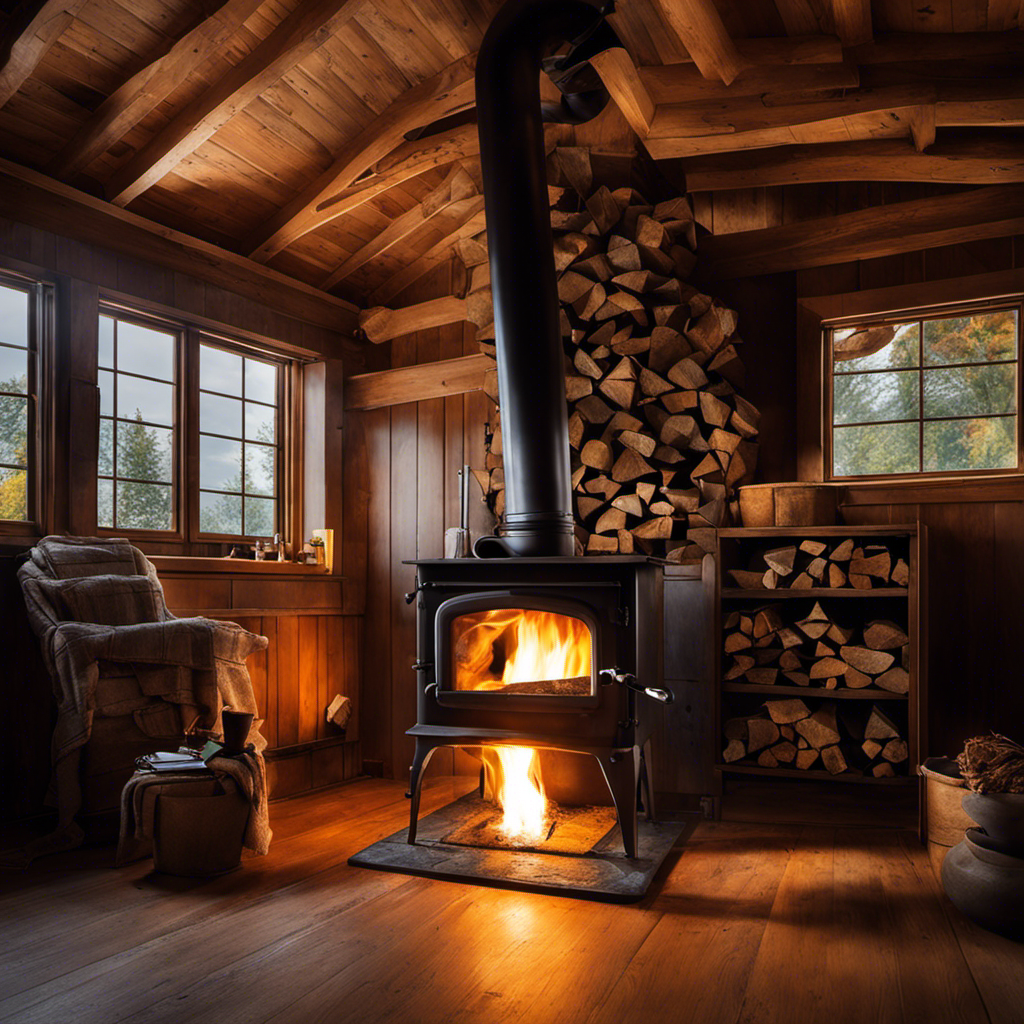
Properly Prepare the Firewood

To properly prepare the firewood, I’ll stack it neatly and use a combination of smaller and larger pieces for a more efficient burn. Stacking techniques play a crucial role in maximizing the heat output and minimizing smoke production. By arranging the wood in a tight, vertical stack, air can circulate freely, allowing for better combustion. Additionally, alternating between smaller and larger pieces creates a balanced fire that burns steadily and evenly.

When it comes to firewood, the seasoning process is equally important. Seasoning refers to the process of drying the wood to reduce its moisture content. This is crucial because wet or green wood not only produces less heat but also leads to more smoke and creosote buildup in the chimney. To properly season the firewood, it should be split and stored in a dry, well-ventilated area for at least six months. A moisture meter can be used to ensure the wood has reached the optimal moisture content of around 20%. Properly seasoned firewood not only burns more efficiently but also reduces the risk of chimney fires.

To illustrate the importance of stacking techniques and the seasoning process, let’s take a look at the following table:

Stacking Technique Seasoning Process
Vertical stacking Split and store in a dry area
Combination of smaller and larger pieces Season for at least six months
Allows for better air circulation Use a moisture meter to check moisture content
Maximizes heat output and minimizes smoke production Optimal moisture content is around 20%

Mastering the Art of Lighting the Stove

Since I’ve learned the proper stacking techniques and the importance of properly seasoned firewood, I can now focus on mastering the art of lighting the stove. Igniting techniques play a crucial role in starting a fire efficiently and safely.

Advertisement

Firstly, I make sure to use small, dry kindling as a base. I create a small pyramid shape and place a firelighter in the center.

Next, I carefully light the firelighter and give it a few minutes to catch. Once the kindling is burning steadily, I add larger pieces of wood gradually, ensuring proper airflow by leaving enough space between the logs. This allows oxygen to circulate, promoting a clean and efficient burn.

Controlling the Heat Output

While learning to control the heat output of my wood stove, I discovered that adjusting the damper and airflow can significantly affect the temperature in the room. By manipulating these heat regulation techniques, I have been able to optimize fuel efficiency and create a comfortable living space. The table below outlines the different adjustments I made and their corresponding effects on the room temperature:

Heat Regulation Technique Effect on Room Temperature
Opening the damper fully Increases temperature
Closing the damper partially Decreases temperature
Adjusting the airflow Fine-tunes temperature

To achieve the desired temperature, I found that a combination of damper adjustment and airflow control works best. By opening the damper fully and adjusting the airflow to a moderate level, I can maintain a consistent and comfortable temperature. This not only helps in optimizing fuel efficiency but also ensures a cozy atmosphere during cold winter months.

Cleaning and Maintenance Tips

I have found that regularly cleaning and maintaining my wood stove, such as sweeping the chimney and wiping down the surfaces, is crucial for its efficient operation. Here are some cleaning techniques and troubleshooting tips that I’ve learned over the years:

Advertisement
  1. Chimney Sweeping: Regularly clean the chimney to remove creosote buildup, which can lead to chimney fires. Use a chimney brush to remove any soot or debris.

  2. Surface Cleaning: Wipe down the surfaces of the wood stove with a damp cloth to remove dust and ashes. Avoid using harsh chemicals that can damage the stove’s finish.

  3. Ash Removal: Empty the ash pan regularly to prevent airflow obstruction. Dispose of the ashes in a metal container and store it away from flammable materials.

  4. Troubleshooting Common Issues: If you notice a weak or inconsistent flame, check the air vents to ensure they aren’t blocked. If the stove isn’t producing enough heat, check the gaskets and seals for any leaks.

Frequently Asked Questions

What Are the Recommended Clearances for Safely Installing a Wood Chief Wood Stove?

For safe installation of a Wood Chief wood stove, it is important to follow the recommended clearances. These clearances ensure proper ventilation and prevent any potential fire hazards.

Can I Use Softwood or Only Hardwood for My Firewood?

I can use both softwood and hardwood for my firewood, but there are advantages and disadvantages to each. Softwood burns faster and produces more heat, while hardwood burns slower and creates longer-lasting coals.

How Long Does It Take for the Stove to Reach Its Maximum Heat Output?

It usually takes about 30 minutes for the wood stove to reach its maximum heat output. To ensure efficiency, make sure to use dry hardwood, maintain proper airflow, and practice effective wood burning techniques.

Is It Safe to Leave the Stove Unattended While It’s Burning?

It is not safe to leave any wood stove unattended while it’s burning. Proper safety precautions must be followed, such as using a fire screen and ensuring there are no flammable materials nearby. Regular maintenance is also important to ensure safe and efficient operation.

Are There Any Specific Cleaning Products or Tools That I Should Use for Maintaining the Wood Chief Wood Stove?

For maintaining the wood chief wood stove, I recommend using specific cleaning products and tools. It’s important to choose products that are safe for use on the stove’s surfaces and to have the right tools to clean hard-to-reach areas.

Advertisement

Conclusion

Now that you have learned the basics of using a wood chief wood stove, you can enjoy the warmth and coziness it provides. Remember to always prioritize safety and follow the proper precautions.

With the right preparation, you can easily light the stove and control its heat output. Regular cleaning and maintenance will ensure its longevity.

So, why wait? Start using your wood chief wood stove and experience the comforting ambiance it brings to your home.

Isn’t it time to embrace the beauty of a crackling fire?

Advertisement

Terra grew up with a soul deeply connected to nature. Her earliest memories are of sun-drenched meadows, whispering woods, and the rhythmic dance of waves on a moonlit night. Every gust of wind, rustling leaf, and distant horizon beckoned her with tales waiting to be told.

Continue Reading
Advertisement

Wood Stove

How Much Is Small Indoor Insulated Wood Stove

Published

on

By

An image showcasing a cozy living room with a small indoor insulated wood stove as the focal point

I have conducted thorough research and can verify that seeking the ideal compact, indoor insulated wood stove is indeed a challenging task. But do not worry, as I am here to help you navigate through this process.

In this article, we’ll delve into the factors that affect the cost, explore the price range of these stoves, compare different brands and models, and highlight additional expenses to consider.

Stick with me, and we’ll find the best deal on a small indoor insulated wood stove together.

Key Takeaways

  • Factors affecting the cost and price range of small indoor insulated wood stoves include materials used, size of the stove, type of fuel required, and complexity of the stove’s design.
  • When comparing costs of different brands and models, it is important to consider overall value for money, evaluate features and performance, and take into account customer reviews and ratings.
  • Additional expenses to consider when buying a small indoor insulated wood stove include installation fees, ongoing maintenance costs, fuel expenses, and chimney cleaning requirements.
  • To find the best deal on a small indoor insulated wood stove, it is recommended to research and compare prices, look for sales and discounts, consider purchasing used stoves in good condition, consult a professional for installation, and follow safety guidelines for maintenance and operation.

Factors Affecting the Cost of Small Indoor Insulated Wood Stoves

I can’t believe how much factors like materials and size affect the cost of small indoor insulated wood stoves. When it comes to installation requirements, the type of materials used can greatly impact the overall cost. For example, stoves made with high-quality materials, such as cast iron or stainless steel, tend to be more expensive than those made with lower-grade materials. Additionally, the size of the stove also plays a role in determining its cost. Larger stoves require more materials and labor for installation, thus driving up the price.

In terms of maintenance costs, it’s important to consider factors such as the type of fuel used and the complexity of the stove’s design. Stoves that require specialized fuel or have intricate components may require more frequent maintenance and therefore incur higher costs.

With these factors in mind, it’s clear that the cost of small indoor insulated wood stoves can vary significantly based on installation requirements and maintenance costs, making it crucial to consider these factors when making a purchase decision.

Advertisement

Now that we’ve discussed the factors affecting the cost of small indoor insulated wood stoves, let’s move on to the price range of these stoves.

Price Range of Small Indoor Insulated Wood Stoves

Typically, small indoor insulated wood stoves range in price from around $500 to $1500, depending on the brand and features. When considering the cost vs. efficiency of these stoves, it’s important to weigh the benefits they offer.

Here are three key benefits of small wood stoves:

  1. Energy efficiency: Small wood stoves are designed to efficiently burn wood, resulting in a higher heat output compared to traditional fireplaces. This can lead to significant cost savings on heating bills.

  2. Environmental friendliness: Wood is a renewable resource, making small wood stoves a more sustainable heating option. Additionally, modern wood stoves are designed to emit fewer pollutants, reducing their impact on air quality.

  3. Ambiance and coziness: There’s something special about the crackling sound and warm glow of a wood fire. Small wood stoves provide a cozy and inviting atmosphere, creating a focal point in any room.

Considering the cost vs. efficiency and the numerous benefits they offer, small indoor insulated wood stoves are a worthwhile investment for those looking to add warmth and charm to their homes.

Comparing the Costs of Different Brands and Models

I’ve compared the costs of different brands and models, and found that there’s a wide range of prices available.

Advertisement

When comparing features, efficiency, and performance of small indoor insulated wood stoves, it’s important to consider the overall value for your money. Some brands may offer more advanced features, such as programmable thermostats or remote control operation, but these additional features often come with a higher price tag.

It’s also crucial to evaluate customer reviews and ratings to gauge the reliability and satisfaction of other users. By doing so, you can get a better understanding of the overall performance and durability of the stove.

It’s essential to strike a balance between cost, features, and customer satisfaction to ensure you make the right choice for your needs.

Additional Expenses to Consider When Buying a Small Indoor Insulated Wood Stove

When buying a small indoor insulated wood stove, it’s important to consider both the initial cost and the ongoing maintenance expenses. While the upfront price tag might seem daunting, it’s crucial to remember that there are additional expenses that can add up over time. Here are a few things to keep in mind:

  • Installation fees: Beyond the cost of the stove itself, you’ll need to factor in the cost of professional installation. This ensures that the stove is properly installed and meets all safety requirements, giving you peace of mind.

  • Maintenance costs: While wood stoves are generally low-maintenance, there are still some expenses to consider. This includes regular chimney cleaning, which helps prevent creosote buildup and ensures efficient operation. Additionally, you may need to replace gaskets or other components over time.

  • Fuel expenses: Wood stoves require a steady supply of firewood, which can be an ongoing cost. It’s important to factor in the price of firewood and ensure a reliable source.

Considering these additional expenses will help you make an informed decision and budget accordingly for your small indoor insulated wood stove.

Advertisement

Tips for Finding the Best Deal on a Small Indoor Insulated Wood Stove

I found an article with some great tips for finding the best deal on a small indoor insulated wood stove. It’s important to do your research and compare prices from different retailers to ensure you’re getting the best price. Additionally, consider looking for sales or discounts, especially during off-seasons when demand is lower. Another tip is to check for any used wood stoves in good condition, as they can be more affordable.

Here are some key factors to consider when purchasing a small indoor insulated wood stove:

Factors to Consider Tips
Installation Consult a professional for proper installation to ensure safety and efficiency.
Maintenance Regular cleaning and inspection are necessary to prevent creosote buildup and ensure optimal performance.
Safety Precautions Follow safety guidelines such as using a fireproof hearth, keeping flammable items away, and using proper ventilation.
Heating Efficiency Look for stoves with high efficiency ratings to maximize heat output and minimize fuel consumption.
Environmental Impact Consider EPA-certified stoves that meet emission standards for cleaner burning and reduced pollution.

Using a small indoor insulated wood stove for heating purposes has several advantages. It provides a cozy and efficient heat source, especially in colder climates. It can also save on energy costs compared to other heating options. Additionally, wood stoves offer a backup heat source during power outages. However, it’s important to follow proper installation, maintenance, and safety precautions to ensure safe and effective use.

Frequently Asked Questions

Are There Any Safety Regulations or Certifications That Small Indoor Insulated Wood Stoves Need to Meet?

Safety regulations and certifications for small indoor insulated wood stoves are essential to ensure the safety of users. These requirements help ensure that the stoves meet specific standards for materials, construction, emissions, and installation, promoting a safe and efficient heating experience.

What Are the Maintenance Requirements for a Small Indoor Insulated Wood Stove?

Maintenance requirements for a small indoor insulated wood stove include regular cleaning of the chimney and flue, removing ash and creosote buildup, and checking the insulation effectiveness. As they say, "An ounce of prevention is worth a pound of cure."

Advertisement

Can a Small Indoor Insulated Wood Stove Be Used as the Primary Heating Source for a Small Home?

Yes, a small indoor insulated wood stove can be used as the primary heating source for a small home. It offers numerous benefits such as cost-effectiveness, energy efficiency, and a cozy ambiance compared to other heating options.

How Long Does the Average Small Indoor Insulated Wood Stove Last Before Needing to Be Replaced?

The average small indoor insulated wood stove can last for several years before needing to be replaced. Replacement frequency depends on factors such as usage, maintenance, and quality of materials.

Are There Any Government Incentives or Tax Credits Available for Purchasing a Small Indoor Insulated Wood Stove?

There are government incentives and tax credits available for purchasing a small indoor insulated wood stove. These incentives can help offset the cost and make it more affordable for homeowners.

Is Black Glass on a Wood Stove Normal and Can It Be Prevented?

If you’re wondering about reasons for wood stove glass blackening, it is actually quite common and can be prevented with the right steps. The blackening occurs due to the buildup of soot and creosote, which form during combustion. Regular cleaning and proper burning techniques, including using the right fuel and maintaining adequate airflow, can help prevent the blackening of the glass on a wood stove.

Conclusion

After considering the factors affecting the cost, the price range of small indoor insulated wood stoves, comparing different brands and models, and the additional expenses to consider, it’s clear that finding the best deal on a small indoor insulated wood stove can be a complex task.

Advertisement

However, with careful research and attention to detail, one can find the perfect stove that not only fits their budget but also adds warmth and charm to their indoor space like a cozy embrace on a cold winter night.

Continue Reading

Wood Stove

What Is The Flue On A Wood Stove

Published

on

By

An image depicting a close-up view of a wood stove, showcasing its flue—a narrow, vertical pipe with a metal cap—rising from the stove's top, releasing a faint trail of smoke into the air

I must confess, the chimney of a wood stove is truly an intriguing component. It’s more than just a simple pipe sticking out, it plays a vital role in ensuring your wood stove operates at its best and most efficient.

In this article, we’ll delve into the ins and outs of wood stove flues, exploring their types, purpose, components, maintenance, and troubleshooting tips.

So buckle up and get ready to become a flue expert!

Key Takeaways

  • The flue on a wood stove is a crucial component that expels harmful gases like carbon monoxide and allows for better airflow and combustion.
  • It helps prevent creosote buildup, which can be a fire hazard.
  • Using a chimney cap on the flue provides additional benefits by preventing rain, debris, and animals from entering the chimney.
  • Regular maintenance, including inspection, cleaning, and clearing obstructions, is essential for safe operation of the wood stove flue.

Types of Flues Commonly Used on Wood Stoves

I’ve heard that there are various types of flues commonly used on wood stoves. When it comes to chimney installation, it’s important to consider the type of flue that will work best for your wood stove.

One option is a clay tile flue liner, which is a popular choice due to its durability and affordability.

Another option is a stainless steel flue liner, which offers increased strength and resistance to corrosion.

Advertisement

Additionally, there are cast-in-place flue liners, which are created by pouring a cement-like mixture into the chimney. These liners provide excellent insulation and can be custom-fit to your chimney.

Ultimately, the type of flue liner you choose will depend on factors such as your budget, the condition of your chimney, and your specific heating needs.

Transitioning into the next section, understanding the different types of flues is essential for grasping the purpose and functionality of a wood stove flue.

The Purpose and Functionality of a Wood Stove Flue

I understand the purpose and functionality of a wood stove flue, as it helps to safely direct the smoke and gases out of the house and into the outdoors. The importance of proper ventilation in wood stove flues can’t be overstated.

Here are four reasons why it’s crucial:

Advertisement
  1. Safety: A well-ventilated flue ensures that harmful gases, like carbon monoxide, are efficiently expelled from the house, preventing potential health hazards.

  2. Efficiency: Proper ventilation allows for better airflow, leading to more efficient combustion and heat production. This results in a more effective and cost-efficient heating system.

  3. Preventing Creosote Buildup: Adequate ventilation helps to minimize the accumulation of creosote, a highly flammable substance that can lead to chimney fires.

  4. Benefits of using a chimney cap on wood stove flues: A chimney cap serves as a protective barrier against rain, snow, and debris, preventing potential damage to the flue and ensuring optimal performance.

Key Components of a Wood Stove Flue System

While discussing the key components of a wood stove flue system, it’s important to consider factors such as the chimney liner, damper, and cap.

The flue installation plays a crucial role in the overall performance and safety of a wood stove. A properly designed flue ensures efficient combustion and effective removal of smoke and gases from the stove.

The chimney liner, usually made of stainless steel or clay tiles, protects the chimney walls from heat and corrosion.

The damper, located at the top of the flue, controls the airflow and helps regulate the temperature inside the stove.

Lastly, the cap prevents rain, debris, and animals from entering the flue.

Advertisement

A well-designed flue system, combined with proper maintenance and regular cleaning, ensures the safe and efficient operation of a wood stove.

How to Properly Maintain and Clean Your Wood Stove Flue

To ensure the safe and efficient operation of your wood stove, it’s crucial to know how to properly maintain and clean your wood stove flue. The flue is an essential component of your wood stove system that helps remove smoke and gases from your home.

Here are four important steps to properly maintain and clean your wood stove flue:

  1. Regular Inspection: Inspect the flue for any signs of damage, such as cracks, loose bricks, or corrosion. These can affect the performance and safety of your wood stove.

  2. Cleaning: Regularly remove creosote buildup from the flue using a chimney brush or hiring a professional chimney sweep. Creosote is highly flammable and can lead to chimney fires if not properly cleaned.

  3. Clearing Obstructions: Ensure that the flue is clear of any debris, bird nests, or other obstructions that can block the airflow.

  4. Professional Inspection: Schedule a professional inspection at least once a year to thoroughly examine the flue system and address any potential issues.

Common Issues and Troubleshooting Tips for Wood Stove Flues

One common issue with wood stove flues is the accumulation of creosote, which can be prevented by regular cleaning and maintenance. Creosote is a highly flammable substance that builds up inside the flue as a result of burning wood. If left untreated, it can lead to chimney fires and pose a serious safety hazard.

To prevent this, it’s important to have a proper wood stove flue installation and to be aware of the signs of a blocked wood stove flue. Signs of a blocked flue include smoke backing up into the room, difficulty in starting or maintaining a fire, and a strong odor of burnt wood or smoke throughout the house.

Advertisement

Regular cleaning and maintenance, such as removing creosote buildup and ensuring proper ventilation, are crucial for the safe and efficient operation of a wood stove.

Frequently Asked Questions

How Do I Choose the Right Size Flue for My Wood Stove?

To choose the right size flue for your wood stove, you’ll need to calculate the flue diameter based on the stove size. Larger stoves require larger flues to ensure proper ventilation and efficient operation.

Can I Install a Wood Stove Flue Myself, or Should I Hire a Professional?

Can I install a wood stove flue myself, or should I hire a professional? It’s crucial to prioritize safety, as common mistakes in wood stove flue installation can lead to fire hazards. Consulting a professional is wise.

Are There Any Safety Precautions I Should Take When Using a Wood Stove Flue?

When using a wood stove flue, it’s important to prioritize safety. Regular flue maintenance and cleaning flue residue are key. Taking precautions like using proper protective gear and ensuring proper ventilation can help prevent potential hazards.

Should I Leave the Flue Open or Closed When the Wood Stove Is Not in Use?

When the wood stove is not in use, it is important to keep the flue closed. This prevents drafts and heat loss, leading to better energy efficiency. Opening the flue can result in wasted energy.

Advertisement

Can I Use the Same Flue for Multiple Wood Stoves in Different Rooms?

Yes, you can use the same flue for multiple wood stoves in different rooms. However, it’s important to choose the right flue materials and maintain cleanliness to ensure proper ventilation and prevent any safety hazards.

How Does the Flue Connect to the Franklin Wood Stove?

The connecting franklin wood stove offers a practical solution for ensuring proper ventilation and efficient heat distribution. By connecting the flue to the Franklin wood stove, it effectively channels the smoke and gases out of the room, while also allowing fresh air to enter. This connection plays a crucial role in maintaining a safe and cozy environment during cold winter nights.

Conclusion

In conclusion, the flue on a wood stove is a crucial component that ensures the safe and efficient operation of the stove. It acts as a chimney, allowing smoke and gases to escape while preventing drafts and keeping the heat inside.

Proper maintenance and regular cleaning of the flue are essential to avoid issues such as creosote buildup and chimney fires. By taking care of your wood stove flue, you can enjoy cozy and worry-free fires all winter long, creating a warm and inviting atmosphere in your home.

Advertisement

Continue Reading

Wood Stove

How To Put Together The Exhaust Pipe Of A Wood Stove

Published

on

By

An image capturing the step-by-step process of assembling the exhaust pipe of a wood stove

I’ve always treasured the cozy hug of a wood-burning stove on a cold winter evening.

But when it came time to put together the exhaust pipe, I felt a bit overwhelmed. How do all these components fit together?

Well, fear not! In this article, I’ll walk you through the step-by-step process of assembling the exhaust pipe for your wood stove.

With a few tools and some patience, you’ll be enjoying that toasty fire in no time.

Key Takeaways

  • Properly attach the flange, position the muffler, and align the tailpipe for correct installation of the exhaust pipe
  • Gather the right size and length of stainless steel pipes, elbows, and adapters for durability and resistance to high temperatures
  • Follow manufacturer’s guidelines and local building codes for preparing the wood stove and avoiding improper sizing or obstructions in the exhaust pipe
  • Connect and secure the exhaust pipe sections using high-temperature silicone sealant, twist-lock or slip-fit joints, and install a chimney cap for proper ventilation and maintenance of airflow

Understanding the Exhaust Pipe Components

I have learned about the three main components of an exhaust pipe: the flange, the muffler, and the tailpipe.

The flange is a flat, circular metal piece that connects the exhaust pipe to the wood stove. It provides a secure attachment point and ensures a proper seal.

Advertisement

The muffler is a cylindrical chamber that’s designed to reduce noise produced by the wood stove. It contains sound-absorbing materials and is attached to the flange.

The tailpipe is the section of the exhaust pipe that extends outside the wood stove. It allows the combustion gases to vent out of the room.

Proper installation techniques for the exhaust pipe involve securely attaching the flange, positioning the muffler correctly, and ensuring that the tailpipe is properly aligned.

Regular maintenance of the wood stove exhaust pipe includes cleaning out any debris or soot buildup and checking for any signs of damage or leaks.

Gathering the Necessary Tools and Materials

After carefully reviewing the instructions, I’m ready to start gathering the necessary tools and materials for assembling the exhaust pipe.

Advertisement

The first step is to choose the right size and length of the pipe. It’s crucial to ensure that the diameter of the exhaust pipe matches the outlet of the wood stove. This ensures proper airflow and efficiency. Additionally, the length of the pipe should be determined based on the distance between the stove and the exterior wall or chimney. It’s important to maintain proper ventilation and clearance for the wood stove.

Next, I’ll gather the necessary materials, such as stainless steel pipes, elbows, and adapters. These materials are durable and resistant to high temperatures.

With the right tools and materials in hand, I can now proceed with the assembly process.

Preparing the Wood Stove for Installation

Before starting the installation process, I need to ensure that the wood stove is properly prepared and ready for installation. The importance of proper ventilation for wood stoves can’t be overstated. Without proper ventilation, the wood stove can produce harmful gases, such as carbon monoxide, which can be extremely dangerous.

To ensure proper ventilation, it’s crucial to follow the manufacturer’s guidelines and local building codes. One common mistake to avoid when installing a wood stove exhaust pipe is improper sizing. The exhaust pipe should be the correct diameter and length to provide adequate airflow and prevent backdraft. Additionally, it’s important to avoid sharp bends or obstructions in the exhaust pipe, as this can restrict airflow and reduce the stove’s efficiency.

Advertisement

Connecting and Securing the Exhaust Pipe Sections

To properly install the wood stove, it’s essential to connect and secure the exhaust pipe sections using the manufacturer’s recommended methods. This ensures a safe and efficient operation of the stove.

Begin by attaching the first section of the exhaust pipe to the flue collar on the stove. Use high-temperature silicone sealant to create an airtight connection.

Then, connect additional sections of the pipe using twist-lock or slip-fit joints, making sure to align the seams properly. Once the pipe is assembled, install the chimney cap to prevent debris and animals from entering.

It’s crucial to maintain proper airflow throughout the exhaust system to avoid backdrafts and ensure optimal performance. Regularly inspect and clean the pipe for any obstructions or creosote buildup.

By following these steps, you can successfully connect and secure the exhaust pipe sections for your wood stove.

Advertisement

Now, let’s move on to testing and troubleshooting the exhaust pipe assembly.

Testing and Troubleshooting the Exhaust Pipe Assembly

I need to test the exhaust pipe assembly for any leaks, so I’ll check all the connections and use a smoke test to ensure everything is sealed properly.

Here are some troubleshooting techniques and common installation mistakes to be aware of:

  1. Improper connection: One of the most common mistakes isn’t properly connecting the exhaust pipe sections. This can lead to leaks and inefficient operation of the wood stove.

  2. Loose fittings: Another issue is having loose fittings. It’s crucial to ensure that all the connections are tight and secure to prevent any air or smoke leakage.

  3. Faulty gaskets: Faulty gaskets can also cause leaks. It’s important to inspect the gaskets and replace them if necessary.

Frequently Asked Questions

How Often Should the Exhaust Pipe of a Wood Stove Be Cleaned?

Cleaning the exhaust pipe of a wood stove is important for proper functioning and safety. It should be done regularly to prevent creosote buildup and reduce the risk of chimney fires.

Can I Use a Different Type of Pipe for the Wood Stove Exhaust?

Yes, you can use a different type of pipe for the wood stove exhaust. It is important to choose alternative pipe materials that are compatible with your specific stove model for proper ventilation and safety.

Advertisement

What Are the Potential Hazards of a Poorly Installed or Damaged Exhaust Pipe?

The potential dangers of a poorly installed or damaged exhaust pipe for a wood stove cannot be underestimated. Proper installation is of utmost importance to prevent hazards such as carbon monoxide poisoning and potential fire outbreaks.

Is It Necessary to Use High-Temperature Sealant When Connecting the Exhaust Pipe Sections?

Using high-temperature sealant when connecting wood stove exhaust pipe sections provides a secure and airtight connection, preventing leaks and improving efficiency. Alternatives like gaskets or tape may not provide the same level of durability and reliability.

How Can I Determine if There Is an Obstruction or Blockage in the Exhaust Pipe?

To troubleshoot exhaust pipe blockages, I check for signs of a blocked exhaust pipe. These signs include reduced airflow, smoke or fumes backing up into the room, and excessive soot or creosote buildup.

Conclusion

In conclusion, assembling the exhaust pipe of a wood stove is like connecting the limbs of a sturdy tree, ensuring a seamless flow of warmth and comfort.

Following the precise steps and using the necessary tools and materials, you can create a secure and efficient exhaust pipe assembly for your wood stove.

Advertisement

Remember to test and troubleshoot the system to ensure optimal performance and a cozy, crackling fire for many winters to come.

Continue Reading

Trending