To craft a homemade stove thermometer, you can use heat-safe containers like small pots or metal tubes filled with liquids that change appearance at specific temperatures, adding food coloring for visibility. Test your setup against a standard thermometer and calibrate it for accuracy. Handle hot materials carefully and ensure the device is stable. Customize it with markers to gauge temperature zones. Keep improving your design to guarantee safety and precise cooking control—more tips await if you keep exploring.
Key Takeaways
- Use heat-safe containers filled with liquids that change color at specific temperatures, adding food coloring for visibility.
- Calibrate the device by comparing it with a standard thermometer and adjust for accuracy.
- Handle hot materials carefully with oven mitts or tongs, and keep the device stable during use.
- Add simple temperature markers or scales to monitor stove heat levels easily.
- Regularly test and maintain the homemade thermometer to ensure consistent safety and precision.
If you want to monitor your stove’s temperature accurately without investing in a fancy thermometer, making a homemade stove thermometer is a practical solution. This approach allows you to keep an eye on cooking temperature, ensuring your dishes turn out perfectly while maintaining safety in your kitchen. Crafting your own device can be simple, affordable, and tailored to your specific needs. Plus, it gives you a better understanding of how your stove performs, which can help prevent accidents like overheating or fires. Using testing and calibration methods, you can improve the accuracy of your homemade thermometer and ensure reliable readings over time.
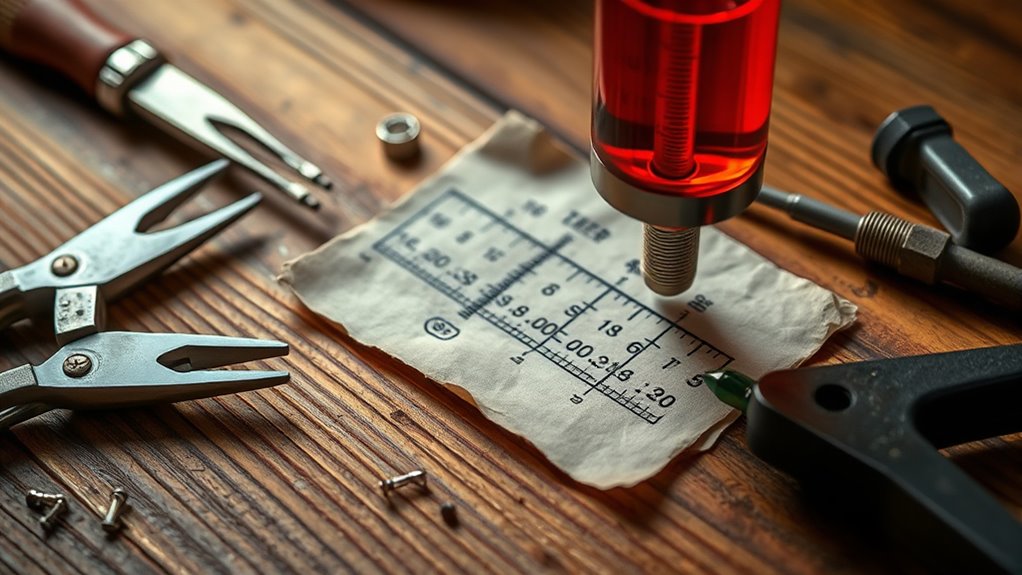
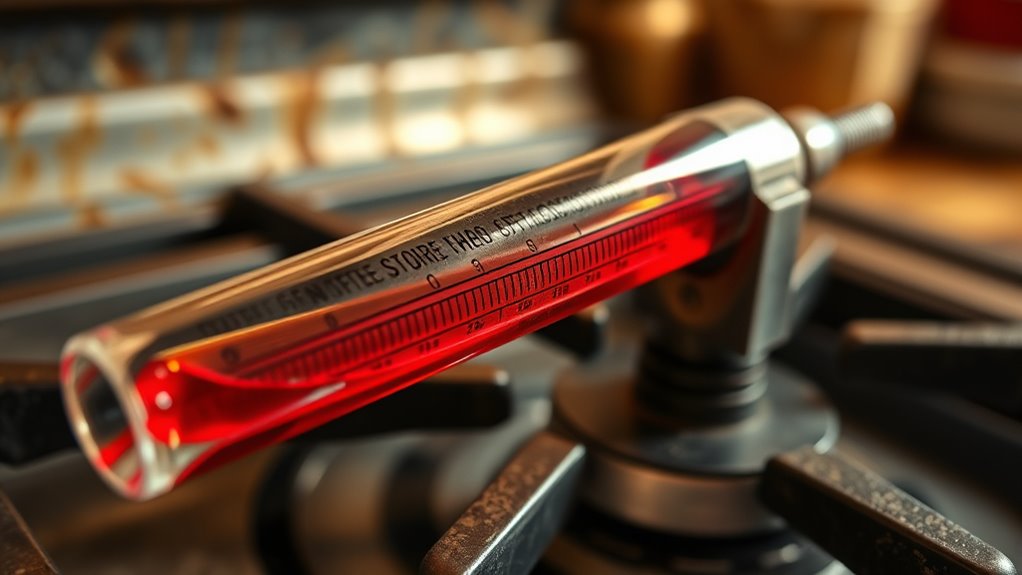
Start by selecting materials that can withstand high heat. A common method involves using a metal or heat-safe container, such as a small pot or a metal tube, filled with a liquid that changes appearance at certain temperatures. For instance, you could use water and add a few drops of food coloring to make the temperature shift more visible. When the liquid reaches a specific temperature, it will boil or change color, indicating the cooking temperature. To ensure accuracy, you might want to test your homemade thermometer against a standard one to calibrate it. This way, you can be confident about the readings and adjust your stove’s settings accordingly.
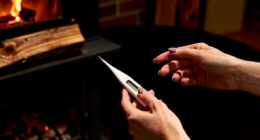
Choose a heat-safe container filled with colored water to create a simple, visible homemade stove thermometer.
Safety precautions are essential when working with heat. Always handle hot materials with oven mitts or tongs to avoid burns. Make sure your homemade thermometer is stable and won’t tip over during cooking. Keep it away from open flames or direct contact with the stove’s burners, as this could damage the device or cause accidents. Never leave your homemade thermometer unattended while in use, especially if it contains liquids or other materials that could spill or overheat. Maintaining a safe distance and careful observation ensures you prevent potential hazards.
You can further customize your homemade stove thermometer by adding a simple scale or marker to indicate different temperature zones, such as low, medium, and high heat. This helps you quickly gauge the stove’s temperature without constantly checking the device. Remember, the goal is to keep your cooking temperature within safe limits, especially when preparing sensitive dishes or when working with ingredients that require precise heat control. Regularly check and maintain your thermometer to ensure accuracy over time, replacing liquids or materials if needed.
In essence, building a homemade stove thermometer is an effective way to monitor your cooking temperature while prioritizing safety precautions. It offers a hands-on, cost-effective solution that enhances your control in the kitchen. By choosing the right materials, calibrating properly, and following safety guidelines, you can create a reliable device that helps you cook confidently without risking accidents or uneven heating. This simple project not only improves your cooking but also increases your safety awareness, making your kitchen a safer, more efficient space.

Hanaoyo Wood Stove Thermometer with Large Dial, Magnetic Stove Pipe Thermometer for Wood, Gas, Pellet Stoves (1 Piece)
Premium Quality: Our stove thermometer is designed with aluminum dial, metal thermometer sensor, brass pointer and metal handle,…
As an affiliate, we earn on qualifying purchases.
As an affiliate, we earn on qualifying purchases.
Frequently Asked Questions
What Materials Are Safest for Homemade Thermometers?
You should choose materials with good safety and thermometer durability, like stainless steel or heat-resistant glass, for a homemade stove thermometer. These materials withstand high temperatures without releasing harmful substances or breaking easily. Avoid plastics or materials that can melt or emit toxins. Using safe, durable materials guarantees your thermometer functions accurately and remains safe during stove use, giving you reliable readings while prioritizing your safety.
How Accurate Can a DIY Stove Thermometer Be?
A DIY stove thermometer can deliver decent accuracy, but precision testing is key. You’ll want to guarantee your materials are durable and stable under heat, minimizing measurement errors. With careful calibration and quality materials, you can achieve reasonably reliable readings, though it may not match professional-grade precision. Keep in mind, consistent conditions and diligent testing improve your homemade thermometer’s dependability, helping you monitor heat effectively and safely.
How Often Should I Calibrate My Homemade Thermometer?
You should calibrate your homemade thermometer every few months to maintain accuracy. Perform accuracy testing periodically, especially if you notice inconsistent readings or after significant temperature changes. Regular calibration ensures your thermometer provides precise measurements, keeping your cooking safe and effective. Keep a record of calibration dates and results to track any necessary adjustments. This routine will help you trust your homemade device and improve its overall performance over time.
Can I Use Everyday Kitchen Utensils for This Project?
Sure, you can use everyday kitchen utensils for your project—because who doesn’t love a good DIY with a dash of irony? Just remember, when choosing alternative materials, safety precautions are key. Avoid using fragile or unsuitable items that might break or give inaccurate readings. Focus on heat-resistant, non-toxic, and durable utensils to guarantee your homemade thermometer works safely and effectively, making your stove cooking both smart and safe.
What Are Common Mistakes to Avoid During Construction?
You should avoid design flaws that compromise accuracy or safety, like using unstable materials or poor calibration. Always follow safety precautions, such as working in a well-ventilated area and wearing protective gear. Double-check measurements before assembly, and test your thermometer carefully to verify it works correctly. Ignoring these steps can lead to faulty readings or safety hazards, so stay attentive to details and prioritize safety throughout the construction process.
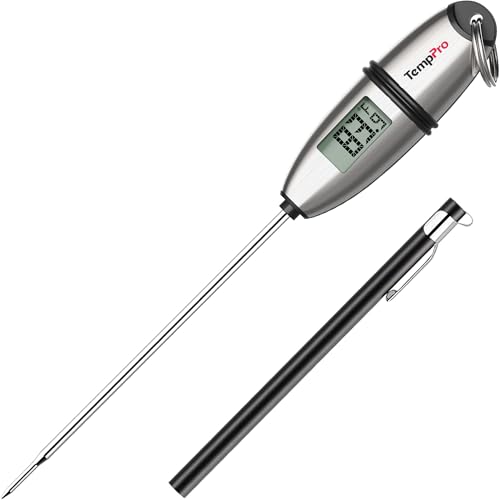
TempPro TP02S Digital Food Thermometer for Cooking Bread Baking Sourdough Liquids, Meat Thermometer Digital with Super Long Probe for Kitchen BBQ Yogurt Candy Making Accessory (Previously ThermoPro)
Fast and Accurate Reading: Kitchen thermometer for cooking features a 1 second readout speed and high accuracy of…
As an affiliate, we earn on qualifying purchases.
As an affiliate, we earn on qualifying purchases.
Conclusion
By building your own stove thermometer, you can confidently monitor your cooking temperature without relying on guesswork. Remarkably, some believe that simple materials like a metal wire and a dial can accurately gauge heat, a theory backed by basic physics about thermal expansion. While homemade thermometers might not be as precise as commercial ones, they certainly give you a fun, hands-on way to understand heat. Give it a try—you might find it works better than you expect!

BOMATA Digital Water Thermometer for Water, Liquid, Candle and Cooking. Instant Read Food Thermometer Waterproof IPX7 with Long Probe for Cooking, Meat, BBQ! T101 (Black Color)…
[ Waterproof – IPX7 ] With the strong waterproof ability, it’s very suitable for measuring the temperature of…
As an affiliate, we earn on qualifying purchases.
As an affiliate, we earn on qualifying purchases.

GALAFIRE 2PCS Wood Stove Thermometer Magnetic for Wood Burning Stove Burn Indicator for Gas Stoves Pellet Stove
✅Exclusive White Needle – The bright color needle moving is clearly visible even from far away.
As an affiliate, we earn on qualifying purchases.
As an affiliate, we earn on qualifying purchases.