To fabricate a simple heat shield with stand-offs, start by selecting lightweight reflective materials like aluminum or ceramic fiber insulation. Cut the insulation to size and attach it securely to a sturdy frame using high-temperature adhesives or fasteners. Insert stand-offs—metal or ceramic spacers—at strategic locations to keep the shield at a safe distance from heat sources, ensuring proper airflow and insulation effectiveness. If you keep exploring, you’ll discover more tips on optimizing your design and assembly.
Key Takeaways
- Select lightweight, heat-resistant insulation material like aluminum or ceramic fiber for effective thermal protection.
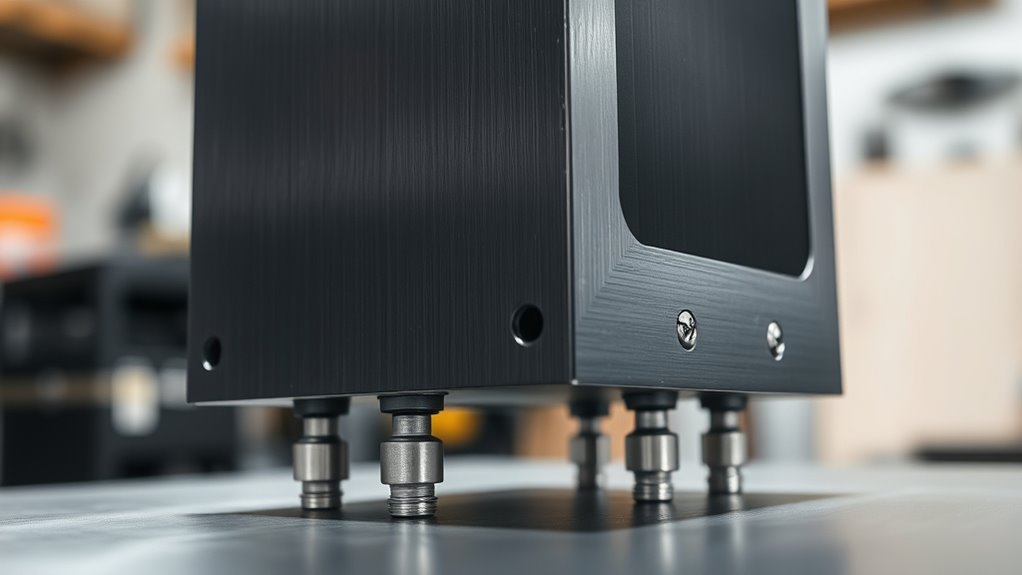
- Determine appropriate stand-off height to maintain safe distance from heat sources and ensure airflow.
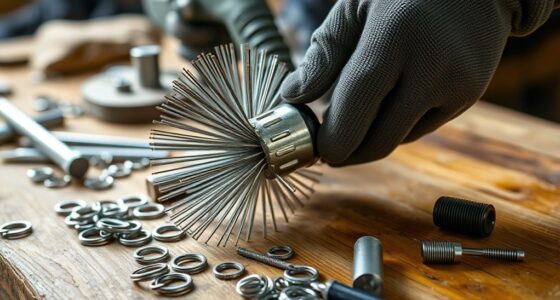
- Use high-temperature rated fasteners or spacers, such as metal bolts or ceramic insulators, to secure the shield without contact.
- Attach insulation securely with suitable adhesives and mechanical fasteners, preventing gaps and movement.
- Verify that all components are properly spaced, aligned, and capable of withstanding operational temperatures for durability.
Creating a simple heat shield is a practical way to protect your equipment or projects from high temperatures. When designing your shield, the first step is understanding the importance of thermal insulation. Proper thermal insulation minimizes heat transfer from the hot environment to your sensitive components, ensuring they stay within safe operating temperatures. To achieve this, you need to focus on material selection, choosing materials that can withstand high heat while providing effective insulation. Common choices include aluminum, ceramic fiber, or specialized heat-resistant fabrics, depending on your specific requirements. Aluminum is lightweight, durable, and offers good reflectivity, making it ideal for many applications. Ceramic fiber, on the other hand, offers superior thermal resistance but is more fragile and may require careful handling. Selecting the right material hinges on factors like temperature range, mechanical strength, weight, and ease of fabrication. Once you’ve chosen your insulating material, you can start assembling the shield.
A practical design involves creating a barrier that can withstand the heat without transferring it to your equipment. To improve performance, incorporate stand-offs—small supports that keep the shield at a safe distance from the heat source and the equipment. These stand-offs prevent direct contact, reducing heat conduction and allowing airflow to help dissipate heat. You can use simple materials like metal spacers, bolts, or even ceramic insulators depending on the temperature and mechanical stresses involved. Position the stand-offs strategically around the perimeter of the shield to ensure even spacing and maximum insulation efficiency. This setup not only enhances thermal protection but also makes maintenance easier, as it prevents the shield from sticking to or damaging your equipment. Additionally, considering material compatibility ensures the stand-offs and insulating materials work effectively together under high temperatures. Incorporating proper ventilation can further improve heat dissipation and overall performance.
When fabricating your heat shield, it’s vital to secure the insulation material firmly to prevent gaps or movement that could compromise its effectiveness. Use high-temperature adhesives, mechanical fasteners, or a combination of both, ensuring everything is rated for the operational temperatures. Pay attention to the thickness of your insulation; thicker layers generally provide better thermal resistance but may add weight or bulk. After assembly, double-check the stand-off heights to confirm adequate clearance from heat sources and the equipment. This spacing is critical for maximizing the shield’s effectiveness and longevity. By focusing on proper material selection, ensuring effective thermal insulation, and correctly installing stand-offs, you build a simple yet reliable heat shield that offers excellent protection for your projects under high-temperature conditions.
Top picks for "fabricate simple heat"
Open Amazon search results for this keyword.
As an affiliate, we earn on qualifying purchases.
Frequently Asked Questions
What Materials Are Best for DIY Heat Shields?
You should choose materials with excellent insulation properties for your DIY heat shield, like aluminum foil, ceramic fiber, or insulating bricks. These materials effectively reflect or absorb heat, protecting your surfaces. When selecting materials, consider their thermal resistance and durability. Using lightweight, heat-resistant materials ensures your shield performs well under high temperatures, and incorporating stand-offs helps maintain airflow, which enhances heat dissipation and overall effectiveness.
How Do Stand-Offs Affect Heat Shield Performance?
Stand-offs act like silent guardians, maintaining a safe distance that enhances your heat shield’s performance. They improve stand-off installation by preventing direct contact, which allows for better airflow and reduces heat transfer. This creates a barrier with thermal insulation, preventing heat buildup and protecting underlying surfaces. Properly positioned stand-offs ensure your heat shield functions efficiently, making it an essential component for optimizing heat management and durability in your project.
Can This Heat Shield Be Used Outdoors?
Yes, you can use this heat shield outdoors. To guarantee outdoor durability and weather resistance, choose materials like aluminum or treated metals that resist corrosion and withstand the elements. Properly sealing edges and applying protective coatings will also help. Regular maintenance and inspections will keep the heat shield performing well over time, even under harsh weather conditions.
What Safety Precautions Should I Take?
Think of safety gear as your armor against fire hazards. Always wear gloves, goggles, and a mask when working with heat shields. Keep a fire extinguisher nearby and work in a well-ventilated area to prevent fire risks. Never leave the heat shield unattended while in use, and make certain your workspace is free of flammable materials. Your precautions protect you from harm and keep your project safe.
How Long Will the Heat Shield Last?
The durability of your heat shield depends on the materials used and how well you maintain it. Generally, high-quality materials like aluminum or ceramic can last several years if kept clean and undamaged. You should inspect it regularly for signs of wear or corrosion, and replace it if it shows significant deterioration. Proper care and selecting durable materials will maximize your heat shield’s longevity and guarantee it provides effective protection over time.
Conclusion
Once you finish your heat shield, remember it’s like building a castle to protect your treasures. I once saw a DIYer craft a shield that withstood a blazing torch, proving even simple designs can be mighty. Just like a sturdy stand-off keeps your shield from touching hot surfaces, your effort shields your equipment from damage. When you test it, you’ll realize that simple solutions, like a well-placed stand-off, can be surprisingly powerful—protecting what matters most.