
As a wood-burning stove enthusiast, I’ve learned that even the strongest seams can wear out over time. But don’t worry, I have mastered the art of repairing these seams and am excited to pass on my knowledge to you.
In this article, I’ll guide you through the process of repairing your wood stove. We’ll start by identifying the areas that need repair. Once we have that figured out, we’ll move on to gathering the necessary tools for the job.
After that, we’ll prepare the area for repair by cleaning and removing any debris or old sealant. Once everything is clean and ready, we can move on to applying the sealant or patching compound.
The final step in the process is finishing the repair. We’ll make sure the sealant is properly dried and set before testing the stove to ensure it’s working perfectly.
So, get ready to restore your wood stove to its former glory and keep the warmth flowing. Let’s dive in!
Key Takeaways
- Look for visible gaps or openings between the seams as signs of damage.
- Use heat-resistant sealant or fire-resistant adhesive for repairing wood stove seams.
- Properly prepare the surface by cleaning and sanding before applying the sealant.
- Test the repaired seams through smoke and pressure tests to ensure their functionality.

Stanley 2700F High Temp Black Fireplace & Stove Sealant (1×10.1oz) – Heat Resistant Fire Caulk for Chimneys, Ovens, Grills, Wood Stoves – Non-Flammable, Fast Drying, Paintable – Cartridge, 1 Pack
EXTREME HEAT RESISTANCE UP TO 2700°F: Withstands intense heat for fireplaces, stoves, ovens, grills, chimneys, and furnaces. Ideal…
As an affiliate, we earn on qualifying purchases.
As an affiliate, we earn on qualifying purchases.
Identifying the Seams in Need of Repair
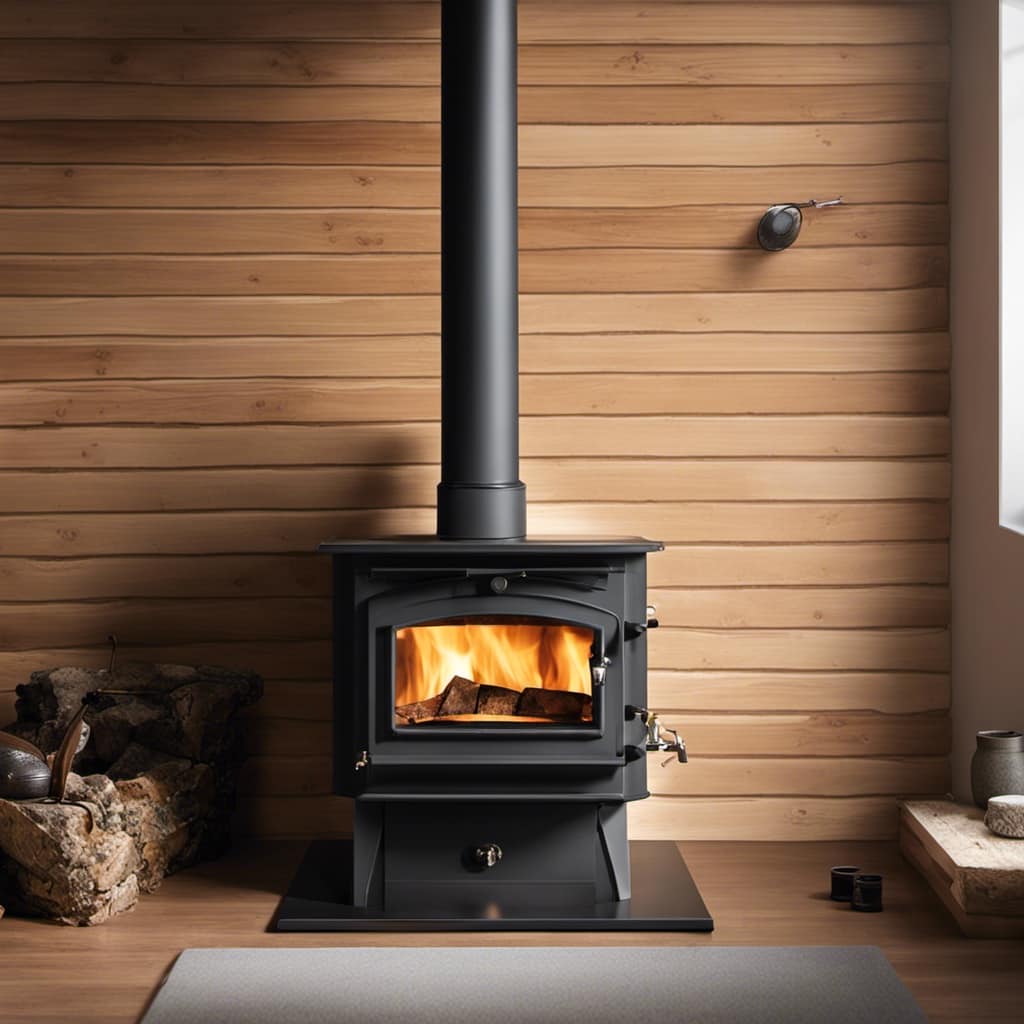
I’ll start by examining the wood stove closely to identify the seams that are in need of repair. Common causes of seam damage on wood stoves include excessive heat, expansion and contraction, and physical impact. These factors can cause the seams to become loose or develop small cracks over time.
To identify signs of wear and tear on the wood stove, I’ll look for any visible gaps or openings between the seams. I’ll also check for any discoloration or warping around the seams, as this can indicate heat damage. Additionally, I’ll inspect the stove for any signs of rust or corrosion, as these can weaken the seams and lead to further damage.

DAP High Heat Fire Resistant Mortar, 10 Oz, Black (7079818854)
Draft, smoke, fireblock sealant for applications in wood-frame construction where an ASTM E136 non-combustible sealant is required
As an affiliate, we earn on qualifying purchases.
As an affiliate, we earn on qualifying purchases.
Gathering the Necessary Tools and Materials
To successfully repair the seams on the wood stove, I need to gather all the necessary tools and materials, including a heat-resistant sealant, a putty knife, sandpaper, and protective gloves. Once I’ve these items ready, I can begin the repair process.
Here is a step-by-step guide on how to repair the seams on a wood stove:
-
Inspect the seams: Before starting the repair, it’s important to identify which seams need attention. Look for any gaps or cracks where heat may be escaping.
-
Choose the right sealant: There are different types of sealants available, such as silicone-based or high-temperature cement. Consider the specific needs of your wood stove and choose a sealant that’s suitable for high heat environments.
-
Prepare the surface: Use sandpaper to smooth out any rough edges around the seams. This will ensure a better adhesion for the sealant.

-
Apply the sealant: Use a putty knife to carefully apply the sealant along the seams. Make sure to fill in any gaps or cracks completely.

Midwest Hearth Wood Stove Replacement Gasket Kit – Made in USA Graphite Impregnated Fiberglass Rope Gasket & 2000°F Adhesive Cement for Woodburning Stoves (1/4" x 84" Rope)
STOP LOSING HEAT THROUGH A FAILED DOOR SEAL — A worn or leaking wood stove gasket lets uncontrolled…
As an affiliate, we earn on qualifying purchases.
As an affiliate, we earn on qualifying purchases.
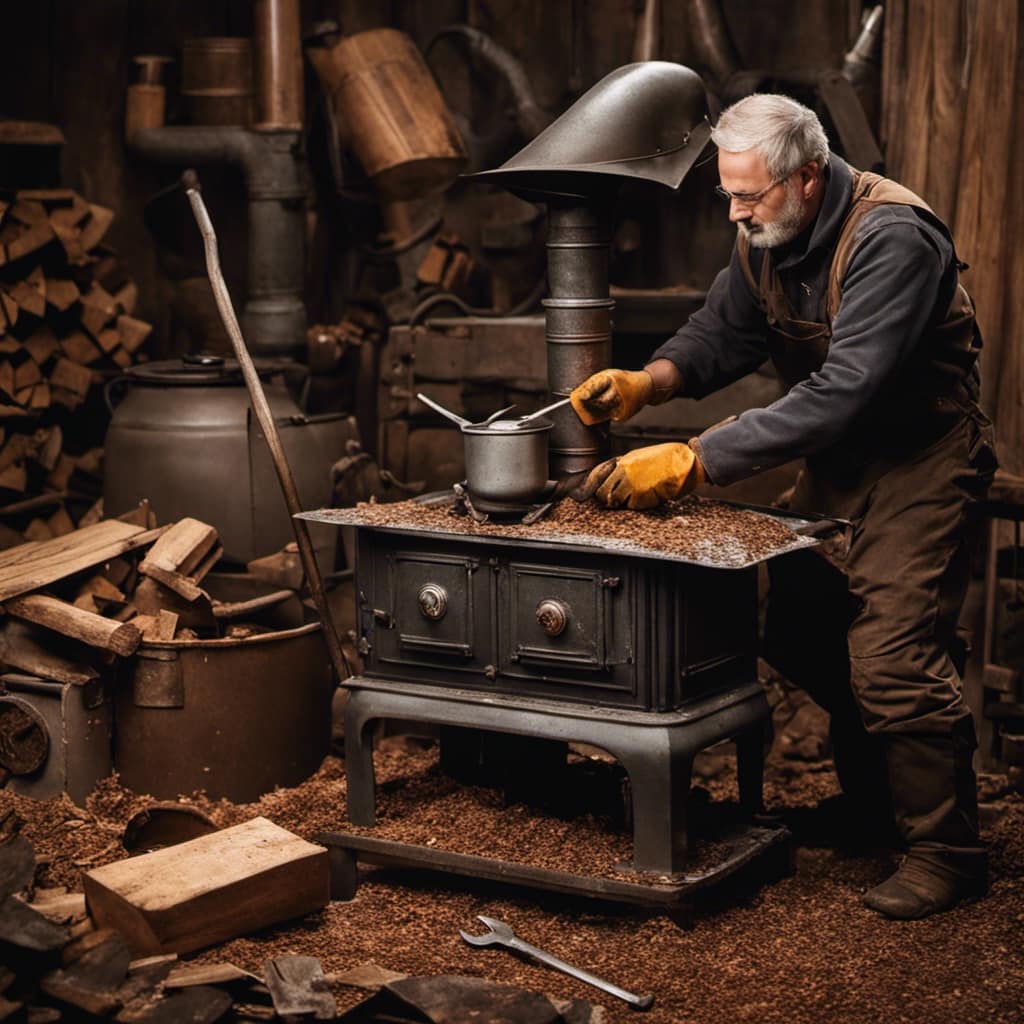
Preparing the Surface for Repair
I have already sanded down the rough edges and filled in any cracks, so now I just need to apply the sealant to repair the seams on the wood stove.
Before applying the sealant, it’s important to properly prepare the surface to ensure a successful repair.
The first step in the cleaning process is to remove any loose debris or dirt from the seams. I recommend using a vacuum cleaner or a soft brush to gently remove any particles that may affect the adhesion of the sealant.
Once the surface is clean, it’s time to focus on the sanding technique. Using a fine-grit sandpaper, I gently sand the seams to create a smooth and even surface. This not only helps in creating a better bond with the sealant but also ensures a seamless repair.
After sanding, make sure to clean the surface again to remove any dust or residue.
With the seams properly sanded and cleaned, I’m now ready to proceed with applying the sealant to repair the wood stove.

Rutland High Heat Silicone Sealant for BBQ Grills, USA-Made High Temp Gasket Maker Adhesive – UV Stable, Oil Resistant Waterproof & Non-Corrosive, 500F RTV Black
Rutland High Temperature Silicone is a great solution to your sealant and adhesive needs
As an affiliate, we earn on qualifying purchases.
As an affiliate, we earn on qualifying purchases.
Applying the Sealant or Patching Compound
After cleaning and sanding the surface, I’ll now apply the sealant using a brush or putty knife. This step is crucial in ensuring a proper repair and preventing further damage to the wood stove.

Here are some important things to consider when applying the sealant:
- Types of sealants to use:
- High-temperature silicone sealant: Ideal for sealing seams on wood stoves due to its ability to withstand extreme heat.
- Fire-resistant adhesive: Provides a strong bond and prevents leaks or cracks in the seams.
- Heat-resistant epoxy: Suitable for repairing larger gaps or cracks in the stove’s seams.
- Common mistakes to avoid:
- Overusing sealant: Applying too much sealant can lead to messy repairs and may not provide a strong seal.
- Ignoring proper drying time: Allow the sealant to fully cure before exposing it to heat or using the wood stove.
- Neglecting regular maintenance: Regularly inspect and reapply sealant as needed to ensure a long-lasting repair.
Finishing Touches and Testing the Repaired Seams
Someone else can help me with the finishing touches and testing of the repaired seams. Once the seams on a wood stove have been repaired, it’s important to ensure that they’re secure and functioning properly.
This involves applying various testing methods to identify any potential issues and troubleshooting them accordingly. One common testing method is a smoke test, where smoke is introduced into the stove to check for leaks along the repaired seams.
Additionally, a pressure test can be conducted to measure the stability of the seams under pressure. Troubleshooting issues may involve inspecting the seams for any signs of weakness or leakage, and making any necessary adjustments or repairs.
It’s crucial to thoroughly test and troubleshoot the repaired seams to ensure the wood stove operates safely and efficiently.
Frequently Asked Questions
How Much Does It Typically Cost to Repair Seams on a Wood Stove?
Typically, the cost of repairing seams on a wood stove depends on factors like the extent of damage and the materials needed. It’s crucial to evaluate the condition and consult a professional for an accurate estimate.
Can the Repair Process Be Done by a Beginner or Is Professional Assistance Recommended?
Repairing seams on a wood stove can be a doable task for beginners, but professional assistance is still recommended to avoid common mistakes. Follow beginner-friendly techniques and be cautious to ensure successful repairs.
Are There Any Specific Safety Precautions That Should Be Followed During the Repair Process?
When repairing seams on a wood stove, it is crucial to follow specific safety measures and use protective equipment. Taking these precautions ensures personal safety and minimizes the risk of accidents during the repair process.
How Long Will the Repaired Seams Typically Last Before Needing to Be Repaired Again?
The repaired seams on a wood stove typically have an average lifespan of several years before needing to be repaired again. Common causes of seam damage include excessive heat, improper maintenance, and wear and tear over time.
Is It Possible to Prevent Seam Damage on a Wood Stove in the First Place?
Preventive measures can significantly reduce the chances of seam damage on a wood stove. Understanding common causes such as excessive heat and wear can help in implementing strategies to protect the seams.
Conclusion
In conclusion, repairing seams on a wood stove is a straightforward process that can be done with a few simple steps. By identifying the damaged seams and gathering the necessary tools and materials, you can effectively repair your wood stove.
Once you have everything you need, the next step is to prepare the surface by cleaning it thoroughly and removing any debris or old sealant. This will ensure that the new sealant or patching compound adheres properly.

After the surface is prepared, you can apply the sealant or patching compound to the damaged seams. Make sure to follow the manufacturer’s instructions and apply the product evenly and generously.
Once you have applied the sealant or patching compound, allow it to dry and cure according to the manufacturer’s recommendations. This will ensure that the repair is strong and durable.
Finally, add any finishing touches, such as trimming any excess sealant or smoothing out the repaired seams. This will give your wood stove a clean and polished look.
By following these steps, you can effectively repair your wood stove and ensure its optimal performance. So don’t wait any longer, take action and restore the functionality of your wood stove to its full potential. You’ll be amazed by the remarkable results!