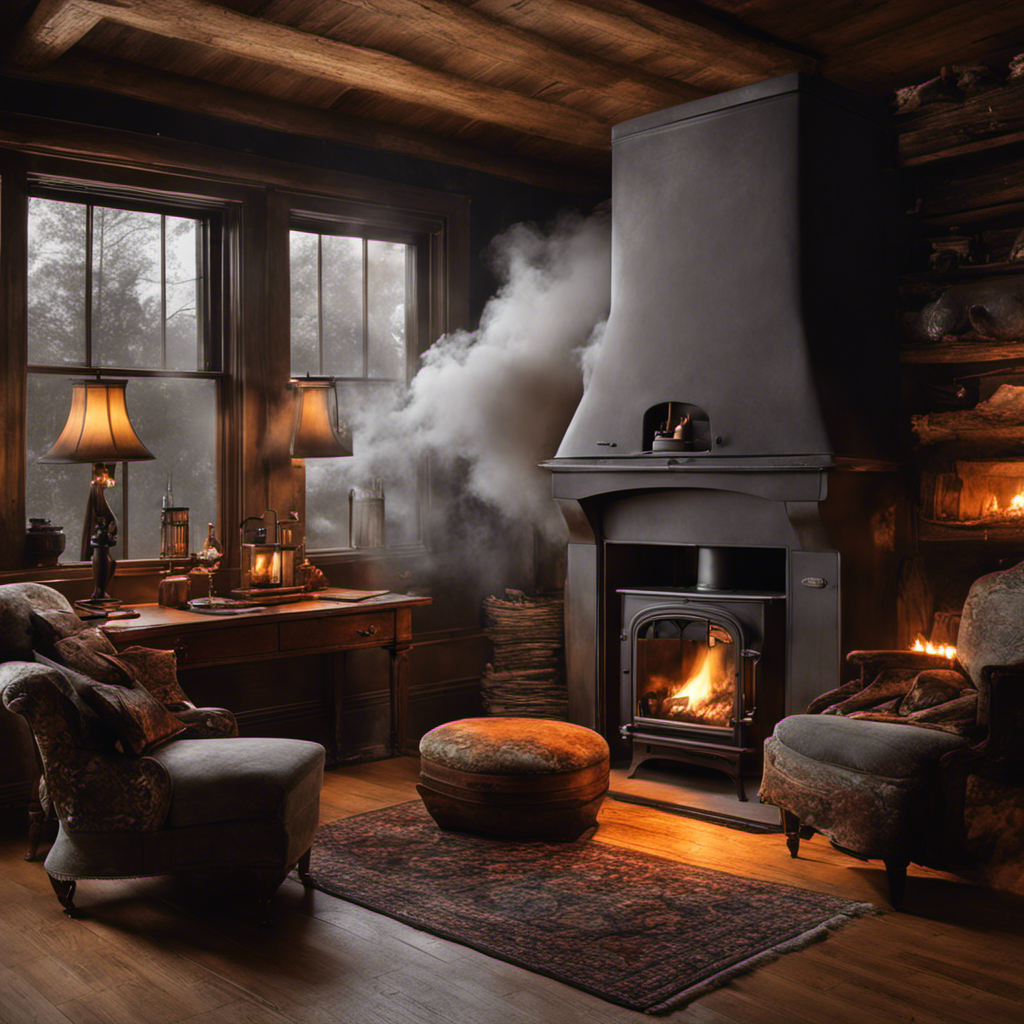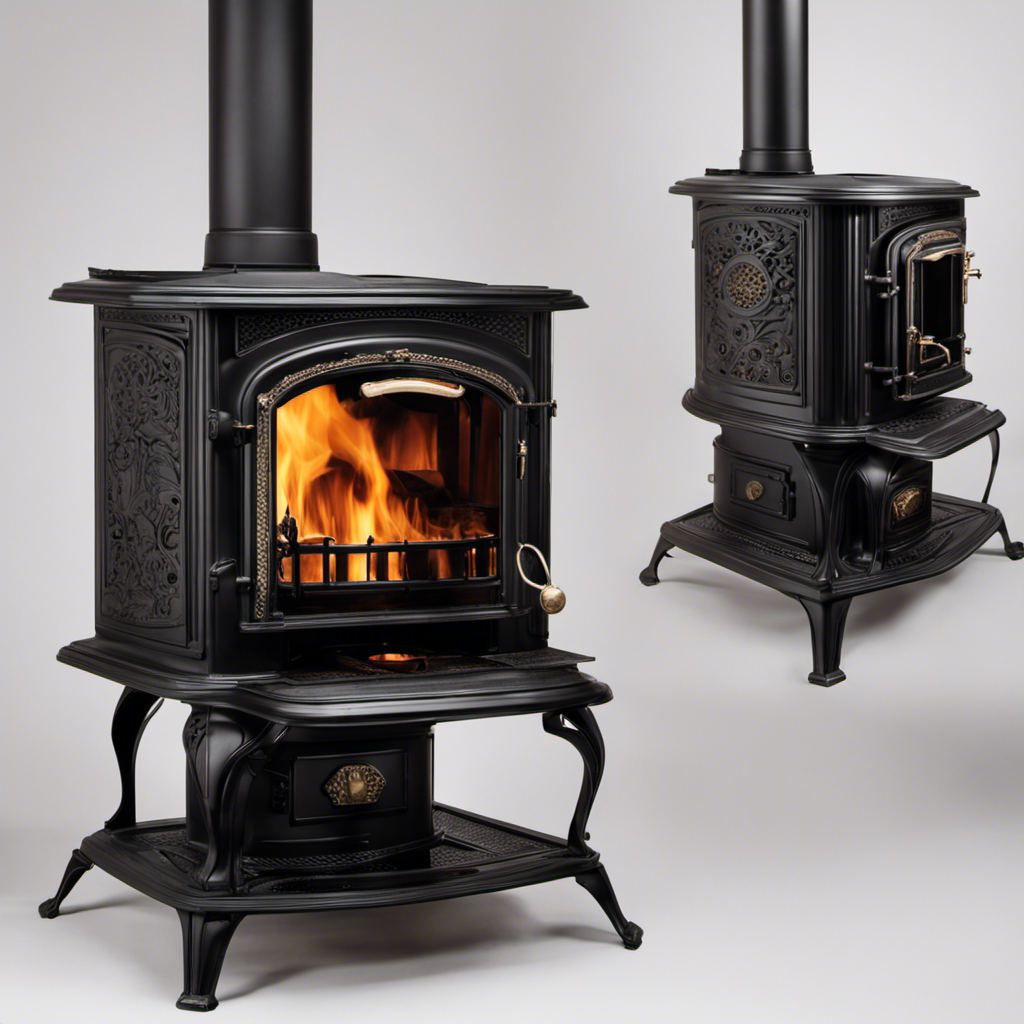
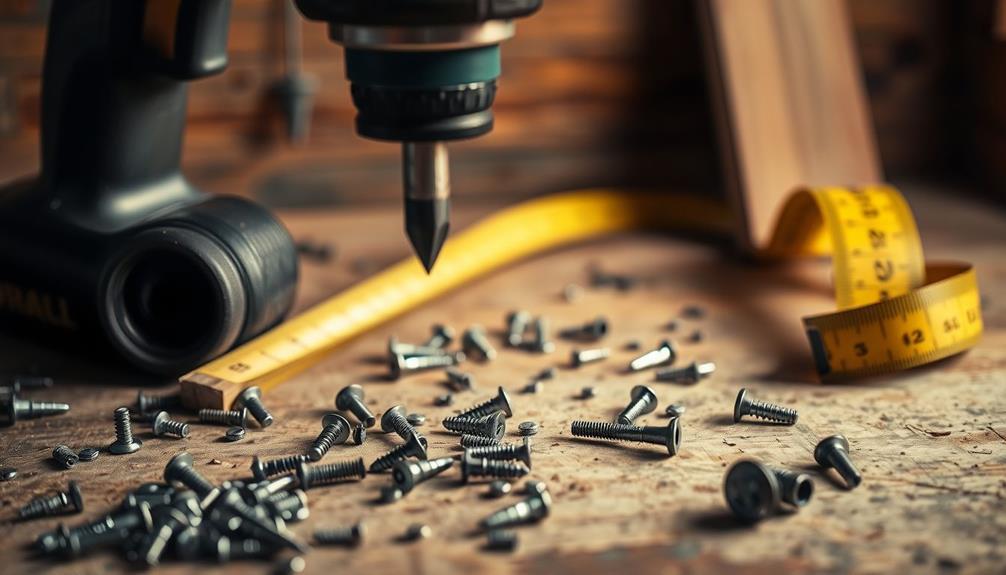
When installing your small wood stove, you'll need several essential tools to guarantee a safe and efficient setup. Grab a hole saw for cutting precise flue pipe holes, and a drill for easy installation. A grinder and Dremel Tool will help adjust metal parts as needed. Don't forget a caulk gun for airtight seals and a reliable measuring tape to get all dimensions right. Safety glasses protect your eyes from debris, while a wrench set tightens everything securely. Fireproof sealant is crucial for preventing air leaks. Stick around to discover even more tips for a successful installation!
Key Takeaways
- Use a hole saw for precise flue pipe openings; a 6-inch size is recommended for metal roofs.
- A grinder is essential for cutting and adjusting metal components during installation.
- Employ a caulk gun to create airtight seals around flue pipes, utilizing heat-resistant silicone caulk.
- A measuring tape ensures accurate dimensions for stove placement and compliance with safety regulations.
- Always wear safety equipment, including goggles and gloves, to protect against debris and hazards during installation.
As an affiliate, we earn on qualifying purchases.
Hole Saw
When installing a small wood stove, using a hole saw can make the process much smoother. This circular cutting tool is essential for creating clean, precise holes, especially when fitting a flue pipe. For metal roofs, a 6-inch hole saw is typically recommended, as it accommodates the diameter of a double-wall insulated flue pipe, ensuring a proper fit and seal.
Incorporating natural elements in your workspace, however, can also enhance the overall experience, similar to how one might design a modern farmhouse bedroom for tranquility.
When using your hole saw, remember to drill at a slow speed. This helps prevent overheating, which can damage both the cutting tool and the material you're working with. You'll likely find that a pilot drill bit comes with your hole saw; it's a handy addition that helps guide the saw for accurate hole placement. This reduces the risk of misalignment during installation, making your project easier and more efficient.
Lastly, don't neglect the maintenance of your hole saw. Regularly inspecting the teeth will prolong its lifespan and enhance cutting efficiency, especially when you're working with harder materials like metal.
With these tips, you'll find that using a hole saw is a straightforward and effective part of your wood stove installation process.
Drill
A drill is a key tool you'll need for installing your small wood stove, so it's crucial to understand the different types available.
From cordless options that offer portability to variable speed drills that give you better control, each type has its advantages.
Additionally, using a drill with safety features, much like those found in safety glasses, can enhance your installation experience.
Plus, keeping safety tips in mind while drilling can help you avoid accidents and guarantee a smooth installation process.
Drill Types Overview
Choosing the right drill can greatly enhance your efficiency during a small wood stove installation. Each type of drill serves a specific purpose, making it essential to select the one that fits your needs.
For instance, understanding key factors in choosing the right tools can lead to a smoother installation process. A cordless drill is perfect for portability and convenience, allowing you to work in tight spaces without worrying about a power outlet.
If you're dealing with masonry, a hammer drill is your best bet; it combines rotary motion with a hammering action, making it effective for drilling into concrete or brick.
For precision and control, especially with repetitive tasks, a drill press stands out. It guarantees consistent hole depth and alignment, perfect for making sure your wood stove components fit perfectly.
If you need versatility, a variable speed drill allows you to adjust the speed based on the material, whether it's wood or metal.
Lastly, don't overlook the impact drill. With its high torque, it's excellent for driving screws and fasteners into tough materials, a must-have for securely installing your wood stove.
Knowing these options will help you tackle your installation project efficiently and effectively.
Safety Tips When Drilling
Safety should always be your top priority while drilling. Start by wearing safety goggles to protect your eyes from metal shavings and debris that can fly around during the process.
Make certain your work area is well-ventilated and free of flammable materials. This minimizes fire hazards, especially when using power tools. If you have air quality concerns in your workspace, consider using an air purifier to reduce dust and allergens, as air purifiers improve indoor air quality considerably.
Use a drill with the appropriate speed and torque settings for the material you're working with. This helps prevent overheating and damage to the drill bit.
Before you begin, secure the material with clamps or a vise to keep it steady. This not only guarantees accuracy but also reduces the risk of injury from unexpected movement.
It's vital to check for hidden wiring or plumbing behind the surface before drilling. You don't want to accidentally damage essential systems or create hazardous situations.
By taking these precautions, you can drill safely and effectively, guaranteeing a smooth installation of your small wood stove.
Always remember, a little preparation goes a long way in keeping you safe while you work!
Grinder
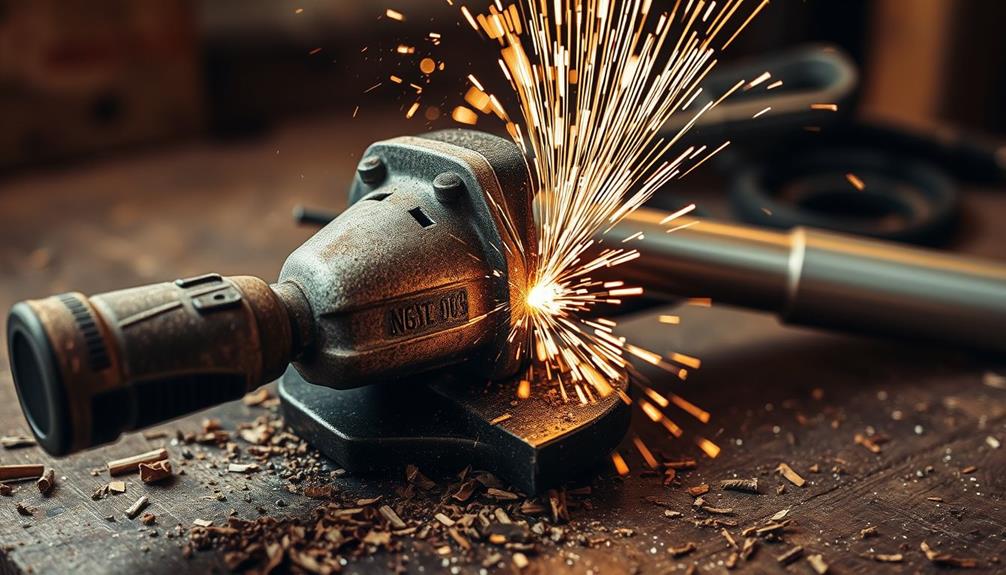
When you install a small wood stove, a grinder becomes an invaluable tool for adjusting metal components like flue brackets or pipe.
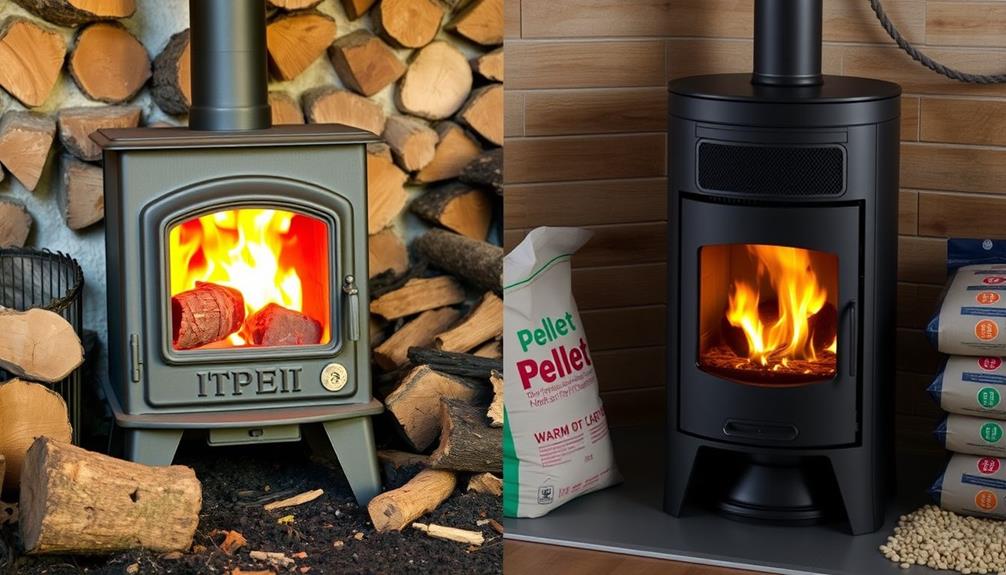
It's especially useful when adapting components to fit specific requirements, such as those needed for a pellet stove installation in place of a wood stove.
Its versatility allows you to cut, grind, and polish, making it perfect for various materials.
Just remember to prioritize safety by wearing goggles and gloves to protect yourself from debris and sparks.
Tool Versatility and Usage
A grinder is a versatile tool that's indispensable for installing a small wood stove. It allows you to modify metal components effectively, ensuring everything fits just right.
Butter enhances the texture of pastries, making precision in installation as vital as in baking. Here are four essential tasks a grinder can help you with:
- Cutting flue pipes: Easily trim pipes to the exact length needed for your installation.
- Cutting the hole: Seamlessly create openings in walls or floors for proper venting.
- Adjusting brackets: Modify brackets to secure your stove firmly against non-combustible materials.
- Smoothing edges: Use flap discs to grind and smooth any sharp edges, making your installation safer.
With the right attachments, like cutting discs or flap discs, you can handle various tasks, from cutting to grinding and smoothing.
The precision a grinder offers is essential for preventing gaps, ensuring an airtight seal around the stove and flue connections. Remember to keep your grinder well-maintained, checking the power cord and replacing worn-out discs as needed.
This upkeep not only guarantees efficient operation but also enhances your safety during the installation process. A reliable grinder simplifies your wood stove installation, making it a must-have tool in your arsenal.
Safety Precautions During Operation
Using a grinder can be highly effective for installing a small wood stove, but it's vital to prioritize safety to prevent accidents. To guarantee your safety while operating the grinder, follow these important precautions:
| Precaution | Details |
|---|---|
| Wear safety goggles | Protect your eyes from flying debris. |
| Use a dust mask | Avoid inhaling harmful particles. |
| Check for flammable materials | Keep the area clear to prevent fires. |
| Use appropriate gloves | Protect your hands while making sure they're not loose. |
Before you start, confirm the grinder's guard is in place and properly adjusted. This reduces the risk of accidental contact with the grinding wheel during operation. Maintain a firm grip on the grinder; using both hands enhances control and minimizes the chance of accidents.
Always keep a tidy work area to limit hazards and remain vigilant while grinding. Remember, safety is your top priority. By taking these precautions, you can effectively use the grinder while providing a secure environment for yourself and those around you.
Dremel Tool
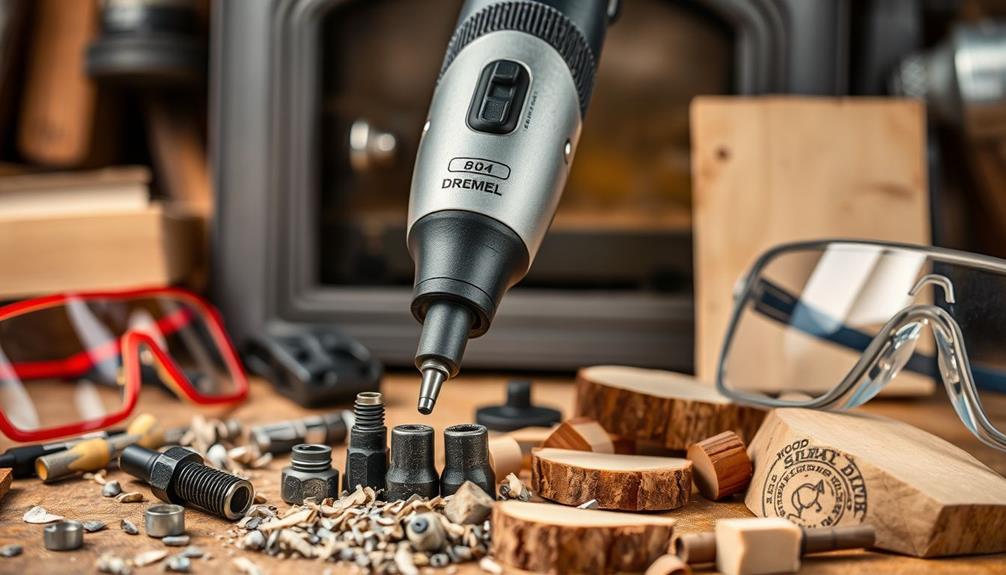
The Dremel tool is a game-changer for anyone installing a small wood stove. Its versatility makes it indispensable for precise adjustments and modifications throughout the installation process.
Additionally, when working with gas appliances, having the right tools guarantees that you can safely make any necessary adjustments, especially since safety precautions are vital during installation.
Here are four reasons why you should consider adding a Dremel tool to your toolkit:
- Cutting Efficiency: With its ability to cut through metal, the Dremel tool is perfect for adjusting flue pipes and other components.
- Variable Speeds: It operates at speeds ranging from 5,000 to 35,000 RPM, allowing you to adapt to different materials and tasks seamlessly.
- Compact Size: The lightweight design guarantees easy handling and maneuverability, especially in tight spaces where traditional tools can't reach.
- Versatile Accessories: The Dremel comes with a range of accessories, including cutting wheels, grinding stones, and sanding bands, making it suitable for a variety of tasks.
Caulk Gun

When installing a small wood stove, having a caulk gun on hand is essential for achieving a waterproof and airtight seal around flue pipes and other connections. This tool allows you to apply sealants effectively, preventing leaks that could compromise your stove's performance.
Additionally, having a reliable vacuum cleaner for cleaning up any debris during the installation process can enhance your efficiency, especially if you choose a budget-friendly vacuum cleaner that fits your needs. When choosing a caulk gun, look for a model with a smooth dispensing action and a comfortable grip, making it easier for you to use during installation.
For the best results, opt for high-temperature silicone caulk specifically designed for stove and chimney applications. This caulk can withstand the intense heat generated by your wood stove, guaranteeing lasting durability.
A standard caulk gun typically accommodates a 10-ounce cartridge, which is usually sufficient for most small wood stove installations, allowing you to make multiple applications without constant reloading.
To guarantee a uniform bead of sealant, cut the caulk nozzle at a 45-degree angle. This technique gives you better control over the flow, allowing for a neat, waterproof and airtight seal around the stove and flue connections.
With the right caulk gun and materials, you'll set your small wood stove up for success.
Rivet Gun
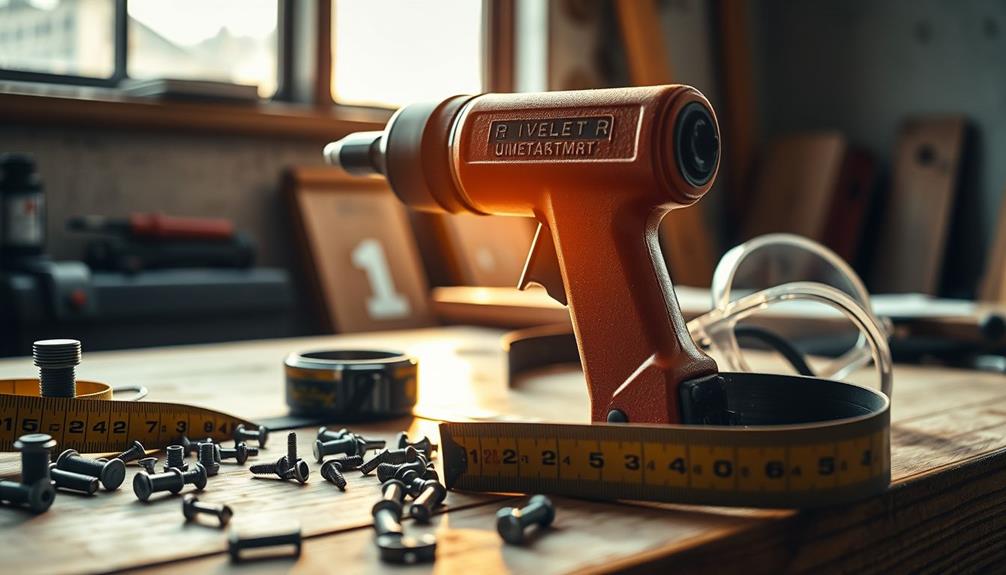
A rivet gun is an essential tool for guaranteeing your small wood stove installation is secure and durable. It allows you to join components like brackets and flue systems effectively, preventing any potential hazards.
Additionally, utilizing a rivet gun can enhance the overall integrity of your installation, similar to how a reliable Gold IRA provider secures your financial investments.
Here are four key benefits of using a rivet gun during your installation:
- Strong Fastening: Rivets create a permanent bond, vital for securing stove pipes and other components to your stove or roof.
- Versatility: Different types of rivet guns, including manual, pneumatic, and electric models, cater to various project sizes and needs.
- Load-Bearing Capacity: Choosing the right size and type of rivet ensures your connections can withstand the stresses of heat and weight.
- Safety: Properly installed components minimize the risk of combustible materials igniting, creating a safer environment.
When you install the stove, make sure you're using the right technique with your rivet gun. This means confirming the rivet is fully set and maintaining alignment throughout the process.
Measuring Tape
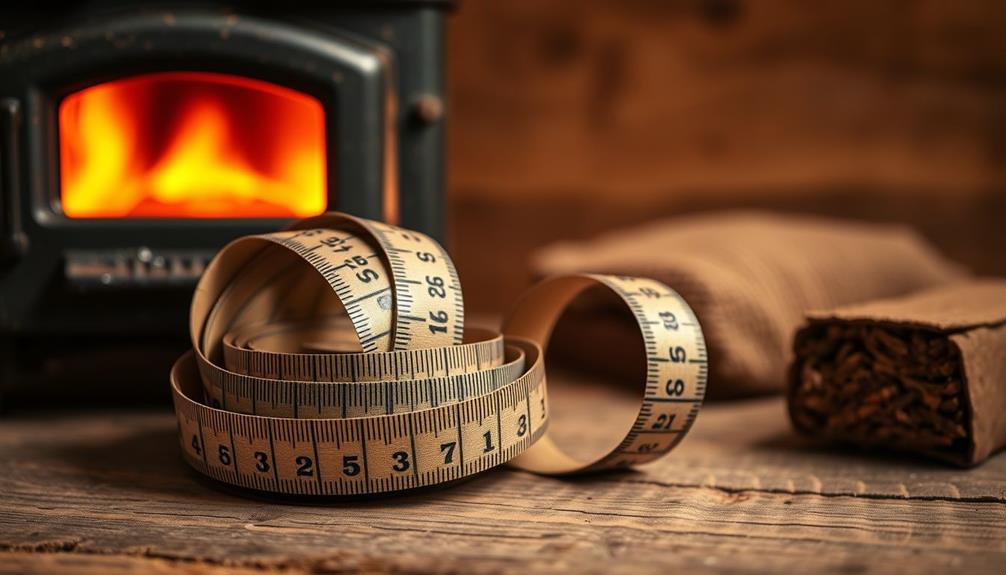
When installing your small wood stove, a measuring tape is essential for making accurate measurements.
It's important to guarantee the space is adequately prepared and adheres to safety regulations, including maintaining the correct clearances for heat sources.
You'll need it to mark installation points and guarantee everything fits perfectly, from the stove's dimensions to the required clearances.
This tool helps you follow safety standards and achieve a successful setup, especially when considering optimal airflow around the unit.
Accurate Measurements Required
Accurate measurements are vital for a successful wood stove installation. Using a measuring tape allows you to determine the exact dimensions of your stove and the installation area, guaranteeing it fits securely and complies with local building codes.
Here are four key measurement aspects to keep in mind:
- Stove Dimensions: Measure the height and width of your stove to guarantee it fits within your chosen space.
- Clearance Requirements: Check the clearance needed from combustible materials, as specified by local building codes.
- Stove Outlet: Measure the center of the stove outlet to ensure proper alignment for the flue pipe.
- Installation Area: Use a measuring tape that's at least 25 feet long to accommodate larger spaces and allow flexibility when measuring.
Always double-check your measurements before cutting any materials. This step is essential to avoid mistakes that could jeopardize the integrity of your installation or create safety hazards.
Accurate measurements not only contribute to a successful setup but also guarantee that your wood stove operates safely and efficiently in your home.
Marking Installation Points
Using a measuring tape effectively marks the installation points for your small wood stove, guaranteeing it's positioned correctly and aligned with the flue pipe. Start by measuring the stove's dimensions and required clearances from combustible surfaces to comply with safety regulations. This attention to detail prevents costly mistakes during installation.
| What to Measure | Why It Matters |
|---|---|
| Stove height and width | Guarantees it fits in your designated space |
| Distance from walls | Ensures proper clearances for safety |
| Flue exit location | Aligns with the hole for ideal venting |
When marking installation points, remember to check the specific location of the flue exit on the roof or wall. Use your measuring tape to double-check distances from walls and obstructions, guaranteeing the stove is positioned for ideal airflow and efficiency. Accurate measurements can save you from cutting incorrect holes for the flue pipe or misplacing the stove on a non-combustible hearth. Trust your measuring tape; it's your best ally in creating a safe and efficient wood stove setup!
Ensuring Proper Fit
To guarantee your small wood stove fits perfectly in your space, you'll need to take precise measurements with your measuring tape. A tape that's at least 25 feet long guarantees you can tackle both short and long distances.
Here are some key steps to follow:
- Measure from the flue outlet: Always start by measuring from the center of the stove's flue outlet. This helps you determine the correct height and position for the flue pipe relative to the roof or ceiling.
- Account for clearances: Be sure to measure the required distances from combustible materials, which typically require 36 inches, depending on your stove's specifications.
- Mark your spots: Clearly mark both the stove's footprint and the flue exit location on the floor and ceiling. This visualization will guide your installation.
- Double-check measurements: Always double-check all measurements for accuracy. Even slight discrepancies can lead to improper fitting and potential safety hazards during installation.
Safety Glasses
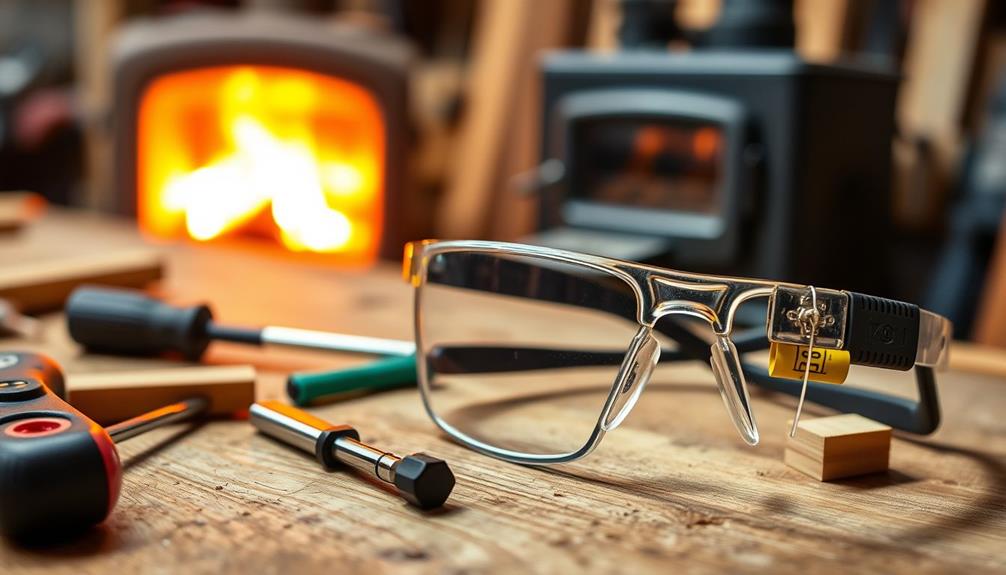
When installing a small wood stove, don't overlook the importance of safety glasses. They're essential for protecting your eyes from flying debris and dust that can occur during the installation process.
Choose safety glasses that comply with ANSI Z87.1 standards to guarantee they offer adequate impact resistance. This certification means they're designed to withstand potentially harmful impacts.
Additionally, consider safety glasses with anti-fog coatings. These can greatly enhance visibility, especially when you're working in varying temperatures or humidity levels that might cause fogging. You want to see clearly to avoid any accidents or mistakes during the installation.
Wraparound styles are another excellent option, as they provide extra side protection, reducing the risk of particles entering from the sides.
It's imperative to regularly inspect your safety glasses for scratches or damage. Deterioration can compromise their effectiveness, leaving your eyes vulnerable while you work.
In short, safety glasses are a simple yet essential piece of equipment that guarantees you can install your wood stove safely and efficiently. Always prioritize protecting your vision in any installation task.
Wrench Set
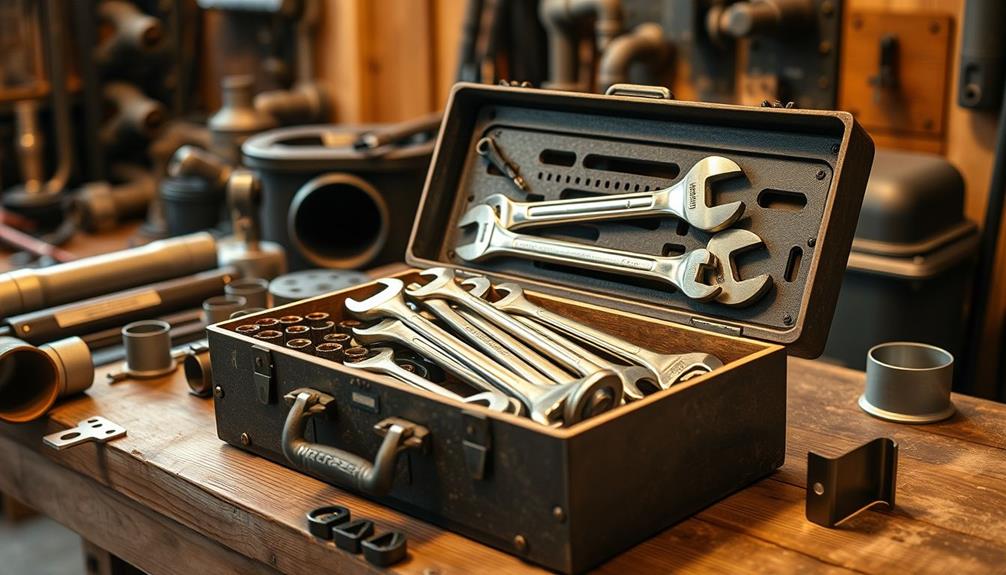
A reliable wrench set is vital for the successful installation of a small wood stove. It allows you to tighten and loosen bolts and nuts, guaranteeing all connections are secure.
To make your installation smoother, consider including these four items in your wrench set:
- Ratcheting Wrenches: These let you maintain continuous movement, speeding up the installation process.
- Torque Wrench: This tool is critical for achieving specific tightness on essential components, preventing damage and guaranteeing safe operation.
- Adjustable Wrench: With its flexibility, you can access hard-to-reach areas around the stove and chimney connections.
- Metric and Standard Sizes: Look for a wrench set that includes both to accommodate the various hardware used in stove installation.
Having the right wrench set can make a significant difference in your installation experience. It not only helps you create secure connections but also saves you time and effort.
Don't underestimate the importance of these tools; having them on hand will guarantee your small wood stove is installed correctly and safely.
Fireproof Sealant
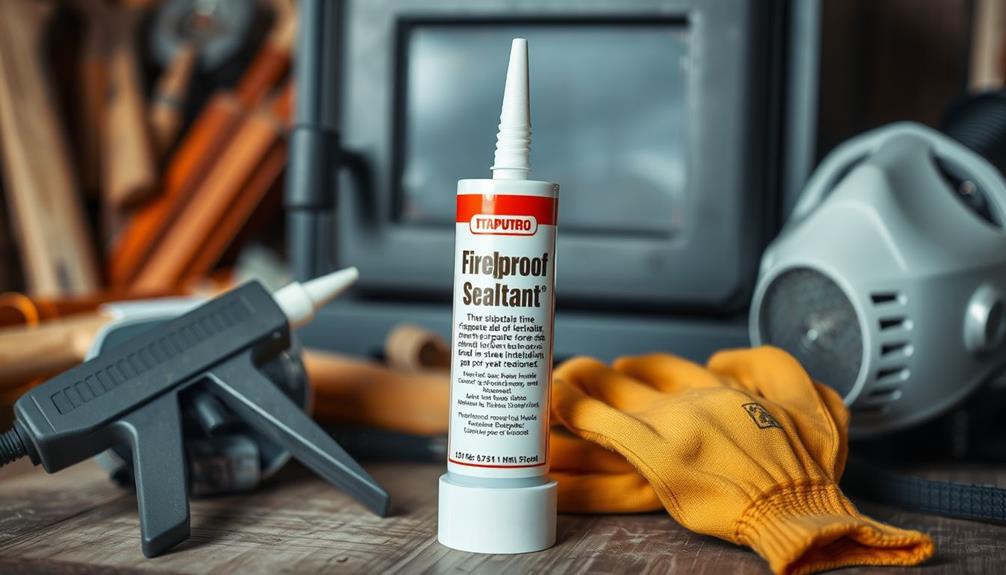
Fireproof sealant is fundamental for ensuring a safe and efficient installation of your small wood stove. This specialized sealant is designed to withstand high temperatures, rated up to 2000°F (1093°C), making it perfect for sealing joints around stove pipes and flue connections.
By using fireproof sealant, you'll effectively prevent air leaks that can compromise both safety and heating efficiency.
When you apply fireproof sealant, it's important to follow the manufacturer's instructions regarding curing times and application methods to achieve ideal performance. Available in various forms such as caulk, tape, and paste, you can choose the one that best suits your installation needs, considering factors like flexibility and ease of application.
Additionally, this sealant isn't just for indoor use; it's also perfect for outdoor applications, providing a durable and weather-resistant barrier against moisture and environmental elements.
Ensuring a tight seal between your stove pipes and flue connections with fireproof sealant will help you enjoy your wood stove safely and efficiently for years to come.
Don't overlook this essential step in your installation process!
Frequently Asked Questions
What Is Needed to Install a Wood Burning Stove?
To install a wood-burning stove, you'll need a hole saw, drill, Dremel tool, rivet gun, grinder, silicone gasket, and sealant. These tools guarantee proper installation, stability, and safety for your heating system.
What Does a Wood Stove Need to Sit On?
A wood stove needs a non-combustible hearth, like stone or ceramic tiles. It should extend at least 16 inches in front and 8 inches on each side to guarantee proper ember protection and safety.
Can You Install a Wood Burning Stove Yourself?
Did you know that nearly 70% of homeowners successfully install their wood-burning stoves themselves? If you've got basic DIY skills, you can tackle it, but always make certain you're following local codes and safety measures.
Do You Need Fireplace Tools for a Wood Stove?
Yes, you need fireplace tools for a wood stove. They help you safely manage ash, adjust burning wood, and keep your area clean. Plus, gloves and an ash bucket protect you from heat and hazards.
Conclusion
To summarize, having the right tools can make your wood stove installation a breeze. Remember, "a stitch in time saves nine"—taking the time to gather these essentials now will save you headaches later. By equipping yourself with a hole saw, drill, and safety glasses, you'll guarantee a smooth process. So, roll up your sleeves, focus on safety, and enjoy the warmth of your new stove. Happy installing!