To install a wood stove, start by choosing a non-combustible spot with proper clearance and obtaining necessary permits. Prepare the site with heat-resistant floor and wall protections. Cut openings for venting and install the chimney support securely. Connect the stove to the venting system, sealing joints tightly with high-temp sealant and screws. Finally, do safety checks on the venting, clearance, and devices—follow detailed steps to make certain of safety and efficiency as you move forward.
Key Takeaways
- Choose a non-combustible, well-ventilated site with proper clearance and obtain necessary permits.
- Install heat shields and protective flooring materials to prevent fire hazards and ensure compliance.
- Properly connect and support venting components, sealing joints with high-temperature sealant and screws.
- Verify all connections are airtight, secure, and free of leaks through inspections and smoke tests.
- Conduct final safety checks, ensuring clearance, secure chimney cap, and adherence to building codes before use.
Top picks for "step wood stove"
Open Amazon search results for this keyword.
As an affiliate, we earn on qualifying purchases.
Planning Your Wood Stove Placement and Permits
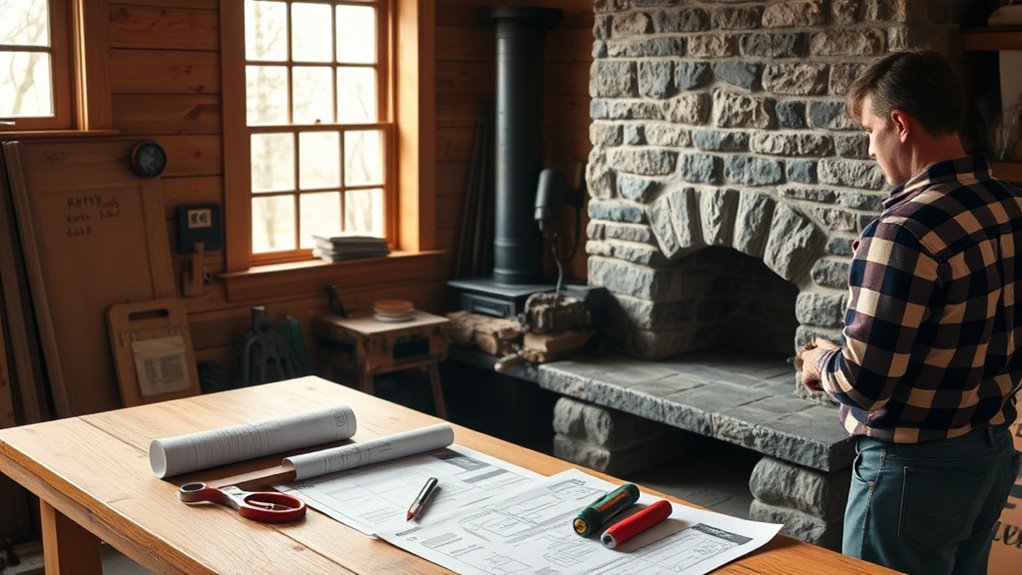
Before installing your wood stove, you need to carefully plan its placement and make sure you have the necessary permits. Start by choosing an appropriate installation site on a non-combustible surface, ensuring at least 36 inches of clearance from walls and furniture for safety. Check local regulations and building codes to determine permit requirements and avoid violations. Obtain any required permits from your local authorities or fire department before proceeding. Proper chimney planning is essential; select a chimney type that meets capacity standards and extends at least three feet above the roof. Consider the venting system layout to ensure proper airflow and safety. Completing a safety inspection may be necessary to verify compliance and secure your installation’s safety and efficiency. Additionally, understanding symptoms of breast cancer can help in early detection and prevention efforts. Being aware of fire safety tips is also crucial to prevent accidents during and after installation. Ensuring proper ventilation and clearance around the stove will help maintain safety standards and improve efficiency. Consulting with a professional installer can further ensure that your setup adheres to all relevant security zone info. Properly addressing fire safety precautions can significantly reduce the risk of hazards associated with wood stove use.
Preparing the Installation Site With Floor and Wall Protections
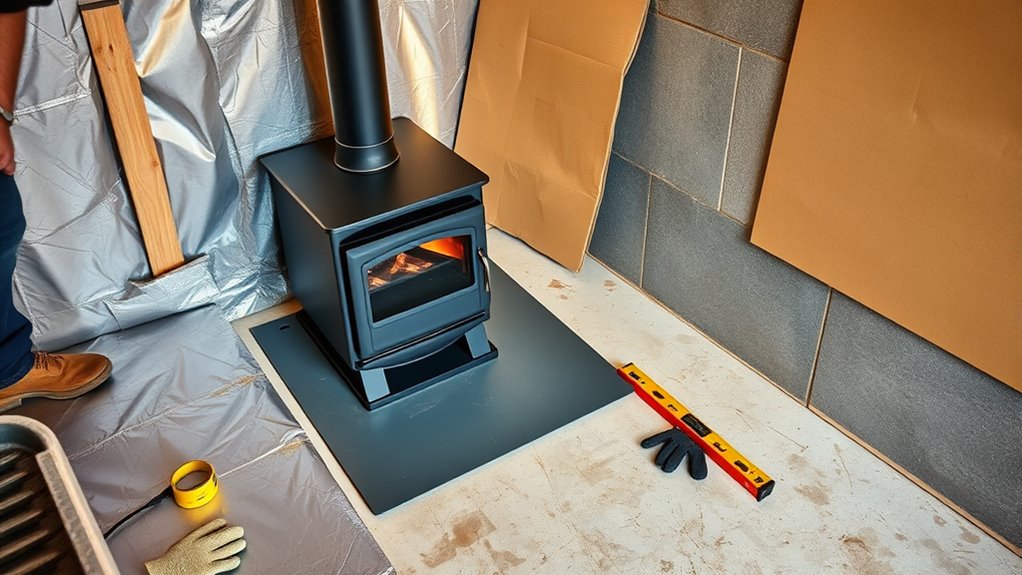
Before installing your wood stove, you need to verify proper floor and wall protections are in place. Use non-combustible materials like hearth pads or ceramic tiles to shield the floor, and install barriers such as brick or cement board on the walls. Secure everything well, keeping gaps clear to prevent heat or embers from reaching combustible surfaces. Additionally, ensure you are aware of regulations and maintenance, as well as to maximize the eco-friendly benefits of your wood stove. Regular inspections can help identify potential hazards and ensure ongoing compliance with safety standards, especially considering the importance of practical support in maintaining safe installation practices. Incorporating Vetted products like flat iron bikes can also be part of your safety and maintenance planning to ensure reliable operation and adherence to safety standards. Proper ventilation and airflow are crucial for efficient stove operation, which can also influence your overall safety measures.
Proper Floor Protection
Are you ensuring your floor is properly protected when installing a wood stove? You need a non-combustible hearth pad, like concrete, tile, or UL-listed stove boards, extending at least 18 inches in front and 12 inches on the sides. Use heat-resistant materials such as brick, stone, or ceramic tile on a cement underlayment to safeguard combustible flooring. For floors over combustible surfaces, incorporate a UL-rated stove protector meeting NFPA 211 standards for fire protection. Extend floor protection beyond the stove’s footprint—at least 8 inches on sides and 18 inches in front—to prevent heat transfer and fire hazards. Proper regional knowledge of local building codes can ensure compliance and safety during installation. Proper floor protection is essential to prevent heat damage and potential fire risks, especially when working with combustible flooring materials. Additionally, choosing the right fire-resistant materials can further enhance safety and compliance. Ensuring ventilation and clearance around the stove also helps maintain safe operating conditions and reduces fire risk.
Effective Wall Shielding
Have you considered how effective wall shielding can enhance the safety of your wood stove installation? Proper wall shielding creates a critical barrier that meets building codes and fire safety standards. Use non-combustible materials like cement board, brick, or stone to build heat shields that reduce required clearance distances—sometimes by up to 66%. Maintain an air space of at least 1 inch behind the heat shield to ensure proper heat dissipation and prevent overheating. Extend heat shields vertically and horizontally following manufacturer installation guidelines for maximum protection. Proper sealing with high-temp caulking or mortar ensures insulation and prevents heat loss. These heat resistant barriers not only protect your walls but also improve overall fire safety during stove operation. Safety regulations can further guide your installation process, ensuring compliance and safety.
Cutting Openings for Venting and Chimney Support
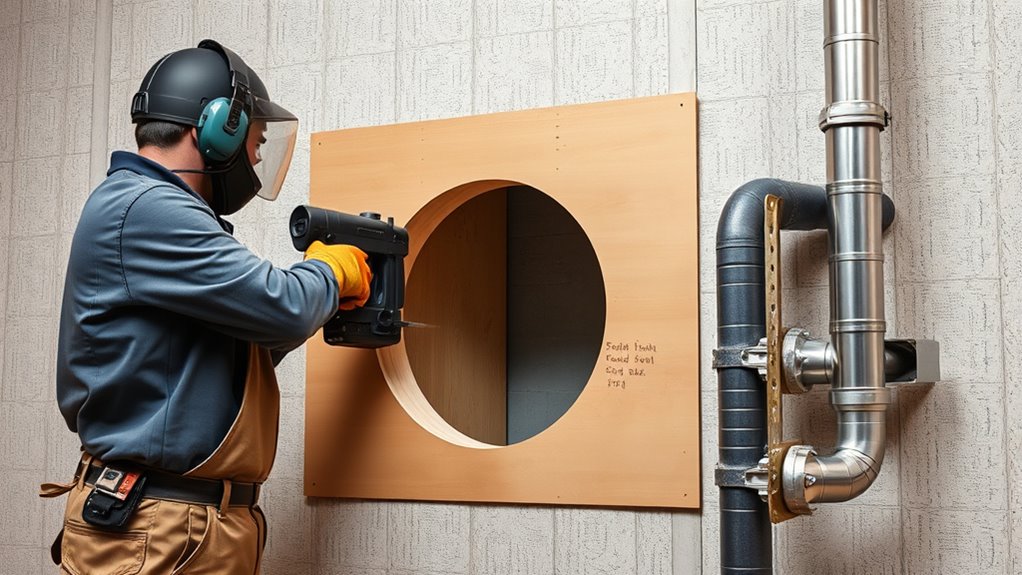
To begin cutting openings for venting and chimney support, you need to accurately mark the location where the chimney collar will pass through the ceiling. Use a plumb line or laser level to ensure precise alignment. Mark the diameter for the chimney opening, matching the pipe specifications. Carefully cut the ceiling using a hole saw, creating a clean space for the support box and firestop shielding. Remove insulation around the cut area to prevent contact with the chimney pipe, while maintaining contact with the support box. When drilling through multiple levels, keep the holes aligned for a straight vent path. Use the table below to understand key considerations:
| Step | Tool | Important Detail |
|---|---|---|
| Marking | Plumb line | Ensures accurate pipe alignment |
| Cutting | Hole saw | Creates clean chimney opening |
| Insulation removal | Utility knife | Prevents contact with pipe |
| Drilling | Drill | Maintains alignment across levels |
| Support box | Support box | Provides stable vent support |
Additionally, selecting the appropriate chimney support is crucial for ensuring long-term stability and safety. Properly installing the support box and verifying the support structure can prevent future issues with the venting system. Proper consideration of material compatibility is also vital to avoid corrosion and ensure proper function over time.
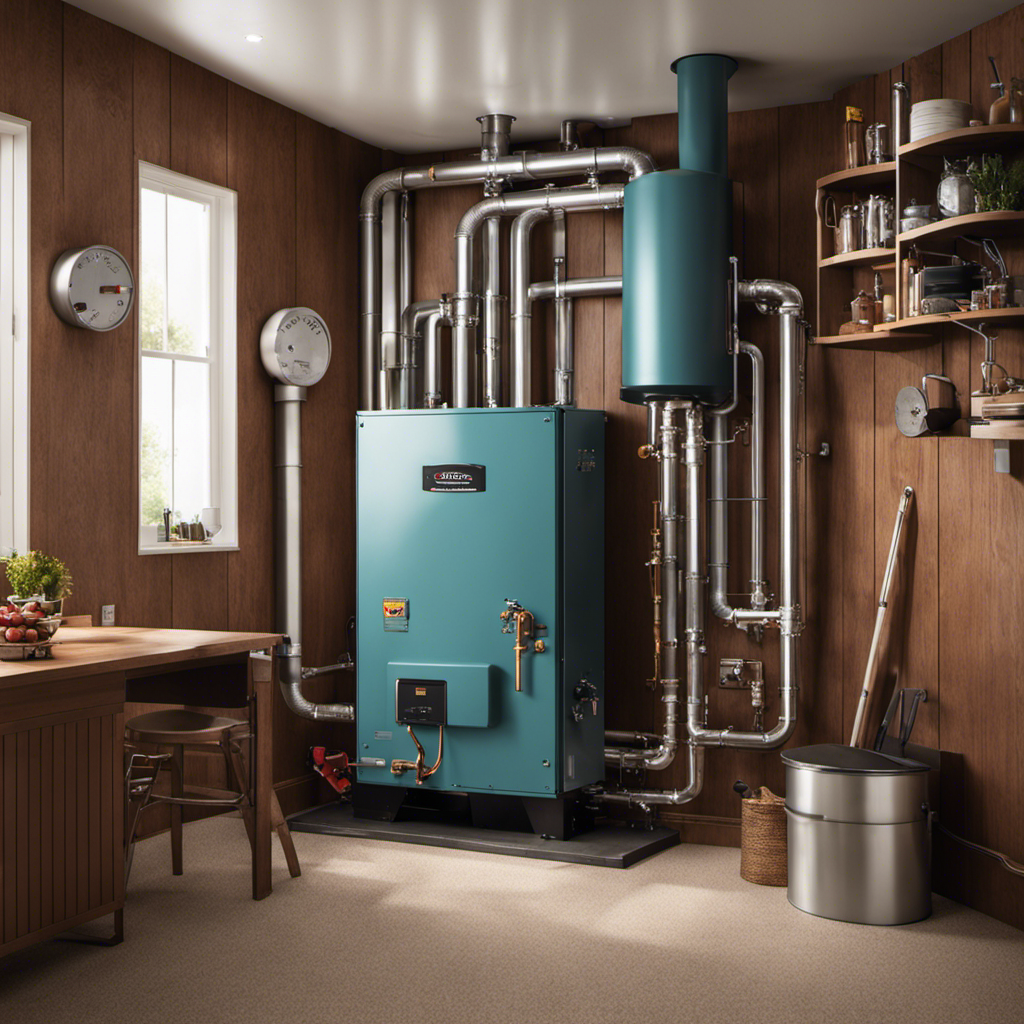
Assembling and Installing the Chimney System
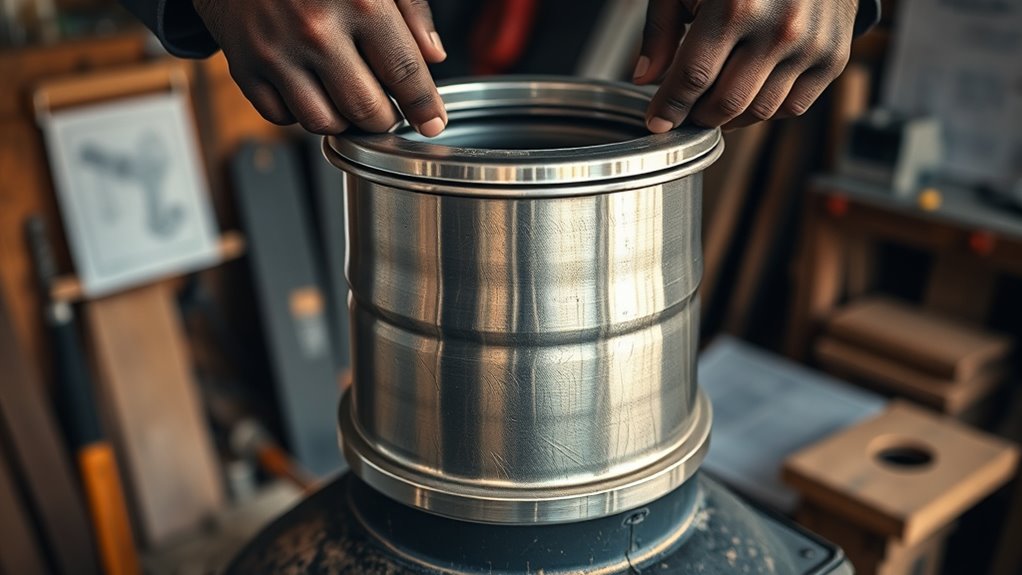
Begin by carefully assembling the chimney pipe sections from the roof flashing downward, ensuring each joint is securely attached with three UL-approved screws. Proper chimney assembly is essential for safety and efficiency. As you work, keep in mind the importance of maintaining the correct clearance to combustibles and ensuring a secure chimney connection. Install a ceiling support box to bear the weight of the pipe and attach it firmly to ceiling joists with brackets. Use a universal male adapter to connect the stove pipe to the chimney pipe, extending through the ceiling support. Finish by installing a rain cap atop the chimney pipe to prevent water ingress and protect the draft. Remember, proper chimney height and secure assembly are critical for maximum performance and safety. Additionally, verifying the power requirements of your stove and chimney components can help prevent operational issues. Ensuring proper installation techniques will enhance system longevity and safety, and consulting manufacturer guidelines can provide additional safety tips. Properly inspecting the venting system before use ensures there are no leaks or obstructions that could compromise safety.
Connecting the Stove and Ensuring Proper Sealing
To guarantee your stove operates safely and efficiently, you need to seal all joints and connections properly. Use high-temperature sealant and make sure each joint is airtight, with no gaps or leaks. Confirm that all pipe sections are tightly fitted and securely supported to prevent any issues later on. Additionally, inspecting for any potential vulnerabilities in installation can help identify areas needing extra sealing or reinforcement. Incorporating thorough inspection techniques during the process can improve focus and ensure thoroughness in checking for leaks or weaknesses.
Proper Pipe Sealing Techniques
Ensuring proper pipe sealing when connecting your stove to the chimney is crucial for safety and efficiency. To achieve this, focus on sealing joints with high-temperature sealant, like UL-approved foil or furnace cement, for a smoke-tight connection. Secure each joint with three sheet metal screws, with the male end facing downward to prevent leaks. Make sure the pipe sections are fully inserted and properly aligned, avoiding gaps that could cause smoke or carbon monoxide leaks. When attaching the stove pipe to the chimney liner or pipe, use a universal adapter or appropriate fittings and seal with high-temperature sealant for an airtight connection. Regularly inspect and re-seal all joints to prevent creosote buildup and maintain safe, secure fittings.
- Seal all joints with high-temperature sealant
- Use sheet metal screws for secure fittings
- Ensure proper pipe alignment
- Maintain an airtight connection
- Periodically re-seal joints
Secure Joints and Connections
Securely connecting your stove pipe to the stove collar and chimney system is vital for safe operation. Confirm all connections are tight and properly aligned to create airtight joints, preventing smoke leakage. Use at least three metal screws per joint, tightening them firmly to avoid gaps. Check that the stove pipe is installed with the male end pointing downward to promote proper draft and reduce smoke escape. Before sealing, inspect each connection to confirm a snug fit without misalignments. Apply high-temperature silicone sealant or furnace cement at joints to enhance sealing and maintain an airtight venting system. Regular inspection and re-tightening of screws and seals are essential to keep connections secure and prevent leaks over time. Properly secured joints ensure safe, efficient operation of your wood stove.
Avoiding Gaps and Leaks
Properly connecting your stove pipe and sealing all joints is vital to prevent smoke and gas leaks. To achieve an airtight connection, use high-temperature sealant or stove cement on all joints. Secure each stove pipe connection with at least three sheet metal screws, tightening them to eliminate gaps. When attaching the pipe to the stove’s flue collar, ensure the male end points downward and is fully inserted for a proper seal. For pipes passing through walls or ceilings, employ insulation sleeves and firestop collars to prevent leaks and enhance safety. Regular joint inspection helps identify and reseal any gaps, cracks, or deterioration. Leak prevention is essential for safe operation and efficient heating.
- Seal all joints with appropriate sealant
- Use firestop collars around wall or ceiling pipes
- Tighten sheet metal screws securely
- Check for gaps during joint inspection
- Maintain airtight stove pipe connections
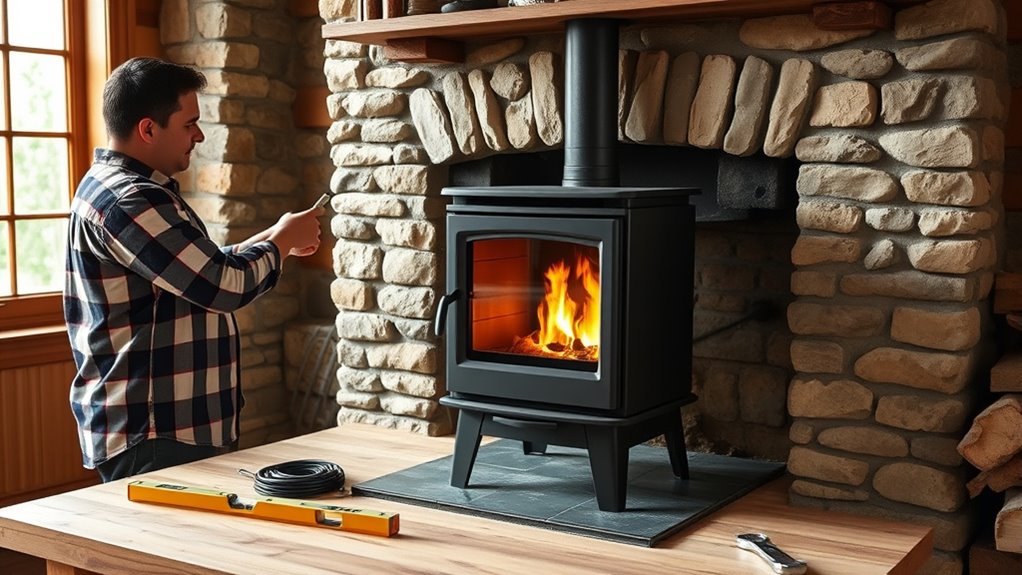
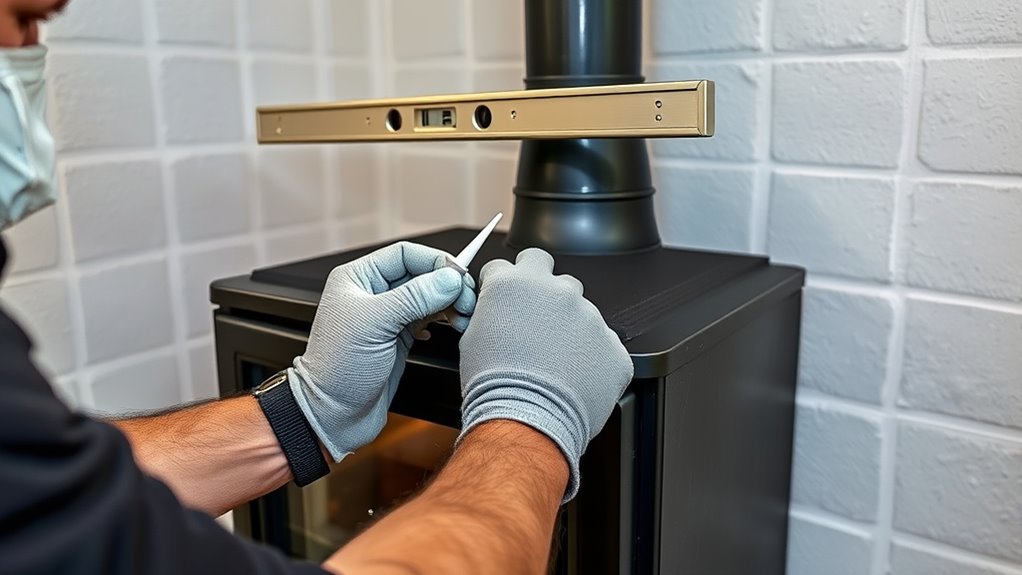
Conducting Safety Checks and Final Adjustments
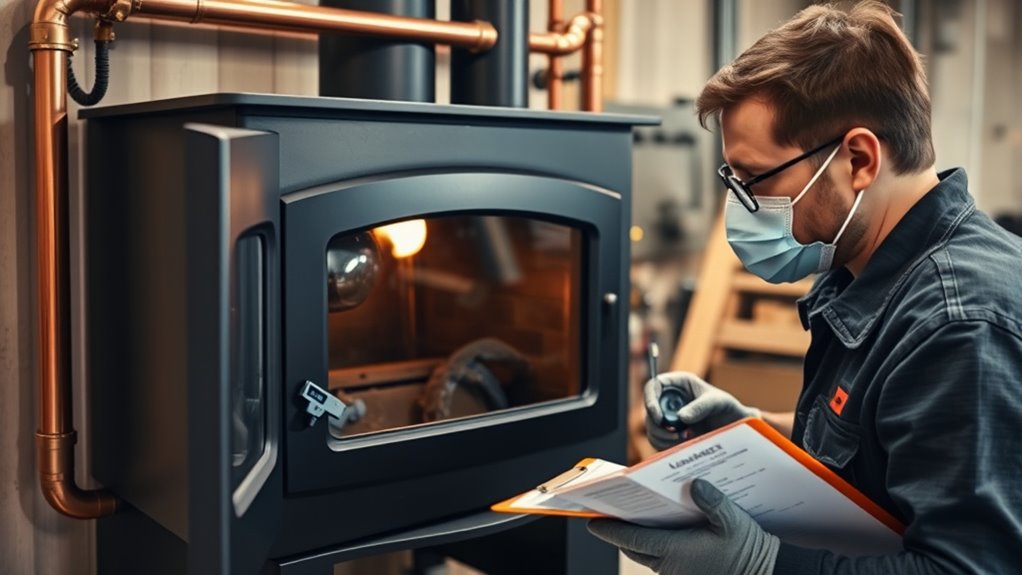
Before you start using your wood stove, it’s essential to perform thorough safety checks and make any final adjustments. Begin by inspecting the chimney cap to ensure it’s securely installed and free of obstructions, preventing water damage and debris. Conduct a smoke test by lighting a small fire and checking for smoke escaping from joints or connections, indicating drafts or leaks. Verify that all airtight connections are sealed with high-temperature sealant and secured with screws. Confirm that the stove maintains proper clearance from combustibles and that safety devices like smoke and carbon monoxide detectors are functioning. Perform a safety inspection to ensure compliance with local building codes and manufacturer instructions. Make final adjustments as needed to ensure safe, efficient operation before regular use.
Lighting Your First Fire Safely and Maintaining Your Stove
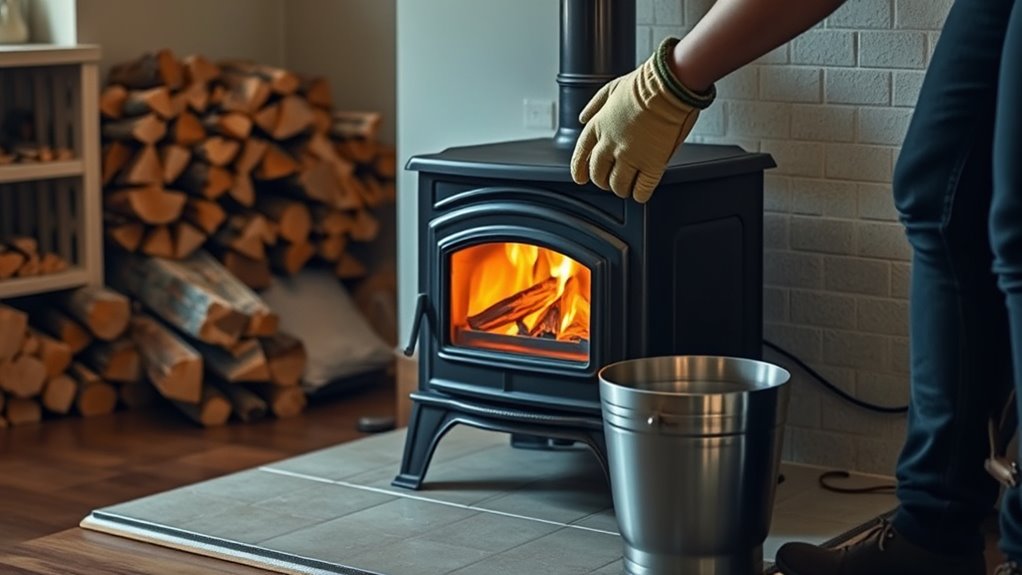
To light your first fire safely, start with a small, hot fire using seasoned, dry hardwood and gradually increase the size to prevent creosote buildup. Make certain the damper is fully open for proper draft control and use fire starters and kindling to ignite the fire easily. Monitor the stove temperature with a stove thermometer, keeping flue gases between 300°F and 500°F for safe, efficient burning. Check for a proper seal around the door and seams to contain the fire safely. Remember, never leave the fire unattended, and always cool ashes completely before storing them in a noncombustible container.
- Use seasoned hardwood for cleaner burns
- Keep the burn temperature within safe limits
- Regularly check for smoke leaks
- Manage ashes to prevent obstructions
- Maintain proper draft control for safety
Frequently Asked Questions
What Is the 3:2-10 Rule for Wood Stoves?
The 3:2-10 rule tells you how high your wood stove’s chimney should be for safe, efficient operation. You need to extend the chimney at least 3 feet above your roof and guarantee it’s at least 2 feet higher than any nearby structures within a 10-foot radius. Following this rule helps you prevent downdrafts, improves draft, and reduces creosote buildup, making your stove safer and more effective.
Can I Install a Wood-Burning Stove Myself?
You can install a wood-burning stove yourself if you have basic handyman skills, understand local building codes, and follow manufacturer instructions carefully. Make sure you cut vent openings precisely, seal stovepipe joints properly, and assemble the chimney correctly. Don’t forget to obtain necessary permits and inspections. For complex roof penetrations or high-risk steps, it’s best to consult or hire a professional to guarantee safety and code compliance.
What Is Required to Install a Wood Stove?
You need to cover all your bases when installing a wood stove. Make sure you have a proper chimney that extends above the roof and nearby structures, and install a non-combustible hearth pad underneath. Seal all venting components tightly, and keep a safe distance from combustible materials, using heat shields if needed. Supporting your chimney well and following safety guidelines will keep things running smoothly—it’s better to be safe than sorry.
How Far Does a Wood Stove Have to Be Away From a Window?
You need to keep your wood stove at least 36 inches away from a window to prevent fire hazards, but this can vary. If you install a heat shield or non-combustible wall protection, you might reduce the clearance. However, check your local building codes and your stove’s manufacturer instructions, as some setups require 48 inches or more. Proper venting also helps minimize heat transfer and safety risks.
What Should You Put Behind a Wood Stove?
You should install a non-combustible wall shield behind your wood stove, like cement board, brick, or stone. It reduces clearance needs and boosts safety. Make sure there’s at least a 1-inch air gap for proper heat dissipation. You can also mount metal or ceramic heat shields directly behind the stove to reflect heat. Always verify the materials meet safety standards and keep the wall free of combustibles and sealed properly.
Conclusion
Now that your stove is finally set up, it’s tempting to sit back and enjoy the warmth. Ironically, neglecting ongoing maintenance and safety checks can turn this cozy setup into a fire hazard. So, while you’ve mastered the installation, don’t forget that a truly safe and efficient wood stove requires your constant attention. After all, nothing says “peace of mind” quite like ensuring your fire stays exactly where it belongs—inside the stove.