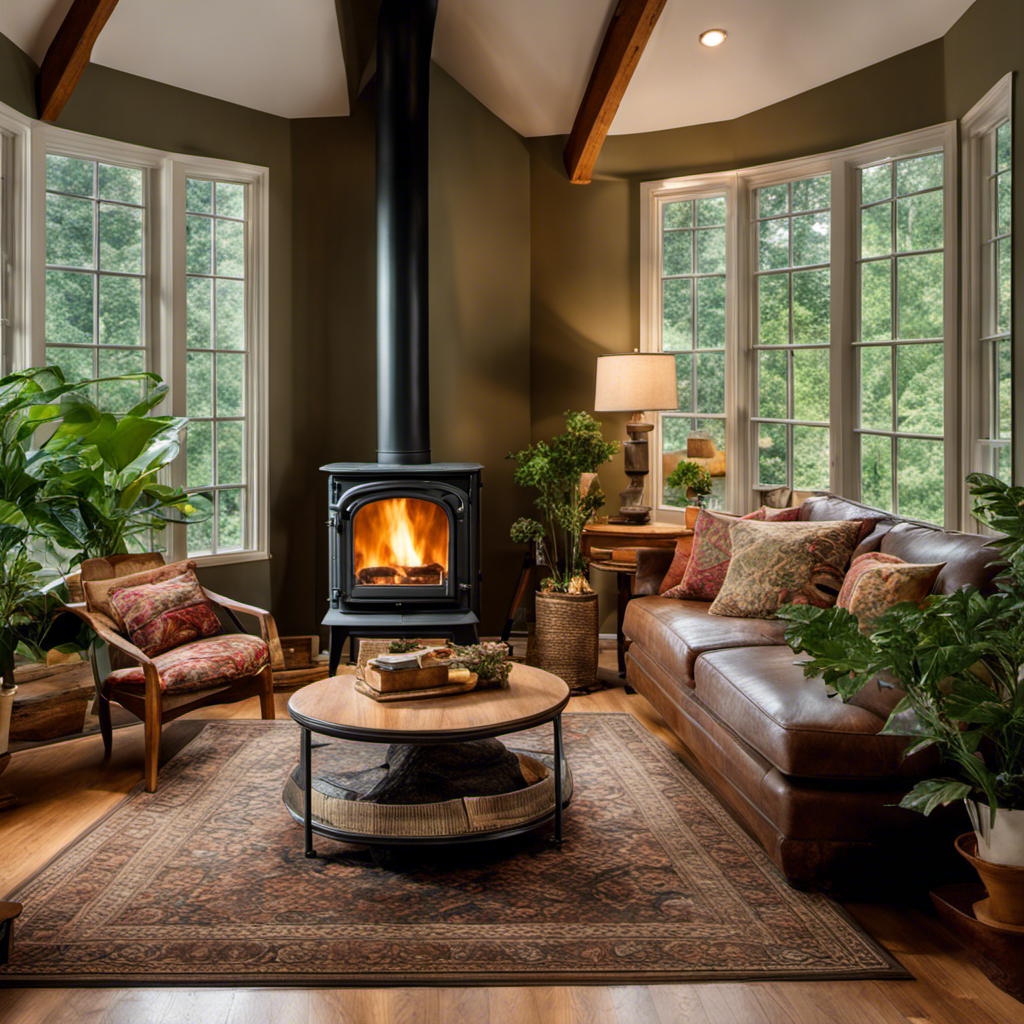
Sitting next to my wood-burning stove, I deeply enjoy the gentle heat it gives off, feeling content with its company.
But what if I told you there was a way to enhance that warmth even further?
By strategically placing a fan on your wood stove, you can circulate the heat throughout the room, creating a more comfortable and inviting atmosphere.
In this article, I’ll guide you through the best locations to position your fan for maximum effect.
Let’s dive in!
Key Takeaways
- Placing a fan on top of the wood stove helps distribute heat evenly throughout the room.
- Placing the fan near the flue pipe redirects rising heat and distributes it evenly.
- Placing the fan adjacent to the door or opening improves air circulation and heat distribution.
- Placing a fan on the floor near the wood stove circulates heat more effectively.

JossaColar Wood Stove Fan Heat Powered Fireplace Fan Non Electric, Thermal Fan for Wood Burning Stove/Log Burner, w/Stove Accessories Thermometer
- Heat Powered Operation: Powered by heat, no batteries needed
- Includes Thermometer: Free magnetic stove thermometer included
- Warranty and Support: 1-year replacement, 30-day refund policy
As an affiliate, we earn on qualifying purchases.
As an affiliate, we earn on qualifying purchases.
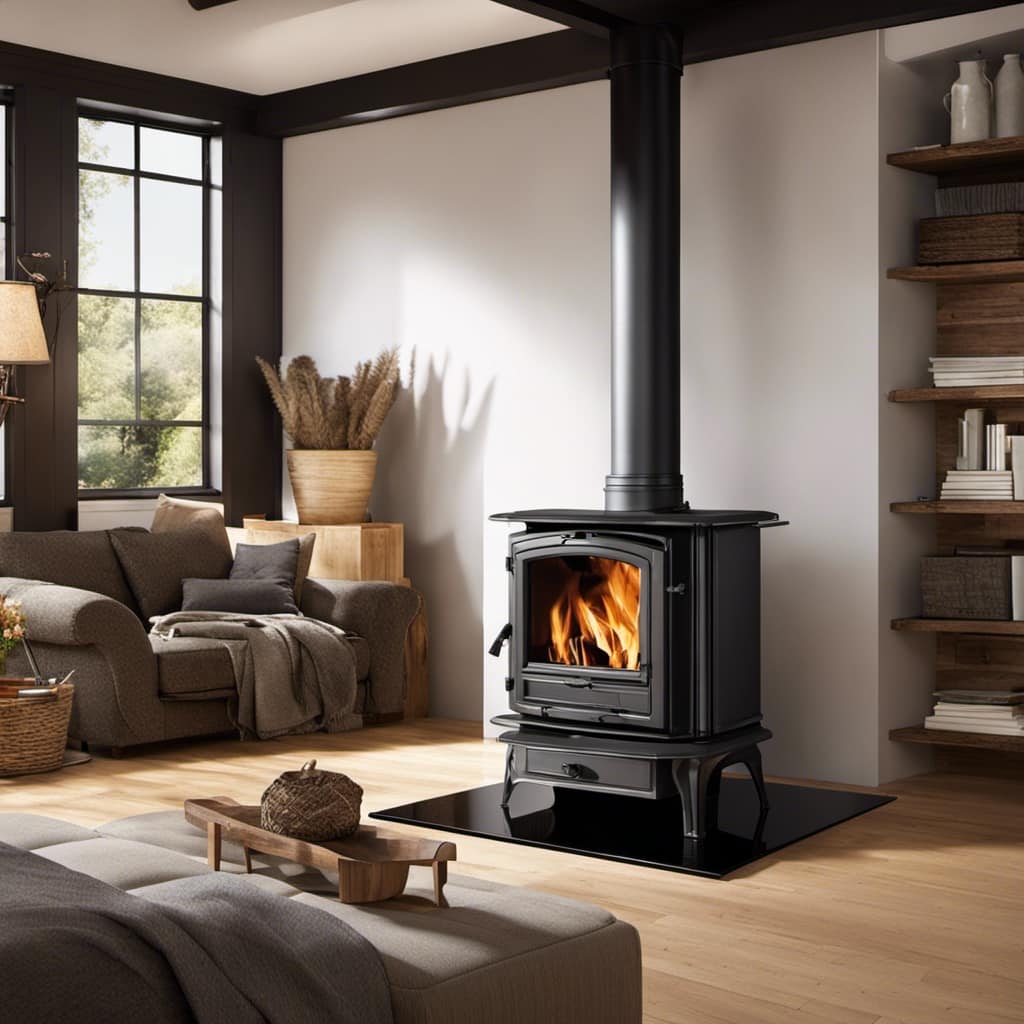
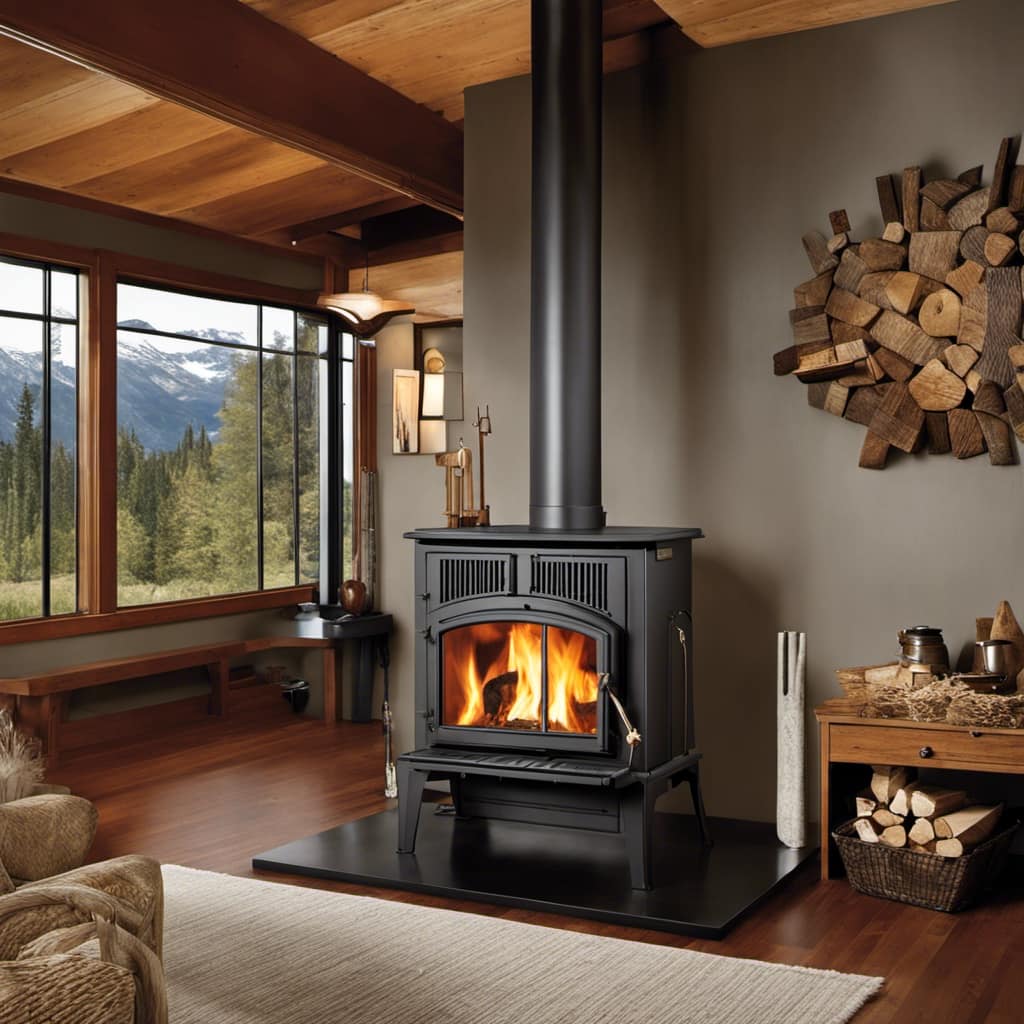
On Top of the Wood Stove
I usually place one fan on top of my wood stove to help distribute the heat evenly throughout the room. This is a simple and effective way to maximize the benefits of using a wood stove. The fan helps to circulate the warm air, preventing hot spots and ensuring that every corner of the room receives the same level of warmth.
There are different types of fans suitable for wood stoves, such as stove-top fans and heat-powered fans. Stove-top fans are placed directly on top of the wood stove and are powered by the heat emanating from the stove. Heat-powered fans, on the other hand, use the heat difference between the top and bottom of the fan to generate electricity and power the fan.
Both types of fans are efficient and can greatly improve the heat distribution in the room.
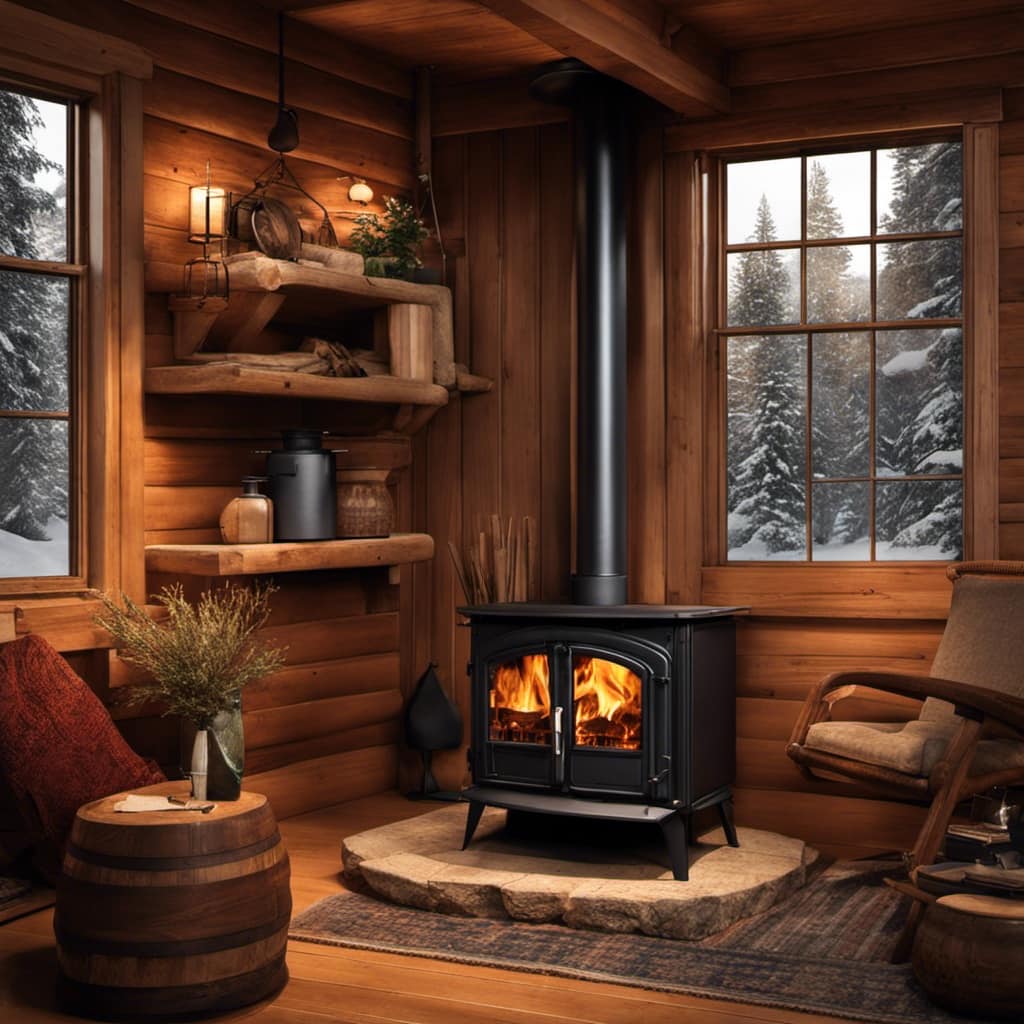
Near the Flue Pipe
Placing the fan near the flue pipe can help to redirect the rising heat and distribute it more evenly throughout the room. This strategic placement is crucial for maximizing the efficiency of a wood stove and maintaining a comfortable living space.
When considering the placement of a fan near the flue pipe, there are a few key factors to keep in mind:
-
Proper airflow: By positioning the fan near the flue pipe, it can help to ensure that the hot air isn’t trapped at the top of the room but is instead circulated throughout the space, creating a more pleasant and cozy environment.
-
Placement considerations: It’s important to place the fan at a distance that allows it to effectively capture the heat from the flue pipe without obstructing the flow of exhaust gases. Finding the right balance is essential for both safety and optimal heat distribution.
-
Enhanced heat distribution: By directing the rising heat towards the fan, it can then disperse the warmth more evenly throughout the room, preventing cold spots and ensuring a more comfortable experience for everyone.
Proper placement of a fan near the flue pipe is a simple yet effective way to optimize the heating efficiency of a wood stove, creating a cozy atmosphere and maximizing comfort during those chilly winter months.
Adjacent to the Door or Opening
Positioning the fan adjacent to the door or opening allows for better air circulation and more efficient heat distribution. Placing a fan near the door or opening allows it to draw in cooler air from the surrounding area and push it towards the stove, creating a convection current that helps distribute heat more evenly throughout the room. This not only helps to keep the immediate area around the stove warmer, but it also helps to circulate the heat to other parts of the room. Additionally, placing a fan adjacent to the door can increase efficiency by preventing the warm air from escaping through the opening. By directing the airflow towards the door, the fan helps to create a barrier that keeps the warmth inside the room, reducing heat loss and improving overall efficiency.
Now, let’s transition to discussing the placement of a fan on the floor near the wood stove.
On the Floor Near the Wood Stove
The best spot for a fan is on the floor near the wood stove, as it helps to circulate the heat more effectively. Placing a fan in this location offers several benefits:
- Improved heat distribution: The fan helps to push warm air away from the stove and into the room, ensuring that every corner receives the desired warmth.
- Enhanced energy efficiency: By circulating the heat, the fan allows the room to reach a comfortable temperature more quickly, reducing the need for the stove to constantly produce heat.
- Increased comfort: Sitting near the fan on the floor offers a cozy experience, allowing you to enjoy the warmth while relaxing or reading a book.
When considering where to place a fan near the wood stove, it’s important to keep in mind a few factors:
- Safety: Ensure that the fan is placed at a safe distance from the stove, to prevent any accidents or damage from high temperatures.
- Balance: Find a position that allows the fan to distribute the heat evenly throughout the room, avoiding cold spots or overheating certain areas.
- Noise level: Consider the noise generated by the fan, as it can impact your overall enjoyment and relaxation in the room.
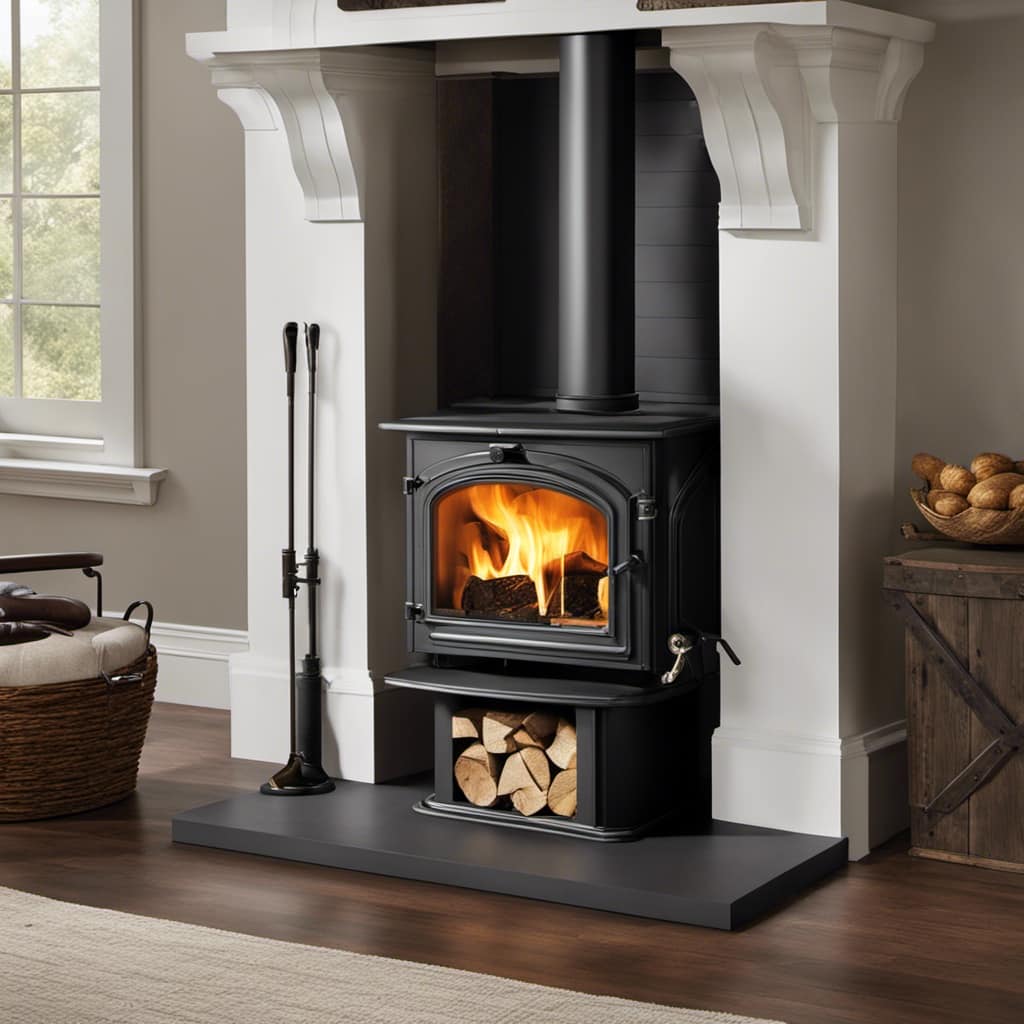
Above the Stove on the Wall
I love the idea of hanging a decorative shelf above the stove on the wall, as it adds a touch of style and functionality to the space. When it comes to mounting options for a shelf above the stove, there are a few important installation tips to keep in mind.
Firstly, it’s crucial to choose a sturdy and heat-resistant material for the shelf. Since the area above the stove can get hot, materials like metal or tempered glass work best. These materials can withstand the heat and won’t warp or discolor over time.

In terms of mounting options, there are a couple of choices. One option is to use brackets that attach directly to the wall. These brackets should be securely anchored into the wall studs for stability. Another option is to use a floating shelf design, which gives the illusion of a shelf floating on the wall. This option requires hidden brackets or supports that are attached to the wall.
No matter which mounting option you choose, it’s important to follow the manufacturer’s instructions and ensure proper installation. Make sure the shelf is securely attached to the wall and can support the weight of the items you plan to display.
Frequently Asked Questions
Can I Place the Fan Directly on Top of the Wood Stove?
Yes, you can place the fan directly on top of the wood stove. However, there are alternative fan placements that may be more effective in distributing heat throughout the room.
Is It Safe to Place the Fan Near the Flue Pipe?
It is not safe to place the fan near the flue pipe. The heat from the flue pipe can damage the fan and potentially cause a fire. Optimal fan placement is away from any heat sources.
Can the Fan Be Placed Adjacent to the Door or Opening of the Wood Stove?
Placing the fan adjacent to the door of a wood stove? Absolutely not! That’s a recipe for disaster. The proper placement of a fan on a wood stove is crucial for maximizing its benefits. Let me explain.
Is It Effective to Place the Fan on the Floor Near the Wood Stove?
Placing the fan on the floor near the wood stove can be effective. It helps distribute heat throughout the room. However, there are pros and cons to placing the fan directly on top of the wood stove that should also be considered.
Can the Fan Be Mounted Above the Stove on the Wall?
Can the fan be mounted on the ceiling? Yes, it can, but it’s important to ensure proper clearance and secure installation. Alternatively, the fan can be placed on a separate stand for optimal air circulation.
Conclusion
In conclusion, when it comes to placing a fan on a wood stove, there are several options to consider. Whether you choose to position it on top of the stove for maximum heat distribution, near the flue pipe for improved air circulation, adjacent to the door or opening for efficient heat transfer, on the floor near the stove for even warmth, or above the stove on the wall for space-saving convenience, the choice is yours.
Just remember to find the perfect spot that will help unleash the fiery embrace of warmth throughout your space.