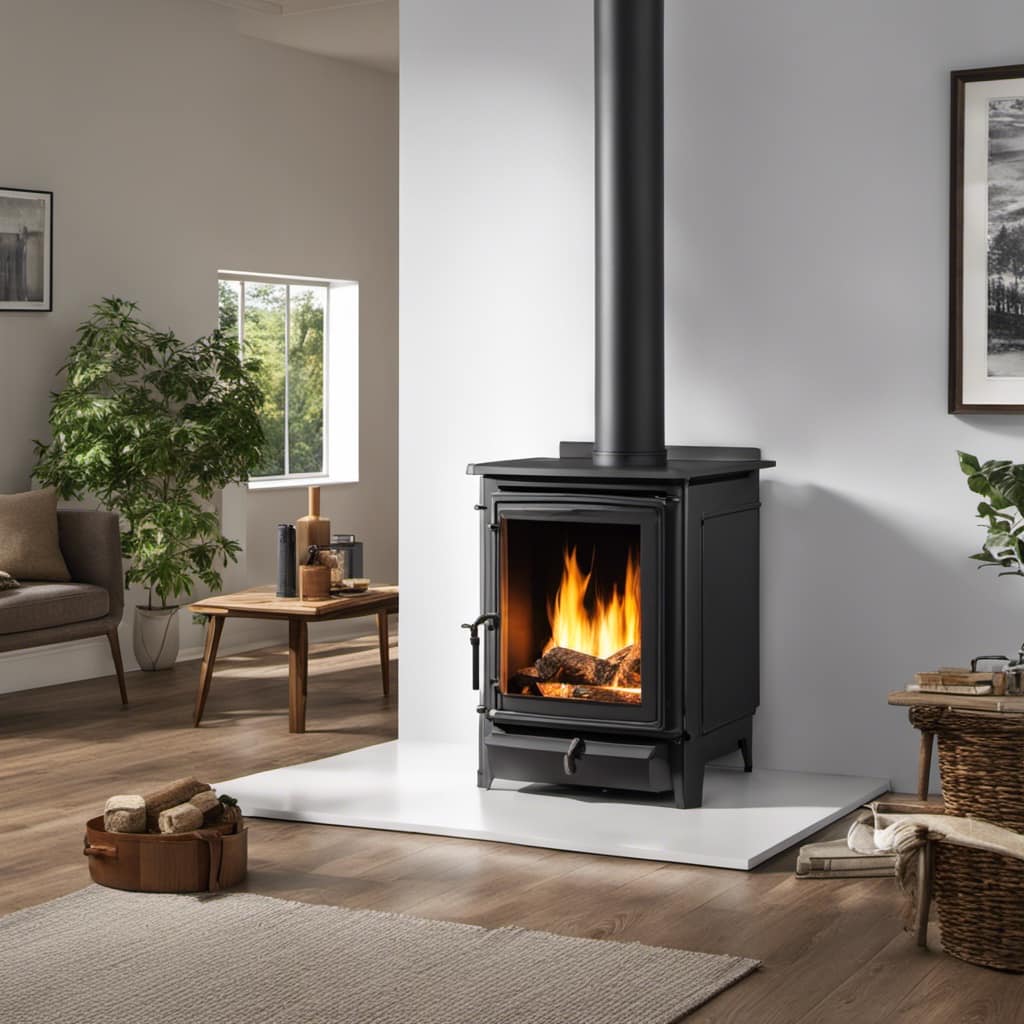
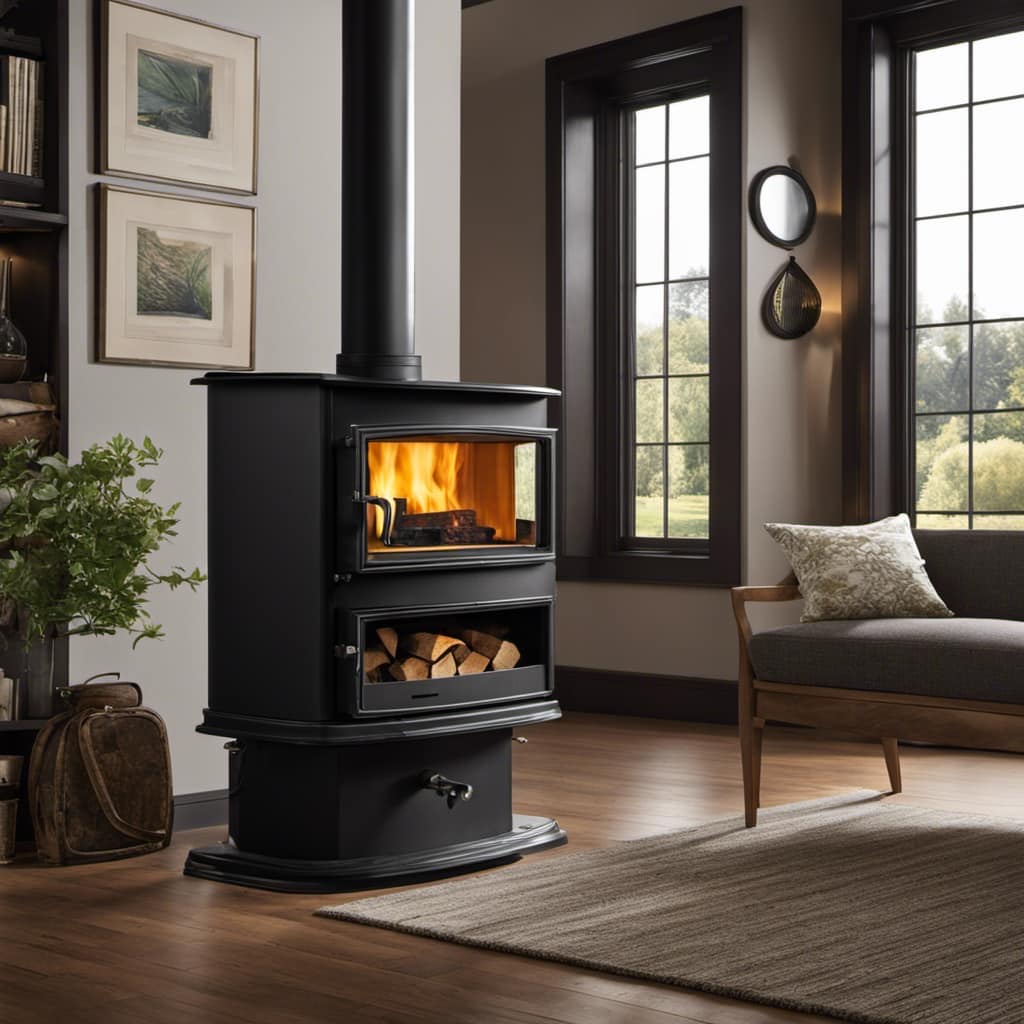
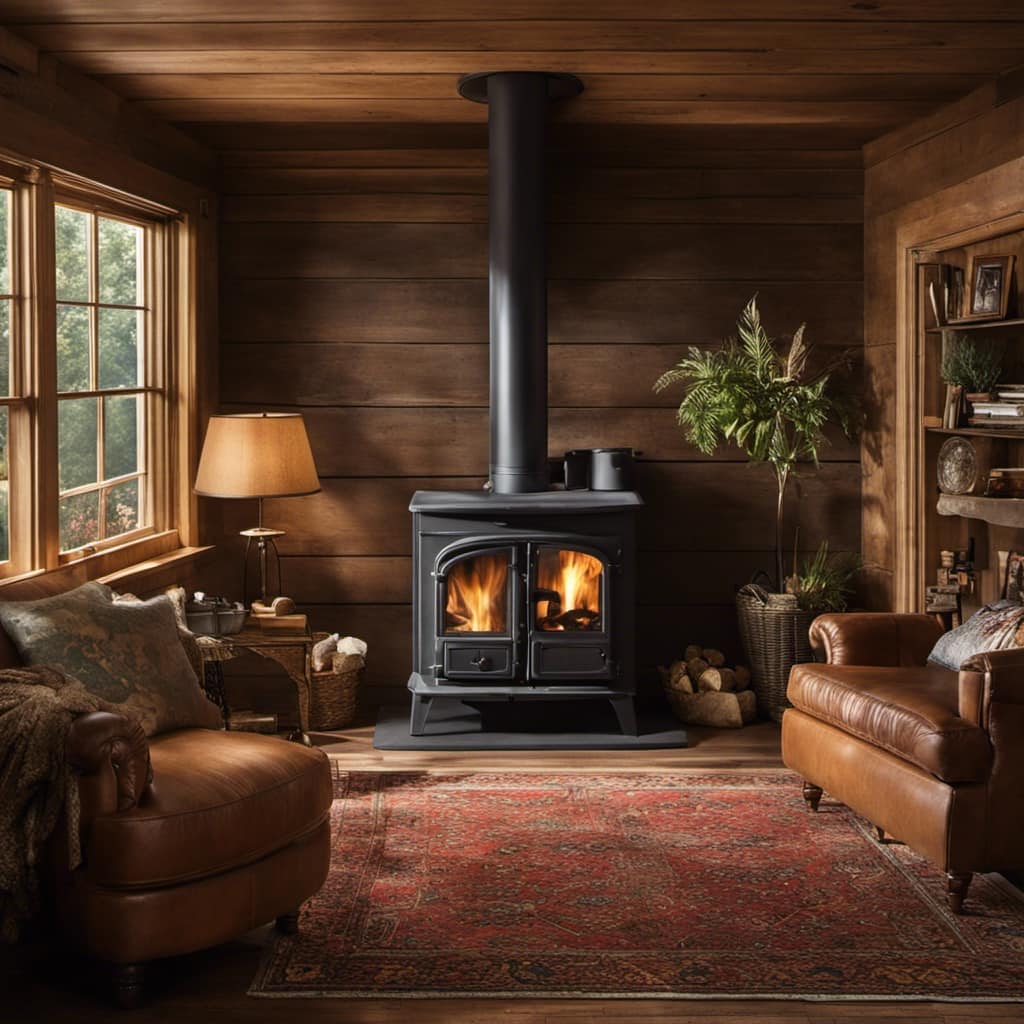
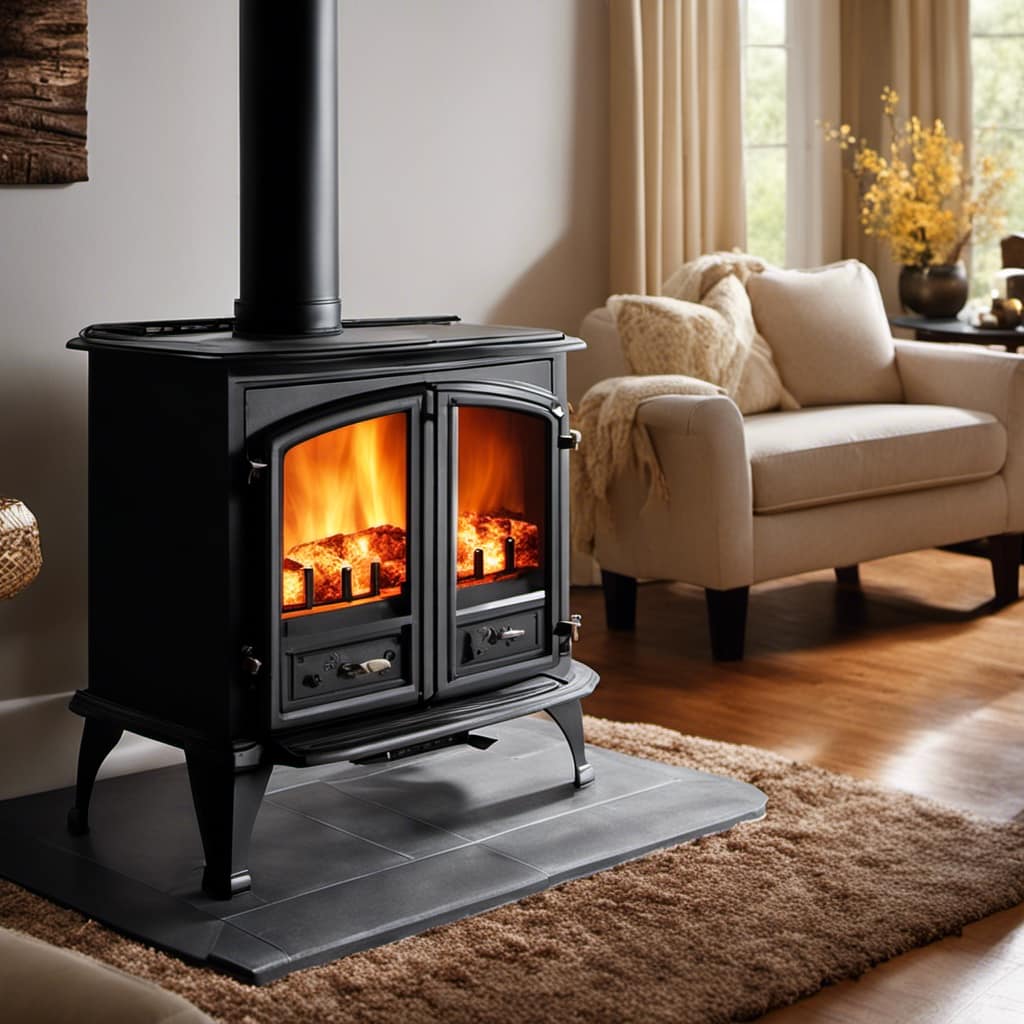
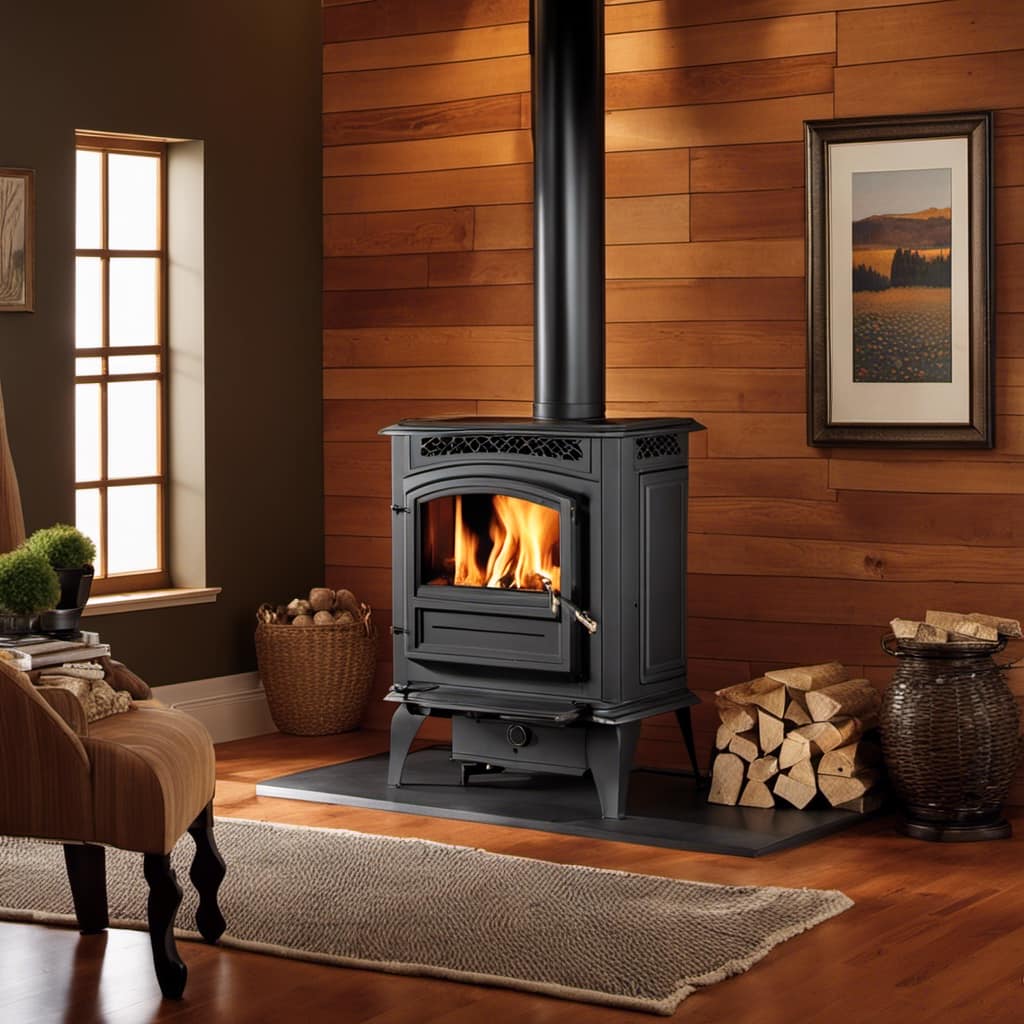
Wood Stove
What To Do With Ashes From Wood Stove

As someone who loves the cozy warmth of a wood stove, I’ve often wondered what to do with the ashes once the fire has burned out. Turns out, those ashes are more valuable than I thought! In this article, I’ll share practical and creative ways to use wood stove ashes.
From enhancing your garden to controlling pests and even creating beauty products, you’ll be amazed at the endless possibilities. Don’t let those ashes go to waste – let’s put them to good use!
Key Takeaways
- Wood stove ashes can be used to improve fire safety, acting as a natural barrier against wildfires.
- They provide nutrients like potassium, phosphorus, and calcium to benefit plants and enhance soil fertility.
- Wood stove ashes can be used as a natural repellent for fleas and ticks on pets.
- They can also be used for cleaning and home maintenance, as well as for DIY projects and beauty and personal care purposes.
Benefits of Using Wood Stove Ashes in Your Garden
I find it fascinating how using wood stove ashes in my garden can provide numerous benefits. Not only is it a practical way to dispose of the ashes, but it also contributes to the overall health and vitality of my plants.
One of the key benefits of using wood stove ashes in the garden is its ability to improve fire safety. By spreading a thin layer of ashes around the base of plants, it creates a natural barrier that helps prevent the spread of wildfires.
Additionally, wood stove ashes can also be used for pet care. I’ve found that sprinkling a small amount of ashes on my pet’s fur helps to eliminate fleas and ticks. The alkaline nature of the ashes acts as a natural repellent, keeping pests at bay.
As a transition to the next section on cleaning and home maintenance tips with wood stove ashes, it’s important to note that these benefits extend beyond just the garden. Wood stove ashes have a wide range of practical uses throughout the home.
Cleaning and Home Maintenance Tips With Wood Stove Ashes
Cleaning out the ashes from my wood stove is a necessary task for maintaining a clean and safe home. After each use, I let the ashes cool down completely before starting the cleaning process. Safety is paramount, so I wear gloves and a dust mask to protect myself from any potential irritants.
To dispose of the wood stove ashes, I’ve found a few practical options. One method is to simply bag them up and dispose of them in the trash. However, it’s important to make sure the ashes are completely cold to avoid any risk of fire. Another option is to use the ashes in the garden as a natural fertilizer. Wood stove ashes are rich in nutrients like potassium, phosphorus, and calcium, which can benefit plants. Before using them in the garden, I make sure to remove any large pieces of charcoal or unburned wood.
When cleaning the wood stove, I start by removing any remaining ashes from the firebox using a small shovel or ash vacuum. I then wipe down the surfaces with a damp cloth to remove any residue. For stubborn stains or buildup, I use a mixture of warm water and mild dish soap. It’s important to avoid using abrasive cleaners, as they can damage the stove’s finish. Finally, I clean the glass door using a glass cleaner specifically designed for wood stoves.
Regular cleaning of wood stove ashes not only keeps our home clean but also helps maintain the efficiency and safety of the stove. As a responsible wood stove owner, I take pride in keeping my home warm and cozy while ensuring proper maintenance and disposal of wood stove ashes.
DIY Projects: Creating Art and Crafts With Wood Stove Ashes
Using the nutrient-rich residue from my fireplace, I can create unique and beautiful art pieces for my home. One of my favorite DIY projects is making wood stove ash jewelry. The process is simple, yet the results are stunning.
First, I gather the ashes and sift them to remove any larger debris. Then, I mix the ashes with a small amount of water to create a paste-like consistency. This mixture can be molded into various shapes using molds or by hand. Once the desired shape is achieved, I let the jewelry pieces dry completely.
After drying, I carefully sand the surfaces to smooth out any rough edges. Finally, I seal the pieces with a clear varnish to protect them and enhance their natural beauty. The end result is a unique piece of jewelry that showcases the organic essence of wood stove ash.
Another creative use for wood stove ash is in pottery. By incorporating the ash into ceramic glazes, I can achieve stunning effects on the surface of my pottery pieces. The ash adds a subtle and natural texture, creating a unique finish.
To create my wood stove ash pottery, I mix the ash with other ingredients such as clay, feldspar, and silica. This mixture is then applied as a glaze to the pottery and fired in a kiln. The high heat of the kiln melts the glaze, creating a beautiful and durable finish. The resulting pottery pieces have a rustic and earthy look that adds a touch of nature to my home decor.
Natural Ways to Control Pests and Weeds With Wood Stove Ashes
Controlling pests and weeds naturally, the residue from my fireplace can be a valuable resource in maintaining a healthy and beautiful garden. Wood stove ashes, often overlooked, can actually serve as a natural pest control and weed prevention method.
Here are three ways in which you can utilize wood stove ashes in your garden:
-
Pest deterrent: Sprinkling wood stove ashes around your garden can help repel certain pests, such as slugs, snails, and aphids. These pests don’t like the texture or taste of ashes, so they’re less likely to invade your plants.
-
Weed suppression: Applying a thin layer of wood stove ashes to the soil can help prevent weed growth. The ashes act as a barrier, making it difficult for weed seeds to germinate and establish themselves in your garden.
-
Soil amendment: Wood stove ashes are rich in nutrients, including potassium, calcium, and magnesium. Incorporating ashes into your soil can improve its fertility and pH levels, creating a favorable environment for your plants to thrive.
Enhancing Compost and Soil Health With Wood Stove Ashes
Enhancing compost and soil health with wood stove ashes is a practical and effective way to improve the quality of your garden.
As an experienced gardener, I’ve found that incorporating wood ash into compost can provide essential nutrients like potassium and calcium, which are beneficial for plant growth and overall soil health.
Ashes as Soil Amendment
I find that adding wood stove ashes to my garden soil greatly improves its fertility. Wood ash, when used as a soil amendment, can have several benefits for your plants and garden.
Here are three reasons why you should consider using wood ash:
-
Wood ash is a natural fertilizer: It contains essential nutrients like potassium, calcium, and magnesium, which are vital for plant growth and development. These nutrients can help improve soil fertility and promote healthy plant growth.
-
Wood ash can adjust soil pH levels: Depending on the type of wood burned, wood ash can either raise or lower the pH of the soil. This is beneficial because different plants have different pH preferences, and adjusting the pH can create optimal growing conditions for specific crops.
-
Wood ash can deter pests and diseases: The alkaline nature of wood ash can repel certain pests, such as slugs and snails, and help prevent the spread of fungal diseases in your garden.
Benefits of Wood Ash
Adding wood ash to my garden soil can significantly improve its fertility and promote healthy plant growth.
But did you know that wood ash has other practical uses too?
For starters, you can use it as a natural fire starter. Simply sprinkle some ashes on your fireplace or fire pit before lighting it up, and you’ll have a quick and efficient fire.
Additionally, wood ash can be incorporated into homemade cleaning products. Mix it with water and a little bit of soap to create a paste-like consistency, and you’ve a powerful and eco-friendly cleaner for your home. The alkaline properties of wood ash make it effective in removing grease, grime, and even odors.
Proper Ash Application
When applying ash to my garden, it’s important to distribute it evenly and avoid concentrated piles. Proper ash disposal and ash safety precautions are essential to ensure a successful and safe application. Here are some tips to keep in mind:
- Wear gloves and a mask to protect yourself from inhaling ash particles.
- Use a shovel or trowel to spread the ash evenly across the soil surface.
- Avoid applying ash near sensitive plants or in areas where it can easily be washed away by rainwater.
By following these guidelines, you can maximize the benefits of wood ash while minimizing any potential risks.
Now that we’ve covered proper ash application, let’s move on to exploring the practical uses of wood stove ashes in the kitchen.
Practical Uses of Wood Stove Ashes in the Kitchen
Using wood stove ashes in the kitchen can be a practical way to add nutrients to the soil in my garden. But did you know that wood stove ashes can also have practical uses in baking and as a natural fertilizer? Let me share with you how I utilize these ashes in my kitchen.
When it comes to baking, wood stove ashes can be a great substitute for baking soda. The alkaline nature of the ashes helps to neutralize the acidity in recipes, making them ideal for acidic ingredients like tomatoes or buttermilk. Simply replace a small portion of the baking soda with wood stove ashes and enjoy the added depth of flavor in your baked goods.
In addition to baking, wood stove ashes can also serve as an excellent fertilizer for my garden. The ashes are rich in essential nutrients like potassium, calcium, and magnesium, which promote healthy plant growth. I sprinkle a thin layer of wood stove ashes around my plants, being careful not to overdo it as too much ash can raise the pH levels in the soil.
Unexpected Uses of Wood Stove Ashes: Beauty and Personal Care
I’ve discovered that wood stove ashes have unexpected uses in the realm of beauty and personal care. Not only are they great for skincare, but they also work wonders as natural hair treatments and can even help with teeth whitening.
With their natural exfoliating properties and ability to absorb excess oil, wood stove ashes can be used in various DIY beauty recipes to enhance your skin’s appearance. Additionally, their alkaline nature makes them an effective remedy for scalp issues and a gentle yet powerful teeth whitening agent.
Ashes for Skincare
I personally love using wood stove ashes for skincare because they make a great exfoliant. Not only are they a natural and cost-effective option, but they also offer numerous skincare benefits and beauty applications. Here are three reasons why you should consider incorporating wood stove ashes into your skincare routine:
-
Gentle Exfoliation: Wood stove ashes have a fine texture that helps remove dead skin cells, revealing a smoother and brighter complexion.
-
Natural Detoxification: The alkaline properties of wood stove ashes help draw out impurities from the skin, leaving it clean and refreshed.
-
Improved Skin Tone: Regular use of wood stove ashes can help balance the skin’s pH level, resulting in a more even skin tone and reduced appearance of blemishes.
Transitioning into the subsequent section about natural hair treatments, I also discovered that wood stove ashes can be beneficial for hair care.
Natural Hair Treatments
Transitioning into hair care, I’ve found that natural treatments can be beneficial for maintaining healthy and vibrant hair. One of my favorite natural hair masks is made with ingredients you can find in your kitchen.
To promote hair growth and nourish your strands, mix together one ripe avocado, one tablespoon of honey, and two tablespoons of coconut oil. Apply this mask to your hair, focusing on the roots and ends. Leave it on for about 30 minutes, then rinse thoroughly.
The avocado provides essential vitamins and minerals, while the honey and coconut oil add moisture and shine. Regular use of this mask can help improve the overall health of your hair and stimulate growth.
Give it a try and see the amazing results for yourself!
Teeth Whitening Benefits
I’ve always been conscious about my smile, and that’s why I’ve tried various teeth whitening methods over the years. From whitening toothpastes to professional treatments, I’ve explored it all. But recently, I’ve discovered the amazing benefits of natural teeth whitening methods, and I’ve to say, I’m impressed.
Not only are these methods effective, but they’re also safe and affordable. Here are three reasons why you should consider natural teeth whitening:
-
Healthier Smile: Natural teeth whitening methods can help remove stains and brighten your smile, giving you a healthier and more vibrant appearance.
-
Chemical-Free: Unlike commercial teeth whitening products, natural methods don’t contain harsh chemicals that can damage your enamel or cause sensitivity.
-
Cost-Effective: Natural teeth whitening remedies are often made from ingredients you may already have at home, making them a budget-friendly option.
Frequently Asked Questions
Can Wood Stove Ashes Be Used in Other Areas of the Home Besides the Garden?
Wood stove ashes have several alternative uses around the home besides in the garden. For instance, they can be used for cleaning purposes. Ashes can act as a gentle abrasive to scrub away grease and grime on surfaces like glass or metal.
Additionally, they can be used to deodorize and absorb odors in the refrigerator or even in shoes.
With proper precautions, wood stove ashes can provide practical and eco-friendly solutions for various cleaning tasks.
Are There Any Safety Precautions That Should Be Taken When Using Wood Stove Ashes in DIY Projects?
When it comes to using wood stove ashes in DIY projects, it’s important to take safety precautions.
First and foremost, make sure the ashes are completely cooled before handling them.
Wear gloves and a mask to protect yourself from any potential irritants.
As for proper disposal, it’s best to store the ashes in a metal container with a tight-fitting lid until they can be safely disposed of in an outdoor area away from flammable materials.
Can Wood Stove Ashes Be Harmful to Certain Plants or Vegetables in the Garden?
Wood stove ashes can have both positive and negative effects on plants in the garden. While they can be beneficial as a source of nutrients and can help improve soil pH, excessive use can harm certain plants.
It’s important to test the soil pH and adjust accordingly before applying ashes. Additionally, avoiding direct contact with sensitive plants and spreading ashes evenly can help minimize the risk of damage.
How Often Should Wood Stove Ashes Be Added to Compost or Soil to See the Benefits?
Adding wood stove ashes to compost or soil can provide several benefits for your garden. The frequency of adding ashes depends on the specific needs of your plants and soil. Generally, it’s recommended to add a thin layer of ashes every few months to maintain the desired pH levels and nutrient balance.
However, it’s important to monitor the pH levels regularly to ensure they remain within the optimal range for your plants.
Are There Any Specific Recipes or Techniques for Using Wood Stove Ashes in the Kitchen?
Wood stove ashes can be surprisingly useful in the kitchen. They can be used as a natural cleaning agent for pots and pans, removing grease and grime effectively.
Additionally, wood stove ashes can be used in certain recipes to add a unique smoky flavor. For example, you can sprinkle a small amount of ashes onto grilled vegetables or meats to enhance the taste. Just be sure to use them sparingly, as too much can overpower the dish.
Conclusion
In conclusion, wood stove ashes can be a valuable resource with numerous practical uses.
From enhancing your garden and controlling pests to cleaning and creating art, these ashes have a wide range of applications.
So, why let them go to waste when they can be repurposed in so many beneficial ways?
Let your imagination soar and discover the hidden potential of wood stove ashes in your everyday life.
Growing up surrounded by the vast beauty of nature, Sierra was always drawn to the call of the wild. While others sought the comfort of the familiar, she ventured out, embracing the unpredictable and finding stories in the heartbeat of nature.
At the epicenter of every remarkable venture lies a dynamic team—a fusion of diverse talents, visions, and passions. The essence of Best Small Wood Stoves is crafted and refined by such a trio: Sierra, Logan, and Terra. Their collective expertise has transformed the platform into a leading authority on small wood stoves, radiating warmth and knowledge in equal measure.
Wood Stove
How Does A Circulator Wood Stove Work

I’ve always been fascinated by the inner workings of circulator wood stoves. Imagine this scenario: it’s a cold winter night, and you’re huddled around the cozy warmth of your wood stove. But have you ever wondered how exactly it works?
In this article, we’ll delve into the components, combustion process, airflow, heat distribution, and maintenance of circulator wood stoves.
Get ready to uncover the secrets behind this efficient heating appliance.
Key Takeaways
- The design of a circulator wood stove includes a firebox at the bottom, a grate for airflow, a baffle system, and cast iron or steel surfaces for heat absorption.
- The combustion process in a circulator wood stove involves precise regulation of air intake and exhaust to reduce emissions.
- Proper airflow control in a circulator wood stove is achieved through primary and secondary air inlets, which ignite and sustain combustion respectively.
- Heat distribution in a circulator wood stove is achieved through strategically placed channels that direct hot air, resulting in even distribution of heat throughout the room.
The Components of a Circulator Wood Stove
I love the efficiency of my circulator wood stove’s components. The anatomy of a circulator wood stove consists of several key parts that work together to provide optimal heating.
The firebox, located at the bottom, is where the wood is burned. It has a grate that allows for proper airflow.
Above the firebox is the baffle system, which helps to increase the stove’s efficiency by directing the hot gases towards the stove’s surfaces.
These surfaces, made of cast iron or steel, absorb the heat and radiate it into the room.
The benefits of using a circulator wood stove are numerous. They provide a reliable and cost-effective heating solution, ensuring a steady and consistent warmth throughout the space.
The efficient combustion process also reduces emissions and promotes a cleaner environment.
Understanding the Combustion Process
While the firebox and baffle system play important roles in a circulator wood stove, understanding the combustion process is crucial for optimal heating efficiency. The combustion process in a wood stove involves the burning of wood to produce heat. Here are three key aspects to consider:
-
Airflow Control: Properly controlling the airflow is essential to ensure efficient combustion. The circulator wood stove allows for precise regulation of air intake and exhaust, allowing for better control of the burning process.
-
Heat Transfer: The circulator design enhances heat transfer by maximizing the surface area exposed to the fire. This results in more efficient heating and less wasted energy.
-
Environmental Impact: Wood stove combustion can have environmental consequences, such as air pollution and carbon emissions. However, circulator wood stoves are designed to minimize these impacts by promoting complete combustion and reducing smoke and particulate matter emissions.
Understanding the combustion process in a circulator wood stove allows users to maximize heating efficiency while minimizing the environmental impact.
The Role of Airflow in a Circulator Wood Stove
Controlling the airflow is crucial in a circulator wood stove, as it allows for efficient combustion and optimal heating. The key to achieving this is through proper airflow control mechanisms.
In a circulator wood stove, there are primary and secondary air inlets. The primary air is responsible for igniting the wood and providing initial combustion. On the other hand, the secondary air is used to enhance and sustain the combustion process.
By adjusting the primary and secondary air inlets, you can regulate the amount of oxygen that reaches the fire. This, in turn, affects the temperature and efficiency of the stove. When the airflow is properly controlled, a secondary combustion process occurs, which helps burn the remaining gases and particulates, resulting in a cleaner and more efficient burn. This ultimately contributes to reduced emissions and increased heat output.
Understanding the importance of airflow control is crucial in maximizing the efficiency and performance of a circulator wood stove.
Now that we’ve discussed the role of airflow in a circulator wood stove, let’s explore how heat is distributed within the stove.
How Heat Is Distributed in a Circulator Wood Stove
The distribution of heat in a circulator wood stove depends on the design and placement of the heat convection channels. These channels are responsible for creating convective airflow, which plays a crucial role in evenly distributing the heat throughout the room.
Here are three key factors that contribute to effective heat distribution in a circulator wood stove:
-
Design of convection channels: The layout and size of the convection channels determine the direction and flow of the convective airflow. A well-designed stove will have strategically placed channels that allow for efficient heat transfer.
-
Placement of heat convection channels: The location of the convection channels within the stove also affects heat distribution. Channels that are positioned closer to the top of the stove help to direct hot air towards the ceiling, while those situated lower down aid in circulating warm air at ground level.
-
Insulation: Proper insulation within the stove prevents heat loss and ensures that more heat is directed towards the convection channels, maximizing heat distribution.
Understanding these factors is essential for maintaining and troubleshooting a circulator wood stove to ensure optimal heat distribution throughout your living space.
Maintaining and Troubleshooting a Circulator Wood Stove
I’ve found that regularly cleaning the flue and checking for any blockages is essential for maintaining and troubleshooting my circulator wood stove. When it comes to troubleshooting techniques, one of the first things I do is inspect the flue for any buildup of soot or creosote. This can restrict airflow and lead to poor combustion, resulting in decreased efficiency and increased emissions.
To clean the flue, I use a flue brush to remove any deposits, making sure to wear protective gloves and goggles. Another important aspect of maintenance is checking for any blockages in the air intake and exhaust vents. These can be cleared using a small brush or vacuum cleaner.
Frequently Asked Questions
How Long Does It Take for a Circulator Wood Stove to Heat up a Room?
It usually takes around 30 minutes for a circulator wood stove to heat up a room. The benefits of using a circulator wood stove for heating include efficient heat distribution, cost savings, and a cozy ambiance.
Can a Circulator Wood Stove Be Used as the Primary Source of Heat in a Home?
Yes, a circulator wood stove can be used as the primary heat source in a home. However, it is important to follow circulator wood stove safety precautions. The advantages include cost savings and the cozy ambiance it creates.
Are Circulator Wood Stoves Energy-Efficient?
Circulator wood stoves are energy-efficient and cost-effective. They provide an efficient way to heat a home by circulating the warm air throughout the room. This helps to maximize heat distribution and minimize energy waste.
Can a Circulator Wood Stove Be Used in a Mobile Home or Rv?
A circulator wood stove can be used in a mobile home or RV, but there are limitations and safety concerns to consider. Mobile homes have specific requirements for wood stoves, and proper installation and ventilation are crucial for safety.
Do Circulator Wood Stoves Require a Chimney or Can They Be Vented Through a Wall?
Vented through a wall? Absolutely! Circulator wood stoves offer versatile heating options, making them perfect for any space. No need to worry about a chimney, just vent it through a wall and enjoy the warmth.
Conclusion
In conclusion, a circulator wood stove is a highly efficient and effective heating appliance that utilizes the principles of combustion and airflow to distribute heat throughout a space.
By understanding the components and operation of this stove, one can effectively maintain and troubleshoot any issues that may arise.
With its ability to provide consistent and comfortable warmth, a circulator wood stove is a reliable choice for those seeking a reliable and efficient heating solution.
Growing up surrounded by the vast beauty of nature, Sierra was always drawn to the call of the wild. While others sought the comfort of the familiar, she ventured out, embracing the unpredictable and finding stories in the heartbeat of nature.
At the epicenter of every remarkable venture lies a dynamic team—a fusion of diverse talents, visions, and passions. The essence of Best Small Wood Stoves is crafted and refined by such a trio: Sierra, Logan, and Terra. Their collective expertise has transformed the platform into a leading authority on small wood stoves, radiating warmth and knowledge in equal measure.
Wood Stove
How To Blacken A Cast Iron Wood Stove

- Importance of proper ventilation during the blackening process
- Benefits of using a specialized blackening solution instead of regular paint or coating
As a seasoned stove enthusiast, I’m here to show you how to transform your cast iron wood stove into a sleek, blackened masterpiece. Just like a phoenix rising from the ashes, your stove will emerge with a renewed sense of beauty and durability.
In this article, I will guide you through the process of preparing the stove surface, selecting the right blackening method, applying the solution, and protecting the finish for long-lasting results.
Get ready to turn up the heat and elevate your wood stove game!
Key Takeaways
- Preparing the stove surface is important before blackening, including cleaning with a mild soap and water solution and gently scrubbing with a soft brush or sponge.
- Consider professional blackening services for the best results, as they use specialized products and offer expertise and experience.
- When applying the blackening solution, use a high-quality brush for even application, and pay attention to corners and crevices for complete coverage.
- To maintain the blackened cast iron wood stove, regularly clean it with a soft bristle brush or sponge, use a mild dish soap and warm water for stubborn stains, and apply a high-temperature stove polish or sealant for added protection and shine.
Preparing the Stove Surface
I can’t wait to see how the stove surface turns out after I’ve prepared it properly. Cleaning the stove surface is the crucial first step in achieving a beautifully blackened cast iron wood stove.

To ensure a clean surface, I recommend using a mild soap and water solution, avoiding harsh chemicals that can damage the cast iron. Gently scrub the surface using a soft brush or sponge, paying attention to any stubborn stains or residue.
Once the surface is clean, it’s time to move on to sanding. Sanding the stove surface helps to remove any rust or rough patches, creating a smooth and even base for the blackening process. Use a medium-grit sandpaper and work in circular motions, being careful not to apply too much pressure.
Make sure to thoroughly wipe away any dust or debris before moving on to the next step.
Choosing the Right Blackening Method
In my experience, finding the most effective method for achieving a desired darkened appearance on my cast iron stove has been crucial. There are alternative blackening techniques available, but for the best results, I highly recommend professional blackening services. These services offer numerous advantages that make them worth considering.

One advantage is the expertise and experience of professionals who understand the intricacies of blackening cast iron. They have the knowledge and tools to achieve a consistent and long-lasting blackened finish. Additionally, professional services often utilize specialized products that are specifically designed for cast iron, ensuring optimal results.
To highlight the advantages of professional blackening services, I have created a table below:
Advantages of Professional Blackening Services |
---|
Expertise and experience |
Consistent and long-lasting finish |
Specialized products for cast iron |
Saves time and effort |
Overall, while alternative blackening techniques may seem appealing, the advantages of professional blackening services make them the superior choice for achieving a desired darkened appearance on a cast iron stove.
Applying the Blackening Solution
Using a brush, I apply the blackening solution evenly onto the surface of the stove. This step is crucial in achieving a beautiful blackened finish that not only looks great but also protects the cast iron.

Here are some proper application techniques to ensure the best results:
- Start by cleaning the stove thoroughly, removing any dust, dirt, or grease.
- Use a high-quality brush to apply the blackening solution in long, even strokes.
- Pay special attention to corners and crevices to ensure complete coverage.
- Allow the solution to dry completely before buffing the surface with a soft cloth for a smooth finish.
Proper application and careful attention to drying and buffing will result in a blackened wood stove that not only looks stunning but also maintains its protective and durable qualities for years to come.
Curing and Protecting the Finish
Once the blackening solution has dried completely, I can protect the finish by applying a thin coat of sealant. This step is crucial in preventing rust and enhancing the stove’s appearance.
The sealant acts as a barrier, shielding the blackened surface from moisture and other elements that could cause corrosion. To ensure maximum protection, I use a high-quality sealant specifically designed for cast iron surfaces.

Before applying the sealant, I thoroughly clean the stove to remove any dust or debris that could affect its adhesion. Using a brush or sponge, I carefully apply the sealant in smooth, even strokes, making sure to cover all exposed areas.
Once applied, I allow the sealant to dry completely, usually overnight, before using the stove. This additional layer of protection not only keeps the stove looking beautiful but also extends its lifespan by preventing rust and deterioration.
Maintaining the Blackened Cast Iron Wood Stove
To keep the finish looking its best, I regularly clean and apply a sealant to my blackened wood stove. Cleaning techniques for a blackened cast iron wood stove are crucial to maintain its appearance and functionality.
Here are some tips to ensure its longevity:

- Use a soft bristle brush or sponge to remove any loose debris or ashes from the surface of the stove.
- For stubborn stains, mix a solution of mild dish soap and warm water. Apply the solution to a cloth and gently scrub the stained area.
- To prevent rust on a blackened cast iron wood stove, make sure to dry it thoroughly after cleaning. Any moisture left on the surface can cause rusting.
- Apply a high-temperature stove polish or sealant to protect the finish and add a glossy shine. This will also help prevent rust and keep the stove looking new.
Frequently Asked Questions
Can I Use Any Type of Paint or Coating to Blacken My Cast Iron Wood Stove?
No, using any type of paint or coating is not recommended for blackening a cast iron wood stove. There are different methods available, each with their own pros and cons compared to painting.
How Long Should I Let the Blackening Solution Sit on the Stove Surface Before Wiping It Off?
To achieve optimal results when blackening a cast iron wood stove, it is crucial to allow the blackening solution to sit on the stove surface for the recommended drying time before wiping it off.
Can I Use the Blackening Method on a Stove That Has Already Been Painted or Coated?
Yes, you can use the blackening method on a stove that has already been painted or coated. However, it is important to take safety precautions while applying the blackening solution to protect yourself and the surface.
Is It Necessary to Wear Protective Gear While Applying the Blackening Solution?
It’s always wise to wear protective gear while applying the blackening solution. Ventilation is crucial to prevent inhaling fumes. A specialized blackening solution is recommended instead of regular paint or coating for better results.

How Often Should I Reapply the Blackening Solution to Maintain the Finish on My Cast Iron Wood Stove?
To maintain the finish on your cast iron wood stove, it is recommended to reapply the blackening solution every 6-12 months. Look for high-quality products specifically designed for cast iron stoves.
Conclusion
In conclusion, blackening a cast iron wood stove is a simple process that can enhance its appearance and prolong its lifespan. By following the steps outlined in this article, you can achieve a beautiful and durable blackened finish.
Remember, a little elbow grease and the right blackening method can work wonders for your stove. So don’t hesitate to give it a try and turn your stove into a true gem that will warm your home for years to come.
As the saying goes, “A blackened stove is a sight to behold!” Embrace the beauty and elegance of a blackened stove, and let it become the centerpiece of your kitchen.

Growing up surrounded by the vast beauty of nature, Sierra was always drawn to the call of the wild. While others sought the comfort of the familiar, she ventured out, embracing the unpredictable and finding stories in the heartbeat of nature.
At the epicenter of every remarkable venture lies a dynamic team—a fusion of diverse talents, visions, and passions. The essence of Best Small Wood Stoves is crafted and refined by such a trio: Sierra, Logan, and Terra. Their collective expertise has transformed the platform into a leading authority on small wood stoves, radiating warmth and knowledge in equal measure.
Wood Stove
How Can You Effectively Maintain an Outdoor Wood Stove for Cooking?

We know that maintaining an outdoor wood stove for cooking can be a challenge, but with the right techniques, it becomes a breeze.
In this article, we will share practical tips and methods to keep your outdoor wood stove in top shape.
From cleaning methods and weather protection to regular inspections and rust prevention, we’ve got you covered.
So let’s dive in and learn how to effectively maintain your outdoor wood stove for a delightful cooking experience.
Key Takeaways
- Regularly clean the stove’s interior and exterior surfaces to remove residue and prevent rust formation.
- Inspect and maintain the weatherproof covers and insulation to protect the stove from damage and wear.
- Apply a protective coating to prevent rust and corrosion during storage.
- Use heat-resistant paints designed for outdoor use to prevent rust and extend the durability of the stove’s appearance.
Cleaning Methods for Your Outdoor Wood Stove
We’ve found that using a wire brush and a mixture of vinegar and water is the most effective way to clean our outdoor wood stove. Regular maintenance is crucial to ensure its longevity and efficiency.
When cleaning, start by removing any ashes or debris from the stove. Then, using a wire brush, scrub the interior and exterior surfaces to remove any built-up residue. The vinegar and water mixture is an excellent natural cleaner that helps break down grease and grime. Simply spray the mixture onto the surfaces and scrub away. Rinse thoroughly with water and allow the stove to dry completely before using it again.
Cleaning your outdoor wood stove regularly not only improves its performance but also ensures the safety of your cooking environment.
Now, let’s discuss weather protection for your outdoor wood stove.
Weather Protection for Your Outdoor Wood Stove
One important aspect of maintaining our outdoor wood stove is ensuring proper weather protection to prevent any damage caused by rain or snow. Protecting our wood stove from the elements is crucial to its longevity and functionality. There are several options available to weatherproof our outdoor wood stove, such as weatherproof covers and insulation.
To give you a clearer picture, here is a table comparing different weatherproof covers and insulation options:
Weatherproof Covers | Insulation Options |
---|---|
Heavy-duty tarp | Fiberglass |
Waterproof cover | Ceramic |
Insulated jacket | Rockwool |
Vinyl cover | Foam board |
Aluminum cover | Reflective foil |
These covers and insulation options provide varying levels of protection against rain, snow, and cold temperatures. When choosing the right weatherproof cover or insulation for our outdoor wood stove, it is important to consider factors such as durability, efficiency, and ease of installation.
Proper Storage Techniques for Your Outdoor Wood Stove
Sometimes, we store our outdoor wood stove in a shed during the off-season to protect it from the elements, but other times we leave it outside with a weatherproof cover. Proper storage techniques are essential to ensure the longevity and efficiency of your outdoor wood stove.
Here are some tips to help you maintain your stove effectively:
- Clean the stove thoroughly before storing it to prevent the buildup of dirt and debris.
- Make sure to remove any ash and soot from the stove’s interior and exterior surfaces.
- Apply a protective coating to the stove to prevent rust and corrosion during storage.
- Create a maintenance schedule to remind you of regular cleaning and inspection tasks.
Regular Inspection of Your Outdoor Wood Stove
To ensure the safety and efficiency of our outdoor wood stove, we should regularly inspect it for any signs of damage or wear and tear. Regular maintenance is crucial in preventing damage and ensuring that the stove functions optimally. By performing routine inspections, we can identify any potential issues before they escalate into major problems.
Start by examining the exterior of the stove for any cracks, dents, or loose parts. Check the chimney and flue for obstructions and clean them if necessary. Inspect the firebox and grates for any signs of rust or corrosion. Clean out any ash or debris that may have accumulated inside.
Additionally, pay attention to the stove’s gaskets and seals. These components can deteriorate over time, leading to heat loss and decreased efficiency. Replace them if needed, ensuring a tight seal.
By regularly inspecting and maintaining our outdoor wood stove, we can prevent damage and ensure its longevity.
In the next section, we’ll discuss rust prevention techniques and the use of heat-resistant paints to further protect our stove.
Rust Prevention and Heat-Resistant Paints for Your Outdoor Wood Stove
When it comes to maintaining an outdoor wood stove, rust prevention is crucial for ensuring its longevity.
One effective method is to apply heat-resistant paints that not only protect against rust but also withstand the high temperatures generated by the stove.
However, it’s important to choose the right paint that’s specifically designed for outdoor use and can withstand the elements.
Best Rust Prevention Methods
We’ve found that applying a high-quality rust-resistant paint to our outdoor wood stove has been the best method for preventing rust and ensuring its longevity. Not only does this paint form a protective barrier against moisture and corrosion, but it also withstands the high temperatures generated by the stove.
In addition to using rust-resistant paint, here are some other effective methods for preventing rust on your outdoor wood stove:
- Regular cleaning and removal of ashes and debris
- Applying a rust inhibitor or protective coating to exposed metal surfaces
- Keeping the stove covered when not in use to protect it from the elements
- Inspecting the stove regularly for any signs of rust or damage and addressing them promptly
Choosing the Right Paint
Our top priority is finding a paint that is both rust-resistant and heat-resistant for our outdoor wood stove. When it comes to painting our stove, we need a high-quality paint that can withstand the extreme temperatures it will be exposed to. Heat resistant paint options are a great choice for this purpose. These paints are designed to withstand high temperatures without blistering or peeling, ensuring the longevity of our stove. Additionally, using a high-quality paint provides several benefits. It not only protects the stove from rust, but also enhances its appearance, making it more visually appealing. Furthermore, a durable paint can withstand the wear and tear of outdoor use, allowing us to enjoy our cooking experience without worrying about constant maintenance. In the table below, we have listed some popular heat resistant paint options that we can consider for our outdoor wood stove.
Paint Brand | Temperature Resistance |
---|---|
Brand A | Up to 1200°F |
Brand B | Up to 1500°F |
Brand C | Up to 1800°F |
Brand D | Up to 2000°F |
Brand E | Up to 2200°F |
Longevity of Heat-Resistant Paints
In order to ensure the longevity of our outdoor wood stove, we should regularly inspect and maintain the heat-resistant paints by applying a rust preventative coating and conducting touch-ups as needed. This will help to protect the stove from the harsh elements and extend the durability of the paint.
Here are some practical tips to maintain the paint on your outdoor wood stove:
- Clean the surface thoroughly before applying any coatings.
- Apply a rust preventative coating to prevent corrosion and extend the life of the paint.
- Conduct regular inspections to identify any areas that may need touch-ups.
- Use a heat-resistant paint specifically designed for outdoor wood stoves to ensure maximum durability.
Obtaining Replacement Parts for Your Outdoor Wood Stove
When it comes to obtaining replacement parts for your outdoor wood stove, it’s important to find reliable options that will ensure the stove’s continued functionality.
We understand the frustration that can come with searching for specific components, but rest assured that there are cost-effective options available.
Reliable Replacement Parts
Although it may be challenging, we can find reliable replacement parts for our outdoor wood stove if we search online or contact the manufacturer. It’s important to have access to reliable suppliers when it comes to replacing parts for our outdoor wood stove.
Here are some tips to help us find the right replacement parts:
-
Research online: Utilize online platforms and websites that specialize in outdoor wood stove replacement parts. Look for websites with positive customer reviews and a wide selection of parts.
-
Contact the manufacturer: Reach out to the manufacturer directly to inquire about replacement parts. They may have specific recommendations or be able to provide the parts themselves.
-
Join online forums or communities: Engage with other outdoor wood stove owners who may have experience finding reliable suppliers. They can provide valuable insights and recommendations.
-
Seek professional advice: Consult with a professional or expert in outdoor wood stoves who can guide you towards reliable suppliers and offer maintenance tips for your stove.
Finding Specific Components
We can easily locate the specific components we need for our outdoor wood stove by reaching out to reliable suppliers or searching online. Finding suppliers who specialize in wood stove parts can ensure that we get high-quality components that are compatible with our stove model. It’s important to choose suppliers who have a good reputation and offer warranty options for their products.
Additionally, troubleshooting common issues with our outdoor wood stove can help us identify the specific components that need replacement. By understanding the functioning of the stove and referring to the user manual, we can identify the faulty parts and find suitable replacements.
Regular maintenance and cleaning of the stove can also prevent common issues and prolong the lifespan of the components.
Cost-Effective Options Available
There are several cost-effective options available to obtain replacement parts for our outdoor wood stove, such as purchasing from second-hand sellers or exploring discounted options online. When considering cost-saving measures for maintaining our wood stove, it’s important to explore alternative fuel sources. Here are some suggestions to help you save money while keeping your stove running efficiently:
- Consider using reclaimed or salvaged wood as a fuel source. This can be obtained from construction sites, tree removal services, or even old furniture.
- Explore the option of using wood pellets instead of traditional firewood. Wood pellets are made from compressed sawdust and are a more efficient and cost-effective fuel source.
- Look into biofuels, such as corn or soybeans, which can be converted into pellets or briquettes for use in your wood stove.
- Take advantage of community programs or initiatives that offer discounted or free firewood to help reduce costs.
By implementing these cost-saving measures and exploring alternative fuel sources, you can effectively maintain your outdoor wood stove without breaking the bank.
Transitioning into the subsequent section about safe wood fuels and airflow control, let’s now discuss how to ensure optimal performance and safety for your wood stove.
Safe Wood Fuels and Airflow Control for Your Outdoor Wood Stove
When using our outdoor wood stove, it’s important to understand how to safely control airflow and choose the right wood fuels. Proper wood stove maintenance and fuel selection are crucial for efficient and safe cooking.
To maintain your wood stove, regularly clean the stovepipe and chimney to prevent the buildup of creosote, which can lead to chimney fires. Additionally, inspect the gaskets and replace them if necessary to ensure a tight seal.
As for fuel selection, it’s best to use seasoned hardwoods like oak, maple, or birch. These woods burn longer and produce less smoke and creosote. Avoid using softwoods, as they burn quickly and can create excessive smoke.
Frequently Asked Questions
What Are the Best Cleaning Methods for Removing Stubborn Stains and Grease Buildup on an Outdoor Wood Stove?
To effectively maintain an outdoor wood stove for cooking, we use cleaning methods to remove stubborn stains and grease buildup. Additionally, preventing rust and using recommended heat resistant paints can help prolong the stove’s lifespan.
How Can I Protect My Outdoor Wood Stove From Extreme Weather Conditions Such as Heavy Rain and Snow?
To protect our outdoor wood stove from extreme weather conditions, we use protective covers and ensure proper positioning. This safeguards it against heavy rain and snow, preserving its functionality and longevity.
Are There Any Specific Techniques for Storing an Outdoor Wood Stove During the Offseason to Prevent Damage?
When it comes to storing techniques for an outdoor wood stove during the offseason to prevent damage, there are a few key steps to follow. Proper cleaning, covering, and storing in a dry location are essential.
How Often Should I Inspect My Outdoor Wood Stove for Any Potential Issues or Maintenance Needs?
We make sure to regularly inspect our outdoor wood stove for any potential issues or maintenance needs. It’s important to stay on top of things to ensure the stove is in good working condition.
What Are Some Effective Ways to Prevent Rust on an Outdoor Wood Stove, and What Types of Heat-Resistant Paints Are Recommended for This Purpose?
To prevent rust on an outdoor wood stove, we recommend regularly cleaning and drying it after use, applying a heat-resistant paint specifically designed for metal surfaces, and ensuring proper ventilation to prevent moisture buildup.
Conclusion
In conclusion, maintaining an outdoor wood stove for cooking is crucial for its longevity and efficiency. By regularly cleaning, protecting from weather, storing properly, inspecting, preventing rust, and using the right fuels and airflow control, you can ensure optimal performance.
Just like tending to a well-tuned instrument, caring for your outdoor wood stove will result in a harmonious cooking experience that will delight your taste buds and warm your soul. So, embrace the art of stove maintenance and let the culinary symphony begin!
Logan’s affair with adventure began in childhood. He hailed from a small town where vast forests bordered one side and endless shores stretched on the other. His days were spent exploring uncharted woods, climbing tall trees, or listening to the tales of old sailors. This early immersion in a world brimming with stories and mysteries became the foundation of his passion for writing.
-
Pellets & Pellet Stoves4 months ago
How to Make a Pellet Basket for Wood Burning Stoves
-
Pellets & Pellet Stoves3 months ago
Why Is My Wood Pellet Stove Putting so Much Soot
-
Wood Stove2 months ago
When To Open And Close Damper On Wood Stove
-
Wood Stove2 months ago
Where To Install Damper On Wood Stove
-
BestSmallWoodStoves.com Selected3 months ago
Choosing the Best Wood Pellets: Reviews for 2023
-
Wood Stove2 months ago
How Does A Circulator Wood Stove Work
-
Pellets & Pellet Stoves4 months ago
How to Convert Wood Stove to Pellet Stove
-
Wood Stove2 months ago
What Works To Clean Creosote Off Of Wood Stove Glass