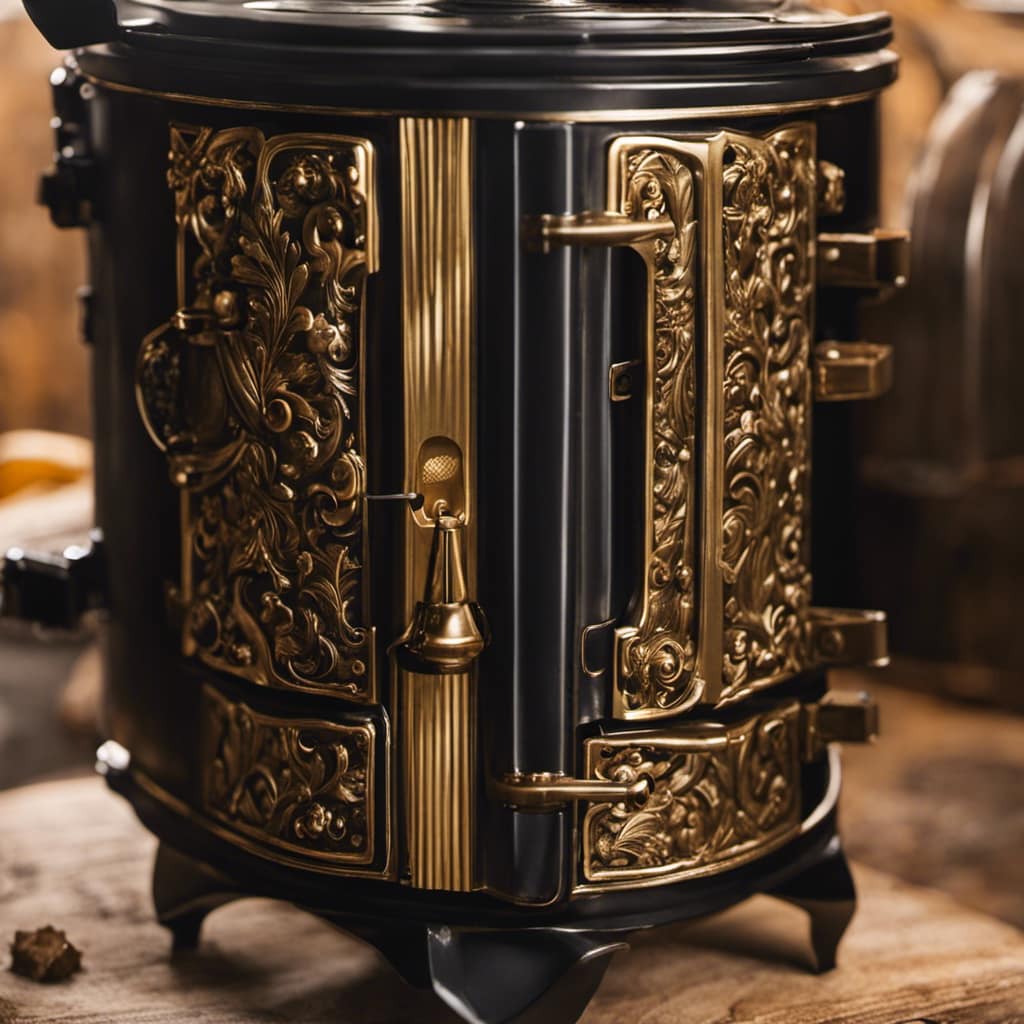
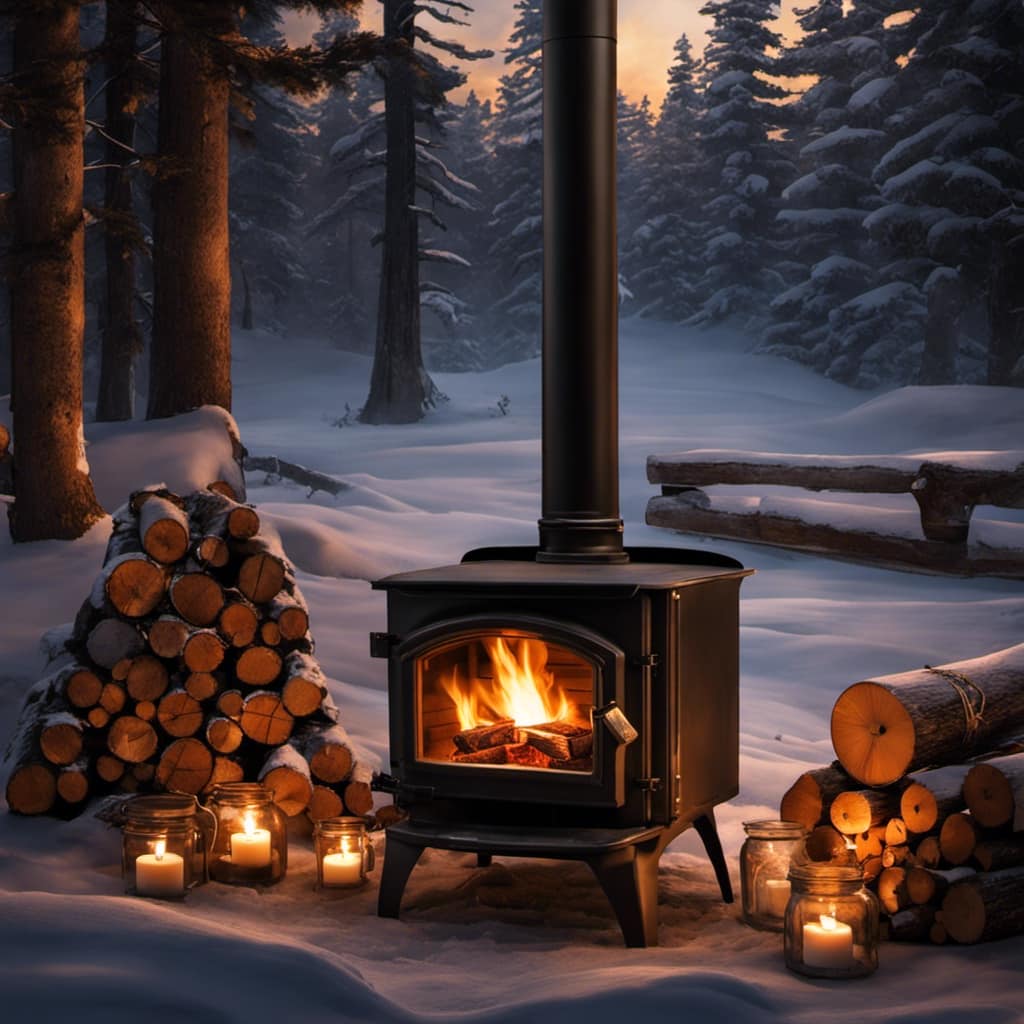
As a home environment improvement enthusiast, I have come to understand that safety is of utmost importance when it comes to wood stoves. Therefore, it is crucial to have the proper materials installed behind the stove to act as a barrier against potential fire hazards.
In this article, we’ll explore various options, such as:
- Fireproof materials
- Heat-resistant tiles
- Insulating backer board
- Stainless steel panels
- Brick or stone veneer
By implementing these protective measures, you can enjoy the cozy warmth of your wood stove without compromising on safety.
Key Takeaways
- Fireproof materials such as fireproof paint, cement board, fire-resistant wallpaper, fireproof insulation, and fire-resistant fabric should be used behind a wood stove against the wall.
- Heat-resistant tiles such as ceramic tiles, heat-resistant grout, porcelain tiles, and glass tiles are recommended for protecting the wall behind a wood stove.
- Insulating backer board, which is made of cement and fiberglass, can provide protection from intense heat when installed behind a wood stove.
- Stainless steel panels are a popular choice as they are easy to install, resistant to rust and corrosion, and offer a sleek and modern look when used behind a wood stove against the wall.

Stove Bright Fireplace Satin Black Paint – High Temp Satin Black Spray Paint, Withstands up to 1200° F, Quick Drying, Retains Color, Easy Application
- High Temp Resistance: Withstands up to 1200°F
- Satin Black Finish: Easy to apply, quick drying
- Color Retention: Maintains color in extreme heat
As an affiliate, we earn on qualifying purchases.
As an affiliate, we earn on qualifying purchases.
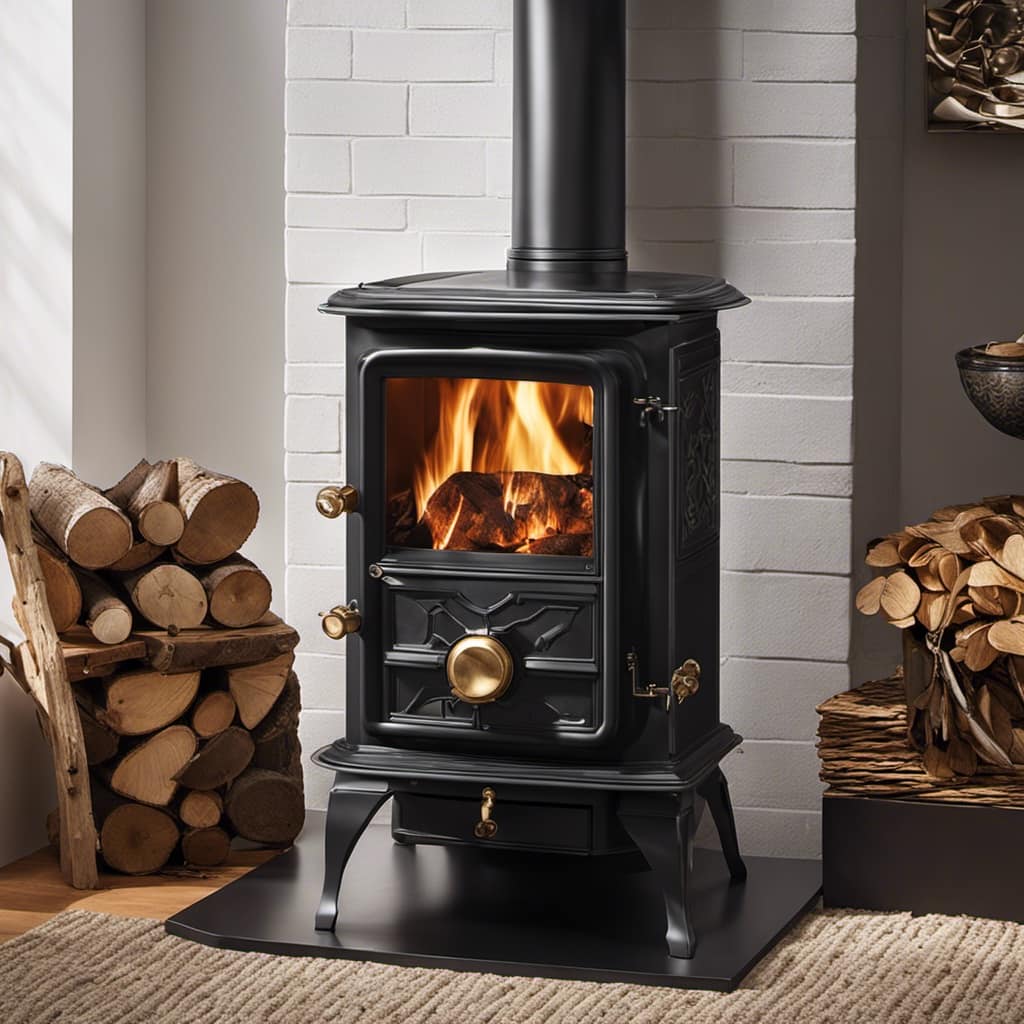
Fireproof Materials
I need to find some fireproof materials to protect my wall behind the wood stove.
One option is to use fireproof paint. This type of paint is specifically designed to withstand high temperatures and prevent the spread of fire. It creates a protective barrier on the wall, reducing the risk of damage or ignition.
Another option is to install cement board. Cement board is a durable and fire-resistant material that can be used as a backing for the wood stove. It’s made from a mixture of cement and reinforcing fibers, making it highly resistant to heat and flames.
Heat-Resistant Tiles
Using heat-resistant tiles as a flooring option behind the wood stove can provide both functionality and style to my living space. Not only do these tiles offer protection against the intense heat generated by the stove, but they also add a touch of elegance to the room.
Here are three reasons why heat-resistant tiles are a great choice:
Safety: Heat-resistant tiles are designed to withstand high temperatures, reducing the risk of fire or damage to the wall behind the wood stove.
Durability: Ceramic tiles are known for their durability and longevity. They can withstand the constant heat and are resistant to cracks and stains.
Easy maintenance: With heat resistant grout, cleaning becomes a breeze. The grout prevents dirt and grime from settling in, making it easy to wipe off any spills or stains.
Overall, heat-resistant tiles provide a practical and stylish solution for protecting the wall behind a wood stove while enhancing the overall aesthetic of the living space.
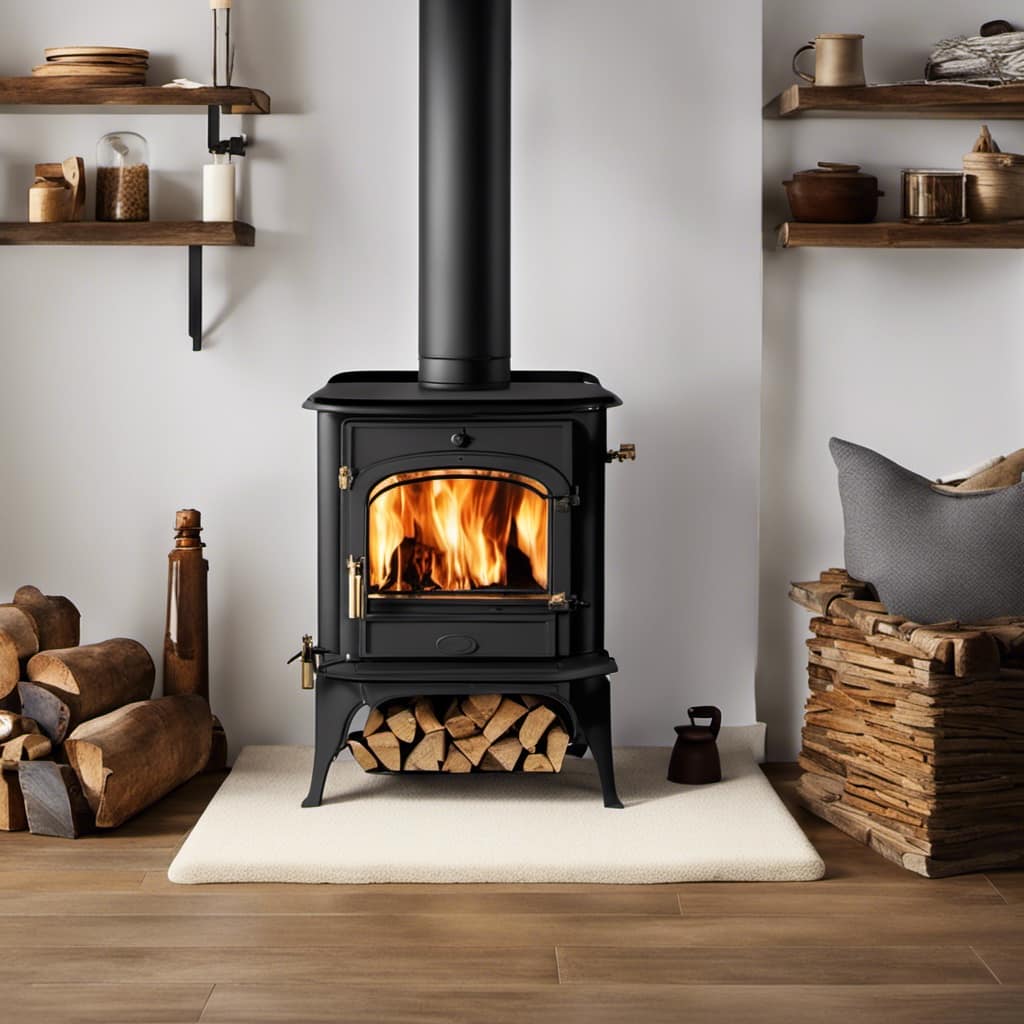
Insulating Backer Board
How can insulating backer board be used in conjunction with heat-resistant tiles to provide maximum protection against the intense heat generated by a wood stove?
Insulating backer board is a crucial component in creating a safe and efficient wood stove installation. When used in conjunction with heat-resistant tiles, it provides a double layer of insulation that helps protect the surrounding walls from the intense heat.
The insulating backer board acts as a barrier, preventing heat transfer to the wall behind it. This is important because wood stoves can reach extremely high temperatures, and without proper insulation, the heat can cause damage to the wall and potentially start a fire.
The installation process involves attaching the backer board to the wall using fasteners and then applying the heat-resistant tiles on top. This combination of insulating materials and heat-resistant tiles ensures maximum protection against the intense heat generated by a wood stove.
Stainless Steel Panels
I prefer using stainless steel panels as a durable and heat-resistant option for protecting the wall behind a wood stove. Not only do they provide excellent protection against heat and flames, but they also offer a sleek and modern look to any space. Here are three reasons why stainless steel panels are a great choice:
Easy installation process: Stainless steel panels are simple to install, making it a hassle-free project for homeowners. With the right tools and materials, you can have them up in no time, protecting your wall from any potential damage.
Cost-effective alternative: While there are other options available, stainless steel panels offer long-term cost savings. They’re resistant to rust and corrosion, reducing the need for frequent replacements or repairs, ultimately saving you money in the long run.
Versatility: Stainless steel panels come in various sizes and finishes, allowing you to choose the one that best suits your style and needs. Whether you prefer a polished or brushed finish, these panels can effortlessly blend into any décor.
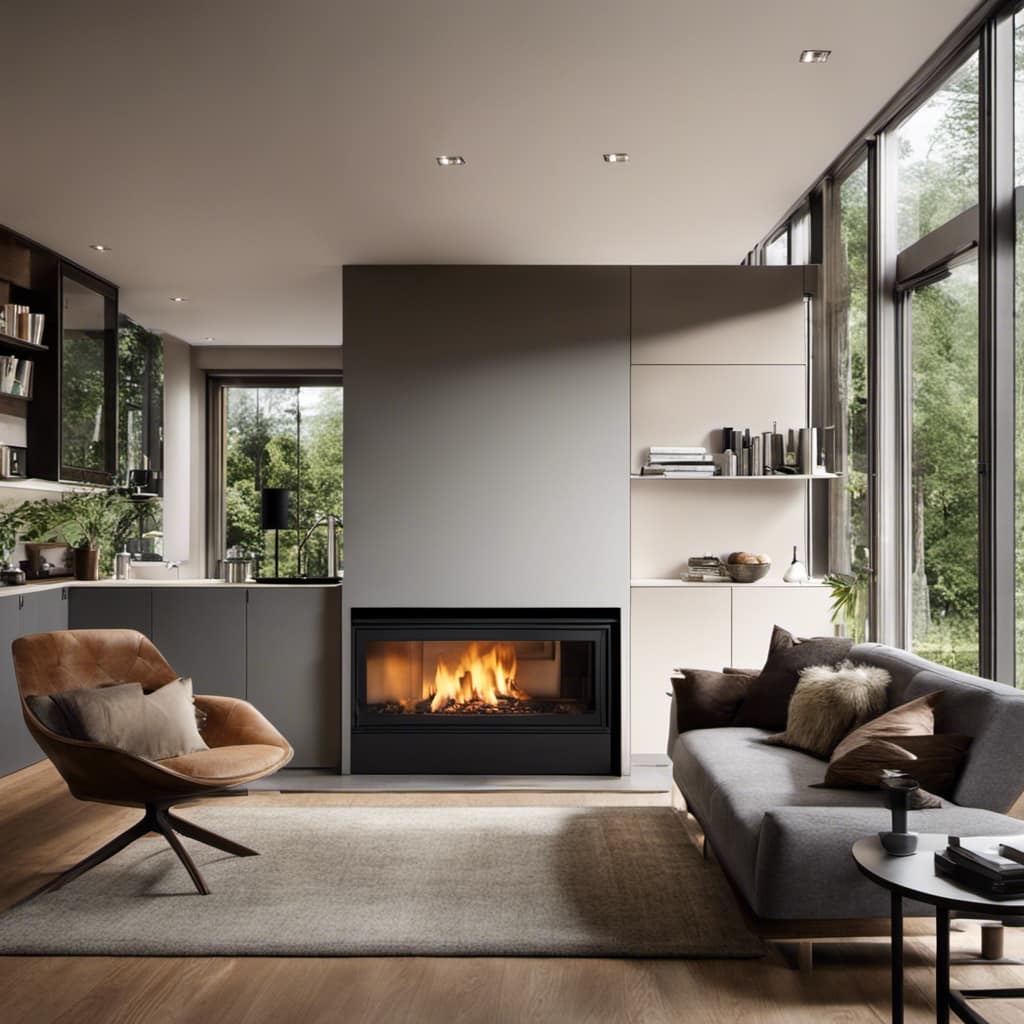
Brick or Stone Veneer
My neighbor’s preference is to use brick or stone veneer as a stylish and durable option for covering the wall behind a wood stove.
When it comes to choosing between brick and stone veneer, there are pros and cons to consider.
Brick veneer offers a classic and timeless look, adding warmth and texture to any space. It’s also highly durable and resistant to fire, making it a safe choice for a wood stove installation.
On the other hand, stone veneer provides a more natural and rustic aesthetic. It comes in a variety of colors and textures, allowing for customization. However, stone veneer can be more expensive and requires proper installation to prevent moisture penetration.
Ultimately, the decision between brick and stone veneer comes down to personal preference and budget.
Is the Material Used Behind a Wood Stove Different if it’s Installed in the Middle of the House?
When considering a wood stove installation tutorial for a location in the middle of a house, it’s important to select the proper material for the wall behind the stove. In this case, heat-resistant materials like cement board or fire-rated drywall are recommended to ensure safety and protection against potential fire hazards.
Frequently Asked Questions
Can I Use Regular Ceramic Tiles Behind a Wood Stove Instead of Heat-Resistant Tiles?
Regular ceramic tiles may not be suitable behind a wood stove as they may not have the necessary heat resistance. Heat resistant tiles are specifically designed to withstand high temperatures, ensuring safety and preventing damage to the wall.
Are There Any Specific Regulations or Codes That I Should Follow When Installing Materials Behind a Wood Stove?
What are the best materials for heat protection behind a wood stove? How to properly insulate the wall behind a wood stove? Follow specific regulations and codes for safe installation.
How Much Distance Should Be Maintained Between the Wood Stove and the Materials Used Behind It?
Maintaining a proper distance between a wood stove and the materials used behind it is crucial for safety. Heat resistant materials like concrete or metal shields should be used to protect the wall.

Can I Use Drywall or Gypsum Board as a Backing Material for a Wood Stove?
Yes, drywall or gypsum board can be used as a backing material for a wood stove. However, it is recommended to use regular ceramic tiles for better heat resistance and protection against potential fire hazards.
Are There Any Alternative Materials or Solutions for Protecting the Wall Behind a Wood Stove Besides the Ones Mentioned in the Article?
There are alternative materials for protecting a wood stove wall besides drywall or gypsum board. It’s important to consider safety precautions when installing materials, such as using fire-resistant materials like cement board or heat shields.
Conclusion
After considering various options for what to use behind a wood stove, it’s clear that fireproof materials, heat-resistant tiles, insulating backer board, stainless steel panels, and brick or stone veneer are all viable choices. These materials provide the necessary protection against the intense heat generated by the stove, ensuring safety and preventing potential damage to the wall.
When it comes to choosing the right material, remember the old saying: ‘Better safe than sorry.’