As a passionate fan of wood stoves, I am thrilled to help you with the rewarding process of installing a wood stove insert. Get ready to fill your space with a cozy atmosphere and welcoming charm!
In this article, we’ll explore the essential steps for a successful installation. From assessing the space to connecting the venting system, we’ll cover it all.
So, grab your tools and let’s embark on this exciting journey together!
Key Takeaways
- Assess the space and safety precautions before installing the wood stove insert.
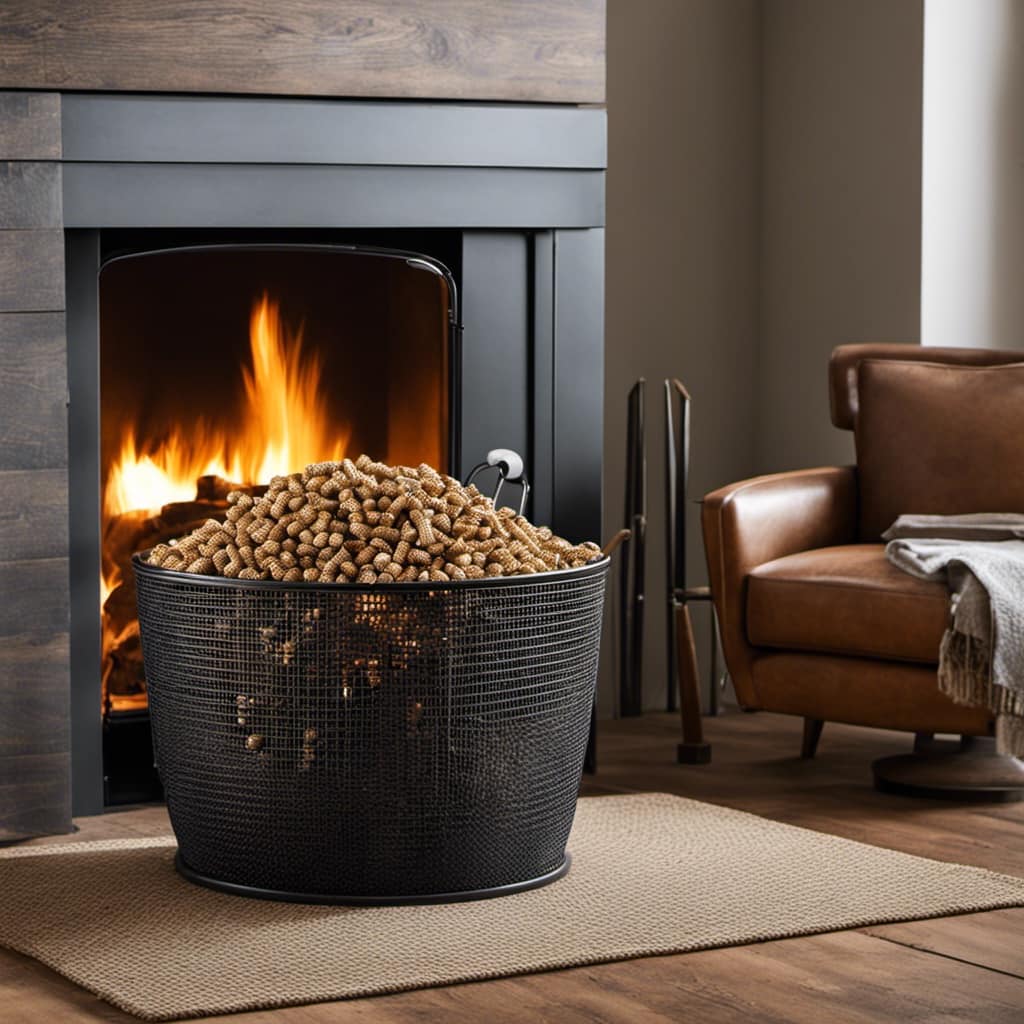
- Gather the necessary tools and materials for installation, including a drill, screws, insulation, and a chimney liner.
- Prepare the area by measuring the dimensions of the fireplace opening, clearing debris, and protecting the flooring.
- Install the wood stove insert by securing it in place, connecting the stovepipe, and enhancing visual appeal with decorative tiles or bricks.

Fireside Chimney Supply Basic FireSafe Flexible Chimney Liner Insert Kit | Fireplace Insert | Wood Stove Stainless Steel Chimney Liner Kit | Made in the USA | Heavy-Duty 6 Inch x 15 Feet
- Premium Stainless Steel Material: High-grade 316 stainless steel for durability
- Complete Installation Kit: Includes top plate, rain cap, and liner
- Enhanced Draft & Efficiency: Improves airflow and reduces creosote buildup
As an affiliate, we earn on qualifying purchases.
As an affiliate, we earn on qualifying purchases.
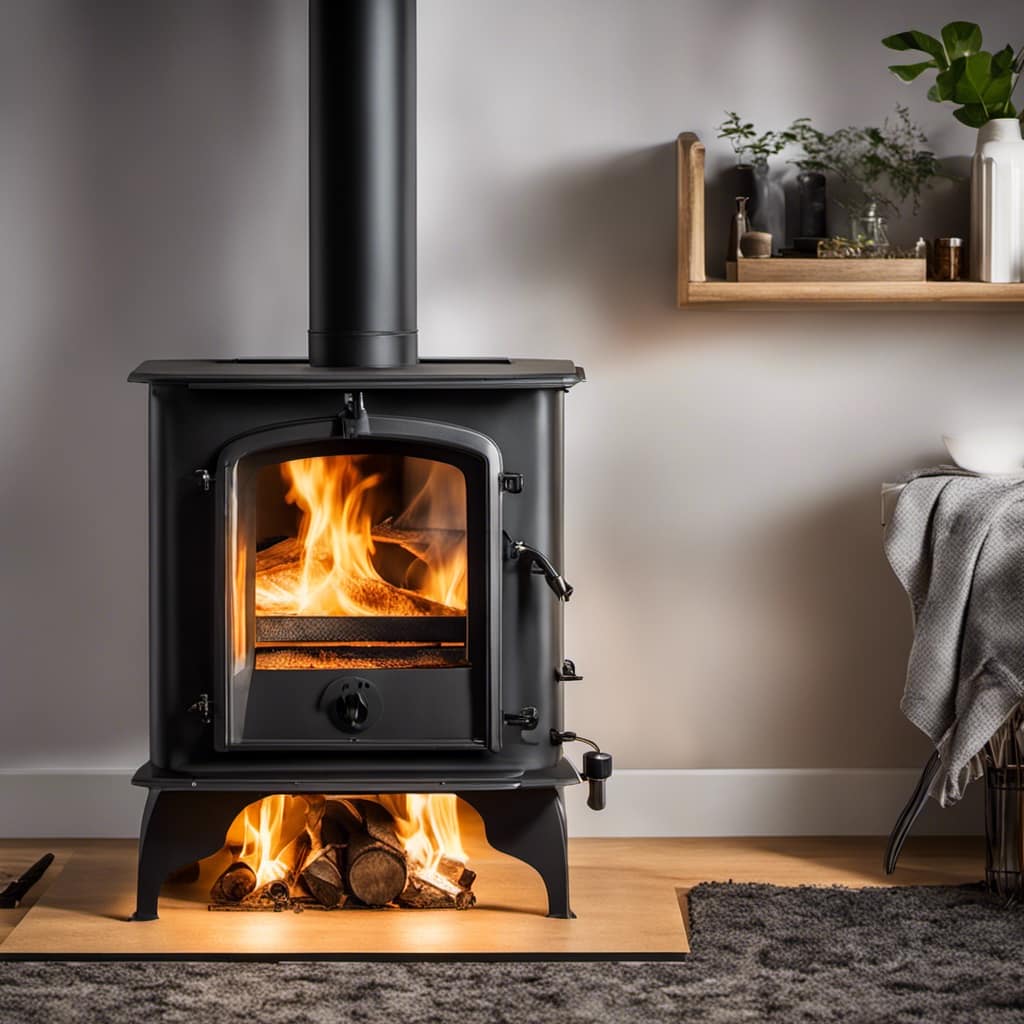
Assessing the Space
I’m currently assessing the space to determine if a wood stove insert will fit in my living room. The first step is to measure the dimensions of the area where I plan to install the insert. I need to ensure that there’s enough space for the stove and that it won’t interfere with any existing furniture or fixtures.
To do this, I’ll measure the width, height, and depth of the area. Additionally, I need to check for structural support. A wood stove insert is heavy, so it’s important to make sure that the floor can handle the weight. I’ll inspect the floor and surrounding walls to ensure they’re sturdy and able to support the insert.
Gathering the Necessary Tools and Materials
To successfully install a wood stove insert, I’ll need to gather all the necessary tools and materials. This includes a drill, screws, insulation, and a chimney liner.
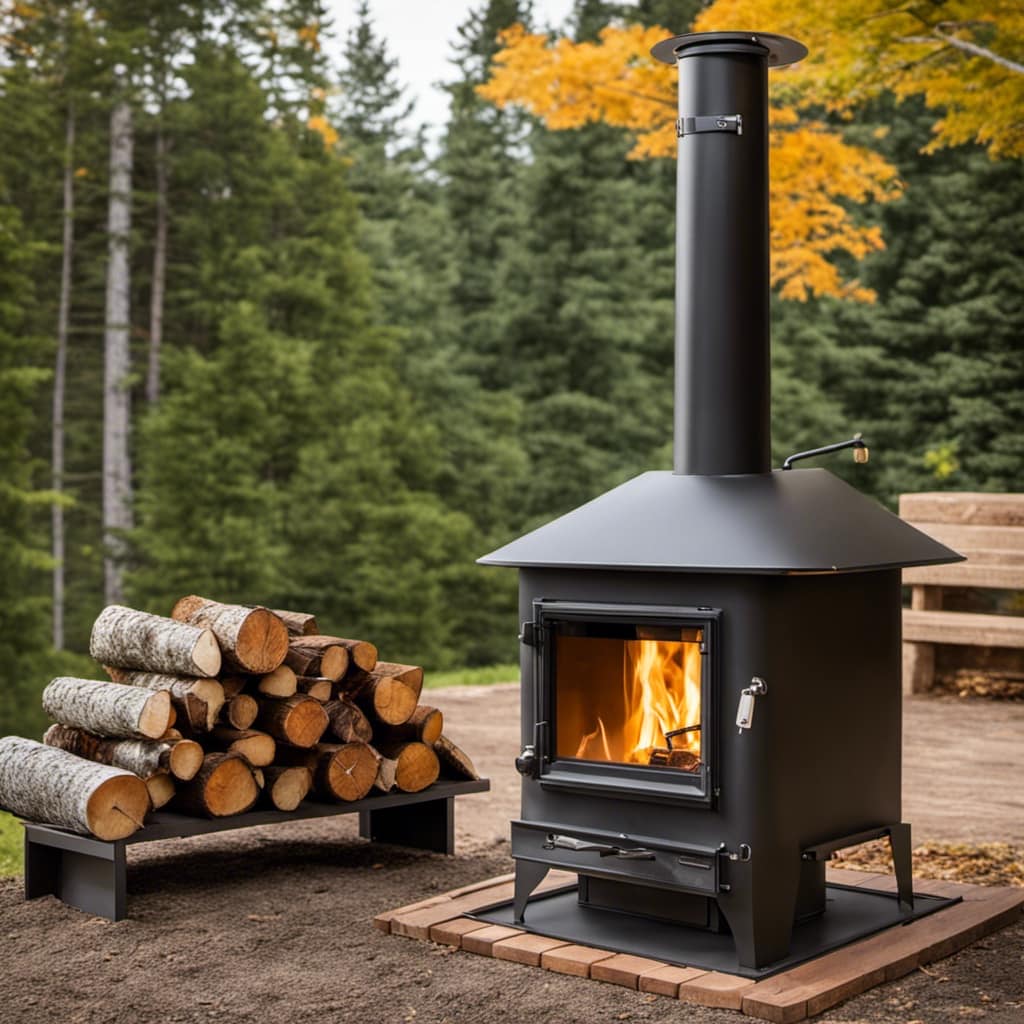
Choosing the right wood stove insert is crucial for ensuring efficient heating and safety. When selecting a wood stove insert, it’s important to consider factors like the size of the space, heating requirements, and the type of fuel you prefer.
Safety precautions during installation shouldn’t be overlooked. Always make sure to follow the manufacturer’s instructions carefully and wear protective gear, such as gloves and goggles. It’s also essential to ensure proper ventilation and clearance around the stove to prevent fire hazards.
Taking these precautions will help ensure a successful installation and a safe, cozy, and efficient wood stove insert.
Preparing the Area for Installation
I’ll start by clearing out any furniture and belongings to make room for the wood stove insert. This step is crucial to ensure that there’s enough space and no obstructions for the installation process.
Here are the steps to preparing the area for installation:
- Measure the dimensions of the fireplace opening to ensure that the wood stove insert will fit properly.
- Clear any debris or combustible materials from the surrounding area to prevent any potential fire hazards.
- Protect the flooring by placing a non-combustible material, such as a sheet of metal or a fire-resistant hearth pad, in front of the wood stove insert.
By measuring the dimensions and clearing debris, you can create a safe and suitable space for installing the wood stove insert.
Once the area is prepared, we can move on to the next step of actually installing the wood stove insert.
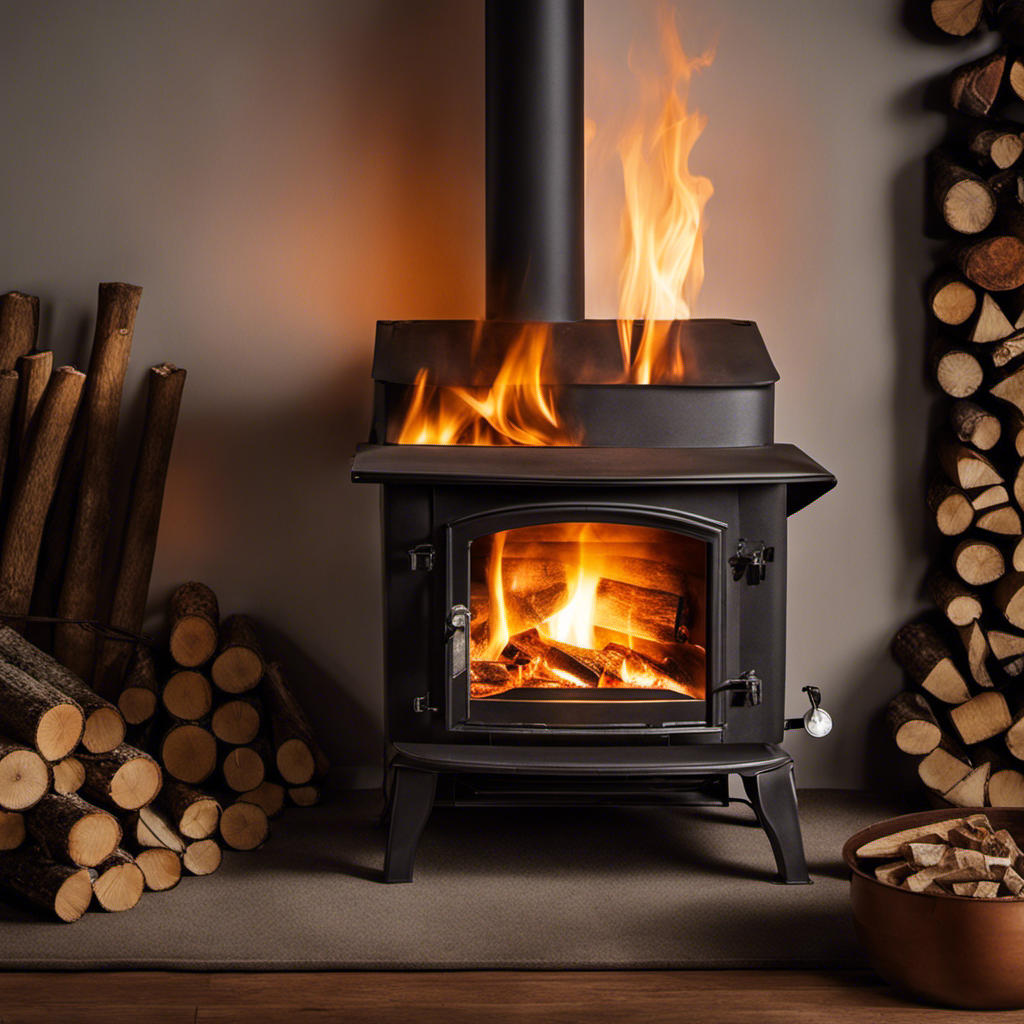
Installing the Wood Stove Insert
After preparing the area, I can now begin installing the wood stove insert by carefully sliding it into the fireplace opening and securing it in place. The first step is to make sure the insert is centered and level. I use a level to ensure it is straight and adjust as needed. Next, I connect the stovepipe to the insert, making sure it is properly attached and sealed to prevent any leaks. To enhance the visual appeal, I may add decorative tiles or bricks around the insert. Lastly, I test the stove to ensure it is functioning properly and producing heat efficiently. If any issues arise, troubleshooting tips can be helpful. Here are some common troubleshooting tips for wood stove inserts:
| Problem | Solution |
|---|---|
| Insufficient heat output | Check for blockages in the chimney or flue |
| Smoke in the room | Verify proper ventilation and adjust dampers |
| Difficulty starting fire | Use dry, seasoned wood and proper kindling |
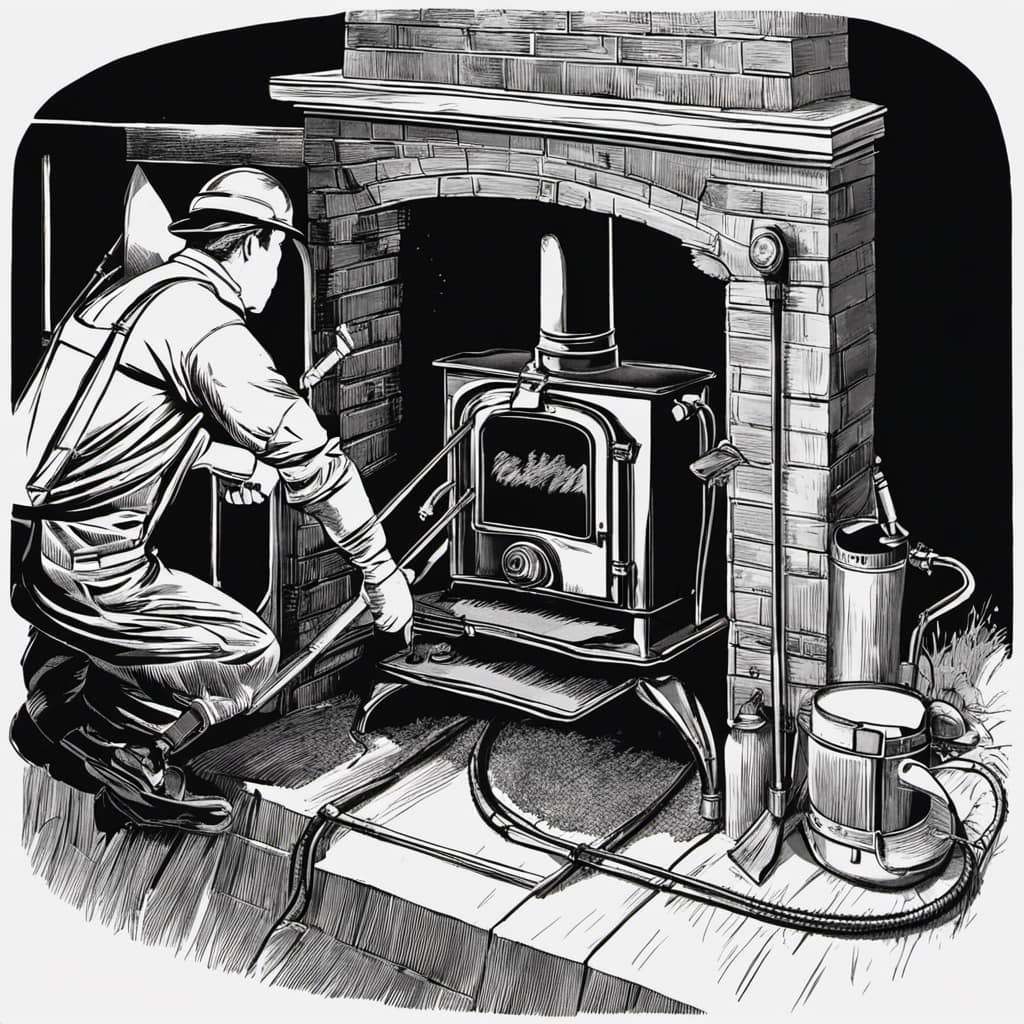
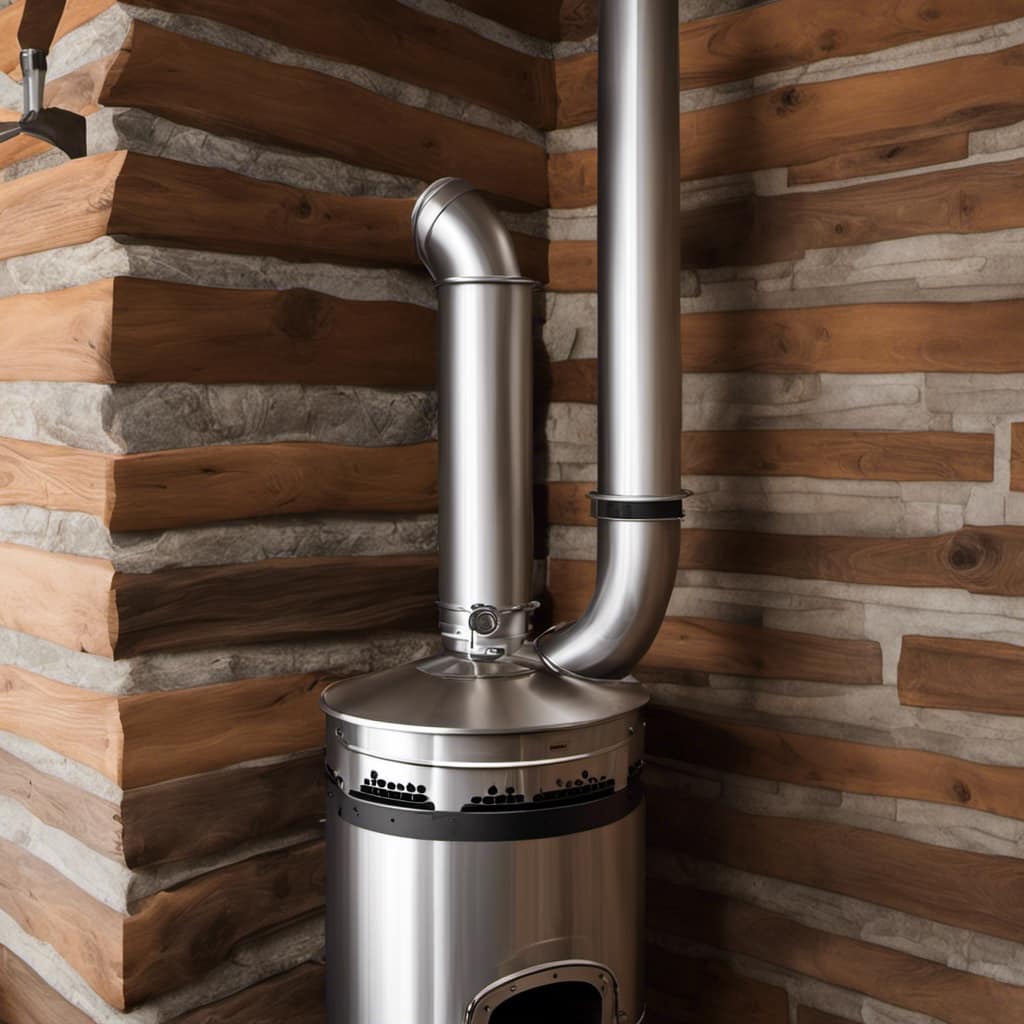
Connecting and Testing the Venting System
I’m currently connecting and testing the venting system to ensure proper airflow and ventilation for the wood stove insert. This step is crucial in ensuring the safety and efficiency of the wood stove.
Here are the testing procedures I follow during the venting installation:
-
Inspecting the vent pipes: I carefully check the vent pipes for any damage or obstruction that could affect the airflow. This includes making sure the pipes are securely connected and free from any debris.
-
Conducting a draft test: To ensure proper ventilation, I perform a draft test by lighting a small piece of paper and holding it near the vent. If the smoke is drawn up into the vent, it indicates that the venting system is functioning correctly.
-
Checking for carbon monoxide leaks: I utilize a carbon monoxide detector to check for any leaks in the venting system. This is essential for the safety of the occupants and to ensure that the wood stove is properly vented.
Frequently Asked Questions
How Much Does a Wood Stove Insert Typically Cost?
A wood stove insert typically costs between $1,000 to $3,000, depending on the brand and features. It offers several advantages, such as increased heating efficiency and reduced energy costs.
Can a Wood Stove Insert Be Installed in a Fireplace That Is Already in Use?
Sure, you can install a wood stove insert in a fireplace that’s already in use. It’s a straightforward process that brings numerous benefits like increased efficiency and reduced heating costs.
Is It Necessary to Hire a Professional for the Installation of a Wood Stove Insert?
It’s important to consider the pros and cons of DIY vs hiring a professional for installing a wood stove insert. While DIY may save money, a professional ensures proper installation and avoids potential risks.
What Are Some Common Safety Precautions to Keep in Mind When Using a Wood Stove Insert?
When using a wood stove insert, it’s important to take safety precautions. Keep flammable objects away, install smoke and carbon monoxide detectors, and have regular maintenance to ensure proper functioning.
Are There Any Regulations or Permits Required for Installing a Wood Stove Insert in Certain Areas?
In certain areas, regulations and permits may be required for the installation of a wood stove insert. These requirements ensure the safety and compliance with local regulations. It is important to consult with professionals and familiarize oneself with the specific regulations and costs involved.
Conclusion
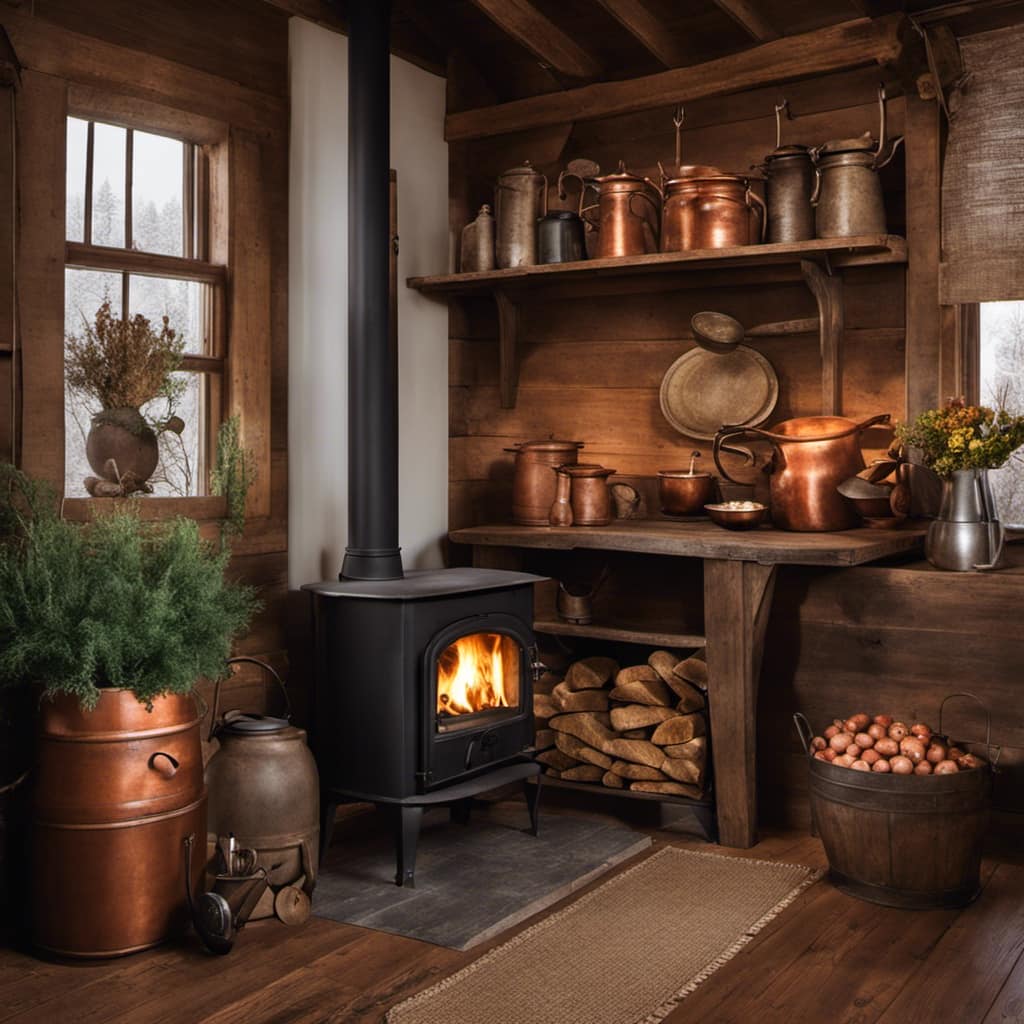
In conclusion, installing a wood stove insert requires careful assessment of the space, gathering the necessary tools and materials, preparing the area, and finally installing and testing the venting system.
It’s like building a cozy fireplace in your home, bringing warmth and comfort to your living space. Just as the crackling fire creates a visual representation of warmth, the wood stove insert brings practicality and efficiency to your heating needs.
With the right steps and materials, you can enjoy the benefits of a wood stove insert in no time.