Installing a small wood stove can create a cozy atmosphere while heating your home. Start by choosing a well-insulated location, ensuring it's at least 36 inches away from combustible materials. Prepare a non-combustible hearth that's at least 840mm x 840mm. You'll need basic tools like a drill and spirit level to align the pipes properly. Follow local regulations for flue design and safety clearances to prevent hazards. Once installed, operate it safely with seasoned wood and maintain regular inspections to enhance efficiency. Curious how to tackle each step? There's more valuable information waiting for you!
Key Takeaways
- Choose a well-insulated location for the stove, maintaining a minimum clearance of 36 inches from combustible materials.
- Ensure the hearth is non-combustible, measuring at least 840mm x 840mm with a thickness of 12mm.
- Follow proper flue design with a minimum length of 15 feet for efficient draft and prevent backdrafts.
- Install carbon monoxide and smoke alarms to enhance safety during operation and ensure regular maintenance checks.
- Adhere to local building codes and NFPA 211 standards for compliance and fire safety.

Extended Roof Bracket Kit, Supports 6 -14 inch Chimney Stove Pipe for Stability, Adjustable Extended Roof Brace for Securing 6"-14" Diameter Stove Pipe Silver, Adjustable Legs Mounting Brackets
High Quality Materials:We have adopted high-grade galvanized steel materials. Compared with traditional stainless steel or standard aluminum, the…
As an affiliate, we earn on qualifying purchases.
As an affiliate, we earn on qualifying purchases.
Understanding Wood Stove Basics
When it comes to heating your home, understanding wood stoves is vital. These appliances are rated based on their heating output, typically ranging from 25,000 to 80,000 BTUs. For medium-sized homes, you'll usually need a stove that provides between 5,000 to 25,000 BTUs for effective heating.
For instance, the BTU rating of Englander 10-Cpm shows it generates up to 50,000 BTUs, making it suitable for larger spaces. When selecting a wood stove, consider EPA-certified models designed to meet emissions regulations, ensuring a more efficient and eco-friendly option.
Wood stove operation is markedly influenced by flue design. Taller, straighter, and insulated flues enhance draft performance while minimizing smoke backdrafts, making your stove more effective.
Proper installation is essential, as it involves adhering to safety regulations, especially regarding clearance from combustible materials. These clearances can vary, so consult local building codes and your stove manufacturer's guidelines.
To maximize your stove's efficiency, always use seasoned hardwood. Burning green wood can lower energy output and increase creosote buildup in your chimney, leading to potential hazards.
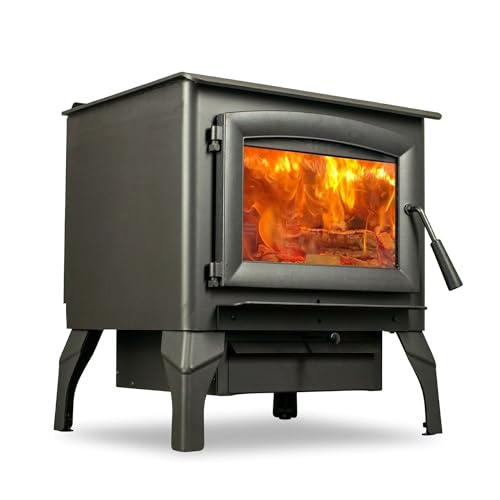
US Stove 2,000 Sq. Ft. Wood Stove
89,000 BTUs heats up to 2,000 square feet of living space
As an affiliate, we earn on qualifying purchases.
As an affiliate, we earn on qualifying purchases.
Planning Your Installation Location

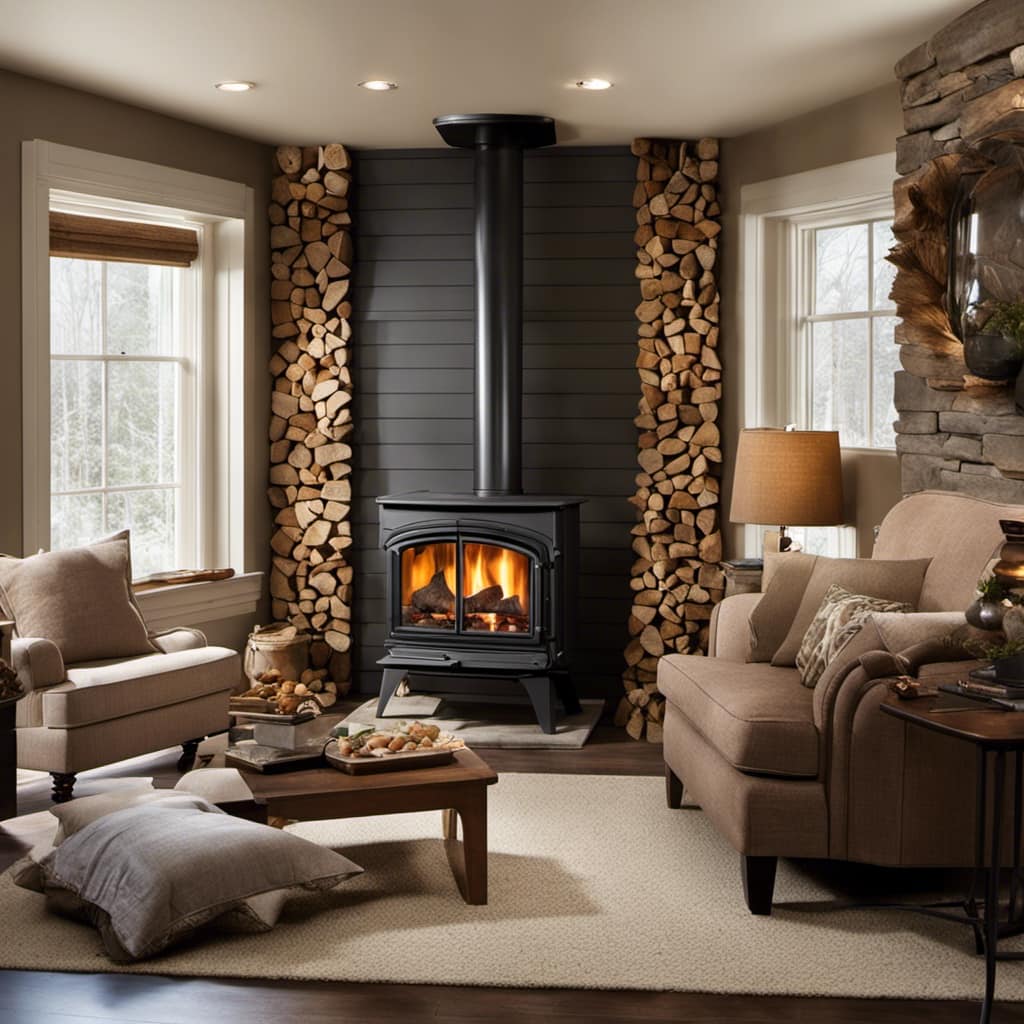
Selecting the right location for your wood stove is vital for maximizing heating efficiency and guaranteeing safe operation. Aim to place your stove on the first floor in a room with good insulation, which helps retain heat. Additionally, verify that your installation complies with local zoning laws and safety standards, as this will contribute to the overall effectiveness and legality of your setup.
Make sure you maintain a minimum clearance from any combustible materials of at least 36 inches, as per local building codes and manufacturer guidelines.
When determining your installation location, consider the chimney placement. Your stove should align with the flue for ideal draft, which is important for both efficiency and safety. Avoid areas under lofts or low ceilings; these can complicate flue installation and hinder proper ventilation.
For further insight into installation practices, refer to pool construction regulations.
A living room installation is a great choice, as it allows for enhanced visibility and comfort while you enjoy your stove's warmth. However, if you have young children in the home, implement safety measures, like a protective barrier, to prevent accidents.
non-combustible hearth pad 840mm x 840mm
As an affiliate, we earn on qualifying purchases.
As an affiliate, we earn on qualifying purchases.
Essential Tools and Materials

Before you start your small wood stove installation, you'll need to gather some essential tools and materials.
It's also wise to take into account safety measures, such as guaranteeing proper ventilation and using high-quality materials, similar to how safety features include auto-reverse in garage door openers.
You'll want to have a drill, jigsaw, and various drill bits on hand to make sure everything fits together perfectly.
Additionally, make sure you have the right materials for the hearth and flue kit to comply with safety standards.
Required Tools Overview
A solid set of essential tools makes small wood stove installation straightforward and efficient. To successfully install a wood stove, you'll need specific tools required for precise cuts and secure fittings. Here's a quick overview of what you'll need:
| Tool | Purpose | Quantity |
|---|---|---|
| Drill | For making holes and securing fittings | 1 |
| Jigsaw | To cut non-combustible floor pad and flue parts | 1 |
| Spirit Level | Guarantees your stove is perfectly level | 1 |
| Screwdriver | For fastening screws during installation | 1 |
| Drill Bits (10mm & 4mm) | For drilling precise holes | 1 of each |
It's essential to take into account the proper clearance when positioning your stove, keeping it at least 200mm from walls. Don't forget to install a smoke detector nearby to guarantee safety. As you prepare for your stove installation, gather these tools to streamline the process and comply with safety regulations. With the right tools in hand, you'll be well on your way to enjoying the warmth of your new wood stove.
Necessary Materials Checklist
When installing a small wood stove, having the right materials is just as important as having the right tools. Start with a hearth made from non-combustible material, at least 12mm thick and measuring a minimum of 840mm x 840mm. This guarantees safety against ember hazards.
Additionally, it's wise to take into account the benefits of diversification in your financial planning, much like guaranteeing a safe installation process. You'll also need heat shielding for combustible materials; position the stove 200mm away from walls with shielding.
For the flue system, a complete flue kit is vital. This should include single skin and twin wall flue pipes, elbows, and support brackets—typically costing around £585 for a system approximately 3.6m high.
Remember that single wall flue pipes need three times their diameter in clearance from combustibles.
Lastly, invest in carbon monoxide and smoke alarms for safety. Good ventilation is essential during installation to comply with regulations and create a safe environment.

FireHiking Fireproof Pipe Wrap (Basalt Fiber) Anti Scalding Chimney Ribbon Stove Flue Protector with 2 Clamps
【Level 3 Basalt Fiber Material】 The Industrial grade safe material has excellent high temperature resistance. But it may…
As an affiliate, we earn on qualifying purchases.
As an affiliate, we earn on qualifying purchases.
Flue Design and Requirements

Effective flue design is fundamental for maximizing your wood stove's efficiency and safety. A proper flue system should be tall, straight, and insulated to enhance smoke removal efficiency. Traditional construction recommends a minimum flue length of 15 feet to guarantee adequate natural draft. Insulated flues help maintain hot flue gases, preventing heat loss and improving performance.
Additionally, maintaining good indoor air quality is essential, as it can prevent pollutants from entering your home, similar to how ozone air purifiers eliminate allergens.
Chimney height plays a significant role; it must extend above the roofline to avoid backdrafts and meet safety regulations. Remember, wood stove flue temperatures can peak around 800°F, so you'll need to use solid fuel-rated stovepipe. Using pellet pipes, which are only rated for 570°F, poses significant safety risks.
Regular inspections of the flue system are important to maintain long-term performance and guarantee compliance with local building codes. These inspections help you identify any issues early, preventing dangerous situations like creosote buildup.
Safety Clearances and Regulations

Guaranteeing proper safety clearances for your wood stove is vital for preventing fire hazards and maintaining efficiency.
You'll need to maintain a minimum clearance of 36 inches from unprotected surfaces for radiant heat stoves, but remember that specific clearance ratings can vary based on local regulations and the type of stove you have. Always consult the manufacturer for their specific clearance guidelines.
Additionally, having a methodical approach to installation, much like best practices in software quality assurance, can greatly enhance safety and compliance.
For wall protection, use non-combustible materials and make sure there's a 1-inch air gap for proper ventilation.
The hearth must also be made of non-combustible material, with a minimum size of 840mm x 840mm. It should extend 225mm in front and 150mm on each side and rear of the stove to guarantee safety.
Don't forget that local building codes may require additional permits or inspections, so it's important to notify local officials of your installation plans for compliance.
Adhering to NFPA 211 standards for unlisted solid-fuel appliances will also help you stay safe.
Preparing the Hearth and Surroundings

Before you install your small wood stove, you'll need to focus on the hearth's size and materials.
Make certain it meets the required dimensions and is made from non-combustible materials to guarantee safety.
Proper disposal methods are also essential to prevent any flammable materials from being inadvertently stored near the stove.
Additionally, keep clearances in mind to comply with safety regulations and prevent fire hazards.
Hearth Size Requirements
When you're setting up a small wood stove, choosing the right hearth size is important for safety and efficiency. Your hearth must be constructed from non-combustible materials and should be at least 12mm thick to provide adequate protection against heat and embers.
It's significant to take into account factors such as reputation and reviews from past clients when selecting a service for installation, as this can impact the quality of the setup. The minimum size for the hearth is 840mm x 840mm, which includes 150mm of space on the sides and rear, and 225mm in front. This guarantees safety and accessibility while allowing for proper airflow.
It's essential that your hearth pads or stove boards extend sufficiently to catch any embers that may escape from the stove door. Additionally, you'll need at least 200mm of clearance from walls to prevent heat damage, which may require extra shielding if the stove is close to combustible surfaces.
Following UL 1482 standards is critical, as it guarantees your hearth provides sufficient ember and thermal protection. This setup will help you maintain compliance with local building codes and safety regulations, securing a safe and effective installation for your small wood stove.
Material Selection Options
Choosing the right materials for your hearth and surrounding areas is vital for both safety and aesthetics. Start by selecting non-combustible materials like glass, slate, concrete, or patio tiles for your hearth, which should measure at least 840mm x 840mm and be a minimum of 12mm thick. This guarantees protection against embers and reduces fire hazards.
Additionally, considering sustainable energy solutions, such as geothermal energy, can enhance the overall efficiency of your home setup. Make certain the hearth extends 150mm on the sides and rear, and 225mm in front of the stove.
To shield combustible walls, position your stove 200mm away and use materials like Hardie-Backer or vermiculite boards. These act as effective heat shields to prevent potential fire hazards.
When it comes to your stove pipe, remember that a single wall flue pipe needs to be three times its diameter away from combustibles, while a twin wall pipe should maintain a 50mm distance.
For ideal performance and compliance with safety regulations during installation, consider using a combination of single skin and twin wall flue pipes in your flue kit. Making informed material selections is vital for a safe and efficient wood stove installation in your home.
Clearances and Safety Regulations
Proper clearances and adherence to safety regulations are essential for a successful wood stove installation.
You'll need to verify your hearth is made from non-combustible materials, with a minimum thickness of 12mm and dimensions of at least 840mm x 840mm. It should extend 225mm in front and 150mm on the sides and rear of the stove.
Additionally, understanding the importance of cat health and nutrition can help verify that your pets remain safe while you enjoy your wood stove.
Here are some key safety considerations:
- Minimum Clearance: Maintain a minimum clearance of 36 inches from unprotected surfaces for radiant stoves. Always check the manufacturer's guidelines for listed stoves according to local building codes.
- Chimney Pipe Clearance: For single wall flue pipes, keep a clearance of three times their diameter from combustible materials, while twin wall pipes require a 50mm distance.
- Wall Protection: If your stove is within clearance limits, install non-combustible wall protection and allow for a 1-inch air gap for ventilation.
- Alarms and Ventilation: Install CO and smoke alarms near the stove and verify good ventilation to prevent hazardous gas accumulation.
Following these guidelines will help you create a safe and efficient wood stove environment.
Step-by-Step Installation Process

To kick off the installation of your small wood stove, start by selecting a suitable location that adheres to safety clearance requirements. Confirm that your stove sits on a non-combustible hearth, measuring at least 840mm x 840mm, with additional floor protection extending in front and on the sides.
Next, carefully position the stove and use a plumb bob or laser level to align the exhaust collar with the ceiling. Cut a hole in the ceiling for the support box accordingly.
When assembling the chimney, remember that the chimney must shift from the stovepipe to Class A insulated chimney pipe, adhering to local building codes and maintaining required clearance from combustibles.
Once the chimney is set up, connect the stove pipe to the stove using either single or double wall black stove pipe, ensuring the male ends point down toward the stove and that you maintain proper clearance from walls and other combustibles.
Operating Your Wood Stove Safely

When operating your wood stove, safety should always be your top priority.
Make sure you're using the right fuel and following fire safety practices to prevent accidents.
Regular maintenance checks will keep your stove running efficiently and safely, so don't skip those!
Fire Safety Practices
Guaranteeing your wood stove operates safely is vital for protecting your home and loved ones. Implementing effective fire safety practices can greatly reduce the risk of accidents. Here are some important steps you should take:
- Maintain a Safe Distance: Always keep flammable items at least three feet away from the wood stove. This safe distance helps prevent accidental fires and guarantees a safer environment.
- Use Non-Combustible Materials: Install a non-combustible floor pad that extends at least 18 inches in front of the stove and 8 inches on the sides. This protects your floor from heat and embers.
- Conduct Regular Inspections: Schedule yearly inspections of your chimney, including checking your chimney cap, to remove creosote buildup. This is essential for preventing chimney fires.
- Install Smoke Detectors: Make sure you have smoke and carbon monoxide detectors in your home. Check them monthly to confirm they're functioning correctly, providing early warnings in case of fire or gas leaks.
Proper Fuel Usage
Using the right type of fuel is essential for operating your wood stove safely and efficiently. Always choose seasoned hardwood that's been air-dried to a moisture content of 20% or less. This guarantees efficient burning and minimizes creosote buildup, which can lead to chimney fires. Burning green wood not only produces 60% less energy but also increases smoke emissions.
Avoid burning chemically treated or painted wood, as these release toxic fumes. When you're stove using, maintain a small, hot fire by adding small splits of wood instead of large logs. This promotes ideal combustion and reduces the risk of overfiring. Regularly check your stove's temperature with a chimney temperature gauge; keeping it between 250°F and 700°F guarantees efficient operation.
Lastly, always allow ashes to cool completely before disposal. Store them in a metal container with a tight-fitting lid until they're fully extinguished.
| Type of Wood | Benefits |
|---|---|
| Seasoned Hardwood | Efficient burning, less creosote |
| Green Wood | Less energy, more smoke |
| Treated/Painted Wood | Toxic fumes, harmful pollutants |
| Air-Dried Wood | Ideal moisture content |
Regular Maintenance Checks
Regular maintenance checks are vital to operating your wood stove safely and efficiently. By taking the time to inspect and maintain your stove regularly, you can prevent hazards and guarantee peak performance.
Here are four essential maintenance tasks you shouldn't skip:
- Inspect the chimney for creosote buildup: Check at least once a year. If you find deposits exceeding 1/4 inch, clean them to prevent fire hazards.
- Guarantee proper airflow: Make sure the stove's air intake and venting systems are unobstructed. This is essential for efficient combustion and minimizing smoke emissions.
- Maintain the glass door and gaskets: Regularly clean these components to keep an airtight seal, which improves efficiency and prevents smoke from entering your space.
- Monitor temperature: Use a thermometer to check the stove and chimney temperatures. If they exceed 400°F, it could indicate flue blockages or poor draft.
Remember to store and handle ashes safely, allowing them to cool completely before disposal.
Following these maintenance tips will keep your wood burning stoves operating smoothly and safely, guaranteeing you enjoy warmth without worry.
Maintenance Tips for Longevity

To keep your small wood stove running efficiently and safely, it's crucial to prioritize regular maintenance. Stoves require consistent care to avoid issues like creosote buildup, which can lead to dangerous chimney fires.
Inspect and clean your insulated chimney at least once a year, especially if you notice creosote exceeding 1/4 inch on the walls.
Confirm you use properly seasoned wood with a moisture level around 20% to promote efficient burning and minimize creosote formation. A stove thermometer is invaluable; it helps you monitor internal temperatures and keeps them below 400°F to prevent overfiring. Overfiring can weaken your stove's components over time.
Additionally, always store ashes in a non-combustible material container and allow them to cool completely before disposal. This step minimizes fire hazards and confirms safe handling.
Finally, follow the manufacturer's maintenance schedule for your specific wood stove model. This schedule will help you address any wear and tear, confirming your stove operates efficiently for years to come.
Eco-Friendly Fuel Options

Finding the right fuel for your small wood stove can enhance both its efficiency and environmental impact.
Opting for eco-friendly fuel options not only reduces your carbon footprint but also maximizes your stove's performance. Here are some great choices to reflect on:
- Wood Pellets: These biomass fuels are made from compressed sawdust and can achieve efficiencies of up to 90%. They burn cleanly and produce lower emissions compared to traditional wood logs.
- Ethanol: Derived from plant materials, ethanol is a clean-burning alternative that emits considerably fewer pollutants than wood, making it a smart choice for eco-conscious users.
- Solar-Powered Systems: By integrating solar heating with your wood burning stove, you create a hybrid system that reduces reliance on wood fuel and utilizes renewable energy sources.
- Sustainably Sourced Wood: Opting for wood from certified forests guarantees you're using a carbon-neutral option. The carbon emitted during combustion is offset by the carbon absorbed by trees throughout their growth, promoting sustainable sourcing of wood.
Frequently Asked Questions
How Do You Vent a Small Wood Stove?
To vent your small wood stove, use a solid fuel-rated stovepipe, guarantee it's at least 15 feet long, and install a double wall adapter. Always align pipes correctly to prevent smoke leakage and enhance draft.
What Do I Need to Do to Install a Wood Burning Stove?
To install a wood burning stove, you'll need to check local codes, choose a safe location, prepare a non-combustible hearth, install a proper chimney, and regularly inspect everything to guarantee safety and efficiency.
Does the Crimped End of Stove Pipe Go up or Down?
"An ounce of prevention's worth a pound of cure." Position the crimped end of your stove pipe down towards the stove. This guarantees proper smoke flow, prevents moisture buildup, and keeps your wood stove running efficiently.
How Close Can an Outlet Be to a Wood Stove?
You shouldn't install outlets closer than 36 inches from the stove's front and 12 inches from the sides. Always check local codes and consider using non-combustible materials for safety against overheating and fire hazards.
Conclusion
Installing a small wood stove might seem challenging, but with the right guidance, you can tackle it with confidence. You may worry about safety, but by following regulations and maintaining proper clearances, you're ensuring a secure setup. Plus, the warmth and ambiance a wood stove brings to your space is worth the effort. Embrace the cozy benefits, and remember, regular maintenance will keep your stove running efficiently for years to come. Happy heating!