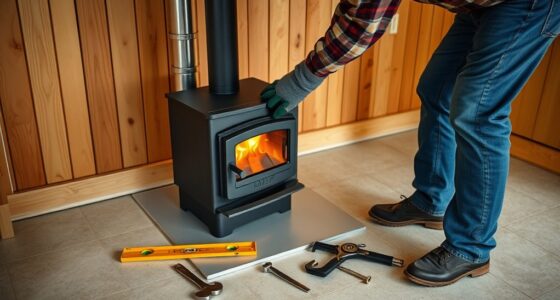

To easily fix air leaks in your wood stove, start by inspecting the gaskets for signs of wear, like cracks or drafts. Gather tools such as a scraper, gasket material, and adhesive. Remove the old gasket carefully, then measure and cut the new one precisely. Install it securely, ensuring a tight seal, and test for leaks using smoke or an incense stick. Keep going to discover detailed steps that help you do the job right.
Key Takeaways
- Inspect gasket wear signs like cracks, fraying, or drafts to identify air leaks early.
- Remove old gasket carefully with a scraper and clean the surface thoroughly before installing a new gasket.
- Measure and cut the new gasket precisely to ensure a snug fit and optimal sealing.
- Apply high-temperature gasket sealant evenly to create an airtight seal around the door or glass.
- Test the gasket seal by performing a smoke test or burn test to confirm no air leaks remain.

Rutland Wood Stove Gasket Replacement Kit, Graphite Impregnated Gasket & Adhesive, 3/4" x 7' Rope, Black
3/4" rope, 7-feet long, 1.3oz cement
As an affiliate, we earn on qualifying purchases.
As an affiliate, we earn on qualifying purchases.
Identifying Signs of Gasket Wear and Air Leaks
Over time, wood stove gaskets can wear out or become damaged, leading to air leaks that reduce efficiency and increase emissions. To identify these issues, check for uneven or incomplete seals around the door and glass. If you notice drafts or difficulty maintaining the desired temperature, it’s a sign the gasket isn’t sealing properly. When inspecting, consider gasket material selection; some materials wear faster or don’t withstand high temperatures well. Proper gasket choice ensures airflow enhancement, helping your stove operate efficiently. Look for cracks, fraying, or hardened areas that indicate deterioration. A compromised gasket results in excess air entering the stove, which can cause uneven burning and increased emissions. Recognizing these signs early allows you to address leaks before they worsen, restoring ideal airflow and stove performance. Additionally, understanding AI in mobile devices and its integration can help you choose high-tech solutions for monitoring and improving your stove’s efficiency. Being aware of gasket wear signs can further help you catch problems early and prolong the lifespan of your stove components. Regular inspection and maintenance can also prevent minor issues from developing into major repairs, ensuring consistent stove operation. Incorporating proper cleaning techniques can further extend gasket life and maintain optimal sealing.
high temperature gasket sealant for stoves
As an affiliate, we earn on qualifying purchases.
As an affiliate, we earn on qualifying purchases.
Gathering Tools and Materials for Gasket Replacement

Before you start replacing your gaskets, you need to gather the right tools and materials. You’ll require basic tools like a screwdriver and a putty knife, along with new gasket material and adhesive. Having everything ready guarantees a smooth and efficient repair process. Considering the importance of a proper seal, understanding air leaks and how they affect stove efficiency can help you identify if gasket replacement is necessary. Taking a moment to review inspirational quotes about fatherhood can also remind you of the value of patience and care during your repair project.
Tools Needed for Gasket Replacement
To successfully replace your wood stove gasket, you’ll need to gather the right tools and materials first. Essential tools include a gasket scraper or putty knife to remove old gasket material, a utility knife for trimming, and a high-temperature adhesive or gasket cement. You might also want a pair of gloves and safety glasses for protection. When choosing gasket material options, consider heat resistance and flexibility for a good seal. Keep your tools in good shape by cleaning them after each use and avoiding excessive force, which can damage them. Proper tool maintenance tips ensure your tools last longer and perform well. Having the right tools ready makes the gasket replacement process smoother, quicker, and more successful.
Materials Required for Repair
Gathering the right materials is essential for a successful gasket replacement. You’ll need gasket material selection that matches your stove’s specifications, guaranteeing a proper seal. Safety equipment is also critical; wear gloves, safety glasses, and a dust mask to protect yourself from debris and fumes. Here’s a quick overview:
| Material/Tool | Purpose |
|---|---|
| High-temperature gasket | Seal replacement |
| Gasket adhesive | Secure gasket in place |
| Wire brush or scraper | Clean surface before installing |
| Safety gear (gloves, glasses, mask) | Protect during work |
| Wire or gasket remover | Remove old gasket |
Having these materials ready ensures your repair is safe and effective, with the right gasket material selection making all the difference.
wood stove gasket material
As an affiliate, we earn on qualifying purchases.
As an affiliate, we earn on qualifying purchases.
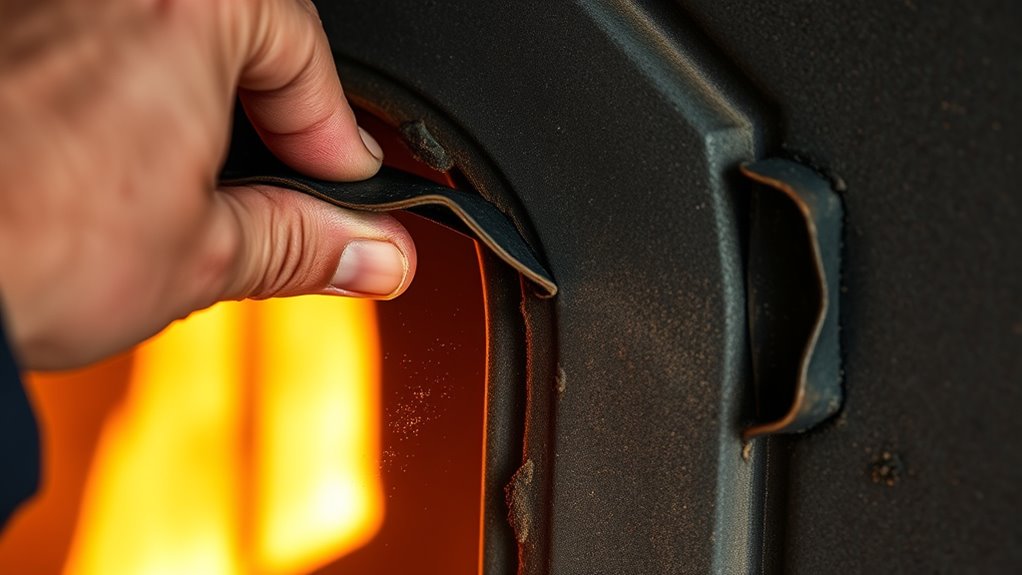
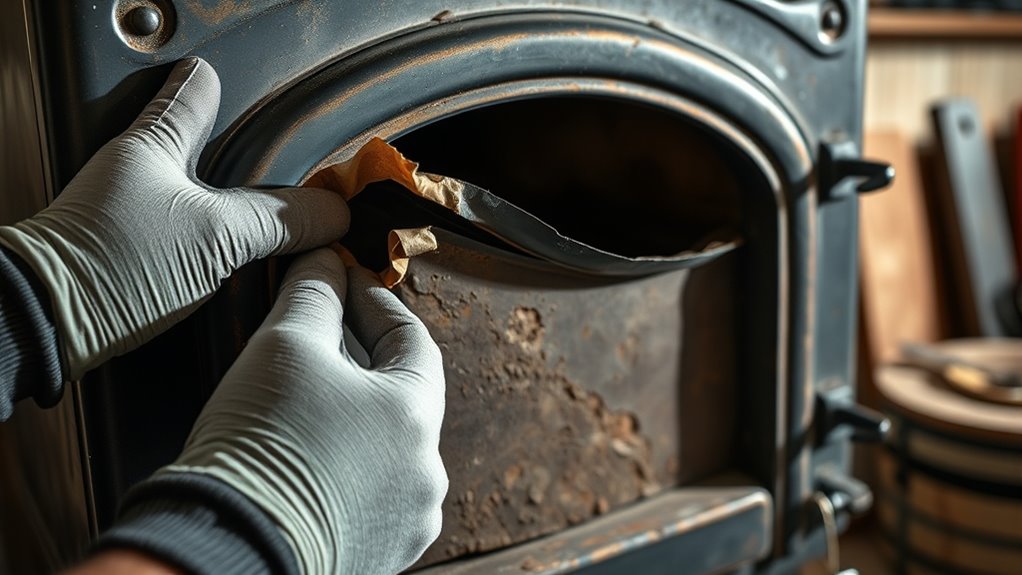
Removing Old Gaskets Safely and Effectively
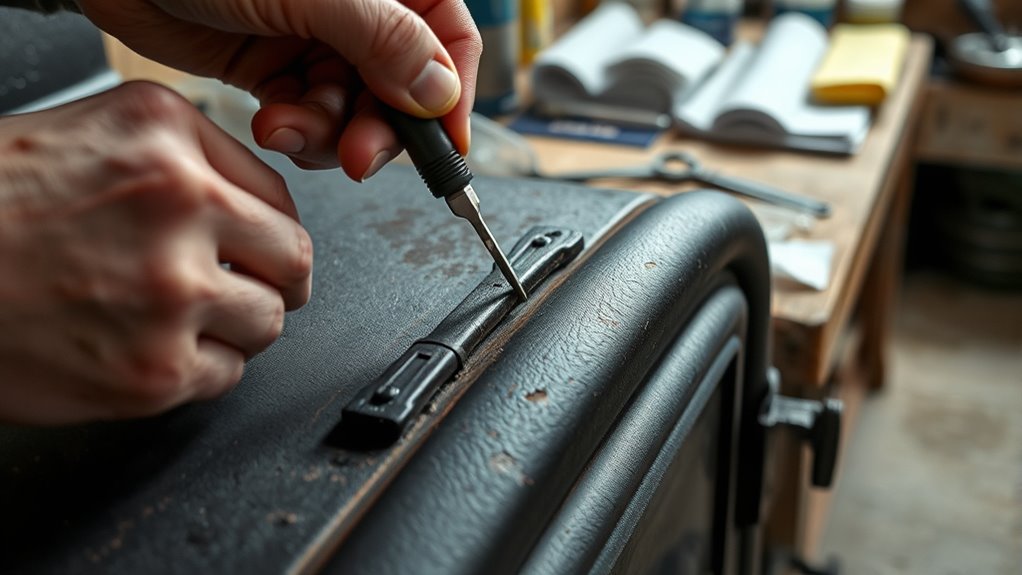
Removing old gaskets from your wood stove requires careful attention to avoid damaging the surrounding surfaces. Start by turning off the stove and allowing it to cool completely. Use a putty knife or scraper to gently lift the gasket, taking care not to scratch the metal. When choosing gasket material options, consider the existing gasket’s type to ensure compatibility. Follow these safety precautions:
- Wear gloves to protect your hands from sharp edges.
- Use eye protection against debris or gasket fragments.
- Work in a well-ventilated area to avoid inhaling dust.
- Apply heat with a heat gun if gaskets are stubborn, easing removal.
- Understanding industry trends can help you select the most durable gasket materials for your stove. Being aware of Kia Tuning concepts can also guide you toward high-quality gaskets that withstand high temperatures and provide a better seal. Additionally, knowing about glycolic acid benefits can inspire you to choose gasket materials that offer optimal flexibility and resilience over time. Exploring automation in business trends can offer insights into innovative materials and techniques used in gasket manufacturing. Patience is key to safely extracting old gaskets without harming your stove. For example, some modern gasket materials incorporate advanced composite technology to improve longevity and performance.
wood stove gasket scraper tool
As an affiliate, we earn on qualifying purchases.
As an affiliate, we earn on qualifying purchases.
Measuring and Cutting New Gaskets Precisely

Ensuring your new gasket fits perfectly starts with careful measuring and precise cutting. First, choose the right gasket material options, such as fiberglass rope or silicone gasket, based on your stove’s specifications. Use accurate measuring tools like a tape measure, ruler, or flexible curve to determine the length and width needed for each gasket section. Measure twice to avoid mistakes, and mark your measurements clearly on the gasket material. When cutting, use sharp scissors or a utility knife to guarantee clean, straight edges. Precise measurements and careful cutting prevent gaps that could cause air leaks. Taking your time during this step guarantees a snug fit and helps you achieve the best seal when installing your gaskets later. Proper gasket installation also helps reduce air leaks, improving the stove’s efficiency and safety. Additionally, understanding the types of gasket materials appropriate for your stove can ensure durability and optimal performance. Being aware of air quality considerations can also guide you in selecting the most suitable gasket material for a safe and efficient stove operation. Selecting high-temperature resistant gasket materials is crucial for ensuring longevity under stove operating conditions.
Installing New Gaskets for a Secure Seal
Before installing the new gaskets, make sure the area is clean and free of debris. Apply the sealant evenly to guarantee a proper bond, then carefully position the gasket for a snug fit. Double-check that the gasket sits tightly all around to create a secure, airtight seal. Ensuring proper installation techniques will help maintain the gasket’s effectiveness and extend its lifespan. Additionally, verifying that the airflow is unobstructed after installation can improve overall performance. Regular inspection of gaskets can prevent future air leaks and maintain optimal stove operation. Being aware of common gasket issues can also help you address potential problems early on. Incorporating self-inspection routines can further ensure that your stove continues to operate efficiently over time.
Preparing the Gasket Area
To achieve a proper seal when installing new gaskets, you need to carefully prepare the gasket area. Start by inspecting the gasket seat for any damage or residue from chimney maintenance. Remove loose debris and old gasket material to guarantee a clean, smooth surface. Clear out ash buildup around the door and seal area to prevent gaps. Follow these steps:
- Clean thoroughly with a brush or vacuum to remove dust and ash.
- Check for cracks or warping in the gasket seat.
- Sand or smooth rough spots for a better seal.
- Ensure the surface is dry before installing new gaskets.
- Proper surface preparation can also prevent vulnerabilities exploited by AI vulnerabilities, ensuring a more secure and lasting gasket installation. Additionally, understanding the importance of consistent messaging can facilitate clear communication with others involved in the maintenance process. Being aware of recent AI discoveries can help in understanding how emerging technologies might impact future repairs and innovations.
Proper preparation helps avoid leaks and promotes efficient stove operation.
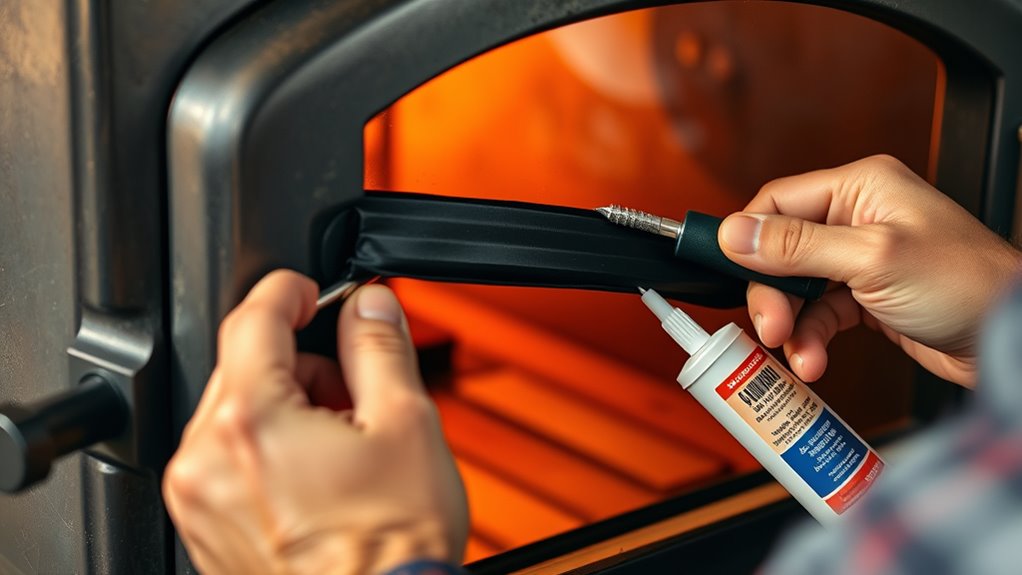
Applying Sealant Properly
Once the gasket area is clean and smooth, it’s time to apply the sealant to secure your new gaskets. Start by using a high-temperature sealant designed for stove applications. When performing sealant application, apply a consistent bead around the entire gasket channel, avoiding gaps or excess. Use gasket sealing techniques such as a steady hand and even pressure to ensure the sealant spreads uniformly. Be careful not to apply too much, as excess can squeeze out and create a mess or interfere with the door closing. Work quickly but precisely, maintaining a continuous line. This careful application helps create a strong, airtight seal, preventing air leaks and ensuring your stove functions efficiently. Proper sealant application is key to a successful gasket replacement. Additionally, taking the time to inspect and maintain other stove components can further improve performance and safety, especially by checking for potential air leaks that could reduce efficiency.
Ensuring a Tight Fit
Achieving a tight fit when installing your new gaskets is crucial for ensuring your stove operates efficiently and safely. A secure seal prevents air leaks that could compromise fire safety and reduce gasket durability. To ensure a proper fit, consider these key steps:
- Measure carefully to select the right gasket size.
- Clean the gasket channel thoroughly before installation.
- Apply consistent pressure when pressing the gasket into place.
- Check for gaps or overlaps and trim if necessary.
A well-fitted gasket maintains the proper airflow, improving stove efficiency and safety. It also minimizes the risk of dangerous smoke leaks and prolongs gasket lifespan. Taking the time to ensure a snug fit is essential for reliable performance and peace of mind.
Testing Your Stove After Gasket Replacement
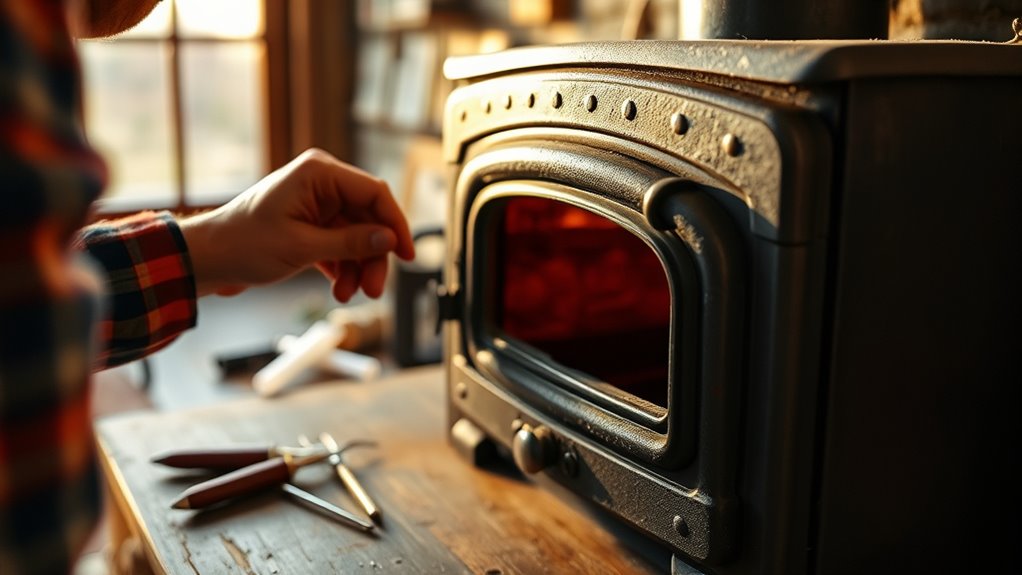
After replacing your stove’s gaskets, it’s essential to test it thoroughly to guarantee everything is sealed correctly. This step ensures proper stove maintenance and promotes fire safety by preventing air leaks that could cause inefficient burning or dangerous smoke escape. To check your work, perform a simple smoke test: hold a lit incense stick near the gasket seals and observe for smoke escaping. If you see smoke, re-tighten or replace the gasket as needed. Keep in mind, proper testing prevents air leaks and keeps your stove operating safely. Here’s a quick overview:
| Test Method | What to Look For | Next Step |
|---|---|---|
| Smoke Test | Smoke escaping from gasket | Re-tighten or replace gasket |
| Visual Inspection | Gasket alignment | Adjust or reseal |
| Burn Test | Proper combustion | Confirm sealing |
| Smoke Detector Alert | Smoke in the room | Immediate safety check |
Frequently Asked Questions
How Often Should I Inspect My Wood Stove Gaskets?
You should inspect your wood stove gaskets regularly, ideally every few months, especially during the heating season. The inspection frequency helps guarantee your gasket material selection remains effective, preventing air leaks. Look for signs of wear, cracks, or gaps. If you notice deterioration, it’s time to replace the gaskets. Regular checks maintain efficiency, safety, and proper combustion, saving you energy and reducing risks of leaks or stove damage.
Can I Replace Gaskets Without Professional Help?
Did you know that improper gasket replacement can decrease your stove’s efficiency by up to 15%? You can definitely replace gaskets yourself if you follow proper DIY safety procedures. Make certain the stove is cool, wear gloves, and work in a well-ventilated area. While DIY is possible, remember that correct installation prolongs gasket longevity and prevents air leaks. If unsure, consulting a professional guarantees safety and ideal performance.
What Are Common Mistakes During Gasket Installation?
When installing gaskets, you might make common mistakes like incorrect measurement, which can lead to gaps or leaks. Using the wrong tools, such as dull blades or improper screwdrivers, can damage the gasket or stove surface. Make certain you measure carefully and select the right tools for the job. Take your time, double-check measurements, and handle materials gently to avoid costly errors and achieve a proper seal.
Are There Alternative Materials for Stove Gaskets?
You might wonder if there are alternative materials for stove gaskets. Yes, options like fiberglass, ceramic fiber, and high-temperature silicone exist, offering different benefits. When choosing, consider gasket longevity, as some materials last longer and resist wear better under heat. Using alternative materials can improve your gasket’s durability and efficiency, making it easier to maintain a tight seal and extend the overall lifespan of your stove.
How Do I Prevent Future Gasket Wear and Leaks?
To keep your stove running smoothly, you need to stay one step ahead. Focus on gasket material durability by choosing high-quality, heat-resistant materials. Use proper sealing techniques to guarantee an airtight fit, preventing future wear and leaks. Regularly inspect your gaskets for signs of deterioration and clean the sealing surfaces. A little maintenance now saves you from bigger headaches later, helping your stove operate efficiently for years to come.
Conclusion
Now that you’ve replaced your wood stove gaskets, you’re all set to enjoy a warmer, more efficient fire. Fixing those air leaks is like tightening the ship’s sails—you’ll notice better heat retention and lower wood consumption. Don’t let small issues turn into big problems; stay proactive with regular check-ups. With your newfound skills, you’re ready to keep your stove running smoothly for years to come. Remember, a stitch in time saves nine!