When choosing a pellet stove, focus on its heating capacity, guaranteeing it can warm your space efficiently. Look for a hopper size that matches your burn time needs, and check control features like thermostats and remote options for convenience. Pay attention to noise levels, choose models with durable build materials, and verify proper venting for safety. If you keep exploring, you’ll discover how to select the best features for your home and long-term use.
Key Takeaways
- Choose a stove with appropriate BTU ratings and durable materials for efficient, long-lasting heating.
- Opt for larger hopper sizes (80-120 lbs) to support extended burn times and reduce refilling.
- Look for advanced control options, including digital panels, thermostats, and remote management features.
- Prioritize models with easy-to-clean components, accessible ash pans, and high-quality construction for maintenance ease.
- Ensure proper venting capabilities, safety features, and adherence to installation standards for safe operation.
Heating Capacity and Heat Output
When choosing a pellet stove, it’s important to take into account its heating capacity and heat output to guarantee it meets your needs. The BTU rating indicates the stove’s heating capacity, typically ranging from 8,000 to 50,000 BTUs per hour. For ideal thermal performance, select a stove size suited to your room size—around 40,000 BTUs can heat approximately 1,500 square feet, depending on insulation. The heat output, measured in BTUs/hour, reflects the heat levels the stove can produce continuously. A well-matched BTU rating prevents overheating or cold spots, while a high-quality heat exchanger enhances energy efficiency. Proper sizing improves fuel efficiency and ensures consistent warmth, making your stove both effective and economical for your space. Additionally, choosing a stove with heat pump efficiency features can help maintain optimal performance and reduce energy consumption over time.
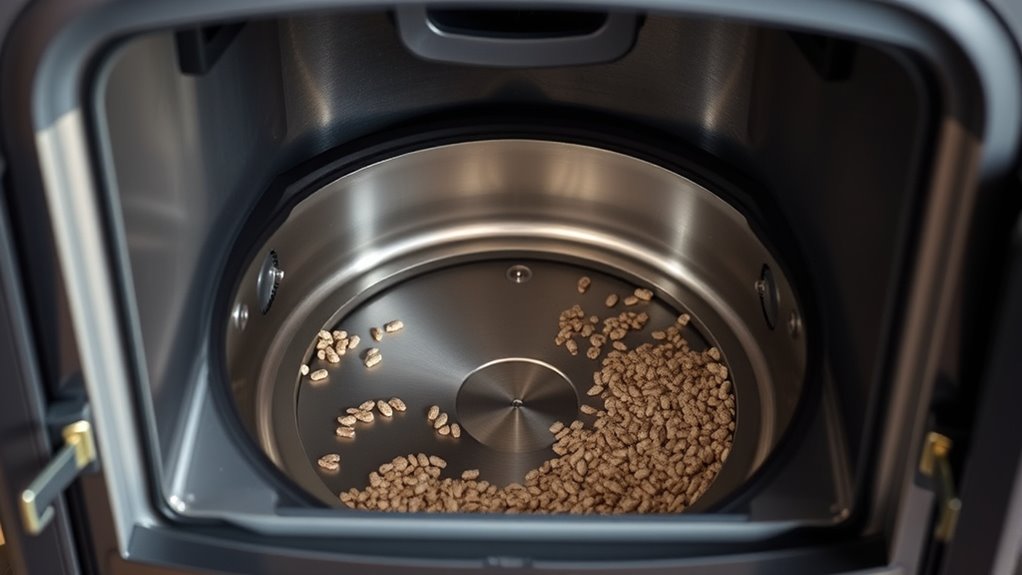
Hopper Size and Fuel Storage

Choosing the right hopper size affects how often you’ll need to refill your stove and how long it can run unattended. Larger hoppers, holding 40-60 pounds, let you enjoy continuous heat for up to a day without stopping. Keep in mind, proper fuel storage that keeps pellets dry is key to maintaining efficient and consistent burning. Properly stored, pellets resist moisture absorption, which is essential for efficient combustion and reducing emissions. Additionally, selecting a high-capacity hopper can help reduce the frequency of refills, especially during colder months when heating demands increase. Ensuring the hopper is well-designed for fuel efficiency can further optimize your stove’s performance and longevity. Regular maintenance and proper pellet storage are vital for optimal stove operation, and understanding the impact of wood smoke pollutants underscores the importance of choosing cleaner heating options whenever possible.
Hopper Capacity and Duration
Pellet stove hopper capacities typically range from 40 to 120 pounds, directly impacting how long you can enjoy continuous heat without frequent refueling. A large hopper allows for extended burn, providing up to 48 hours of heating duration, ideal for long-term comfort. Conversely, a small hopper requires refilling every 8 to 12 hours, suited for short-term or supplemental heating. The size of your hopper influences fuel storage convenience and refilling frequency, affecting overall performance. Using a hopper with adequate capacity can also reduce the need for frequent maintenance and ensure consistent heat output. The size of your hopper influences fuel storage convenience and refilling frequency, affecting overall performance. Additionally, selecting a hopper with proper insulation can help maintain fuel quality and improve efficiency. Another factor to consider is hopper design, which can impact the ease of refilling and cleaning. Properly designed hoppers often include features like easy-access lids and ergonomic shapes for simpler refilling and maintenance. Use the table below to compare options:
| Hopper Capacity | Burn Time (approx.) | Suitable for |
|---|---|---|
| 40-60 pounds | 8-24 hours | Short-term heating |
| 80-120 pounds | 24-48 hours | Extended operation |
Choosing the right size ensures your pellet stove delivers ideal heating duration with minimal maintenance. Hopper Capacity plays a crucial role in determining the convenience and efficiency of your heating setup.
Fuel Storage Considerations
Have you considered how the size of your pellet stove’s hopper impacts your fuel storage and overall convenience? A larger hopper, with a capacity from 40 to 120 pounds, means less frequent refilling and longer burn time, supporting continuous operation. Proper fuel storage is essential; keep pellets in a moisture-free environment to prevent pellet swelling, which can hinder performance. Moisture control is vital for maintaining pellet quality and ensuring efficient combustion. Choosing the right hopper size aligns with your fuel storage space and heating needs, reducing the need for multiple refills daily and improving fuel efficiency. Investing in a stove with an appropriately sized hopper ensures you maximize pellet capacity, maintain ideal burn time, and enjoy hassle-free, efficient heating without sacrificing storage space or risking moisture damage. Additionally, understanding fuel storage considerations can help ensure your setup supports your heating environment effectively. Regularly monitoring pellet quality can also prevent issues related to moisture and degradation that affect performance.
Control Options and Thermostat Features
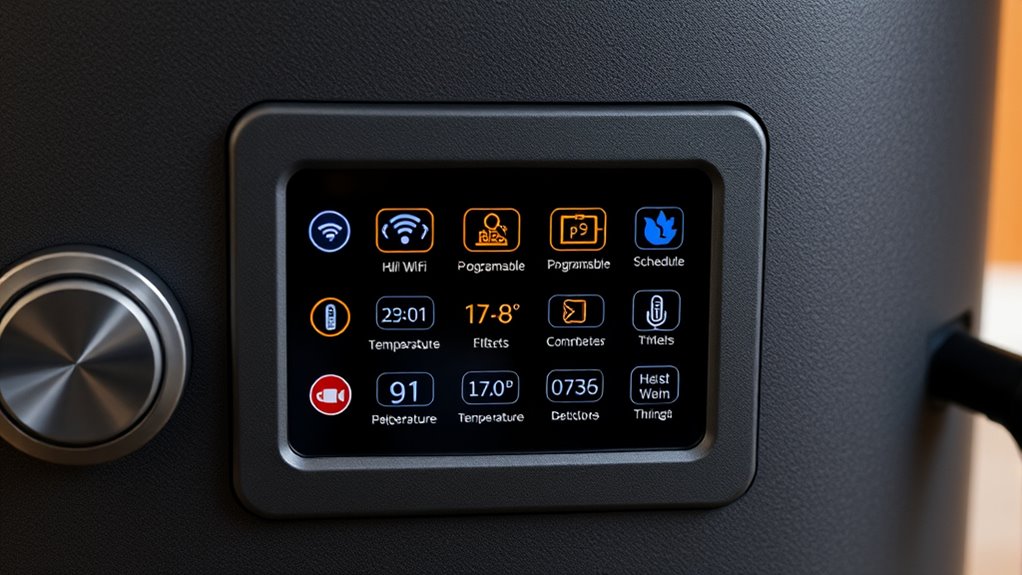
Modern pellet stoves offer a range of control options that make managing your heating easier and more efficient. A digital control panel displays real-time data like pellet levels, fan speeds, and maintenance alerts, helping you stay on top of stove management. Programmable thermostats allow you to set and maintain your desired temperature, with some models providing thermostat accuracy within ±1°F for precise climate control. Remote controls, Wi-Fi connectivity, and smartphone apps give you the convenience of adjusting settings remotely and monitoring your stove from anywhere. Auto-start and shut-off functions optimize energy use and comfort by activating or stopping the stove based on temperature thresholds. These advanced features ensure your pellet stove operates smoothly, efficiently, and tailored to your heating needs. Additionally, control options are increasingly user-friendly, making setup and adjustments accessible even for those new to pellet stove technology. Staying informed about legislative changes related to energy efficiency and safety can also help you select the best features for your needs. Incorporating data analytics can further help in optimizing your stove’s performance over time.
Noise Levels and Operating Sound
While pellet stoves are an efficient heating option, their operational noise can vary considerably, affecting your comfort. Noise levels typically range from 50 to 70 decibels, similar to a quiet conversation. The primary sources of operating sound are the blower fan and augur motor, which may be louder during startup or pellet feed. To minimize noise, look for models with sound-dampening features or insulated components. You can also manage sound by adjusting the fan speed. Regular maintenance is essential; cleaning the venting system and checking for mechanical issues helps prevent excess noise. Incorporating industry best practices can further optimize your pellet stove’s quiet operation. Additionally, selecting models with advanced noise reduction technology can significantly decrease operational sounds and enhance comfort. Staying aware of AI advancements in safety monitoring can also help detect and address mechanical issues early, reducing noise caused by malfunctions. Moreover, understanding RMDs and maintenance requirements can help ensure the stove operates smoothly and quietly over time. Implementing sound insulation materials around the stove area can further contribute to noise reduction and increased comfort.
Ease of Cleaning and Maintenance
Choosing a pellet stove that’s easy to clean and maintain can save you time and effort in the long run. Look for models with removable, accessible ash pans and burn pots to simplify your daily cleaning routine. An easy-to-clean heat exchanger and venting system with accessible access panels make maintenance straightforward without disassembly. Prioritize stoves with self-cleaning features or automatic ash removal to reduce manual effort. Regular maintenance, including annual professional cleaning of internal components and the venting system, is essential for safe and efficient operation. Well-designed stoves with clear access points help minimize cleaning time and ensure consistent performance. By selecting a stove with these features, you make maintenance less of a chore and keep your system running smoothly.
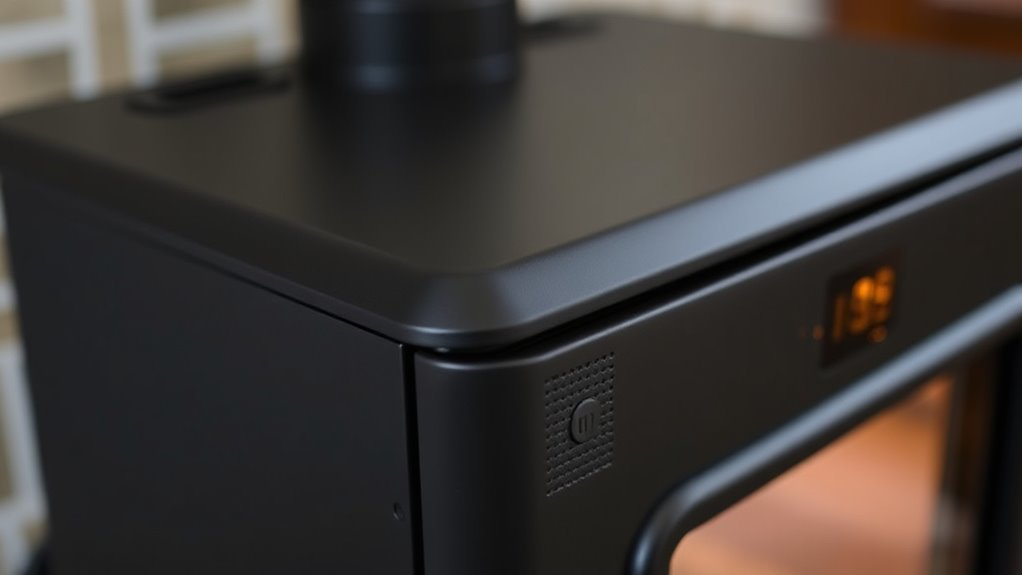
Build Quality and Materials
When choosing a pellet stove, you want one built with durable materials like cast iron or stainless steel, which resist warping and corrosion. The finish options, such as ceramic glass for viewing windows, also add to its aesthetic appeal and longevity. High-quality construction with strong welds and airtight seals guarantees safe, reliable operation for years to come.
Durability and Material Quality
Durability and material quality are essential factors when selecting a pellet stove, as they determine how well the appliance withstands daily use and harsh conditions. Look for stoves built with cast-iron or heavy-duty steel, which resist warping and cracking. The exterior should feature ceramic finishes or enamel coatings for added protection against scratches and corrosion. Inside, heat exchangers and burn pots made from stainless steel or cast-iron endure high temperatures and resist corrosion, extending lifespan. Additionally, sturdy components such as augers and fans are designed for continuous operation. A well-constructed stove will also have reinforced welds and precise construction, ensuring long-term reliability.
- Heavy-duty steel or cast-iron construction
- Ceramic or enamel exterior finishes
- Reinforced welds and quality components
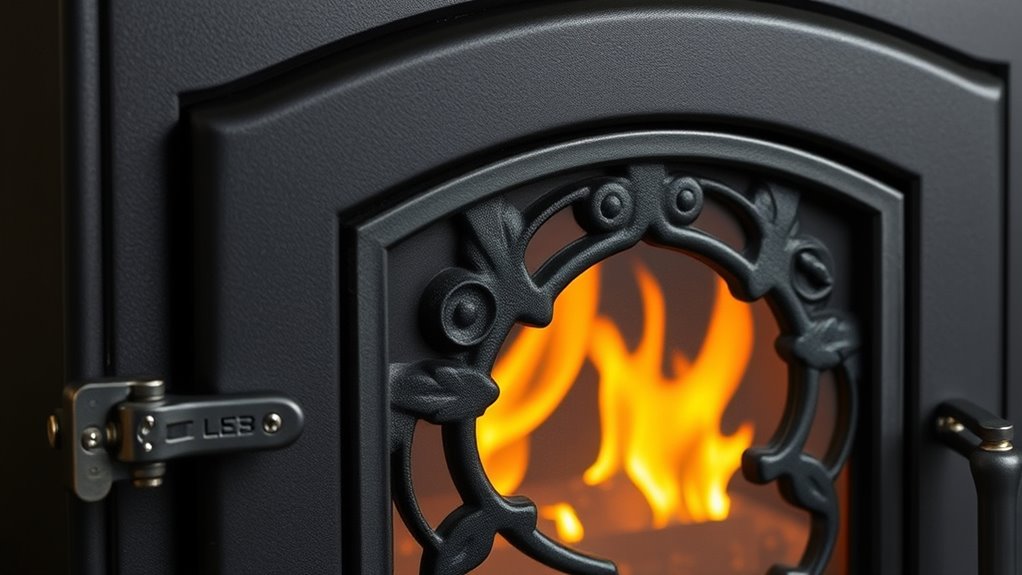
Aesthetic and Finish Options
Building on the importance of durable materials, the aesthetic and finish options of a pellet stove can considerably influence its overall look and how well it complements your home decor. Premium models often feature enamel coatings, decorative tiles, and marble accents, offering a range of styles from traditional to modern. Many stoves include customizable options like golden trim, decorative panels, or artistic detailing, allowing you to personalize your space. Higher-end models showcase polished surfaces with refined finishing, giving a sleek, sophisticated appearance. These stylish designs not only enhance visual appeal but also reflect quality craftsmanship. Whether you prefer a classic, ornate look or a modern, minimalist style, the finish options available help you match your stove seamlessly with your home’s interior.
Venting and Installation Requirements

Proper venting is essential for the safe and efficient operation of your pellet stove. Without proper venting, exhaust gases like carbon monoxide can pose serious health risks. When installing your stove, ensure you follow venting requirements and local building codes. Consider these key points:
- Use a 4-inch vent pipe suited for your venting system, whether through the wall or roof.
- Choose appropriate venting materials that withstand heat and corrosive gases.
- Maintain proper venting clearance—typically 2 to 4 inches from combustible materials—to ensure venting safety and prevent fire hazards.
Selecting the right venting options and adhering to installation guidelines guarantees safe operation, ideal performance, and peace of mind.
Frequently Asked Questions
Why Are People Getting Rid of Pellet Stoves?
You’re probably wondering why people are getting rid of pellet stoves. Many find the rising maintenance costs and frequent repairs frustrating. Concerns about indoor air quality and emissions, like ultrafine particles, push homeowners to uninstall them. Power outages disable these stoves, and newer, more efficient heating options like heat pumps make pellet stoves less attractive. Additionally, stricter regulations and higher installation costs lead many to seek better, more reliable heating solutions.
What Is the Main Concern With Pellet Stove Installations?
The main concern with pellet stove installations is safety. You need to ensure proper placement, adequate clearance, and a non-combustible surface to prevent fire hazards. Additionally, correct venting is vital to avoid leaks of smoke or harmful gases. You should have a professional, certified technician handle the installation to meet local codes and manufacturer guidelines, guaranteeing your stove operates safely and efficiently.
How Can You Tell a Good Quality Wood Pellet?
Think of a good quality wood pellet as a well-crafted piece of art—clean, uniform, and reliable. You can tell by its low moisture content, ideally below 8%, ensuring efficient burning. Check for certifications like PFI, which guarantee consistent size, low ash, and no additives. Good pellets are dense, uniform, and produce minimal ash and creosote, so your stove runs smoothly and lasts longer.
How Long Will a 40 Pound Bag of Pellets Last in a Pellet Stove?
A 40-pound bag of pellets typically lasts between 24 to 72 hours in your pellet stove, depending on your settings and stove size. If you use lower heat or a smaller stove, it can last around 3 days. For higher heat or larger stoves, expect about a day. On average, you’ll get roughly 2 days of heat, but proper maintenance and ideal settings can help extend that duration.
Conclusion
Just like the wise owl chooses its perch carefully, selecting the right pellet stove means considering these key features. By paying close attention to heating capacity, control options, and build quality, you’ll guarantee warmth and comfort for years to come. Think of it as planting a sturdy tree—you want strong roots and solid branches. Make an informed choice today, and enjoy the cozy sanctuary you’ve created, where every detail works together harmoniously—your own haven in the storm.

Terra grew up with a soul deeply connected to nature. Her earliest memories are of sun-drenched meadows, whispering woods, and the rhythmic dance of waves on a moonlit night. Every gust of wind, rustling leaf, and distant horizon beckoned her with tales waiting to be told.