
To install a glass door in your steel stove, start by accurately measuring and selecting a compatible frame that fits snugly. Secure the frame to the opening with high-temperature sealant or gasket material to prevent heat leaks. Install heat-resistant glass into the frame, ensuring it’s seated firmly. Double-check the fit and seal everything tightly, avoiding moving parts. When finished, test the door for proper closure and safety; more detailed steps can help guarantee a successful, long-lasting installation.
Key Takeaways
- Measure and select a compatible frame that fits the stove opening securely.
- Apply high-temperature gasket or sealant around the frame edges to ensure an airtight fit.
- Install heat-resistant glass securely within the frame’s mounting points, ensuring proper seating.
- Seal all edges thoroughly while avoiding moving parts or hinges to maintain safety and efficiency.
- Test the installation by closing the door, lighting a fire, and adjusting seals to prevent leaks.
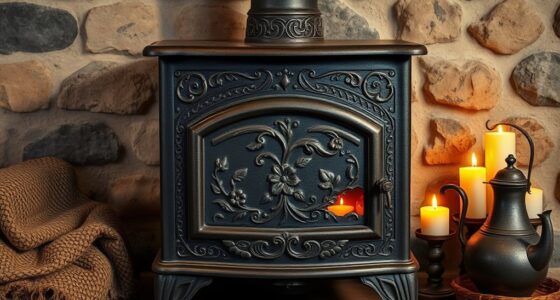
Adding a glass door to your steel stove can enhance both its functionality and appearance, but it requires careful installation to guarantee safety and proper operation. The first step is selecting the right door frame, which serves as the foundation for your glass door. You want a frame that fits snugly against your stove’s opening, providing stability and a clean look. Measure the dimensions carefully before purchasing or fabricating the frame to ensure a precise fit. Once you have the frame, you’ll need to focus on sealing techniques to prevent heat leaks and maintain safety. Proper sealing is essential because it keeps hot air contained inside and prevents smoke or fumes from escaping. Use high-temperature gasket material or heat-resistant sealants around the edges of the door frame to create an airtight seal. This not only improves efficiency but also prolongs the life of your stove components.
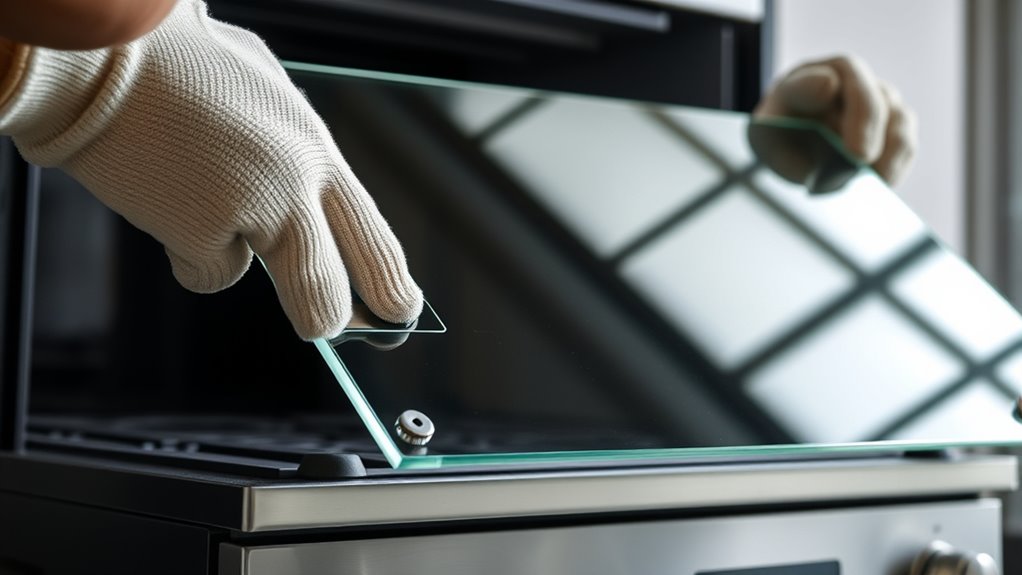
When installing the glass door, start by positioning the door frame onto the stove opening, ensuring it aligns perfectly with the edges. It’s important to secure the frame firmly to avoid any gaps that could compromise safety or performance. Depending on your stove design, you might need screws, brackets, or specialized clamps to hold everything in place. During this step, double-check the fit and alignment, making adjustments as needed before tightening everything down. Once the frame is secured, install the glass panel, making sure it’s properly seated within the frame’s grooves or mounting points. The glass should be heat-resistant, typically tempered or ceramic, to withstand high temperatures without cracking.
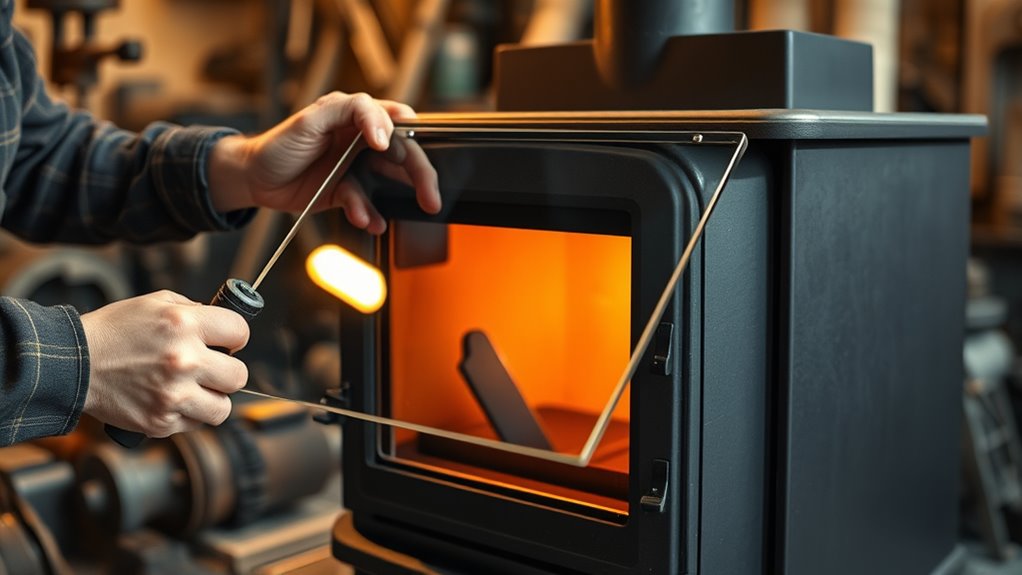
After installing the glass, revisit the sealing techniques. Apply additional high-temperature sealant or gasket material around all edges of the glass and frame to ensure an airtight fit. This step is vital because any gaps can lead to heat loss, reduced efficiency, or safety hazards. Keep the sealant away from moving parts or hinges, if present, to avoid interference with operation. Once everything appears secure and well-sealed, close the door gently and check for proper movement and sealing. Test the installation by lighting a small fire and observing for any signs of smoke leaks or heat escape. Adjust the seals if needed to perfect the fit. Additionally, understanding the materials used in your stove and door components can help you select the most suitable sealants and glass for long-term durability.
Top picks for "install glas door"
Open Amazon search results for this keyword.
As an affiliate, we earn on qualifying purchases.
Frequently Asked Questions
Can I Install a Glass Door on Any Steel Stove Model?
You can’t install a glass door on just any steel stove model because stove compatibility varies. Check if your stove’s design supports adding a glass door, as some models are built for specific glass door types or may require modifications. It’s best to consult your stove’s manual or contact the manufacturer to verify the glass door fits properly and functions safely, preventing potential damage or safety hazards.
What Tools Are Essential for Installing the Glass Door?
You’ll need basic tools like screwdrivers, a drill, and a level for installing the glass door. Make sure to wear safety precautions like gloves and eye protection during the process. After installation, follow maintenance tips such as cleaning the glass regularly and inspecting for damage. These steps make certain safety and longevity, helping you enjoy your stove’s new look without compromising performance or safety.
How Long Does the Installation Process Typically Take?
The installation process usually takes about 1 to 2 hours, but it depends on your preparation steps. While the clock ticks quickly, you’ll find that meticulous prep—measuring, clearing space, and gathering tools—slows things down initially. Once you’re set, the actual fitting and securing come together swiftly. With patience and careful work, you’ll complete the installation efficiently, enjoying your upgraded stove in just a little time.
Is Professional Installation Recommended for Safety Reasons?
Yes, professional expertise is recommended for installing a glass door in your steel stove. DIY safety is vital, and without proper training, you risk damaging the stove or causing safety hazards. A professional ensures the installation is done correctly, safely, and according to code. They also have the right tools and experience, giving you peace of mind that your stove will operate safely and efficiently.
How Do I Maintain and Clean the Glass Door Effectively?
To keep your stove’s glass door in top shape, regularly clean it with a glass cleaner designed for stoves. For example, Jane noticed her glass door got cloudy after stovetop cleaning; she used a gentle, non-abrasive cleaner and a soft cloth, restoring clarity. Consistent glass door maintenance prevents buildup and guarantees a clear view. Always avoid harsh chemicals and scrape gently to maintain your stove’s appearance and functionality.
Conclusion
Now that you’ve installed your glass door, your steel stove transforms into a window to the flickering flames within, inviting warmth and comfort into your space. Like opening a portal to a cozy fireside retreat, this upgrade not only enhances your stove’s look but also elevates your entire room’s ambiance. With your careful hands and a little patience, you’ve turned a simple fix into a masterpiece—bringing both beauty and function to your home’s heart.