
I’ve found that setting up a wood stove fan equipped with a four-wire system and a control unit can be straightforward. In this article, I will walk you through each step of the installation process, employing my technical knowledge to guarantee an accurate and effective setup.
With the right tools and materials, you’ll be able to connect your wood stove fan to the contor seamlessly. So let’s dive in and master this skill together.
Key Takeaways
- Understanding the four wires of a wood stove fan: black wire for power, white wire for completing the circuit, green wire for safe electrical currents, and red wire for additional functions like speed control.
- Gathering the necessary tools and materials: choose the right location, place the fan on a flat surface away from combustible materials, ensure efficient airflow, and regularly clean and lubricate the fan for optimal performance.
- Step-by-step guide to wiring the wood stove fan: strip and connect the wires using wire strippers, secure and insulate the connections with wire nuts or connectors and electrical tape or heat shrink tubing, and ground the fan by connecting the grounding wire.
- Connecting the wood stove fan to the contor: check for loose or damaged wires, verify correct matching and connection of wires to corresponding terminals, follow manufacturer’s instructions and wiring diagrams, and ensure all connections are secure and well-insulated.

Adviace Fireplace Fan Kit for Regency Wood & Gas Stove, 910-157/P Blower Kit for Regency Fireplace Inserts, Osburn, Nordica, Valley Comfort, Pacific, Rotom R7-RB167 846-515 Blower Replacement
✅ Fits for Regency Alterra CI1200, CI1250, CS1200, CS2400. Regency Classic C33, C34, F2400, H2100, I3100, I1200, I2400….
As an affiliate, we earn on qualifying purchases.
As an affiliate, we earn on qualifying purchases.
Understanding the Four Wires of a Wood Stove Fan
I can’t figure out which wire is the ground on my wood stove fan. When it comes to wiring up a wood stove fan, it’s essential to understand the different wire colors and their functions. Identifying wire colors correctly is crucial for a safe and successful installation.
The four wires commonly found in wood stove fans are black, white, green, and red. The black wire is usually the hot wire, responsible for supplying power to the fan. The white wire is the neutral wire, which completes the electrical circuit. The green wire is the ground wire, providing a safe path for electrical currents. Lastly, the red wire is often used for additional functions, such as speed control.
Understanding these wire colors and their roles is fundamental for ensuring a secure and efficient setup. Now that we’ve identified the wires, let’s move on to gathering the necessary tools and materials for the installation process.

Ceiling Fan Switch Zing Ear ZE-208s E89885 3 Speed 4 Wire Pull Chain Switch Fan Light Switch Replacement Part with 4 Pre-Installed Wires(Bronze Chain)
Ceiling Fan Switch Model: ZE-208s. 3 Speed 4 Wire Switch.
As an affiliate, we earn on qualifying purchases.
As an affiliate, we earn on qualifying purchases.
Gathering the Necessary Tools and Materials
Before starting the installation, it’s important to gather all the tools and materials needed for the wood stove fan setup.
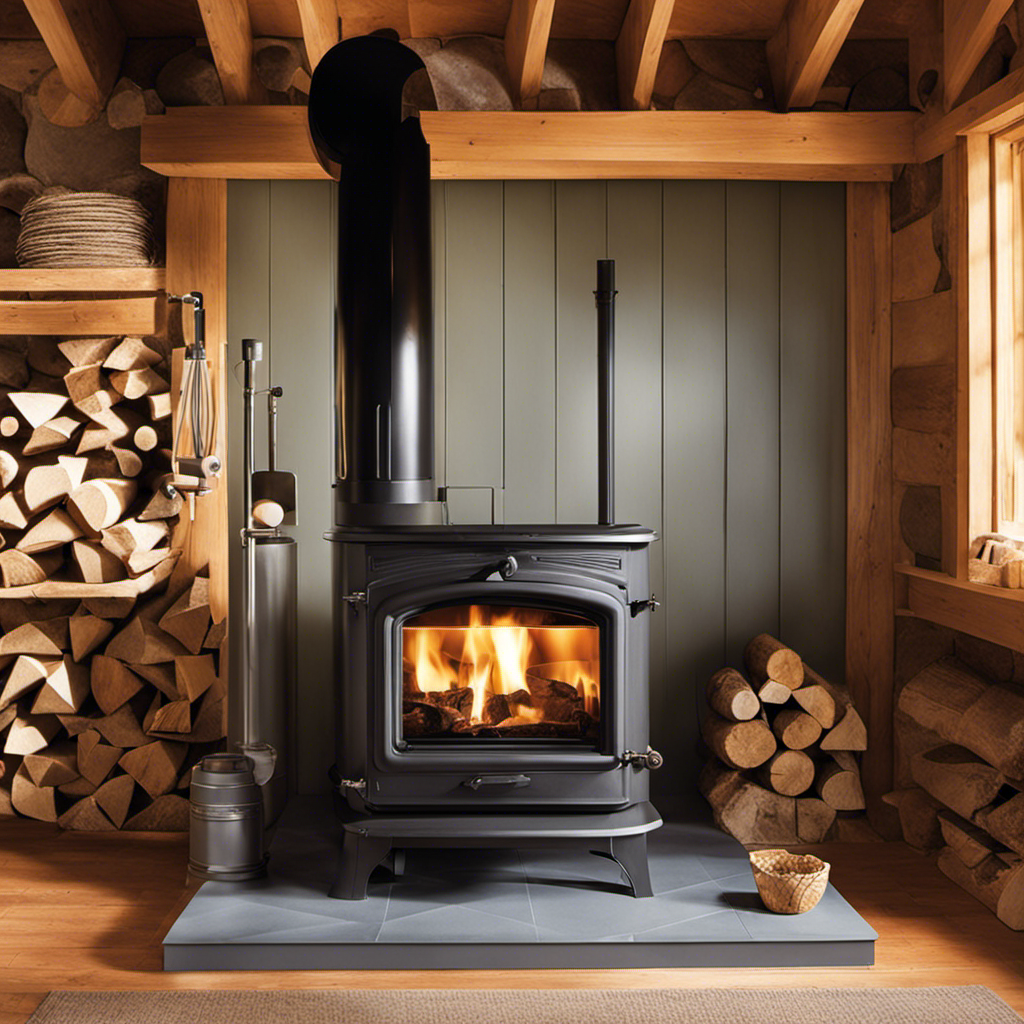
Choosing the right location for the wood stove fan is crucial for optimal performance. The fan should be placed on a flat surface, away from any combustible materials. It should also be positioned in a way that allows for efficient airflow throughout the room.
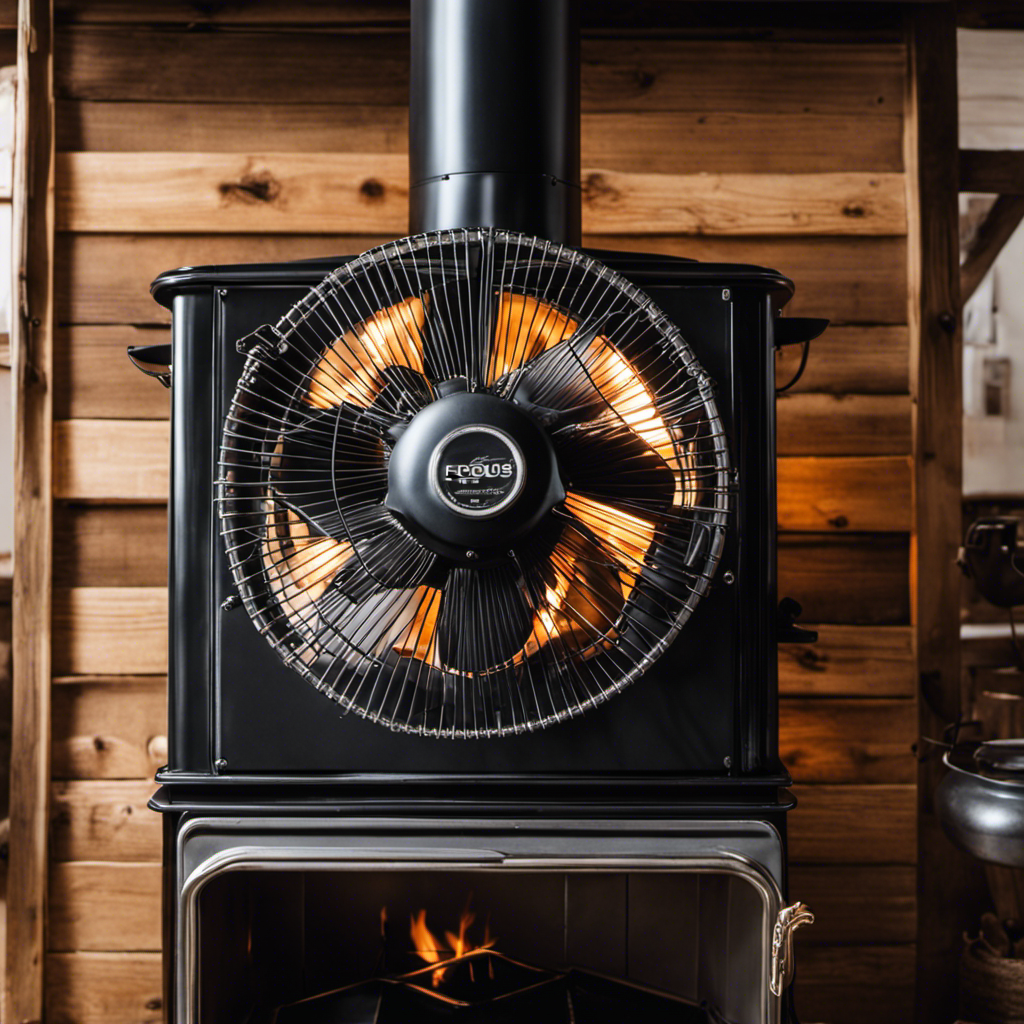
When it comes to proper maintenance of a wood stove fan, regular cleaning is essential. Dust and debris can accumulate on the fan blades, causing it to work less effectively.
Additionally, lubricating the fan motor periodically will help ensure smooth operation.
Following these guidelines will help maximize the efficiency and lifespan of your wood stove fan.

Micro Traders 4PCS 2-Pin Car Fan Plug Wiring Harness Male & Female Connector Compatible with Delphi Metri-Pack 280 Series Line Length 13.5cm 14AWG 2-Terminal Fan Plug Harness
[Compatibility] Compatible with Delphi Metri-Pack 280 series, this wiring harness ensures reliable and efficient connections for automotive fan…
As an affiliate, we earn on qualifying purchases.
As an affiliate, we earn on qualifying purchases.
Step-by-Step Guide to Wiring the Wood Stove Fan
Installing the wood stove fan involves carefully connecting the wires, ensuring proper insulation and grounding. When wiring a wood stove fan, it’s important to follow specific techniques to ensure a safe and efficient installation. Here are three key points to consider:
-
Properly strip and connect the wires: Use wire strippers to remove insulation from the ends of the wires. Connect the corresponding wires together, ensuring a secure and tight connection. Use wire nuts or connectors to join the wires.
-
Insulate the connections: After connecting the wires, make sure to insulate them properly. Use electrical tape or heat shrink tubing to cover the exposed connections. This will protect the wires from damage and prevent any potential short circuits.
-
Ground the fan: Grounding the wood stove fan is crucial for safety. Connect the grounding wire to a designated grounding point, such as a grounding screw or a metal part of the fan. This will help prevent electrical shocks and ensure the proper functioning of the fan.

Soft ANNEALED Ground Wire Solid 10 AWG 25 FEET Copper Cables Electronic Wire Cable Electrics DIY
Copper Steel Composite Material
As an affiliate, we earn on qualifying purchases.
As an affiliate, we earn on qualifying purchases.
Connecting the Wood Stove Fan to the Contor
There are two wires that need to be connected to the contor in order to properly connect the wood stove fan. When connecting the contor to the wood stove fan, it’s crucial to ensure a secure and reliable connection. Troubleshooting common wiring issues can help in achieving this.
Firstly, check for any loose or damaged wires. If found, they should be tightened or replaced accordingly.
Secondly, verify that the wires are correctly matched and connected to their corresponding terminals on both the contor and the fan. It’s important to follow the manufacturer’s instructions and wiring diagrams for proper alignment.
Lastly, double-check that all connections are secure and well-insulated to prevent any electrical hazards. By following these steps and troubleshooting common wiring issues, the wood stove fan can be effectively connected to the contor, ensuring optimal performance and safety.
Testing and Troubleshooting the Wood Stove Fan Wiring
I’m currently testing the wood stove fan wiring to ensure all the connections are secure and functioning properly. It’s important to troubleshoot the wiring to avoid any common mistakes that could lead to malfunctions or even dangerous situations.
Here are three key troubleshooting techniques to keep in mind:
-
Check for loose or disconnected wires: Make sure that all wires are securely connected to their respective terminals. Loose connections can cause the fan to not work or work intermittently.
-
Inspect for damaged wires: Look for any signs of fraying or damage to the wires. Damaged wires can result in poor electrical conductivity and potential hazards.
-
Test the electrical flow: Use a multimeter to measure the voltage across the wires and ensure that it falls within the specified range. This will help identify any issues with the electrical supply or internal components.
Conclusion
In conclusion, wiring up a wood stove fan with four wires and a contor can be a straightforward process with the right tools and materials.
By understanding the four wires, following a step-by-step guide, and properly connecting the fan to the contor, you can ensure efficient and effective heating in your home.
Remember to test and troubleshoot the wiring to ensure everything is functioning properly.
So, get ready to enhance the warmth and coziness of your space with a well-wired wood stove fan.