I have some useful tips for you on how to properly seal the gap around a wood stove pipe on your roof.
Did you know that improper sealing can lead to leaks and potential fire hazards? Don’t worry, I’ve got you covered!
In this article, I’ll guide you through the process of:
- Choosing the right sealant
- Preparing your roof
- Installing the pipe flashing
- And more.
So let’s get started and make sure your wood stove pipe is sealed tight and secure.
Key Takeaways
- Choose a sealant designed for high-temperature applications and that is weather-resistant and durable.
- Thoroughly clean and inspect the roof surface before applying sealant, paying attention to areas around vents, chimneys, and skylights.
- Measure and cut the flashing to fit snugly around the pipe, secure it to the roof surface with roofing nails or screws, and apply silicone or roofing sealant along the edges.
- Secure the pipe with metal clamps or support straps, insulate it with high-quality fiberglass insulation, and perform regular inspections and maintenance to ensure proper functioning and prevent damage.
Choosing the Right Sealant
I need to find the perfect sealant for my wood stove pipe on the roof.
When it comes to sealant options, there are a few factors to consider. First, make sure to choose a sealant that’s specifically designed for high-temperature applications. This will ensure that it can withstand the heat generated by the wood stove. Additionally, look for a sealant that’s weather-resistant and durable to protect against the elements.
As for application techniques, it’s important to carefully follow the manufacturer’s instructions. Clean the surface of the pipe and roof thoroughly before applying the sealant. Use a brush or caulk gun for precise application, making sure to create a tight seal around the pipe.
Now that I’ve chosen the right sealant, it’s time to prepare the roof for sealing.
Preparing the Roof for Sealing
Before sealing the roof, it’s important to thoroughly clean and inspect the surface for any cracks or damage. Roof inspection is a crucial step to ensure that the sealing process is effective and long-lasting.
Start by removing any debris or dirt from the roof using a broom or a leaf blower. This will help create a clean surface for the sealant to adhere to.
Next, carefully inspect the roof for any cracks, holes, or signs of damage. Pay close attention to areas around vents, chimneys, and skylights. If any issues are found, they should be repaired before proceeding with the sealing process.
Safety precautions should also be taken, such as wearing appropriate protective gear and using ladders or scaffolding correctly to avoid accidents.
Installing the Pipe Flashing
The pipe flashing needs to be securely installed around the wood stove pipe on the roof. This is crucial for preventing leaks and ensuring the overall safety and efficiency of the wood stove.
Here are three key steps to properly install the metal flashing:
-
Measure and cut: Begin by measuring the diameter of the wood stove pipe and cut the flashing accordingly. It should fit snugly around the pipe, with enough overlap to provide a watertight seal.
-
Position and secure: Place the flashing around the pipe, ensuring it’s centered and aligned properly. Use roofing nails or screws to secure the flashing to the roof surface, making sure it’s tightly fastened.
-
Seal the edges: To further prevent leaks, apply a high-quality silicone or roofing sealant along the edges of the flashing. This will create a watertight barrier and enhance the flashing’s effectiveness.
Securing and Insulating the Pipe
After securing the pipe with metal clamps, I will insulate it using high-quality fiberglass insulation. Properly securing and insulating the wood stove pipe is essential for ensuring safety and efficiency. There are various securing methods available, such as pipe clamps, brackets, and support straps. These methods prevent the pipe from shifting or coming loose, reducing the risk of fire hazards. It is crucial to follow safety precautions when securing the pipe, such as wearing protective gloves and using appropriate tools. Insulating the pipe helps to minimize heat loss and prevent condensation. High-quality fiberglass insulation is recommended as it provides excellent thermal protection. Here is a table summarizing the securing methods and safety precautions to consider when sealing around the wood stove pipe on the roof:
| Securing Methods | Safety Precautions |
|---|---|
| Pipe clamps | Wear protective gloves and safety goggles |
| Brackets | Use appropriate tools and equipment |
| Support straps | Ensure proper installation and tightness |
Performing a Final Inspection and Maintenance
I’ll need to do a final inspection and maintenance to ensure everything is in proper working order and address any potential issues. Here are the three key steps I’ll follow to ensure a thorough inspection:
-
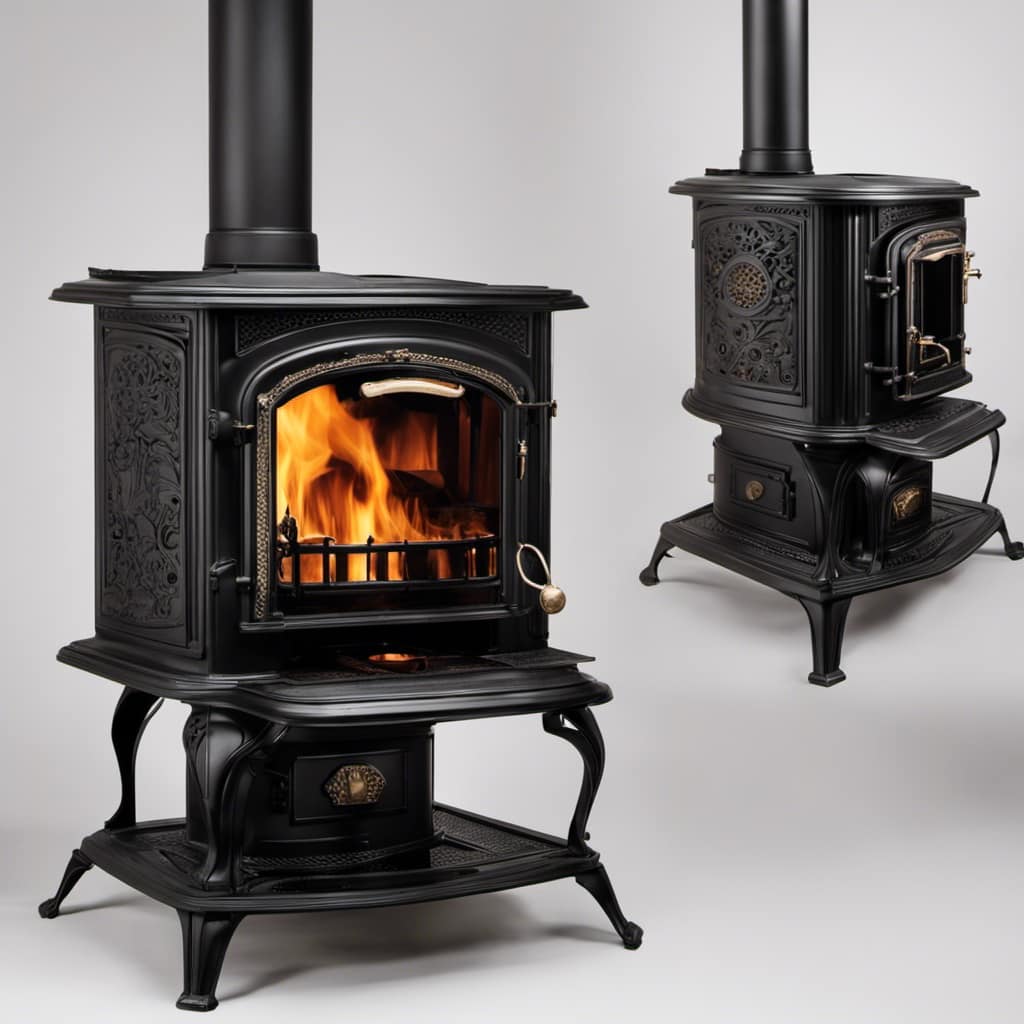
Inspecting for damage: I’ll carefully examine the wood stove and chimney for any signs of wear and tear. This includes checking for cracks, leaks, or loose components. Any damaged parts will need to be repaired or replaced to ensure safe and efficient operation.
-
Cleaning the chimney: A clean chimney is essential for proper airflow and preventing potential hazards. I’ll remove any soot, creosote, or debris that may have accumulated over time. This won’t only improve the stove’s performance but also reduce the risk of chimney fires.
-
Checking ventilation and airflow: I’ll assess the ventilation system, ensuring that there are no blockages or restrictions. Proper airflow is crucial for the stove’s efficiency and safety. I’ll also inspect the seals around the wood stove pipe on the roof and ensure they’re properly sealed to prevent any leaks.
Frequently Asked Questions
What Are the Common Problems That Can Occur if the Wood Stove Pipe Is Not Properly Sealed on the Roof?
Problems caused by improper sealing of wood stove pipe on the roof include air leakage, water damage, and potential fire hazards. It is crucial to use a proper sealant to ensure safety and efficiency.
Can I Use Any Type of Sealant for Sealing the Wood Stove Pipe on the Roof, or Are There Specific Types That Should Be Used?
I can use different sealant options to properly seal the wood stove pipe on the roof. However, it’s important to follow best practices and use specific types recommended for this purpose.

How Often Should the Sealant Around the Wood Stove Pipe on the Roof Be Inspected and Maintained?
Inspecting and maintaining the sealant around the wood stove pipe on the roof is crucial. It’s important to regularly check for any cracks or damage and fix them promptly to ensure proper sealing.
Are There Any Safety Precautions or Considerations to Keep in Mind When Sealing the Wood Stove Pipe on the Roof?
When sealing the wood stove pipe on the roof, it is important to consider safety precautions and potential hazards of improper sealing. Properly sealing ensures the safety and efficiency of the wood stove.
Is It Necessary to Hire a Professional to Seal the Wood Stove Pipe on the Roof, or Can It Be Done as a DIY Project?
I can definitely seal the wood stove pipe on the roof as a DIY project. It doesn’t require hiring a professional. It will save you money and give you the satisfaction of doing it yourself.
Conclusion
In conclusion, sealing around a wood stove pipe on the roof is crucial for safety and efficiency.
By choosing the right sealant, preparing the roof, installing the pipe flashing, securing and insulating the pipe, and conducting a final inspection and maintenance, you can ensure a proper and effective seal.
Remember, ‘An ounce of prevention is worth a pound of cure’ when it comes to maintaining your wood stove pipe and protecting your home from potential hazards.


