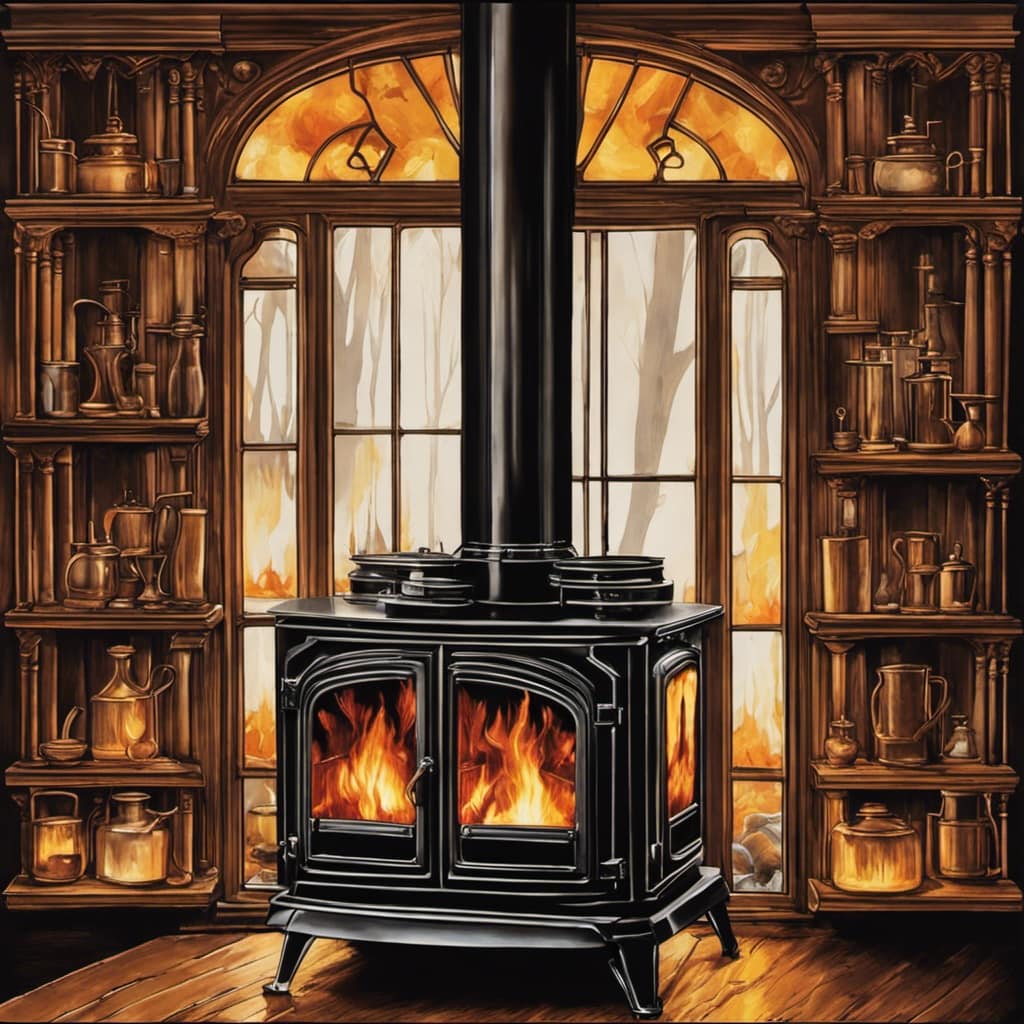
Hello there!
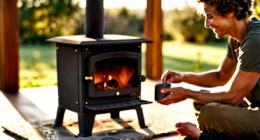
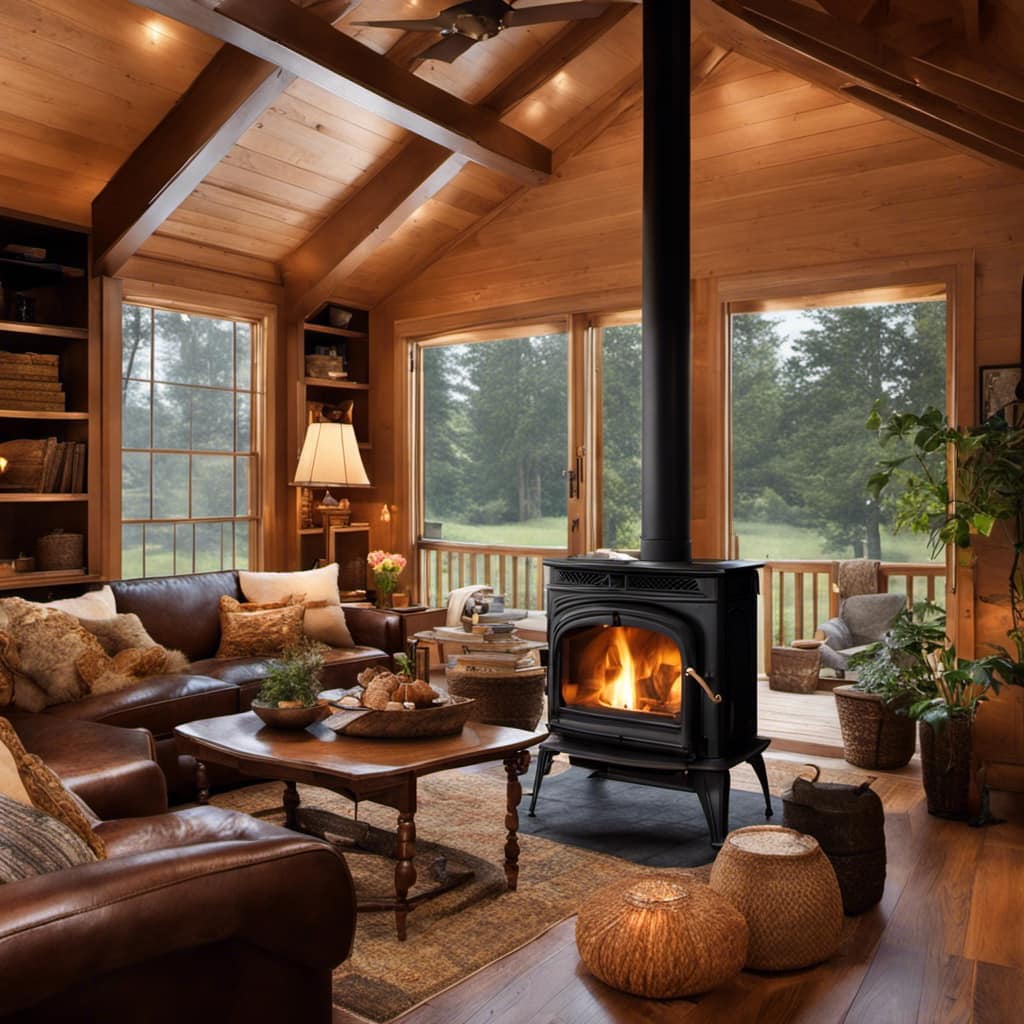
So you’ve got yourself a wood stove and you’re ready to start enjoying some cozy fires. But hold up, before you can get toasty, you need to know how to properly run the piping for your stove. Don’t worry, I’ve got you covered.
In this article, I’ll walk you through the planning, materials, sizing, and placement of the piping. We’ll also cover how to connect it to your stove and vent it to the chimney.
Let’s get started!
Key Takeaways
- Insulate the piping for maximum efficiency
- Choose piping specifically designed for wood stoves
- Consider factors such as length, number of bends, and proximity to combustible materials when sizing and placing the piping
- Follow local building codes and regulations for venting techniques

Lyrufexon Ceramic Fiber Insulation, 24"x15.7"x1" Thick, 2600F Fireproof Insulation Blanket for Wood Stove Baffle, Fireplace, Pellet Stove, Chimney, Furnace, Boiler, Pizza Ovens and Forge
MORE APPLICATIOONS:Wood Stove Baffle, Fireplace, Pellet Stove, Chimney, Furnace, Boiler, Pizza Ovens, Forge & Many More
As an affiliate, we earn on qualifying purchases.
As an affiliate, we earn on qualifying purchases.
Planning and Preparation
Before starting the installation process, I need to carefully plan and prepare for running the wood stove piping.
Insulating the piping for maximum efficiency is crucial to ensure that the heat is properly distributed throughout the house. I’ll be using high-quality insulation materials such as fiberglass or foam sleeves to wrap around the piping. This will prevent heat loss and maintain a higher temperature within the pipes, resulting in better heat transfer.
Additionally, safety precautions when running wood stove piping are of utmost importance. I’ll ensure that the piping is installed at a safe distance from combustible materials, such as walls or furniture. I’ll also use fire-resistant materials, such as galvanized steel, to minimize the risk of fire hazards.

2500°F High Temp Stove Gasket Cement, Black 10 oz – Silicate-Based Stove Pipe Sealant, Non-Flammable & Paintable Fireplace Sealant Caulk for Wood Stove,Chimneys, Ovens, Grills, Furnace & Flue Joints
2500°F High-Heat Seal (Fireplace / Stove / Chimney) – High temperature stove gasket cement for sealing cracks, gaps…
As an affiliate, we earn on qualifying purchases.
As an affiliate, we earn on qualifying purchases.
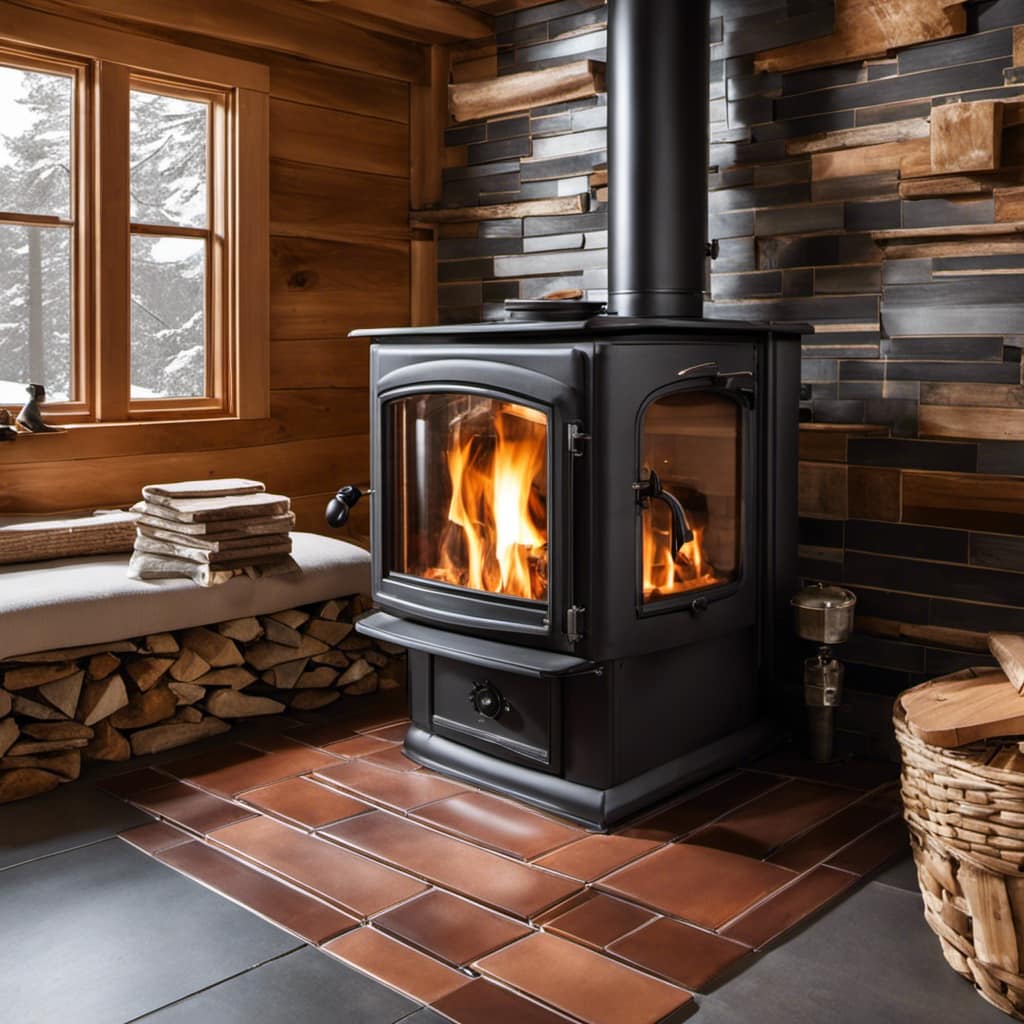
Choosing the Right Piping Materials
I think it’s important to consider the right materials for the piping when installing a wood stove. The type of piping you choose will have a direct impact on the efficiency and safety of your wood stove.
When it comes to choosing the right materials, there are a few key factors to consider. Firstly, make sure to choose piping that’s specifically designed for wood stoves. This will ensure that it can withstand the high temperatures and corrosive gases that are produced by burning wood.
Additionally, consider insulation options for your piping. Insulated piping helps to keep the heat inside the pipe, improving the overall efficiency of your wood stove.
Lastly, remember to regularly maintain and clean your piping to prevent buildup of creosote and other debris, which can pose a fire hazard. With the right materials and proper maintenance, your wood stove piping will perform efficiently and safely.
Now, let’s move on to the next section where we’ll discuss the sizing and placement of the piping.

Akfix Heat Fighter Black Fireplace Sealant – 2700 °F (1×10.1 oz.) – Heat Resistant Fireplace Stove Caulk for Chimneys, Ovens, Grills, Wood Stoves | Non-Flammable, Quick-Drying & Paintable Cartridge
Withstands Extreme Heat Up to 2700°F: Built for direct flame contact. Ideal for sealing and insulating fireplaces, stoves,…
As an affiliate, we earn on qualifying purchases.
As an affiliate, we earn on qualifying purchases.
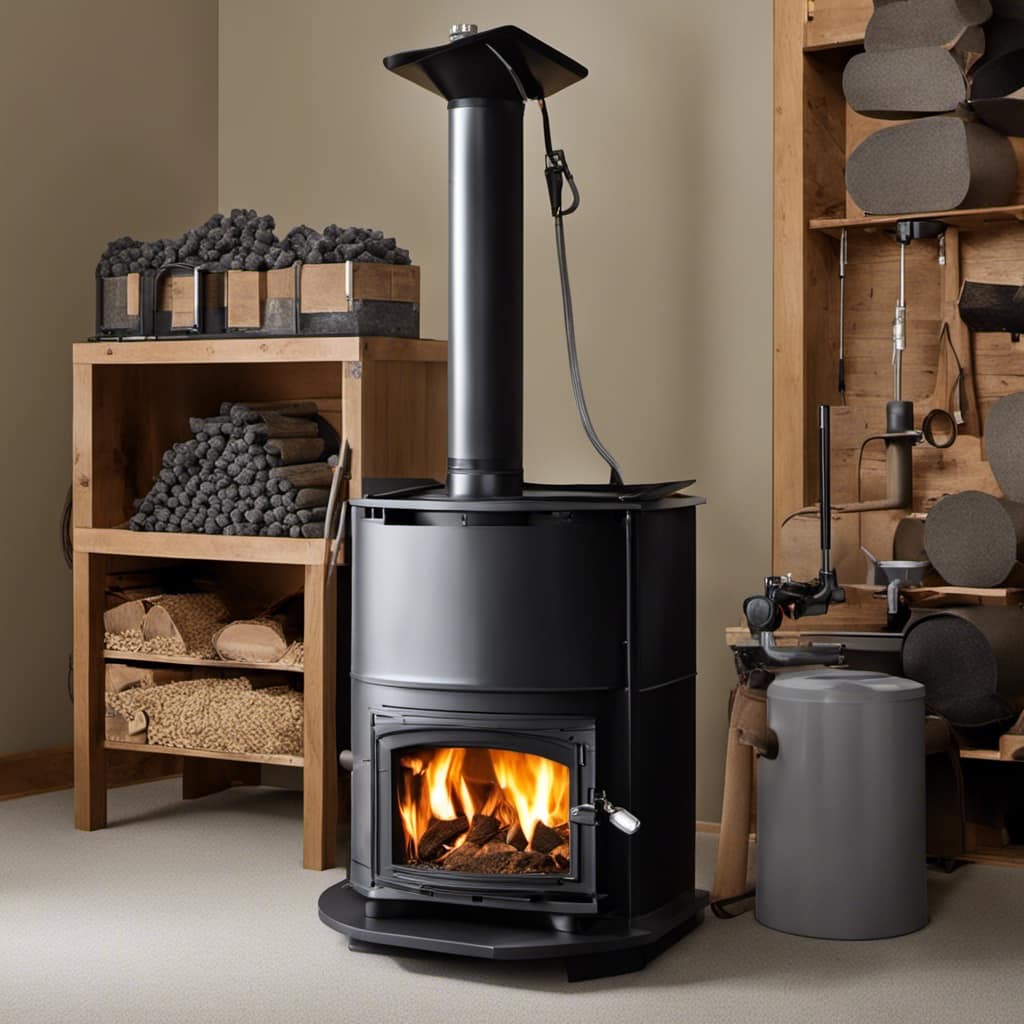
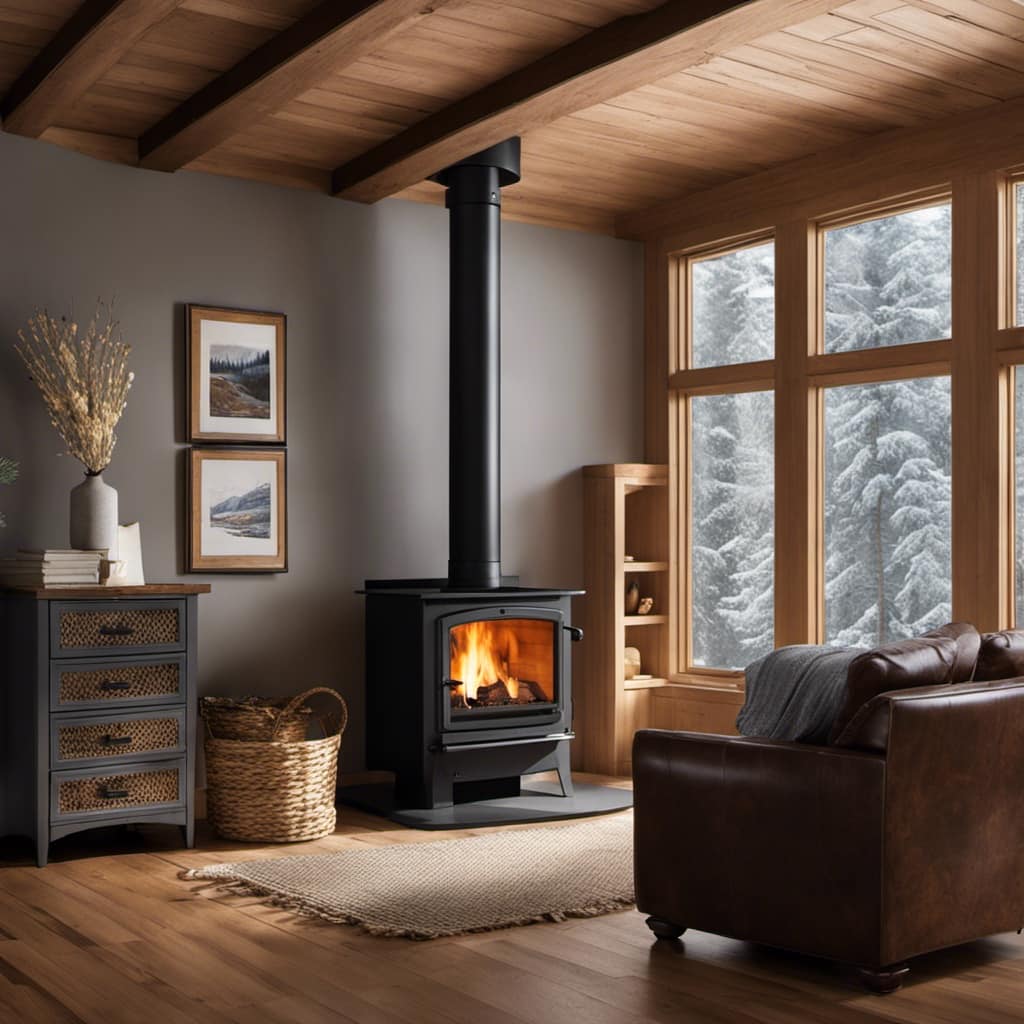
Sizing and Placement of the Piping
When determining the sizing and placement of my wood stove’s piping, I need to consider factors such as the length of the pipe, the number of bends, and the proximity to combustible materials. Proper sizing and placement are crucial for the safe and efficient operation of the wood stove.
Insulating the piping is an important step to prevent heat loss and ensure that the stove functions optimally. Insulation materials, such as fiberglass or ceramic insulation, can be wrapped around the piping to reduce heat transfer to the surrounding environment. This not only helps to maintain a comfortable temperature in the living space but also prevents potential damage to nearby combustible materials.
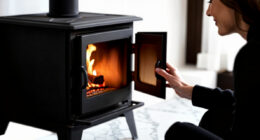
Regular maintenance of the piping is essential to ensure its longevity and safe operation. This includes checking for any leaks, cleaning out any creosote buildup, and inspecting the pipes for any signs of damage or corrosion.

Pellet Stove Fresh Air Intake Kit, 2"x 60" Pellet Stove Pipe Outside Cold Air Intake Kit for Corn Wood Furnace w/Aluminum Flex Vent Pipe,External Wall Vent Rain Cover & Screw Hose Clamps
Improve Pellet Stove Efficiency: Pellet stove fresh air intake kit allow outside fresh air into Pellet stove furnace…
As an affiliate, we earn on qualifying purchases.
As an affiliate, we earn on qualifying purchases.
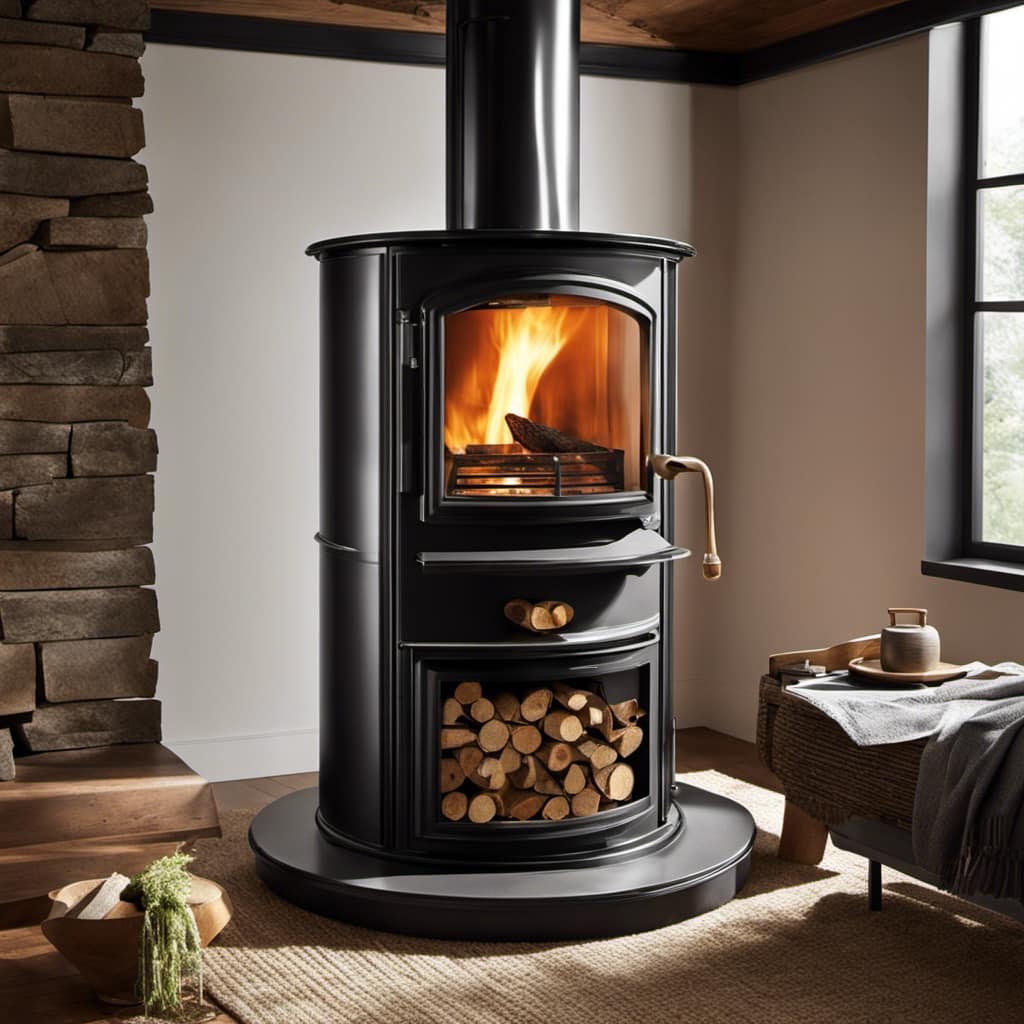
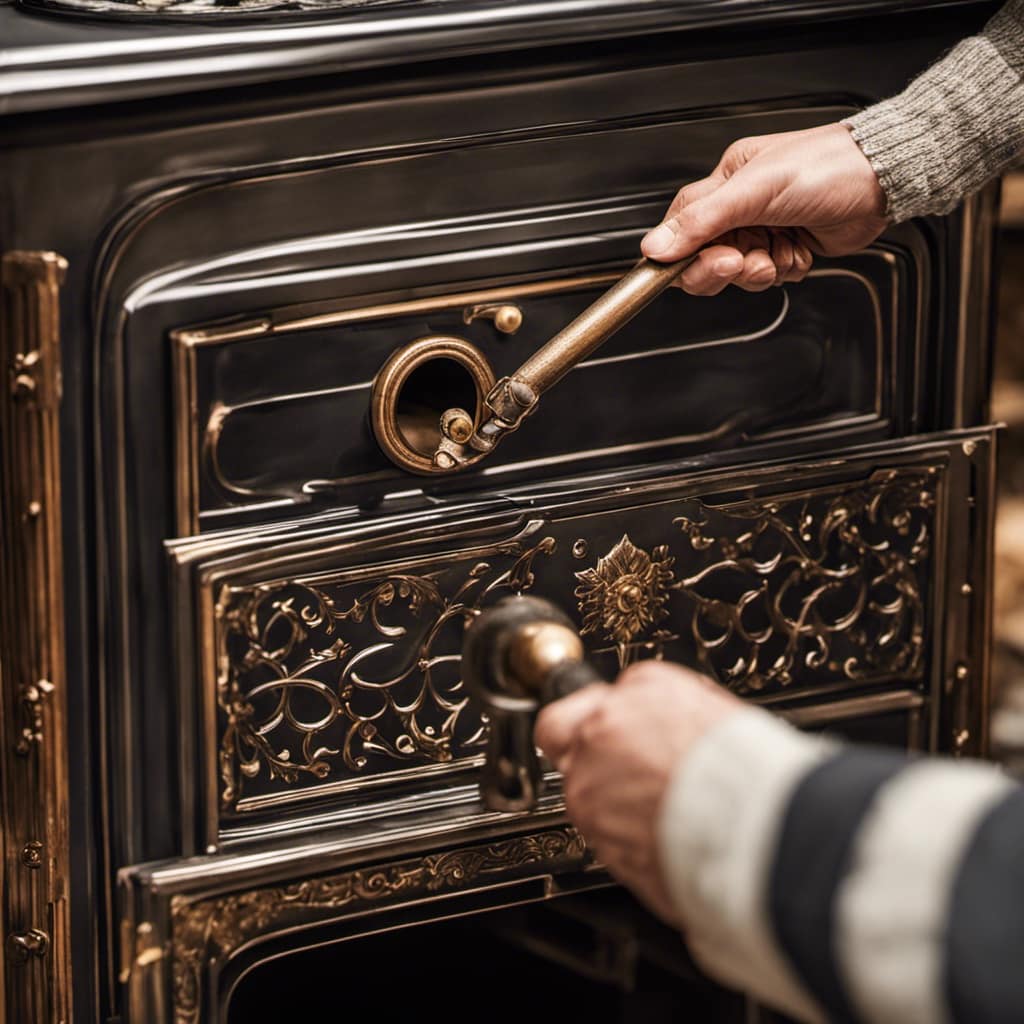
Connecting the Piping to the Wood Stove
To connect the piping, I need to use a connector that’s compatible with the flue collar on the stove. This ensures a secure and efficient connection between the wood stove and the piping system.
Here are three important steps to consider when connecting the piping:
-
Measure and cut the piping: Accurate measurements are crucial to ensure a proper fit. Use a tape measure to determine the length needed for the piping. Then, using a pipe cutter or saw, carefully cut the pipe to the correct length.
-
Attach the connector: Slide the connector onto the flue collar of the stove. Make sure it fits securely and snugly. Use screws or clamps to secure the connector firmly in place. This will prevent any leaks or movement of the piping.
-
Seal the connection: Apply high-temperature silicone sealant around the connection to ensure a tight seal. This will prevent any smoke or gases from escaping and maintain the efficiency of the wood stove.
Properly Venting the Piping to the Chimney
The chimney provides a safe and efficient way for the smoke and gases to escape from the wood stove. Properly venting the piping to the chimney is crucial to ensure the wood stove operates effectively.
When it comes to venting techniques, it’s important to follow local building codes and regulations. One common issue that may arise is improper installation, which can lead to backdrafting and poor airflow. To troubleshoot this, check for any blockages or obstructions in the chimney or piping.
Another common issue is creosote buildup, which can lead to chimney fires. Regular cleaning and maintenance can help prevent this. Additionally, make sure the piping is properly sealed and insulated to avoid heat loss.
Frequently Asked Questions
What Are the Safety Precautions to Consider When Running Wood Stove Piping?
When running wood stove piping, it is crucial to prioritize safety. Common mistakes include improper installation and lack of proper clearance. Using high-quality materials such as double-walled pipes and fire-resistant insulation is essential for safe operation.
Are There Any Specific Regulations or Codes That Need to Be Followed When Installing Wood Stove Piping?
There are specific regulations and codes that must be followed when installing wood stove piping. It is crucial to adhere to these guidelines to ensure safety and proper installation. Professional installation is recommended for cleaning, maintenance, and problem resolution.
Can I Install the Wood Stove Piping Myself, or Should I Hire a Professional?
I can install wood stove piping myself, but hiring a professional is recommended. DIY installation requires knowledge of local regulations and codes, as well as proper tools and techniques. A professional ensures safety and compliance.
How Often Should I Clean and Maintain the Wood Stove Piping?
I clean and maintain the wood stove piping every 3 months to ensure optimal performance. Regular cleaning prevents creosote buildup and reduces the risk of chimney fires. Here are some maintenance tips I’ve learned along the way.
What Are the Common Issues or Problems That Can Arise With Wood Stove Piping, and How Can They Be Resolved?
Common issues with wood stove piping include creosote buildup, leaks, and improper installation. Troubleshooting involves regular cleaning, inspecting for damage, and ensuring proper ventilation. Resolving issues may require professional assistance or adjustments to the piping system.
Conclusion
In conclusion, running wood stove piping requires careful planning, proper material selection, and precise sizing and placement.
Connecting the piping to the wood stove and ensuring proper venting to the chimney are crucial steps in ensuring the safe and efficient operation of a wood stove.
By following these steps, homeowners can enjoy the cozy warmth and ambiance of a wood stove while maintaining the highest level of safety and efficiency.