I have found a method for safely and effectively mounting a wood stove pipe on the side of my house.
By carefully assessing the installation area and gathering the necessary tools and materials, I am able to plan the pipe route and install the support brackets.
Connecting and securing the stove pipe is a crucial step in this process, and I’ll guide you through each step with professionalism and attention to detail.
Key Takeaways
- Measure and evaluate the available space and identify potential obstacles before installing the wood stove pipe.
- Prioritize safety precautions, wear protective gear, and ensure sufficient clearance from combustible materials.
- Carefully plan the pipe route, considering distance, obstacles, and building codes to maximize efficiency and safety.
- Securely install support brackets to wall studs, choosing appropriate sizes and materials for durability and weight distribution.
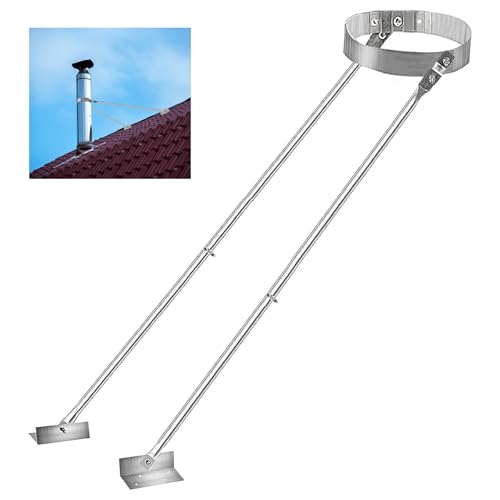
EEURAO Adjustable Extended Chimney Support Kit, 6–14 Inch Stove Pipe Roof Support, Heavy-Duty Roof Mount Bracket, Provide Stability Against Wind and Snow
Superior Materials: Chimney roof support features a bright metal exterior with anti-oxidation, moisture and cold resistance, salt spray…
As an affiliate, we earn on qualifying purchases.
As an affiliate, we earn on qualifying purchases.
Assessing the Installation Area
I need to carefully measure and evaluate the available space before determining where to install the wood stove pipe. When assessing the installation area, it’s crucial to evaluate any potential obstacles that may hinder the proper function and safety of the wood stove pipe. These obstacles could include electrical wires, plumbing pipes, or structural elements.
It’s essential to identify these obstacles and ensure that there’s sufficient clearance between them and the stove pipe. Measuring clearance is an important step in this process, as it helps determine the distance required between the pipe and any combustible materials.
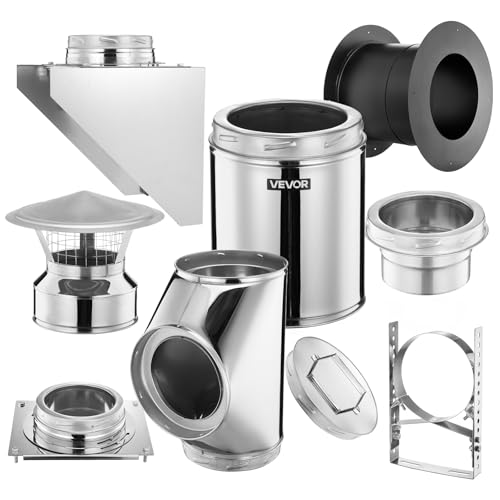
VEVOR Through the Wall Kit for 6-Inch Chimney Pipe, 304 Stainless Steel External Through Wall Chimney Kit with Cone-Top Rain Cap,Adjustable Mounting Bracket,Base Support for Outdoor Roof,Silver
Complete Kit: Includes 1 straight pipe, 1 fixed wall bracket, 1 adjustable wall bracket, 1 tee with cap,…
As an affiliate, we earn on qualifying purchases.
As an affiliate, we earn on qualifying purchases.
Gathering the Necessary Tools and Materials
Before starting the installation, I always make sure to gather all the necessary tools and materials to ensure a smooth and efficient process.
When choosing the right wood stove pipe, it’s crucial to consider factors such as the size, material, and insulation properties. The diameter of the pipe should match the size of the stove’s flue collar to ensure proper ventilation.
It’s also important to select a pipe made from durable materials that can withstand high temperatures.
Additionally, I always prioritize safety precautions during installation. This includes wearing protective gear, such as gloves and goggles, and ensuring proper clearance from combustible materials.
Following the manufacturer’s instructions and local building codes is essential for a safe and successful installation.

FireHiking Fireproof Pipe Wrap (Basalt Fiber) Anti Scalding Chimney Ribbon Stove Flue Protector with 2 Clamps
【Level 3 Basalt Fiber Material】 The Industrial grade safe material has excellent high temperature resistance. But it may…
As an affiliate, we earn on qualifying purchases.
As an affiliate, we earn on qualifying purchases.
Planning the Pipe Route
To properly plan the pipe route, I’ll need to carefully measure the distance and consider any obstacles that may require adjustments. Choosing the right pipe diameter is crucial for the optimal functioning of the wood stove. A pipe that’s too small can restrict airflow, while a pipe that’s too large can lead to inefficient heating.
To determine the optimal height for the pipe, I’ll need to account for factors such as the height of the stove, the distance from the stove to the roof, and any local building codes or regulations. By considering all these factors, I can ensure that the pipe route is planned in a way that maximizes the efficiency and safety of the wood stove installation.
With the pipe route planned, the next step is to install the support brackets.
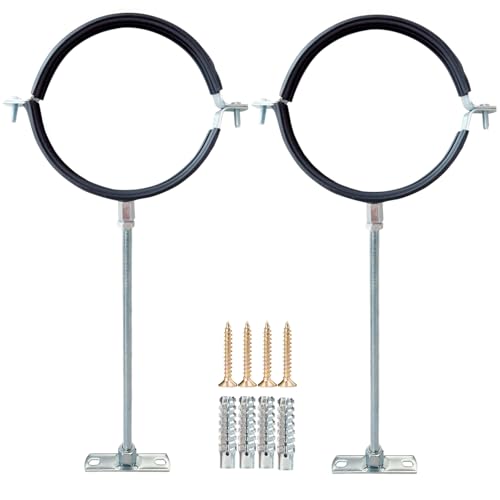
2 Sets Premium Adjustable Pipe Hanger Strap,Heavy Duty Galvanized Iron Stove Pipe Metal Bracket,Wall Support Chimney Round Split Ring Dryer Vent Hose Duct PVC Holder,with All Mounting Screws (4-Inch)
【Adjustable Length】This pipe hanger strap is suitable for 3-inch/4-inch round pipes and is equipped with an independent 20…
As an affiliate, we earn on qualifying purchases.
As an affiliate, we earn on qualifying purchases.
Installing the Support Brackets
The support brackets need to be securely fastened to the wall studs in order to provide stability for the wood stove pipe. Choosing the right size brackets is crucial for ensuring proper support. Here are some key points to consider when installing support brackets:
- Measure the diameter of the wood stove pipe to determine the appropriate bracket size.
- Select brackets that are made from durable materials such as steel or cast iron.
Proper spacing for support brackets is essential to evenly distribute the weight of the pipe. Follow the manufacturer’s guidelines for recommended spacing between brackets. Use a level to ensure that the brackets are installed straight and level.
Connecting and Securing the Stove Pipe
I’ll connect the stove pipe to the chimney and secure it with metal clamps. This step is essential to ensure proper ventilation and to prevent any leaks or hazards. Before connecting the stove pipe, it is important to consider proper insulation and fire safety precautions. Insulating the stove pipe will help retain heat and prevent any potential fire hazards. Additionally, it is crucial to follow fire safety guidelines by keeping the stove pipe a safe distance away from any combustible materials.
To further engage the audience, here is a table outlining the necessary fire safety precautions during the installation process:
| Fire Safety Precautions | Description |
|---|---|
| Insulate the stove pipe | Use appropriate insulation materials to prevent heat loss and potential fire hazards. |
| Maintain safe distance | Ensure the stove pipe is installed at a safe distance from any flammable materials. |
| Regular maintenance | Regularly inspect and clean the stove pipe to prevent creosote buildup and potential fire risks. |
Frequently Asked Questions
How Far Away From the House Should the Wood Stove Pipe Be Installed to Ensure Safety?
When installing a wood stove pipe, it is crucial to prioritize safety. One important consideration is the distance between the pipe and the house. Follow manufacturer guidelines and local codes to ensure proper installation and minimize fire hazards.
Are There Any Specific Building Codes or Regulations That Need to Be Followed When Running a Wood Stove Pipe Along the Side of a House?
When running a wood stove pipe along the side of a house, it is crucial to adhere to building code requirements and safety regulations. These guidelines ensure the proper installation and reduce the risk of potential hazards.
Is It Necessary to Use a Specific Type of Pipe Insulation to Prevent Heat Loss and Protect the House’s Exterior?
Yes, it is necessary to use specific types of pipe insulation to prevent heat loss and protect the house’s exterior. There are various options available, such as fiberglass or foam insulation, which can effectively insulate the wood stove pipe.
Can a Wood Stove Pipe Be Installed on a Vinyl-Sided House, or Is Additional Protection Needed?
Yes, it is possible to install a wood stove pipe on a vinyl-sided house. However, additional protection, such as heat shielding or a double-wall pipe, may be necessary to prevent damage to the siding and ensure proper ventilation.
Are There Any Precautions or Steps to Take to Prevent Condensation Buildup or Damage to the Wood Stove Pipe When Running It Along the Side of a House?
To prevent condensation and protect the wood stove pipe when running it alongside a house, I recommend insulating the pipe and using a chimney cap with a rain cover. Regular maintenance and cleaning are also essential for preventing damage.
Conclusion
In conclusion, by properly assessing the installation area and gathering the necessary tools and materials, you can ensure a successful installation process.
Planning the pipe route and installing support brackets are crucial steps in running a wood stove pipe along the side of your house.
Finally, connecting and securing the stove pipe completes the installation process.
By following this comprehensive and detailed approach, you can achieve a professional and knowledgeable installation, giving you peace of mind and a warm and cozy home.