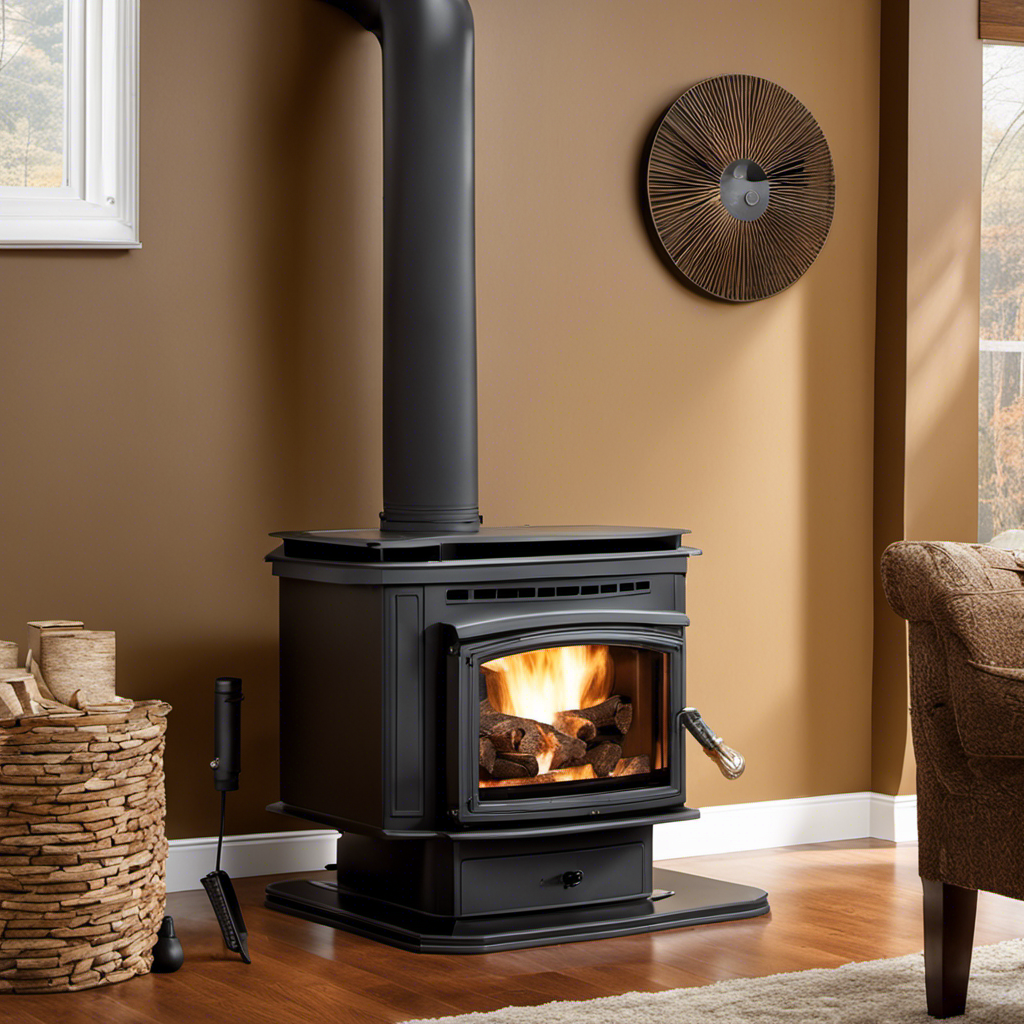
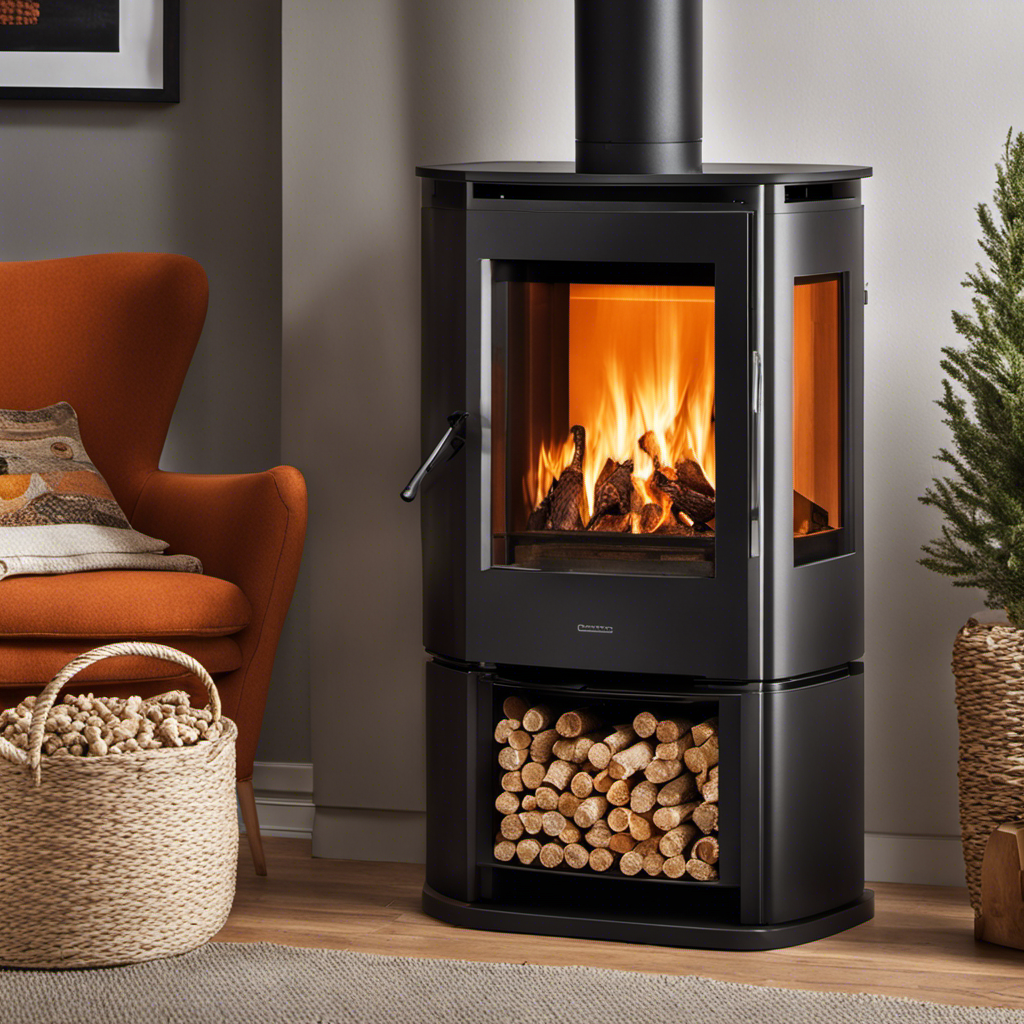
I’ve always valued the cozy warmth provided by a wood stove, but after years of dealing with the hassle of chopping wood and cleaning up ash, I decided it was time for a change.
In this step-by-step guide, I’ll show you how to replace your old wood stove with a more efficient and convenient pellet stove.
From assessing the condition of your current stove to programming and operating your new pellet stove, I’ll provide all the details you need for a successful transition.
Get ready to enjoy a new level of comfort and convenience in your home!
Key Takeaways
- Assess the condition and efficiency of the current wood stove
- Research and choose a suitable pellet stove model
- Compare different models of pellet stoves
- Prepare the installation area for the pellet stove
Assessing the Condition of Your Current Wood Stove
Before you can replace your wood stove with a pellet stove, you need to assess the condition of your current wood stove.
Start by evaluating its efficiency and emissions. Check if the stove is properly sealed and insulated to prevent heat loss. Look for signs of wear and tear, such as rust or cracks in the stove body or door. Inspect the chimney and flue for any blockages or damage.
Assess the efficiency by monitoring the amount of firewood required and the heat output produced. Consider the emissions produced by your wood stove and compare them to local regulations. If your current wood stove is outdated or not meeting efficiency and emission standards, it may be time to replace it with a pellet stove.
In the next section, we will discuss researching and choosing a suitable pellet stove model that meets your needs and preferences.
Researching and Choosing a Suitable Pellet Stove Model
When it comes to researching and choosing a suitable pellet stove model, there are a few key features that I need to consider.
First, I will look at the heating capacity of the stove, making sure it is sufficient for the size of my home.
Next, I will evaluate the hopper capacity, as a larger hopper will require less frequent refilling.
Key Features to Consider
To choose the right pellet stove for your home, take into account the key features you should consider.
When evaluating efficiency, look for stoves with high heat output and low fuel consumption. This will help you save money on heating costs and reduce your environmental footprint.
Understanding maintenance is also crucial. Look for stoves with easy-to-clean designs and self-cleaning features to make your life easier.
Consider the size and capacity of the stove to ensure it can adequately heat your space. Look for models with programmable thermostats and remote controls for added convenience.
Finally, consider the aesthetic appeal of the stove to ensure it complements your home décor.
Now, let’s move on to comparing different models, so you can make an informed decision.
Comparing Different Models
Now that we have discussed the key features to consider, let’s compare different models of pellet stoves to help you make an informed decision.
When comparing pellet stoves, two important factors to consider are prices and fuel efficiency.
Prices can vary significantly depending on the brand and features of the stove. It’s important to compare prices from different manufacturers to find the best deal for your budget.
Additionally, comparing fuel efficiency is crucial as it directly affects the cost of operating the stove. Look for models that have high fuel efficiency ratings, as this will help you save money on pellets in the long run.
Now, let’s move on to preparing the installation area for the pellet stove.
Preparing the Installation Area for the Pellet Stove
Before you begin, make sure the installation area is clear of any debris. This is crucial to ensure a safe and efficient installation of your new pellet stove. Start by removing any furniture, rugs, or other items from the area. Sweep or vacuum the floor to remove any dust or dirt that may interfere with the installation process.
Next, choose the right location for your pellet stove. Consider factors such as proximity to an exterior wall, accessibility for venting, and clearance requirements. Make sure there is enough space around the stove for easy maintenance and cleaning.
Once you have selected the ideal location, measure and mark the area where the stove will be placed. Use a level to ensure that the floor is even and adjust as needed.
With the installation area prepared, you can now move on to the next step of removing the old wood stove and chimney.
Removing the Old Wood Stove and Chimney
When it comes to removing an old wood stove and chimney, there are several important safety precautions to keep in mind.
First, it is crucial to wear protective gear such as gloves, goggles, and a dust mask to protect yourself from any debris or harmful substances.
Second, proper disposal of materials is essential to prevent any environmental hazards, so be sure to follow local regulations and guidelines for disposing of the stove and chimney components.
Lastly, if you are unsure or uncomfortable with the removal process, it is highly recommended to hire a professional chimney removal service to ensure the job is done safely and efficiently.
Safety Precautions When Removing
Make sure you’re wearing protective gear when getting rid of the wood stove. Safety should always be a top priority when handling hazardous materials.
To ensure your well-being, there are a few essential safety equipment you should have on hand. First, put on a pair of heavy-duty gloves to protect your hands from sharp edges or hot surfaces.
Next, wear safety goggles to shield your eyes from any flying debris. Additionally, a dust mask or respirator is necessary to prevent inhalation of harmful particles or fumes.
Lastly, don’t forget to wear appropriate clothing that covers your body and closed-toe shoes for added protection. Now that you’re properly equipped, let’s move on to the proper disposal of materials.
Proper Disposal of Materials
Now that you’ve gathered the necessary safety equipment, let’s discuss the proper disposal of materials.
Proper disposal is crucial to minimize the environmental impact of removing a wood stove. Here are the steps to follow:
-
Empty the ash and debris from the stove into a metal container. Allow the ashes to cool completely before disposing of them.
-
Contact your local waste management facility to inquire about their guidelines for disposing of wood stove materials. They may require you to separate metal components from other materials.
-
If possible, recycle the metal components of the stove. Many recycling centers accept scrap metal and can properly handle its disposal.
-
For non-recyclable components, such as insulation or refractory materials, consult with your local waste management facility for proper disposal methods.
By following these steps, you can ensure the proper disposal of materials and minimize the environmental impact of removing your wood stove.
Now, let’s transition into the next section about hiring professional chimney removal.
Hiring Professional Chimney Removal
If you’re considering removing your chimney, hiring a professional is the safest and most efficient option. Professional chimney installation experts have the knowledge and experience to safely remove your old chimney without causing any damage to your home. They will follow a step-by-step process to ensure a smooth and successful removal.
First, they will inspect the chimney to assess the best approach for removal. Then, they will carefully dismantle the chimney brick by brick, ensuring that no debris falls into your home. The professional will also handle any necessary permits and ensure that the removal is done in compliance with local building codes.
By hiring experts, you can have peace of mind knowing that the chimney removal will be done safely and efficiently.
Now, let’s move on to installing the new pellet stove and venting system.
Installing the New Pellet Stove and Venting System
Once the pellet stove and venting system are installed, it’s important to regularly clean and maintain them for optimal performance. Here’s a step-by-step guide on how to install the venting system and choose the right location for the pellet stove:
-
Install the venting system:
-
Determine the type of venting system required based on the pellet stove model.
-
Choose a location for the vent pipe that meets the manufacturer’s guidelines.
-
Install the vent pipe through the wall or ceiling, ensuring proper clearances.
-
Connect the vent pipe to the pellet stove, using the appropriate adapters if necessary.
-
Choose the right location for the pellet stove:
-
Select a central location in the house, away from flammable materials.
-
Ensure there is enough space around the stove for proper air circulation and maintenance.
-
Consider the proximity to an electrical outlet for easy connection.
By following these steps, you can successfully install the venting system and choose the ideal location for your pellet stove.
Now, let’s move on to connecting and testing the pellet stove’s electrical components.
Connecting and Testing the Pellet Stove’s Electrical Components
After installing the venting system and choosing the right location, it’s time to connect and test the electrical components of the pellet stove.
First, ensure that the stove is unplugged from the power source. Then, locate the electrical panel on the back of the stove. Carefully connect the power cord to the panel, making sure it is securely plugged in.
Next, connect the thermostat wires to their respective terminals, following the manufacturer’s instructions. Once all the connections are made, plug the stove back into the power source.
Now, it’s time to test the electrical components. Turn on the stove and set the thermostat to the desired temperature. If the stove does not turn on or the temperature does not adjust properly, troubleshoot the common issues such as loose connections or blown fuses.
Once everything is working smoothly, you can move on to programming and operating your new pellet stove.
Transition: Now that the electrical components are properly connected and tested, let’s move on to programming and operating your new pellet stove.
Programming and Operating Your New Pellet Stove
To program and operate your new pellet stove, start by familiarizing yourself with the control panel and its various buttons and settings.
The control panel is where you will be able to adjust the temperature, set timers, and control other features of your pellet stove.
Begin by turning on the stove and allowing it to warm up. Once it’s ready, you can set the desired temperature by pressing the temperature up or down buttons.
Additionally, you can program the stove to automatically turn on and off at specific times using the timer feature.
If you encounter any issues during programming, refer to the troubleshooting section of the manual or contact the manufacturer for assistance.
Now that you know how to program and operate your pellet stove, let’s move on to maintaining and troubleshooting it.
Maintaining and Troubleshooting Your Pellet Stove
It’s important to regularly clean and inspect your pellet stove in order to maintain its efficiency and prevent any potential issues. Here’s a step-by-step guide on how to maintain and troubleshoot your pellet stove.
-
Clean the burn pot: Remove any ash or debris from the burn pot using a metal scraper or brush. This ensures proper combustion and prevents clogging.
-
Clean the exhaust vent: Inspect and clean the exhaust vent regularly to prevent any blockages. Use a chimney brush to remove any creosote buildup.
-
Clean the glass: Wipe the glass door with a damp cloth to remove any soot or residue. This not only improves the visual appeal but also allows for better heat transfer.
-
Check the auger: Ensure that the auger is properly feeding pellets into the burn pot. If it’s not, check for any jams or obstructions and clear them if necessary.
-
Check the igniter: Inspect the igniter for any signs of wear or damage. Replace it if needed to ensure proper ignition.
Are There Any Benefits to Replacing a Wood Stove With a Pellet Stove?
There are several benefits to replacing a wood stove with a pellet stove. Pellet stoves are more efficient, produce less ash and emissions, and are easier to use. They also offer a more consistent heat output and can be automated for easier operation. Overall, replacing a wood stove with a pellet stove can lead to cost savings and improved air quality.
Frequently Asked Questions
Can I Install a Pellet Stove in the Same Location as My Old Wood Stove?
Yes, you can install a pellet stove in the same location as your old wood stove. The benefits of switching to a pellet stove include increased energy efficiency and reduced emissions.
How Much Does It Cost to Replace a Wood Stove With a Pellet Stove?
The cost comparison between replacing a wood stove with a pellet stove depends on various factors, such as the size and model of the stove, installation fees, and any necessary modifications. However, it is worth considering the long-term energy efficiency benefits of a pellet stove.
Can I Use the Existing Chimney for My New Pellet Stove?
I can use the existing chimney for my new pellet stove, which is great because it saves me time and money. Plus, using a pellet stove has many advantages over a wood stove, like being more efficient and eco-friendly.
How Long Does It Take to Install a Pellet Stove?
Installing a pellet stove is a great way to upgrade from a wood stove. It typically takes a professional a few hours to a day to install, depending on the complexity of the job. The benefits of pellet stoves include increased efficiency and convenience.
Can I Still Use My Wood Stove Accessories With a Pellet Stove?
Yes, you can still use your wood stove accessories with a pellet stove. It’s like using a smartphone charger with a tablet – different but compatible. Switching to a pellet stove offers cost savings, convenience, and environmental benefits.
Conclusion
In conclusion, replacing my wood stove with a pellet stove was like trading in an old, worn-out car for a sleek, efficient new model.
With each step, from assessing the condition of my old stove to programming and operating the new one, I felt a sense of renewal and progress.
The process required careful research and preparation, but the end result was a beautiful, warm centerpiece for my home.
Now, I can enjoy the cozy ambiance of a fire without the hassle and mess of wood.
Logan’s affair with adventure began in childhood. He hailed from a small town where vast forests bordered one side and endless shores stretched on the other. His days were spent exploring uncharted woods, climbing tall trees, or listening to the tales of old sailors. This early immersion in a world brimming with stories and mysteries became the foundation of his passion for writing.


