Were you aware that the bricks in your wood stove can deteriorate over time, impacting its functionality? If your wood stove isn’t performing as expected, it could be due to the need to replace those worn-out bricks.
In this article, I’ll guide you through the process of assessing the condition of your bricks, gathering the necessary tools, removing the damaged bricks, installing new ones, and maintaining them for a longer lifespan.
Let’s get started!
Key Takeaways
- Regularly assess the condition of the bricks for optimal performance and safety.
- Choose firebricks, designed to withstand high temperatures, for replacement.
- Soak the new bricks in water for at least 24 hours before installation.
- High-quality bricks offer improved heat retention for efficient heating.
Assessing the Condition of Your Wood Stove Bricks
I’m examining the condition of my wood stove bricks, evaluating the brick deterioration and looking for signs of brick damage.
As an expert in wood stove maintenance, it’s crucial to regularly assess the condition of the bricks to ensure the stove’s optimal performance and safety.
When evaluating brick deterioration, I pay close attention to any cracks, chips, or crumbling in the bricks. These signs indicate that the bricks have weakened and may need replacement.
Additionally, I check for any discoloration or blackening, which could be a sign of excessive heat exposure. It’s essential to address any brick damage promptly to prevent further deterioration and potential hazards.
Gathering the Necessary Tools and Materials
To gather all the tools and materials I need for the project, I’ll make a list and head to the hardware store.
When it comes to replacing wood stove bricks, it’s crucial to choose the right type of bricks. Firebricks are the most suitable choice due to their ability to withstand high temperatures. These bricks are designed to resist cracking and crumbling, ensuring the longevity of your wood stove.
Additionally, proper safety precautions during the replacement process are essential. Make sure to wear protective gloves and safety goggles to shield yourself from any potential injuries. It’s also important to allow the stove to cool down completely before beginning the replacement.
Removing the Damaged Bricks
Removing the damaged bricks from your wood stove can be done by carefully prying them out with a chisel and hammer. Here is a step-by-step guide on how to remove the damaged bricks:
- Ensure Safety Precautions:
- Turn off the stove and allow it to cool completely before starting any repairs.
- Put on safety goggles and gloves to protect yourself from debris and sharp edges.
- Identify the Damaged Bricks:
- Inspect the stove and locate the bricks that need to be replaced.
- Tap on the bricks gently to identify any loose or damaged ones.
- Remove the Bricks:
- Position the chisel at the edge of the damaged brick and gently tap it with a hammer.
- Gradually work your way around the brick, prying it out bit by bit.
- Be careful not to damage the surrounding bricks or the stove’s interior.
Installing the New Bricks
After carefully removing the damaged bricks, I can now proceed with installing the new ones.
When it comes to replacing wood stove bricks, it’s crucial to follow proper curing techniques to ensure their longevity and performance. First, it’s essential to soak the new bricks in water for at least 24 hours before installation. This process allows the bricks to absorb moisture, preventing them from cracking due to extreme heat.
Once the bricks are properly cured, I begin by applying a thin layer of refractory cement on the stove’s interior surface. This acts as a bonding agent for the bricks. I then carefully place the bricks, ensuring a snug fit and leaving no gaps. It’s crucial to avoid common mistakes like using excessive force, as it can lead to chipping or breaking of the new bricks.
Maintaining and Extending the Lifespan of Your Wood Stove Bricks
Maintaining and extending the lifespan of my wood stove bricks is essential for optimal performance. High-quality wood stove bricks offer several benefits:
Improved heat retention: High-quality bricks have better insulation properties, allowing them to retain heat for longer periods. This results in more efficient and effective heating in your home.
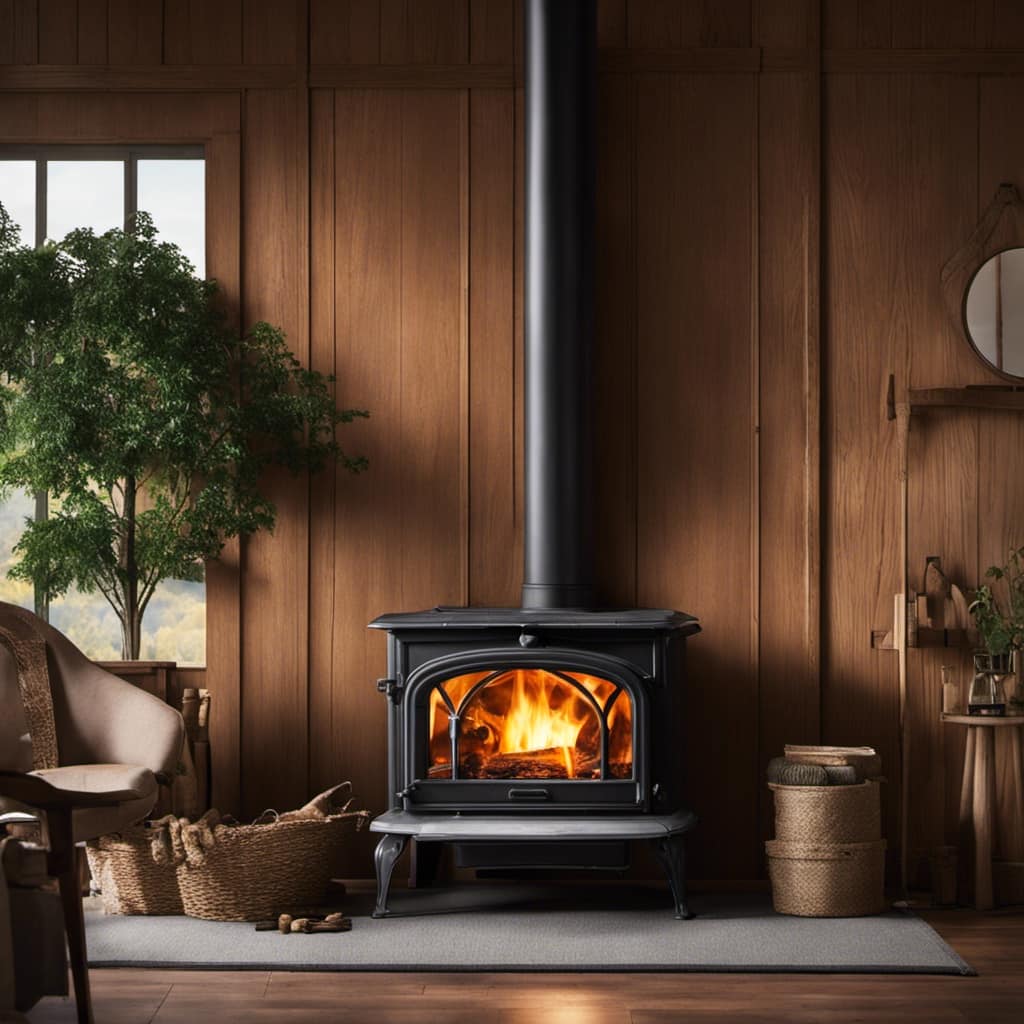
Increased durability: High-quality bricks are made from durable materials that can withstand high temperatures, reducing the risk of cracking or breaking over time. This ensures a longer lifespan for your wood stove bricks.
Enhanced safety: Using high-quality bricks minimizes the risk of fire hazards and ensures that the bricks won’t disintegrate or release harmful particles into the air.
To prevent damage to wood stove bricks and extend their lifespan, follow these tips:
Avoid overloading the stove: Excess weight can strain the bricks and lead to cracks or breakage.
Clean regularly: Remove ash and debris from the stove to prevent buildup, which can cause damage to the bricks.
Use proper fuel: Burning wet or unseasoned wood can create excessive heat, leading to damage to the bricks. Ensure you use dry, seasoned wood for optimal performance and to prevent damage.
Can the Lack of Electric Fans Impact the Replacement of Wood Stove Bricks?
When considering the replacement of wood stove bricks, it’s important to factor in the impact of a lack of electric fans. Utilizing wood stove fan troubleshooting tips can help maintain proper airflow and temperature distribution, ensuring the longevity and efficiency of the bricks.
Frequently Asked Questions
Can I Replace Wood Stove Bricks With Regular Bricks?
Yes, you can replace wood stove bricks with regular bricks, but there are some pros and cons to consider. Regular bricks are cheaper and easier to find, but they may not withstand high temperatures as well as specialized stove bricks.
How Often Do Wood Stove Bricks Need to Be Replaced?
Wood stove bricks need to be replaced periodically due to wear and tear. To choose the right type, consider the material and size that fits your stove. Proper maintenance includes regular cleaning and inspection for cracks or damage.
Is It Necessary to Wear Protective Gear When Replacing Wood Stove Bricks?
Wearing protective gear when replacing wood stove bricks is essential. The potential risks of burns and flying debris necessitate the use of gloves, goggles, and a dust mask. Alternative safety measures are insufficient.
Can I Use a Different Type of Adhesive to Install the New Bricks?
Yes, you can use a different type of adhesive to install the new bricks. However, it’s important to choose an adhesive that is suitable for high temperatures and can withstand the heat generated by the wood stove.
What Should I Do if I Accidentally Break a Brick While Removing It?
If I accidentally break a wood stove brick while removing it, I have a few options for repairing it. I can use high-temperature mortar to reattach the broken pieces, or I can replace the brick entirely using alternative methods for removing wood stove bricks safely.
Conclusion
Congratulations! You’re now a master brick replacer for wood stoves. With your newfound knowledge and expertise, you can confidently assess, gather, remove, and install bricks like a pro.
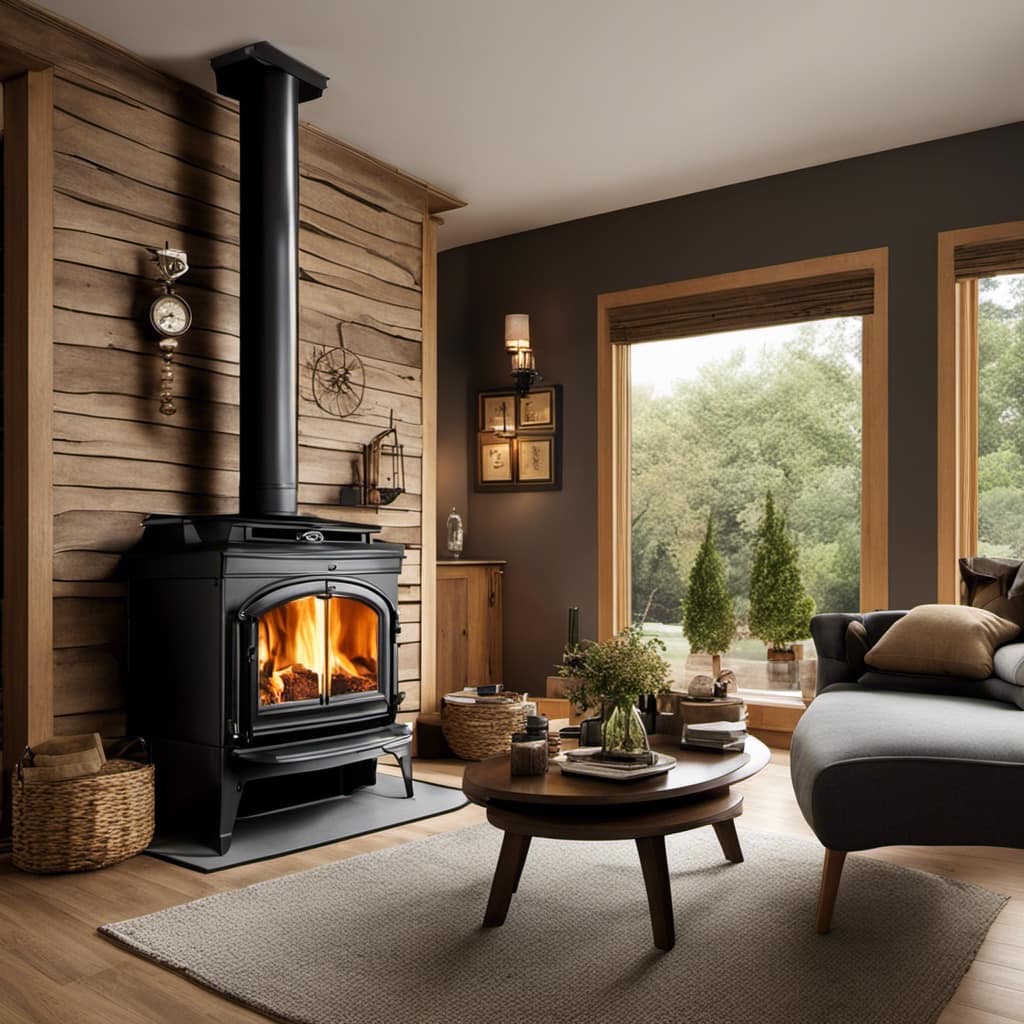
And don’t forget to maintain and extend the lifespan of your wood stove bricks to keep the fiery warmth flowing.
Now go forth and conquer the world of wood stoves, one brick at a time!


