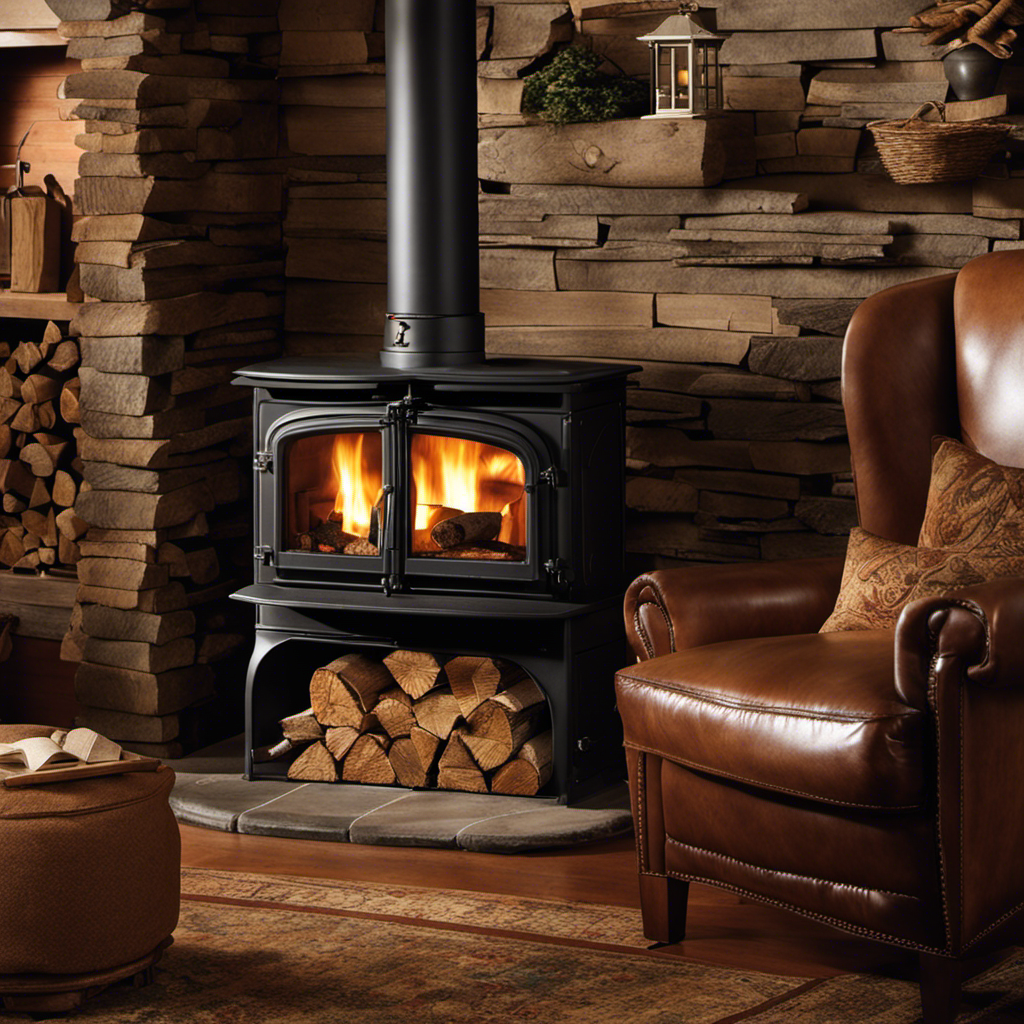
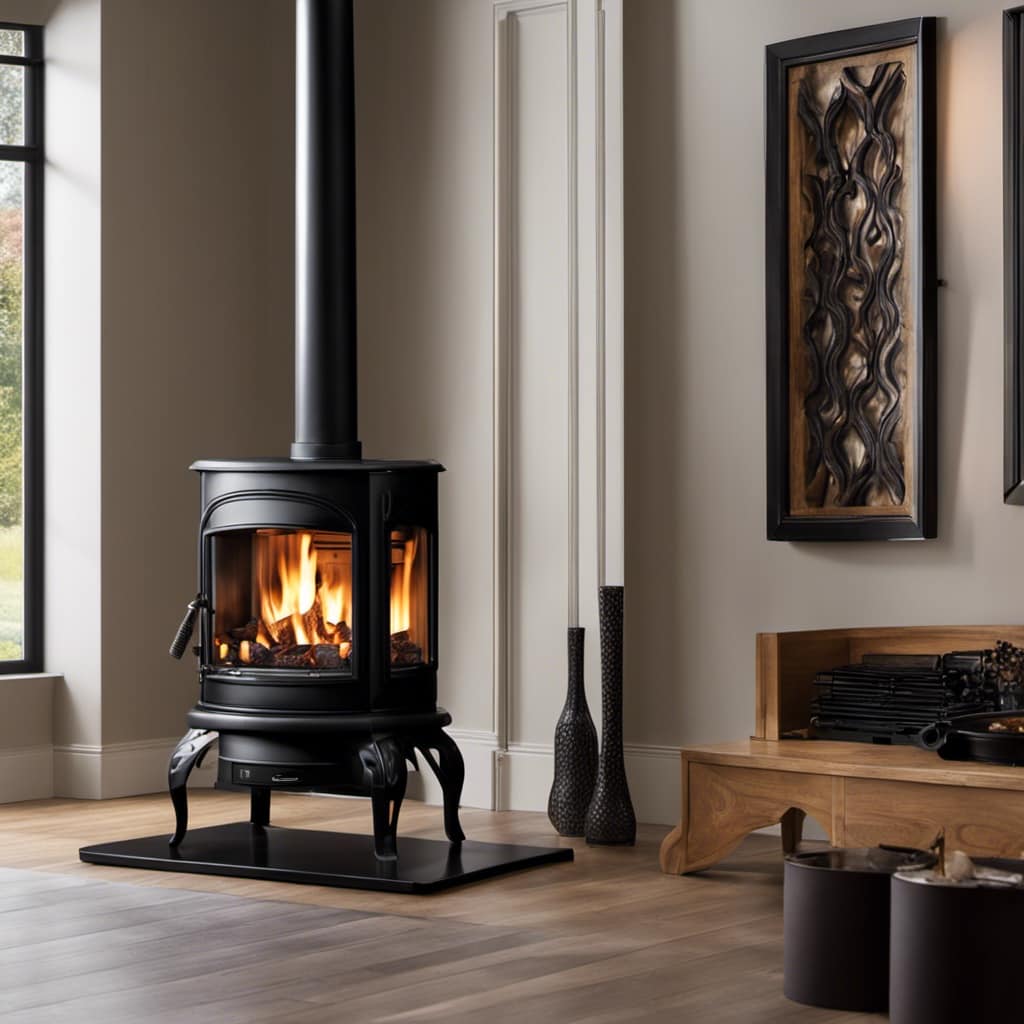
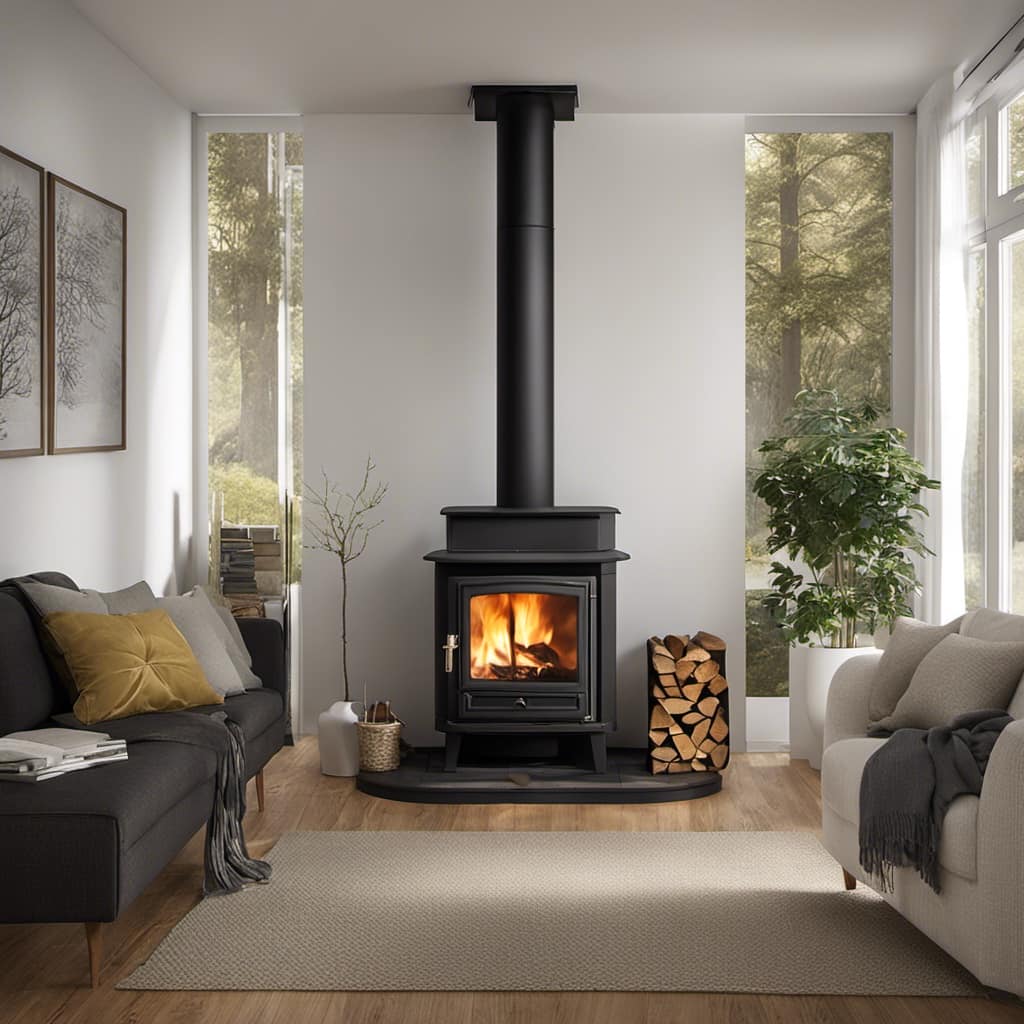
I have acquired significant experience in using a wood stove, and a key lesson learned from this experience is the essential maintenance it requires.
One crucial aspect is replacing fired bricks when they become damaged.
In this article, I’ll guide you through the steps of assessing the condition of the bricks, gathering the necessary tools and materials, removing the damaged brick, installing a new one, and properly curing and maintaining it.
Let’s dive in and keep our wood stoves in top shape!
Key Takeaways
- Assess the condition of the fired bricks before replacing them.
- Gather the necessary tools and materials for the replacement process.
- Remove the damaged brick carefully without causing any further damage.
- Install the new brick securely using refractory mortar and proper techniques.

Protalwell Woodstove Firebricks, Upgrade Fire Bricks Replacement for US Stove FBP6, Size 9" x 4-1/2" x 1-1/4", 6-Pack
- Material: Vermiculite for high heat resistance
- Thermal Performance: Excellent insulation saves wood and money
- Durability: High-strength, not easily brittle or peeling
As an affiliate, we earn on qualifying purchases.
As an affiliate, we earn on qualifying purchases.
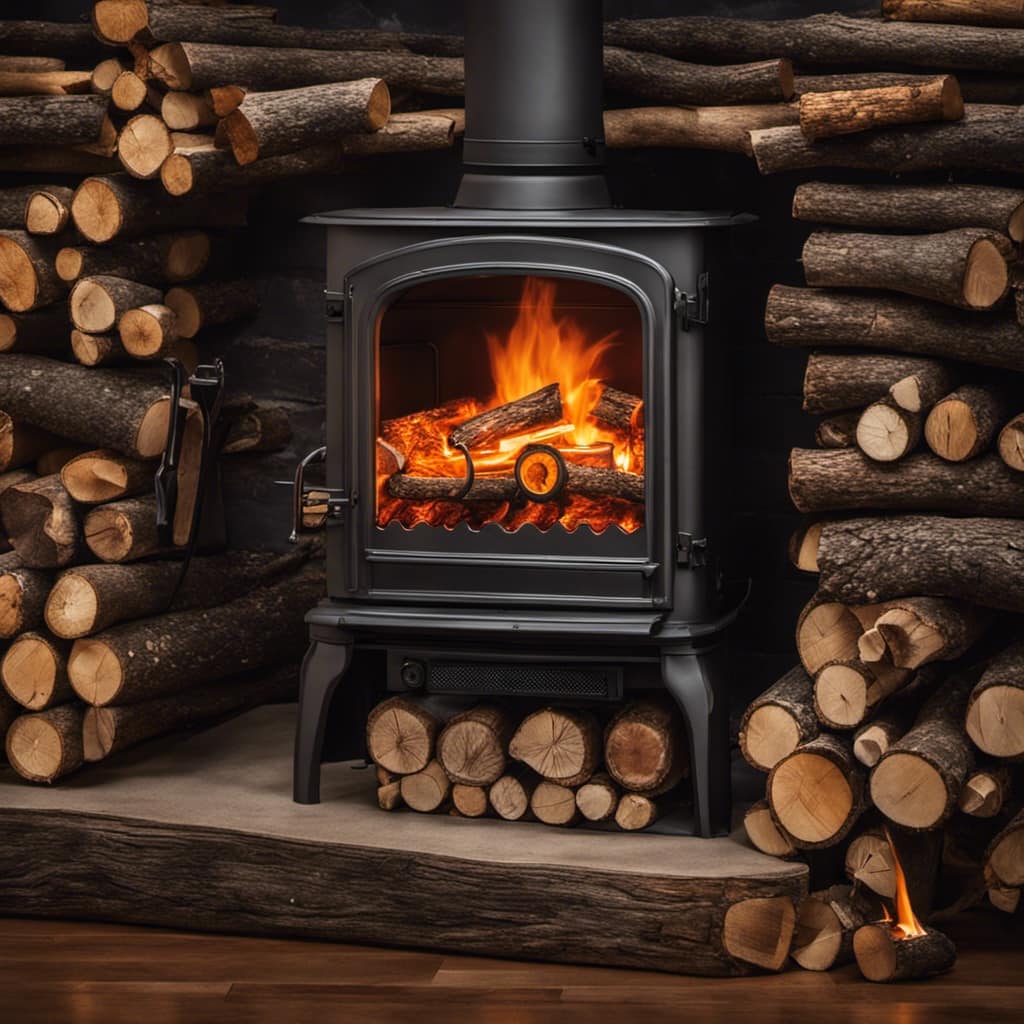
Assessing the Condition of the Fired Bricks
I’m examining the quality of these fired bricks to determine if they need to be replaced. Evaluating the lifespan of bricks is crucial in maintaining the efficiency and safety of a wood stove.
The first sign of brick deterioration is visible cracks. These cracks may appear small initially but can deepen over time, compromising the structural integrity of the bricks.
Another indicator is spalling, where the surface of the brick starts to chip or flake off. This is often caused by moisture penetration or excessive heat.
Additionally, look out for any signs of crumbling or disintegration, as this suggests that the bricks have reached the end of their lifespan.
Gathering the Necessary Tools and Materials
Before starting the replacement process, I need to gather all the tools and materials required for the task, such as a chisel, hammer, replacement bricks, and refractory cement.
Choosing the right type of fired brick is crucial to ensure proper functioning and longevity of the wood stove.
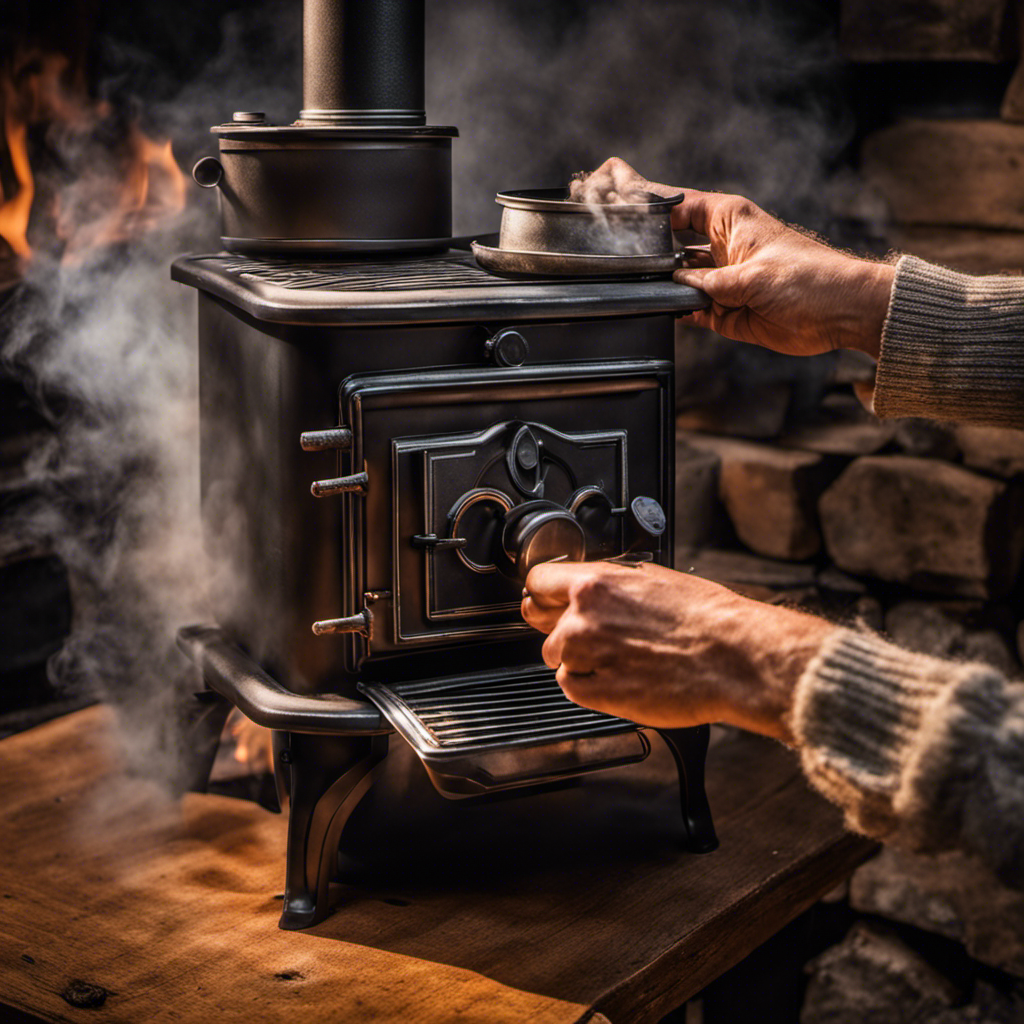
When cleaning the wood stove before replacing fired bricks, it’s important to remove any ash or debris from the firebox using a brush or vacuum. Additionally, wiping the bricks with a damp cloth will help remove any dirt or stains.
To ensure safety, it’s recommended to wear protective gloves and eyewear during the cleaning and replacement process.
Now that I’ve gathered all the necessary tools and materials, I’m ready to proceed with removing the damaged fired brick.
Removing the Damaged Fired Brick
I’ll carefully use a chisel and hammer to remove the damaged fired brick from the wood stove. Before I begin, it’s important to gather all the necessary tools and materials. Here is a table outlining the items needed for this task:
| Tools | Materials |
|---|---|
| Chisel | Fired Brick |
| Hammer | Safety Glasses |
| Gloves | Dust Mask |
| Brush | Vacuum Cleaner |
To start, I’ll put on my safety glasses and gloves for protection. Using the chisel, I’ll gently tap it with the hammer to loosen the damaged brick. Once it’s loose, I’ll carefully remove it from the stove, being cautious not to damage the surrounding bricks. After removing the damaged brick, I’ll inspect the area for any cracks or gaps that need repairing. This will ensure a proper fit for the new fired brick. With the damaged brick removed and any cracks or gaps sealed, I can now proceed to installing the new fired brick.
Installing the New Fired Brick
After ensuring that the area is clean and free of debris, I’ll carefully position the new fired brick using a trowel and secure it with refractory mortar. This step is crucial in maintaining the functionality and safety of your wood stove.

Here are three important considerations when installing a new fired brick:
- Preparing the wood stove:
- Remove any remaining debris or ash from the area where the new brick will be placed.
- Inspect the surrounding bricks for any signs of damage or wear that may require repair or replacement.
- Ensure that the wood stove is completely cool before starting the installation process.
- Selecting the right fired brick:
- Choose a brick that’s specifically designed for wood stoves, as they’re capable of withstanding high temperatures.
- Look for bricks with dense and durable composition to ensure longevity and resistance to heat stress.
- Consider the size and shape of the brick to ensure proper fit and alignment within the stove.
- Proper installation technique:
- Use a trowel to evenly apply a layer of refractory mortar to the area where the brick will be placed.
- Position the brick carefully, ensuring that it fits snugly and is level with the surrounding bricks.
- Press the brick firmly into place to ensure a secure bond with the mortar.
Properly Curing and Maintaining the Replaced Fired Brick
To properly maintain the replaced fired brick, I’ll need to carefully inspect it for any signs of damage and make sure to regularly clean and protect it with a suitable sealant. The curing process for the fired brick is crucial to ensure its long-term durability and performance. After replacing the brick, it is important to allow it to cure properly before subjecting it to intense heat. This involves gradually increasing the temperature over a period of time to allow the brick to dry out and strengthen. Once the curing process is complete, it is important to implement proper maintenance techniques to ensure the longevity of the brick. This includes regular cleaning to remove any ash or debris, as well as applying a suitable sealant to protect the brick from moisture and heat damage.
| Curing Process | Maintenance Techniques |
|---|---|
| Gradually increase temperature over time | Regularly clean to remove ash and debris |
| Allow brick to dry and strengthen | Apply suitable sealant to protect from moisture and heat damage |
| Follow recommended curing guidelines | Inspect for signs of damage regularly |
:Are “Firedbrick” and “Firebrick” the Same Thing When It Comes to Wood Stove Replacement?
When it comes to wood stove replacement, “firedbrick” and “firebrick” are often used interchangeably, but there is a difference. “Firedbrick” refers to bricks that have been fired in a kiln, while “firebrick” specifically refers to bricks designed to withstand high heat. It’s important to use the right bricks when you replace firebrick wood stove.
Frequently Asked Questions
How Often Do Fired Bricks in a Wood Stove Need to Be Replaced?
Fired bricks in a wood stove should be replaced when they show signs of damage or wear, such as cracks or erosion. To extend their lifespan, regularly inspect and clean the bricks, and use proper burning techniques to minimize stress on them.
Can I Use Regular Bricks Instead of Fired Bricks in a Wood Stove?
Using regular bricks instead of fired bricks in a wood stove can be a risky move. While it may seem like a money-saving option, regular bricks lack the heat resistance and durability needed for optimal performance.
Are There Any Safety Precautions I Need to Take When Replacing Fired Bricks in a Wood Stove?
When handling fired bricks, it is important to take safety precautions. These may include wearing protective gloves and goggles, using proper lifting techniques, and ensuring the work area is well-ventilated.
How Long Does It Take for the New Fired Brick to Fully Cure?
The curing time for a new fired brick can vary depending on factors such as the type of brick and the temperature. It typically takes several hours to a few days for the brick to fully cure and reach its maximum strength.
Can I Use the Wood Stove Immediately After Replacing the Fired Brick?
Yes, you can use the wood stove immediately after replacing the fired brick. However, it is important to take precautions. Ensure the new brick is securely in place and monitor the stove for any signs of damage or malfunction.
Conclusion
In conclusion, replacing a fired brick in a wood stove is a meticulous process that requires careful assessment, the right tools and materials, and proper installation.

Just like a puzzle piece, the new fired brick must fit seamlessly into place to ensure the stove’s efficiency and longevity.
With proper curing and maintenance, the replaced fired brick will keep your wood stove roaring with warmth for years to come.