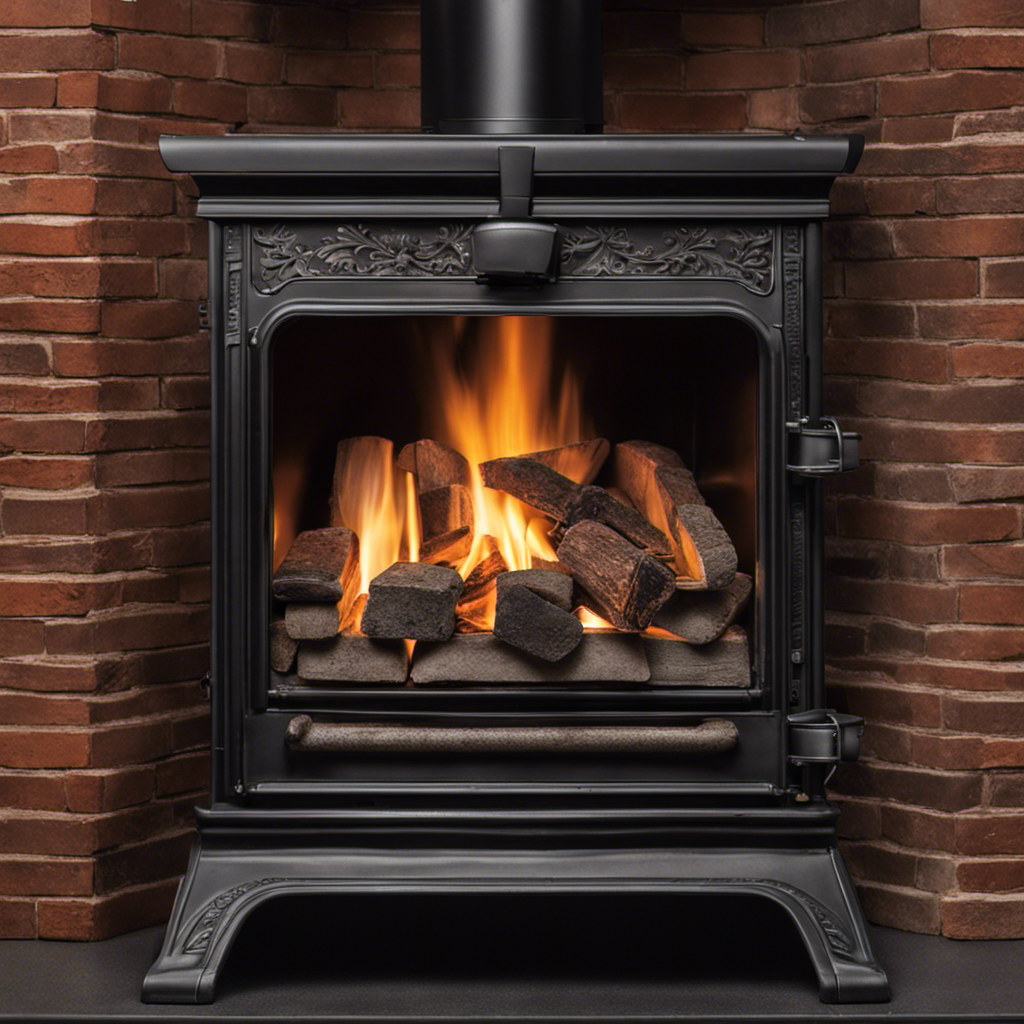
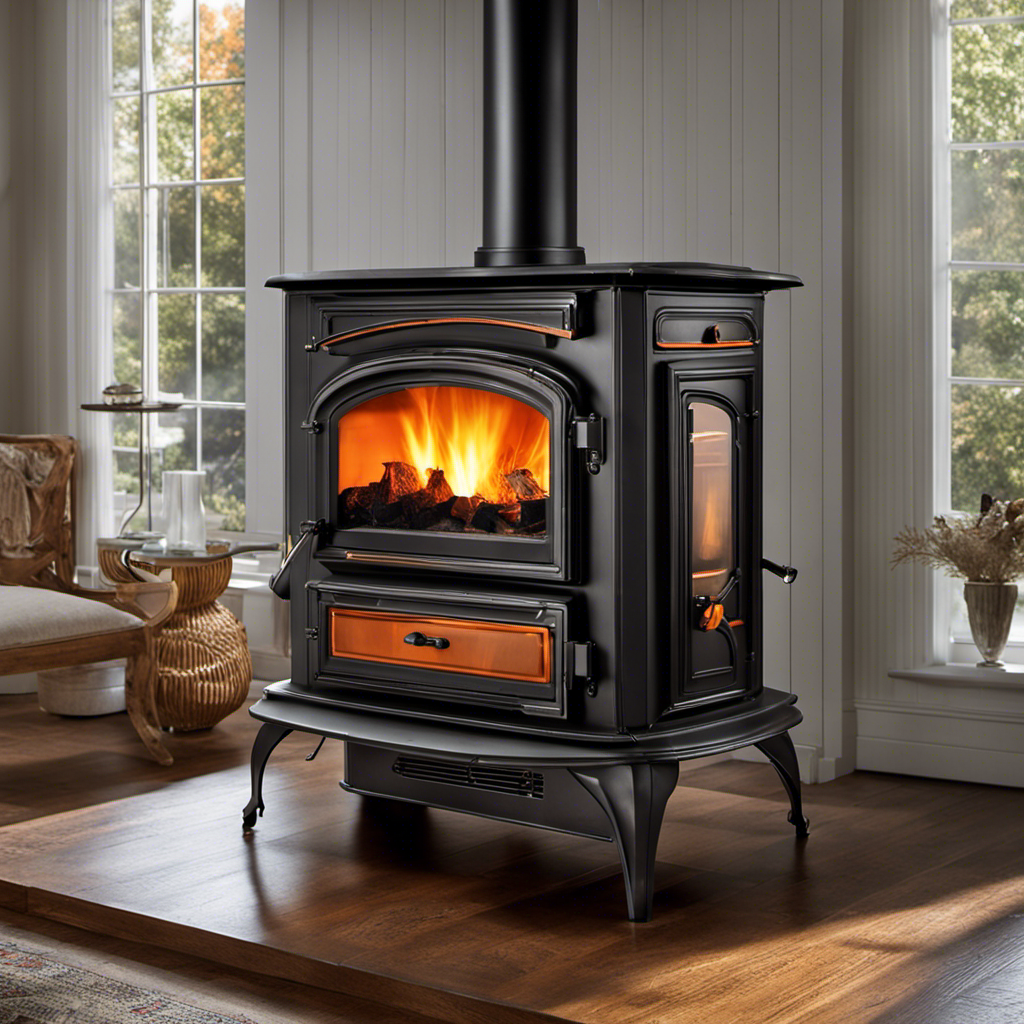
I have learned through tough experiences that if the firebrick inside your wood-burning stove is damaged, it can negatively impact the stove’s performance and safety.
But fear not! In this article, I’ll guide you through the process of repairing those cracks and chips in your wood stove firebrick.
With a few simple steps and the right materials, you’ll have your wood stove back in top shape in no time.
So let’s get started and bring that cozy warmth back to your home.
Key Takeaways
- Inspect each firebrick for cracks, chips, or erosion to assess the damage.
- Identify potential causes of damage, such as over-firing or low-quality firewood.
- Gather necessary materials like trowel, firebrick mortar, and wire brush before starting the repair.
- Clean the firebrick surface, fill cracks with refractory cement, and apply sealant for finishing and maintenance.
Assessing the Damage
I must say, assessing the damage caused by the wood stove firebrick is quite overwhelming. When it comes to analyzing the extent of the damage, it’s crucial to inspect each firebrick carefully. Look for any cracks, chips, or erosion that may have occurred due to high temperatures or improper maintenance.
Identifying potential causes is equally important. Factors such as over-firing, using low-quality firewood, or even a build-up of creosote can contribute to the deterioration of the firebrick. By thoroughly examining each firebrick and pinpointing the possible reasons behind the damage, you can determine the appropriate course of action for repair.
Gathering the Necessary Materials
Before starting the repair process, it’s essential to gather all the necessary materials, such as a trowel, firebrick mortar, and a wire brush.
Sourcing supplies for repairing wood stove firebrick can be done either online or at local hardware stores. It’s important to find alternatives in case certain materials aren’t readily available. For example, if firebrick mortar isn’t accessible, refractory cement can be used as a substitute.
Additionally, a wire brush is necessary for cleaning the damaged firebrick before applying the mortar.
By gathering all the required materials beforehand, the repair process can proceed smoothly and efficiently.
Now that we’ve all the necessary materials, let’s move on to preparing the firebrick for repair.
Preparing the Firebrick for Repair
To start preparing the firebrick for repair, I’ll need to gather a wire brush and firebrick mortar. Here are the steps to follow for firebrick cleaning and replacement:
-
Begin by removing any debris or loose material from the firebrick surface using a wire brush.
-
Use a vacuum cleaner to remove any remaining dust or particles from the firebrick.
-
Mix the firebrick mortar according to the manufacturer’s instructions.
-
Apply a thin layer of mortar to the damaged firebrick using a trowel.
-
Press the replacement firebrick firmly into place and ensure it’s aligned with the surrounding bricks.
Once the firebrick is prepared for repair, it’s time to move on to the next step of fixing cracks and chips.
Repairing Cracks and Chips
There’s always a chance for chips and cracks to occur when using a wood stove, but fortunately, they can be repaired easily.
When it comes to repairing large cracks in the firebrick, the first step is to clean the damaged area thoroughly. Use a wire brush to remove any loose debris and dust.
Then, mix a refractory cement according to the manufacturer’s instructions and apply it to the crack, making sure to fill it completely. Smooth out the surface with a trowel and let it dry for at least 24 hours.
For replacing damaged firebrick, carefully remove the old brick and clean the area. Apply a layer of refractory cement to the bottom of the replacement brick and press it firmly into place. Allow it to dry before using the wood stove again.
By repairing cracks and replacing damaged firebrick, you can ensure the efficiency and safety of your wood stove.
Transitioning into the next section about finishing and maintaining the firebrick, it’s important to regularly inspect the firebrick for any signs of wear and tear.
Finishing and Maintaining the Firebrick
I regularly inspect and clean the firebrick, ensuring its proper maintenance and longevity.
To properly seal firebrick for long-lasting protection, there are a few key steps to follow:
-
Clean the surface: Before sealing the firebrick, it’s essential to clean off any dirt, debris, or soot buildup. This can be done using a wire brush or a vacuum cleaner.
-
Choose the right sealant: Select a high-quality firebrick sealant that’s designed specifically for this purpose. It should be heat-resistant and provide a strong protective barrier.
-
Apply the sealant: Using a brush or roller, evenly apply the sealant to the firebrick surface. Ensure thorough coverage and follow the manufacturer’s instructions for drying time.
-
Regular maintenance: Periodically inspect the sealant for any signs of wear or damage. If necessary, reapply the sealant to maintain its effectiveness.
-
Finishing techniques: Consider using finishing techniques such as painting or staining to enhance the appearance of the firebrick while providing an additional layer of protection.
Conclusion
In conclusion, repairing wood stove firebrick is a technical process that can be done with precision and the right materials. By assessing the damage, gathering the necessary materials, and properly preparing the firebrick for repair, one can effectively fix cracks and chips.
It’s important to finish and maintain the firebrick to ensure its longevity. Remember, a stitch in time saves nine, so addressing minor damages promptly can prevent larger issues down the line.

