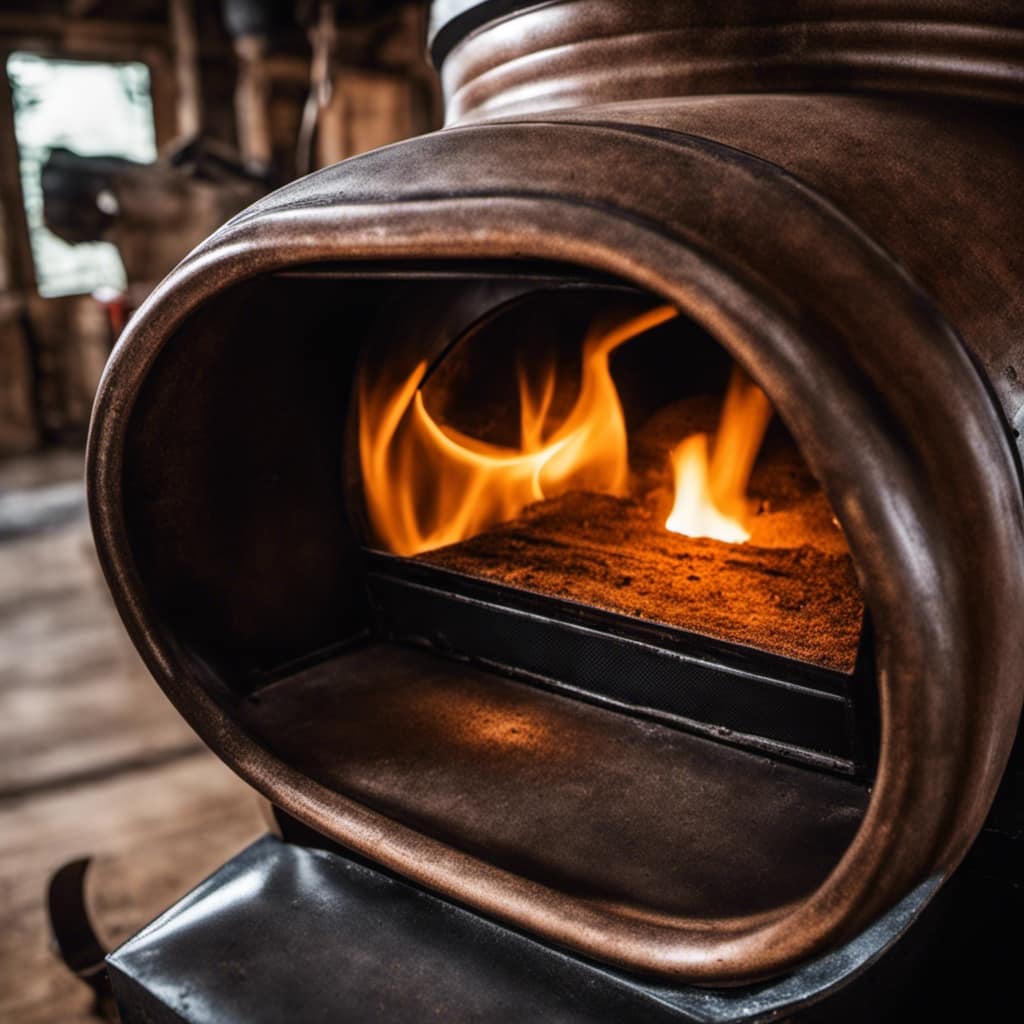


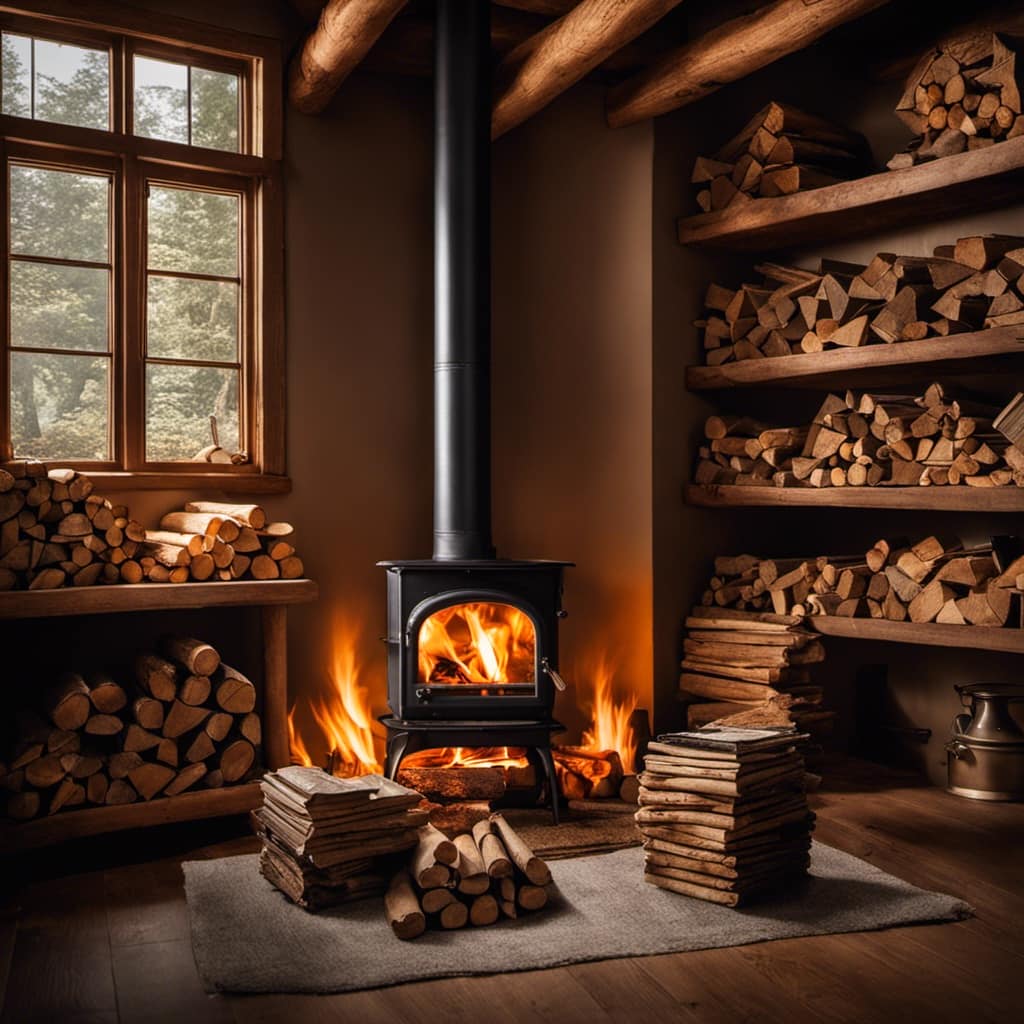
As I stood next to my wood stove, enjoying the warmth from the dancing flames, I was completely unaware that a stray ember was on the verge of causing considerable harm to my pristine wooden floors.
But fear not, fellow homeowners, for I have discovered the ultimate solution to repairing wood floors damaged by wood stove cinders.
In this article, I will guide you through the process of:
- Assessing the damage
- Removing the cinders
- Patching and filling the holes
- Sanding the wood floor
- Refinishing and sealing it to restore its former glory.
Let’s get started!

Key Takeaways
- Identify potential causes of damage and thoroughly assess the extent of the damage before starting the repair process.
- Consider alternative flooring options that are resistant to heat and fire, as well as durable and scratch-resistant.
- Patch and fill holes using wood filler and a putty knife, ensuring a smooth finish. Use matching wood planks for larger holes.
- Sand the wood floor using the appropriate grit of sandpaper and high-quality sanding equipment. Finish the process by applying a suitable finish and sealing the floor for maximum protection and durability.

REALINN Wood Furniture Repair Kit- Set of 28 – Touch Up Markers, Fillers with Wood Putty – Repair Scratch, Cracks, Hole, Discoloration for Wooden Door, Floor, Table, Cabinet
- Complete Repair Kit: Includes fillers, markers, putty, wax, tools
- Versatile Damage Repair: Fix scratches, chips, cracks, holes, discoloration
- User-Friendly Application: Easy to apply with included tools
As an affiliate, we earn on qualifying purchases.
As an affiliate, we earn on qualifying purchases.
Assessing the Damage
I’m carefully examining the wood floor to assess the damage caused by the wood stove cinders. As an experienced wood floor repair specialist, I know that assessing the extent of the damage is crucial before proceeding with any repairs.
I start by identifying potential causes of the damage, such as hot cinders falling directly onto the floor or being dragged across it. I meticulously inspect the affected areas, looking for scratches, burn marks, or discoloration. Additionally, I check for any signs of heat damage, such as warped or buckled floorboards.
By thoroughly assessing the damage, I can determine the best course of action to restore your wood floor to its former glory.
Now that the extent of the damage has been assessed, it’s time to move on to the next step: removing the cinders.

Removing the Cinders
I carefully sweep the wood floor, using a broom and dustpan, to remove the cinders. As someone who’s experienced the frustration of dealing with cinder damage on wood floors, I understand the importance of taking preventive measures to avoid future damage. Here are some alternative flooring options to consider:
-
Cork flooring: Not only is it eco-friendly, but cork is also resistant to heat and fire, making it an excellent choice for areas near wood stoves.
-
Engineered hardwood: This type of flooring is more resistant to moisture and temperature changes, reducing the risk of damage from cinders.
-
Porcelain tile: Known for its durability, porcelain tile is highly resistant to heat and fire, making it a safe option for wood stove areas.

-
Laminate flooring: It mimics the look of real wood but is more durable and resistant to scratches and burns.
-
Luxury vinyl plank: This flooring option can withstand high temperatures and offers a wide range of styles to choose from.
Patching and Filling the Holes
I’ve found that using wood filler and a putty knife is an effective way to patch and fill the holes in my wood floor caused by cinders. When it comes to wood filler options, there are several on the market that work well for this purpose. I prefer using a water-based wood filler, as it’s easy to apply and dries quickly.
Before applying the filler, it’s important to clean the area thoroughly and remove any loose debris. Once the area is clean, I use a putty knife to apply the filler, making sure to smooth it out evenly. After allowing the filler to dry, I sand it down to achieve a smooth finish.

If the holes are too large to be filled with wood filler alone, finding matching wood planks can help in seamlessly blending the repaired area with the rest of the floor. Overall, using wood filler and finding matching wood planks is a reliable method for patching and filling holes in a wood floor.
Sanding the Wood Floor
There are many different grits of sandpaper available, so it’s important to choose the right one for sanding the wood floor. When it comes to wood floor restoration and sanding techniques, it’s crucial to have the right tools and knowledge. Here are some key points to consider:
-
Grit selection: Choosing the appropriate grit for your wood floor is crucial. Too coarse may damage the wood, while too fine won’t remove imperfections effectively.
-
Sanding patterns: Understanding the proper sanding patterns can ensure a smooth and even finish. Going against the grain can cause scratches and unevenness.

-
Equipment: Invest in high-quality sanding equipment to achieve professional results. A powerful belt sander and an edger are essential tools for effective wood floor sanding.
-
Dust control: Use a dust collection system or wear a mask to protect yourself from harmful particles while sanding. Keeping the area clean will also prevent debris from getting trapped in the finish.
-
Finishing touches: After sanding, thoroughly clean the floor and apply a suitable finish to protect and enhance its appearance.
Refinishing and Sealing the Floor
After sanding the wood floor, I’ll start refinishing and sealing it to protect and enhance its appearance. Choosing the right wood floor stain is crucial to achieve the desired look and durability.

I recommend opting for a stain that matches the overall aesthetic of the room and complements the existing furniture and decor. Additionally, consider the type of wood you have and its natural color to ensure a harmonious finish.
Once the stain is applied, it’s essential to seal the floor properly to prevent future damage from wood stove cinders. I suggest using a high-quality polyurethane or varnish that provides a protective barrier against heat and scratches. Remember to apply multiple coats for maximum protection and durability.
Regular maintenance, such as sweeping and using protective mats near the wood stove, will also help preserve the floor’s integrity. By following these tips, you can ensure a beautiful and long-lasting wood floor.
Frequently Asked Questions
How Long Should I Wait Before Using the Wood Floor Again After Refinishing and Sealing?
I recommend waiting at least 24-48 hours after refinishing and sealing your wood floor before using it again. This allows the finish to fully cure. During this time, take precautions such as avoiding heavy furniture or excessive foot traffic.
Can I Use a Different Type of Wood to Patch the Holes in My Wood Floor?
Using a different type of wood to patch holes in a wood floor can be done, but it’s important to consider the pros and cons. It may affect the overall appearance and durability of the floor.
What Type of Sandpaper Should I Use for Sanding the Wood Floor?
When sanding a wood floor, it’s important to choose the right type of sandpaper for the job. I recommend using medium-grit sandpaper to start, then progressing to finer grits for a smooth finish.
Should I Wear a Mask or Goggles While Sanding the Wood Floor?
Should I wear a mask or goggles while sanding the wood floor? Absolutely! Protecting your lungs is essential. Wood dust can cause respiratory issues. I always wear a mask and goggles to keep myself safe.
Can I Use a Different Type of Finish for Sealing the Wood Floor?
Yes, you can use a different type of finish for sealing the wood floor. There are various sealants to consider, each with their own pros and cons. It’s important to research and choose the best option for your specific needs.

Conclusion
In conclusion, repairing wood floors damaged by wood stove cinders is a detailed process that requires careful assessment, removal of the cinders, patching and filling the holes, sanding the floor, and finally refinishing and sealing it.
By following these steps, you can restore the beauty and functionality of your wood floor. So don’t let those cinders bring you down – with a little know-how and elbow grease, your wood floors will be looking brand spanking new in no time!