As an experienced fan of DIY projects, I have faced numerous hurdles. However, when I spotted a crack in my treasured wood stove, I knew it was crucial to address it promptly.
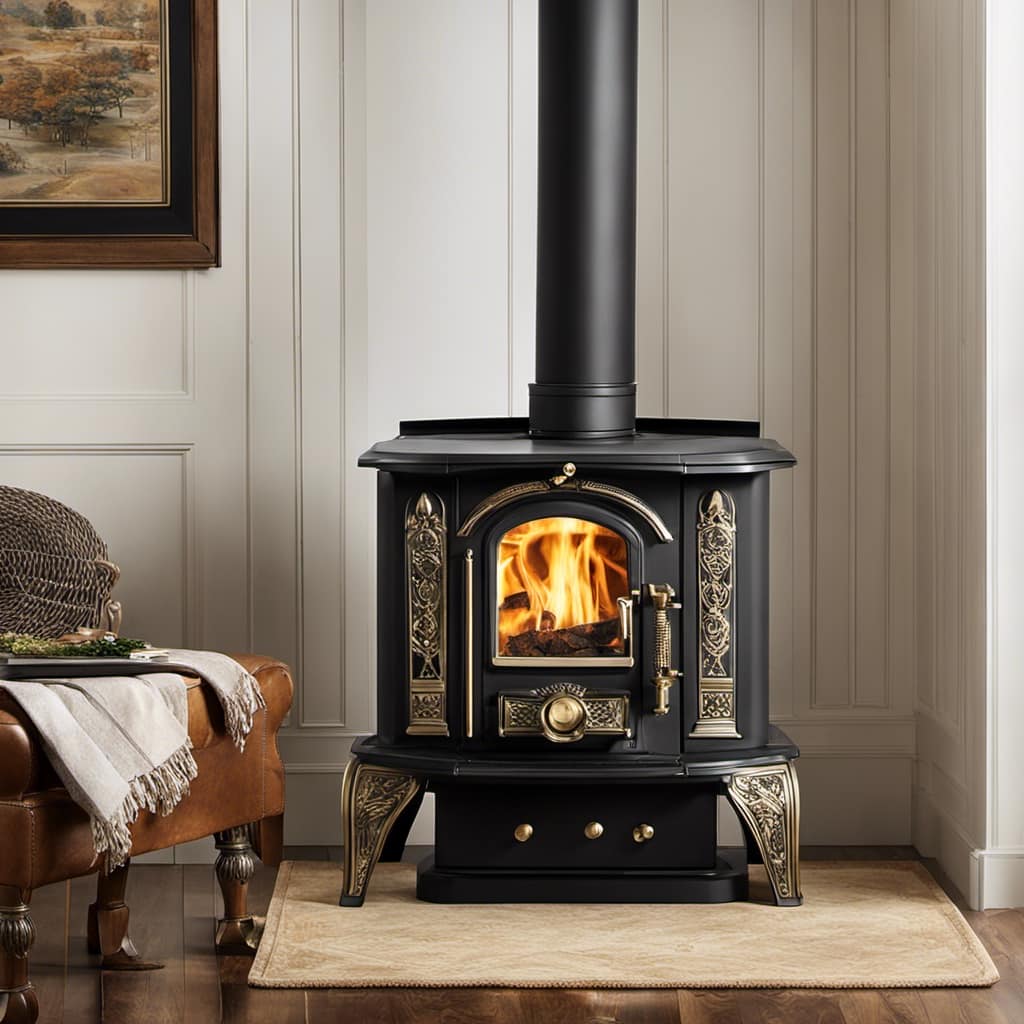
Picture this: the cozy warmth of a crackling fire, now threatened by a fissure in the stove’s surface.
In this article, I’ll guide you through the steps to repair a cracked wood stove, ensuring its longevity and your continued comfort.
So gather your tools, because together, we’ll make that crack disappear.
Key Takeaways
- Thoroughly examine the cracks to determine their length, depth, and location.
- Consider the extent of the crack to choose the appropriate repairing method and necessary tools and materials.
- Clean and prepare the cracked area properly before applying the wood stove repair compound.
- Regularly inspect the stove for cracks and perform prompt repairs to prevent further damage.

Rutland 500°F RTV High Heat Silicone Sealant Black, USA-Made High Temperature Gasket Maker Adhesive – UV Stable, Oil Resistant & Non-Corrosive
Rutland High Temperature Silicone is a great solution to your sealant and adhesive needs
As an affiliate, we earn on qualifying purchases.
As an affiliate, we earn on qualifying purchases.
Assessing the Damage
I’m currently assessing the damage to determine the extent of the crack in my wood stove. As an experienced wood stove owner, I’ve encountered my fair share of cracks over the years.
When it comes to repairing wood stove cracks, it’s crucial to thoroughly examine the damage before proceeding with any repairs. Carefully inspect the cracks to determine their length, depth, and location. This will help you decide on the best repairing technique to employ. Some cracks may only require a simple fix, such as applying a high-temperature sealant, while others may necessitate more extensive repairs, such as welding or replacing damaged parts.
Assessing the damage accurately will ensure that you choose the appropriate repairing method and achieve long-lasting results. Now that I’ve evaluated the extent of the crack, it’s time to gather the necessary tools and materials for the repair process.

Rutland Furnace Cement, Pre-Mixed High Temperature Cement for Metal, Cast Iron and Steel – Repair Wood Stoves, Boilers & Gas Ceramic Logs – Made in USA, Black, 16 oz
Ready-to-use high temperature cement that will firmly adhere to metal
As an affiliate, we earn on qualifying purchases.
As an affiliate, we earn on qualifying purchases.
Gathering the Necessary Tools and Materials
After evaluating the extent of the crack, it’s time to gather the necessary tools and materials so that I can start repairing my wood stove. It’s crucial to choose the right repair compound to ensure a successful and long-lasting repair.
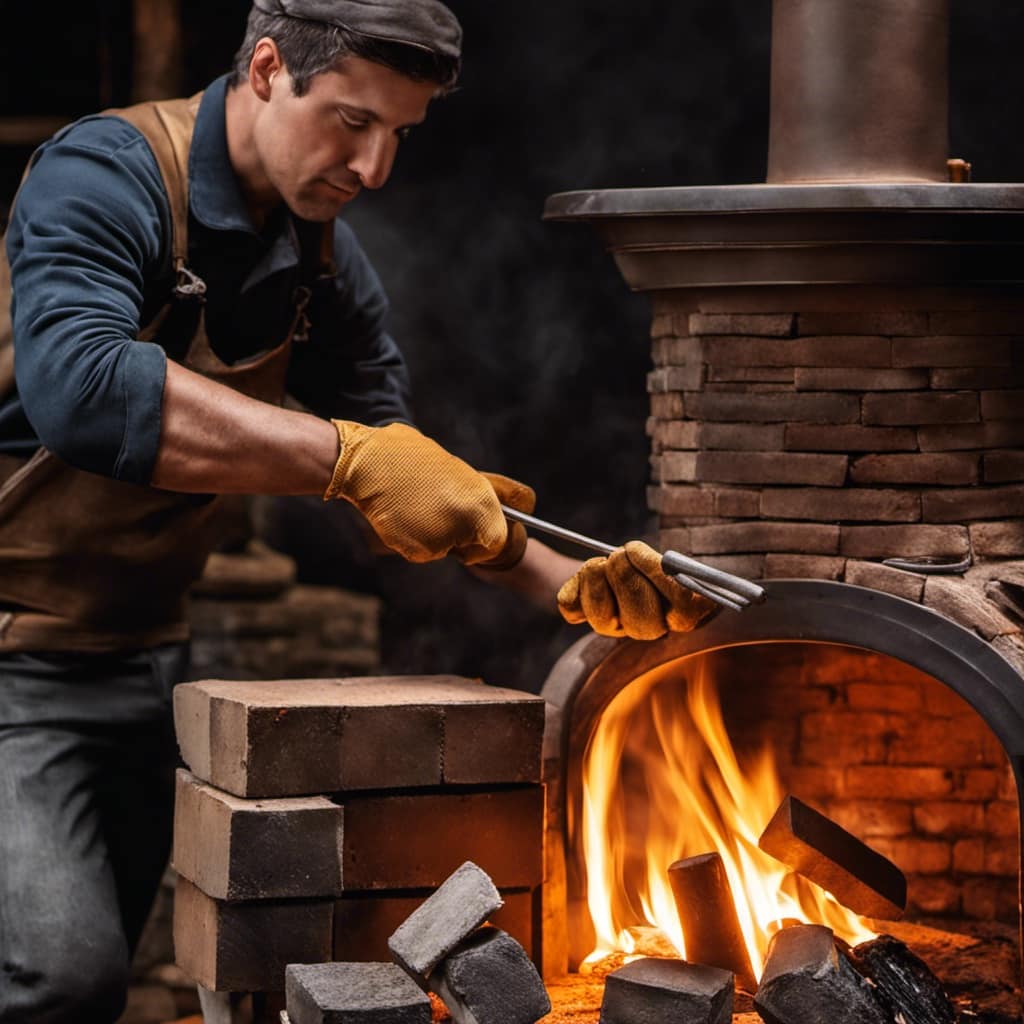
Here are the steps I take to handle the cracked stove safely:
-
Safety First:
-
Put on protective gloves and safety goggles to prevent any injuries.
-
Ensure the stove is completely cool before starting any repairs.

-
Place a fire-resistant mat or sheet underneath the stove to protect the floor from any debris or falling parts.
-
Tools and Materials:
-
A wire brush or sandpaper to clean the area around the crack.
-
High-temperature resistant repair compound suitable for wood stoves.

-
A putty knife or scraper to apply the compound evenly.
-
A heat-resistant sealant for any gaps or joints that need sealing.
-
Preparation:
-
Clean the cracked area thoroughly, removing any loose debris or rust.

-
Mix the repair compound according to the manufacturer’s instructions.
-
Apply the compound generously to the crack, smoothing it out with the putty knife.
-
Allow the compound to dry completely before using the stove again.

Akfix Heat Fighter Black Fireplace Sealant – 2700 °F (1×10.1 oz.) – Heat Resistant Fireplace Stove Caulk for Chimneys, Ovens, Grills, Wood Stoves | Non-Flammable, Quick-Drying & Paintable Cartridge
Withstands Extreme Heat Up to 2700°F: Built for direct flame contact. Ideal for sealing and insulating fireplaces, stoves,…
As an affiliate, we earn on qualifying purchases.
As an affiliate, we earn on qualifying purchases.
Preparing the Surface for Repair
To prepare the surface for repair, I’ll need to thoroughly clean the cracked area using a wire brush or sandpaper. This step is crucial in order to ensure proper adhesion of the wood filler and a successful repair.
I prefer to use a wire brush as it effectively removes any loose debris, dirt, or old finish from the cracked wood surface. By using firm strokes, I can clean the area and create a clean and smooth surface for the wood filler to adhere to.
Once the area is cleaned, I’ll then proceed to sand the cracked wood surface to further smooth it out and create a better bond between the wood filler and the wood itself. Sanding also helps to remove any remaining rough edges and promotes a seamless repair.
After completing these steps, the surface will be ready for the application of the wood filler, ensuring a strong and durable repair.
Akfix Heat Fighter Black Fireplace Sealant – 2700 °F (1×10.1 oz.) – Heat Resistant Fireplace Stove Caulk for Chimneys, Ovens, Grills, Wood Stoves | Non-Flammable, Quick-Drying & Paintable Cartridge
Withstands Extreme Heat Up to 2700°F: Built for direct flame contact. Ideal for sealing and insulating fireplaces, stoves,…
As an affiliate, we earn on qualifying purchases.
As an affiliate, we earn on qualifying purchases.
Applying the Wood Stove Repair Compound
I’ll start by carefully spreading the wood stove repair compound along the cracked area, ensuring that it fully covers and fills the damaged section. Proper application techniques are crucial to achieve a long-lasting repair. Here are some guidelines to follow:

- Clean the surface thoroughly before applying the compound to ensure proper adhesion.
- Use a putty knife or a similar tool to spread the compound evenly over the crack.
- Press the compound firmly into the crack to ensure it fills any gaps or voids.
Once the repair compound is applied, it’s important to allow for the drying and curing process. This ensures that the compound sets properly and provides a strong bond. Give it ample time to dry, following the manufacturer’s instructions. This typically takes around 24 hours, but it may vary depending on the specific product.
With the repair compound applied and dried, it’s time to move on to the finishing touches and maintenance tips.
Finishing Touches and Maintenance Tips
I can apply a coat of high-temperature paint to the wood stove, and then wipe it down with a soft cloth to give it a polished finish. This step not only enhances the appearance of the stove but also protects it from further damage.
As part of a regular maintenance schedule, it’s important to inspect the stove for any cracks or signs of wear. If any cracks are found, they should be repaired promptly to prevent them from worsening.

One effective method to prevent future cracks is to ensure proper airflow by keeping the stove’s air vents clean and unobstructed. Additionally, using a moisture meter to check the wood’s moisture content before burning can help prevent excessive heat and potential cracks.
Frequently Asked Questions
How Long Does It Take for the Wood Stove Repair Compound to Fully Cure?
It typically takes a few hours for the wood stove repair compound to fully cure. When it comes to the best wood stove repair products, I recommend ones that have a quick curing time for efficient repairs.
Can I Use Regular Wood Glue to Repair a Cracked Wood Stove?
Using regular wood glue to repair a cracked wood stove is not recommended. Instead, I suggest using epoxy adhesive for a strong and durable bond. Additionally, to prevent cracks in a wood stove, ensure proper installation and regular maintenance.
Are There Any Safety Precautions I Should Take While Repairing a Wood Stove?
When repairing a wood stove, it is crucial to prioritize safety measures. Precautions to take include wearing protective gloves, goggles, and a mask, ensuring proper ventilation, and using heat-resistant materials for repairs.

Can I Still Use My Wood Stove While It Is Being Repaired?
Yes, you can still use your wood stove while it’s being repaired, but there are safety risks. It’s best to find alternative heating options during the repair process to ensure your safety.
How Often Should I Inspect and Maintain My Wood Stove to Prevent Future Cracks?
To prevent cracks in a wood stove, it’s important to inspect and maintain it regularly. Look for signs of damage like rust, loose joints, or warped panels. Regular maintenance can help prevent future cracks and ensure safe operation.
Conclusion
In conclusion, repairing a cracked wood stove is a straightforward process that can be done with the right tools and materials. By assessing the damage, preparing the surface, and applying the wood stove repair compound, you can restore your stove to its former glory.
Remember to follow maintenance tips to ensure its longevity. So, don’t let a cracked stove dampen your spirits, grab your tools and get to work, because fixing it’s a piece of cake!