I’m thrilled to present to you my detailed guide on installing a wood stove.
Picture yourself cozied up by a warm fire on a chilly winter night. In just a few simple steps, you’ll have a beautiful and efficient wood stove installed in your home.
I’ll walk you through assessing your space, gathering the necessary tools and materials, preparing the area, installing the stove, and connecting it to the chimney.
Let’s get started!
Key Takeaways
- Measure the height, width, and length of the room.
- Ensure at least three feet of clearance around the stove.
- Choose high-quality insulation to prevent heat loss.
- Secure the stove to the floor and against the wall with brackets.

Duravent 6" DuraPlus Through the Wall Kit
Through-the-wall vertical chimney installation kit for 6" DuraPlus chimney pipe
As an affiliate, we earn on qualifying purchases.
As an affiliate, we earn on qualifying purchases.
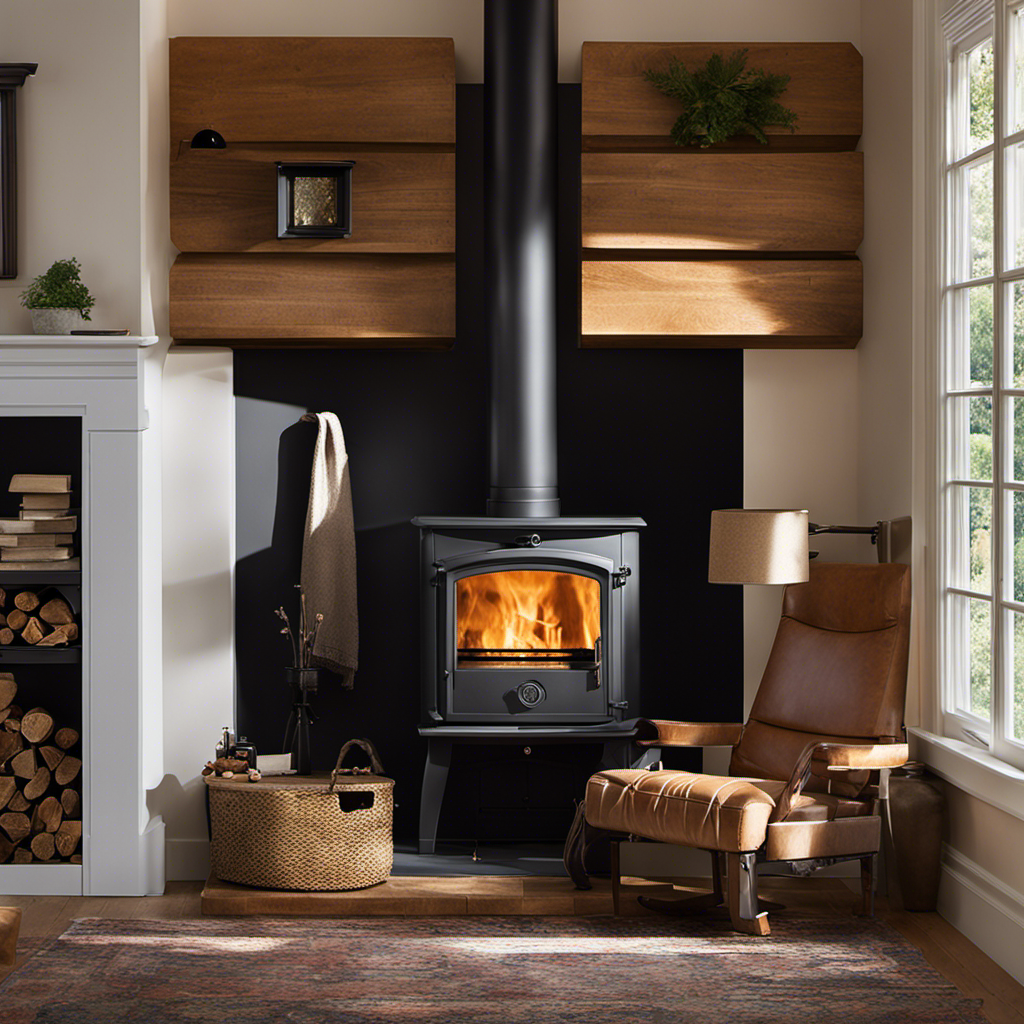
Assessing Your Space
I’m measuring the dimensions of my living room to assess if there’s enough space for a wood stove.
Before installing a wood stove, it’s crucial to ensure that the room meets the measuring requirements.
First, measure the height, width, and length of the room.
Make sure there’s at least three feet of clearance around the stove for safety precautions.
Next, measure the distance from the stove to any combustible materials like walls, curtains, or furniture. There should be a minimum of 36 inches of clearance.
Additionally, check if the floor can handle the weight of the stove.
Finally, assess the ventilation requirements and determine if the room has adequate airflow.

DuraVent DuraPlus Triple-Wall Chimney Stove Pipe, 6" x 36" – Galvanized Steel Vent and Exhaust Connector for Wood, Oil, Coal or Gas Stoves, Twist-Lock Installation, High-Temperature Venting System
Triple-wall pipe works to ensure that as you ignite your wood-burning stove, the comforting warmth it provides is…
As an affiliate, we earn on qualifying purchases.
As an affiliate, we earn on qualifying purchases.
Gathering the Necessary Tools and Materials
I’ll start gathering all the necessary tools and materials for installing the wood stove, such as a drill, screws, insulation, and a chimney pipe. These items are essential for a successful installation. Here are the three items you’ll need:
-
Drill: You’ll need a drill to create holes in the wall for the chimney pipe and to secure the stove to the floor.
-
Screws: Use screws to fasten the chimney pipe to the wall and the stove to the floor. Make sure to choose screws that are appropriate for the type of material you’re working with.
-
Insulation: Insulation is crucial for preventing heat loss and ensuring the stove operates efficiently. Choose high-quality insulation that can withstand high temperatures.
Choosing the right stove is important for safety and efficiency. Make sure to consider factors such as the size of your space, heating requirements, and compliance with local regulations. Safety precautions, such as installing carbon monoxide detectors and following proper ventilation guidelines, should also be taken into account.
Now that we’ve gathered all the necessary tools and materials, let’s move on to preparing the area for installation.

Amylove 2 Pcs Ceramic Fiber Insulation Blanket 60 x 24 x 1 Inch High Density Heat 2600f High Temperature Insulation for Stoves, Kilns, Forges, Fire Bricks, Boilers, Pizza Ovens
Designed for Diverse Places: these ceramic fiber blankets are practical and useful, they can be applied in smelting…
As an affiliate, we earn on qualifying purchases.
As an affiliate, we earn on qualifying purchases.
Preparing the Area for Installation
Before we begin installing the wood stove, it’s crucial to thoroughly clean and clear the area to ensure a smooth and safe installation process. To start, remove any furniture, rugs, or other flammable materials from the vicinity.
Next, choose the right wood stove for your needs. Consider factors like size, heat output, and efficiency. Remember to check with local regulations and obtain any necessary permits.
Additionally, ensuring proper ventilation is essential. This involves inspecting and cleaning the chimney or flue pipe to remove any blockages or creosote buildup. Proper ventilation will help prevent smoke and toxic gases from entering your living space.
By taking these precautions, you’ll be one step closer to a successful wood stove installation.
Now that we’ve prepared the area and ensured proper ventilation, let’s move on to installing the wood stove.

Kidde Carbon Monoxide Detector, AA Battery Powered, Portable for Travel or Home, 85 dB Alarm, LED Status Indicators, 3rd Edition
Electrochemical sensor technology detects CO gas
As an affiliate, we earn on qualifying purchases.
As an affiliate, we earn on qualifying purchases.
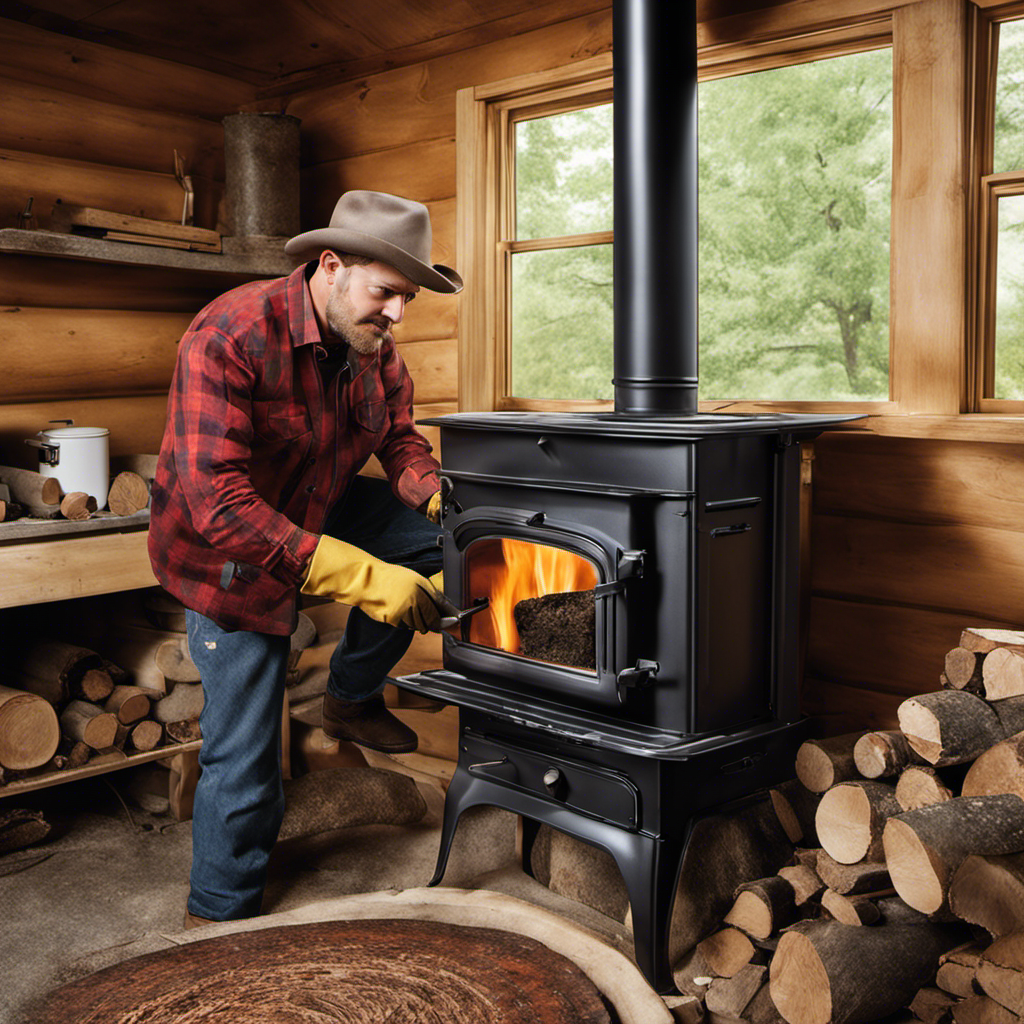
Installing the Wood Stove
After carefully measuring and positioning the wood stove, I secured it to the floor and against the wall with brackets for stability and safety.
Here are three important installing techniques and safety precautions to keep in mind:
-
Clearances: Make sure to maintain proper clearances between the stove and any combustible materials, such as walls, furniture, or curtains. Refer to the manufacturer’s guidelines for specific clearance requirements.
-
Ventilation: Ensure that the stove is properly vented to prevent the buildup of harmful gases, such as carbon monoxide. Install a chimney or flue pipe that meets local building codes and regulations.
-
Fireproofing: Use fire-resistant materials, like a non-combustible hearth pad, under the stove to protect the floor from heat and prevent accidental fires. Additionally, consider installing a fire extinguisher nearby for added safety.
Connecting the Stove to the Chimney
To ensure proper ventilation, I’ll connect the stove to the chimney using a flue pipe and secure it with brackets. There are different connecting methods and chimney requirements to consider when installing a wood stove.
Here is a step-by-step guide on how to connect the stove to the chimney:
-
Measure and cut the flue pipe to the appropriate length, ensuring it fits snugly between the stove and the chimney.
-
Attach one end of the flue pipe to the stove’s flue collar using a connector or adapter.
-
Position the other end of the flue pipe into the chimney’s flue opening.
-
Secure the flue pipe to the chimney using brackets or support straps to prevent it from sagging or shifting.
-
Inspect the connection to ensure there are no gaps or leaks that could compromise the efficiency of the stove.
Frequently Asked Questions
How Much Does It Cost to Install a Wood Stove?
Installing a wood stove can cost anywhere from $500 to $5,000, depending on various factors such as the type of stove, materials needed, and labor costs. The installation process involves preparing the area, installing the stove, and ensuring proper ventilation.
Can I Install a Wood Stove in a Mobile Home?
Yes, you can install a wood stove in a mobile home. However, there are certain restrictions and safety precautions to consider. It’s important to follow the manufacturer’s guidelines and consult with a professional to ensure a safe and compliant installation.
Do I Need a Building Permit to Install a Wood Stove?
Yes, you need a building permit to install a wood stove. Building permit requirements for installing a wood stove vary depending on your location. Safety precautions for installing a wood stove are also important to consider.
How Often Do I Need to Clean My Wood Stove?
To maintain a clean wood stove and prevent creosote buildup, it’s important to regularly clean the stove and chimney, remove ash and debris, and inspect for any signs of damage or blockage.
Can I Use My Wood Stove as the Primary Source of Heating for My Home?
Using a wood stove for heating can be efficient, but relying solely on it has pros and cons. Pros include cost savings and independence, but cons include limited heat distribution and the need for constant fuel supply.
Conclusion
In conclusion, installing a wood stove is a rewarding and satisfying project that can bring warmth and coziness to your space. By following the step-by-step instructions provided, you can successfully assess your space, gather the necessary tools and materials, prepare the area, install the wood stove, and connect it to the chimney.
Remember, with a little patience and effort, you’ll soon be enjoying the crackling fire and the delightful ambiance it brings, making your home feel like a cozy haven.