I understand your perspective – the idea of installing a wood stove inside a tent seems quite unconventional, doesn’t it?
But let me tell you, it’s not as wild as it seems. In fact, it can be a game-changer for your camping trips.
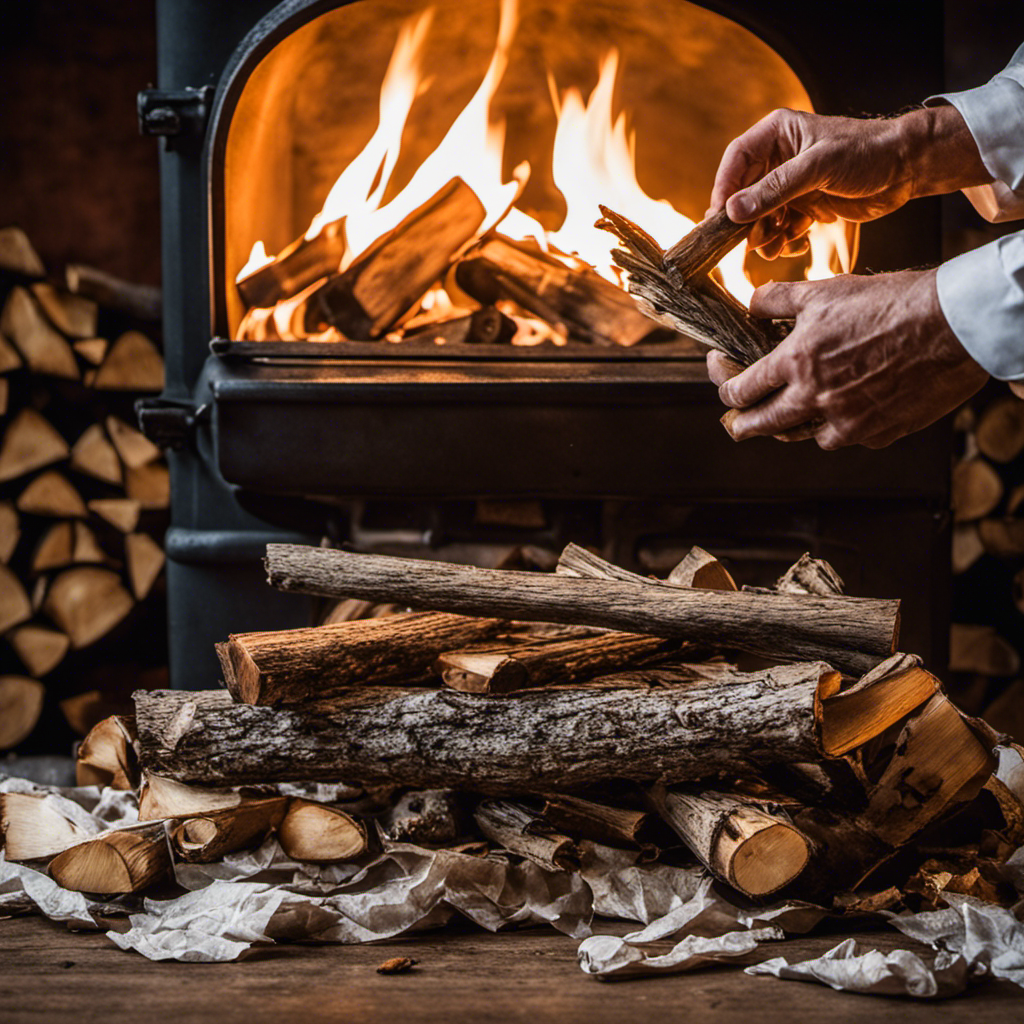
Picture this: cozy nights, warmth radiating through your tent, and the soothing crackle of a fire.
In this article, I’ll guide you through the process of safely and efficiently installing a wood stove in your tent, so you can enjoy the ultimate camping experience.
Key Takeaways
- Consider the number of people the stove needs to accommodate
- Determine the size of your tent and its capacity
- Choose a suitable location near a wall or vent for proper ventilation
- Use fireproofing materials like insulation and heat shields

Hot Tent Stove,AVOFOREST Wood Burning Stove,Small Wood Stove with 7 Stainless Chimney Pipes for Outdoor Heating & Cooking, Ice Fishing, Hunting
🔥Detachable Chimney Design :In order to facilitate portability,wood Burning Stove is divided into 7 sections, which are composed…
As an affiliate, we earn on qualifying purchases.
As an affiliate, we earn on qualifying purchases.
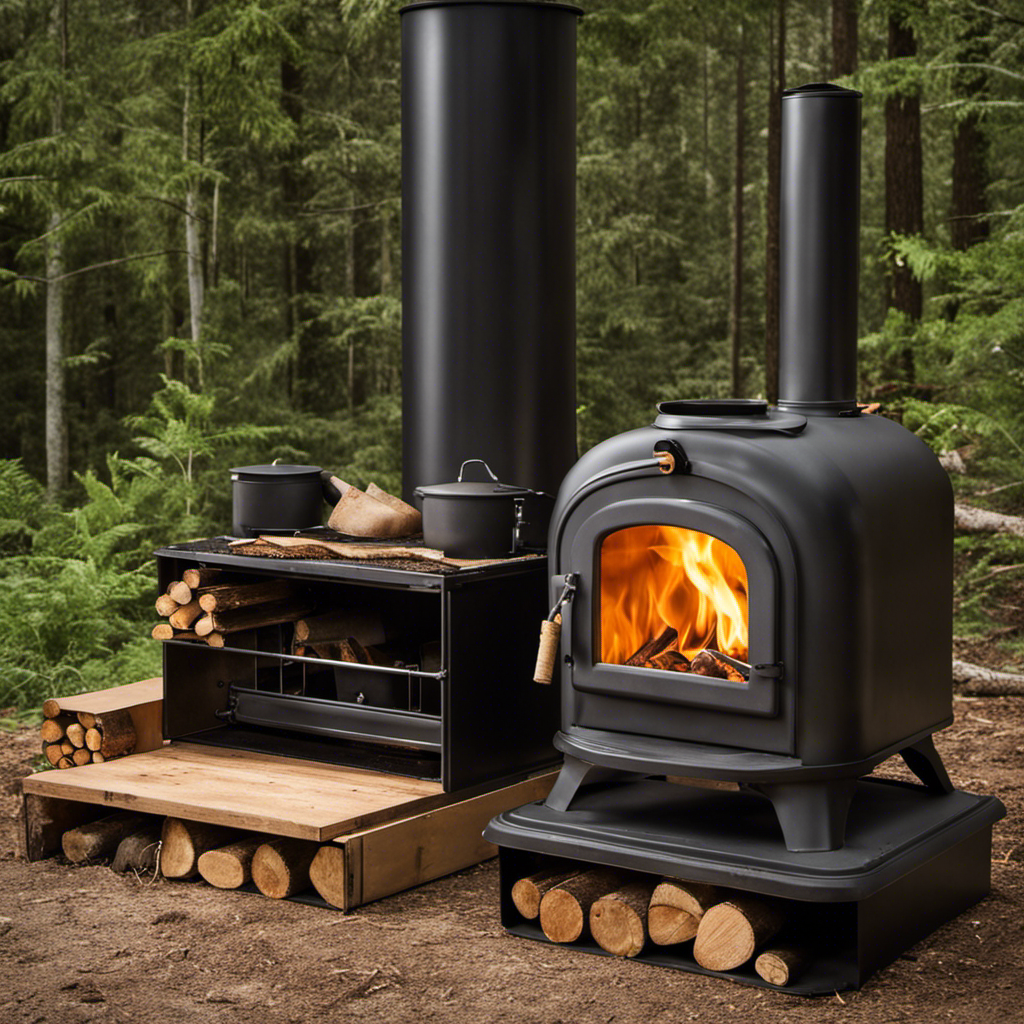
Choosing the Right Wood Stove for Your Tent
I’ve been researching and I’ve found that the key to choosing the right wood stove for my tent is considering the number of people it needs to accommodate. There are various tent stove options available in the market, each with its own set of features and capacities.
Some stoves are designed for solo campers, while others can easily accommodate larger groups. It’s important to determine the size of your tent and the number of people it can comfortably fit before selecting a stove.
Additionally, considering wood stove accessories such as chimney kits, heat shields, and stovepipes can enhance the efficiency and safety of your setup. By understanding your specific needs and the available options, you can make an informed decision and find the perfect wood stove for your tent.
Now, let’s move on to the next step of preparing your tent for a wood stove installation.

Black Wood Burning Tent Stove, 7 Section & 6 ft height Stainless Steel Chimney with diameter 2.24", Kungka Portable Hot Tent Stove for Heating & Cooking, Camping, Hunting, Ice Fishing
【EXTREME WINTER PERFORMANCE】 — Tested to -20°F: The KUNGKA hot tent stove rapidly heats up to a 200…
As an affiliate, we earn on qualifying purchases.
As an affiliate, we earn on qualifying purchases.
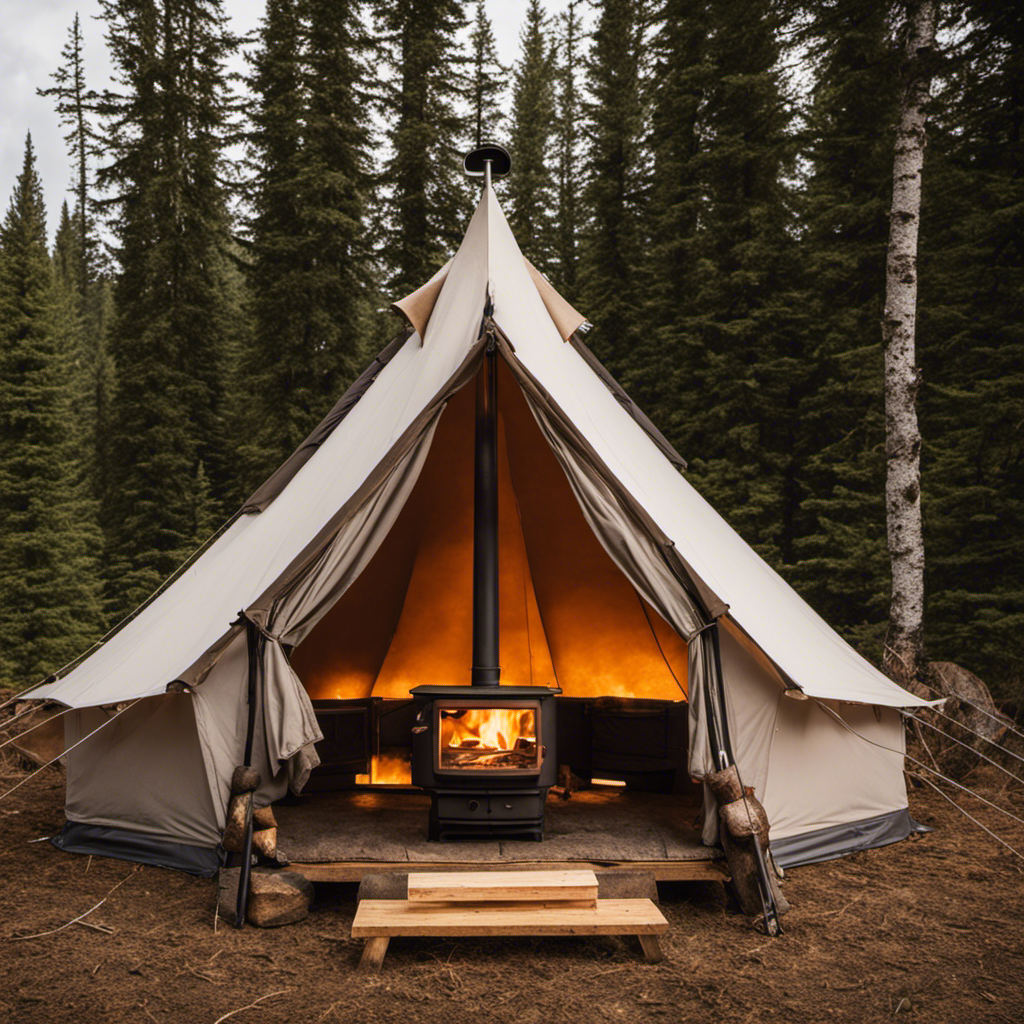
Preparing Your Tent for a Wood Stove Installation
To properly prepare my tent for a wood stove installation, I need to gather all the necessary materials and ensure that the stovepipe is securely attached.
The first step is to choose a suitable location inside the tent for the stove. It should be positioned near a wall or a vent to allow for proper ventilation.
Next, I’ll clear the area around the installation site and place a fireproof base or floor protector to prevent any damage to the tent floor.
Once the area is prepared, I’ll assemble the stove and attach the stovepipe securely, making sure there are no gaps or leaks. This will ensure that the stove operates safely and efficiently.
With the tent properly prepared, I can now move on to installing the chimney and ventilation system, which is essential for proper airflow and preventing the buildup of carbon monoxide.

UMONIE 40"x 40" Fire Pit Mat – Fireproof & Heat Resistant Wood Stove Mat for Deck, Patio, Lawn – Fiberglass Insulation Floor Protector for Camping, BBQ, Tent Stoves
【Premium Protection】Crafted with a heavy-duty fiberglass core, this fireproof mat for under fire pit creates a reliable barrier…
As an affiliate, we earn on qualifying purchases.
As an affiliate, we earn on qualifying purchases.
Installing the Chimney and Ventilation System
First, I will carefully measure and cut the chimney sections to ensure a proper fit and secure installation. It is crucial to consider the height of the chimney when installing it in a tent. A taller chimney allows for better ventilation and reduces the risk of smoke inhalation. Additionally, proper insulation is vital to maintain a comfortable temperature inside the tent. Insulating the chimney can help prevent heat loss and ensure maximum efficiency of the wood stove. To achieve this, I recommend using tent insulation materials such as fire-resistant blankets or ceramic fiber insulation. These materials are specifically designed to withstand high temperatures and provide excellent insulation. By incorporating these steps into the installation process, you can create a safe and cozy environment inside your tent while enjoying the warmth of a wood stove.
| Chimney Height | Tent Insulation |
|---|---|
| Taller chimney ensures better ventilation | Insulate chimney to prevent heat loss |
| Reduces risk of smoke inhalation | Use fire-resistant blankets or ceramic fiber insulation |
| Maximizes efficiency of wood stove | Provides excellent insulation |

FireHiking Fireproof Pipe Wrap (Basalt Fiber) Anti Scalding Chimney Ribbon Stove Flue Protector with 2 Clamps
【Level 3 Basalt Fiber Material】 The Industrial grade safe material has excellent high temperature resistance. But it may…
As an affiliate, we earn on qualifying purchases.
As an affiliate, we earn on qualifying purchases.
Ensuring Safety: Fireproofing and Carbon Monoxide Prevention
One effective way to ensure safety during the installation of a wood stove in a tent is by using a carbon monoxide detector to monitor the air quality inside and prevent potential hazards. Carbon monoxide is a colorless and odorless gas that can be released during the burning of wood, and prolonged exposure to high levels can be deadly.
Here are some key points to consider when it comes to fireproofing and carbon monoxide prevention:
- Use fireproofing materials such as fire-resistant insulation and heat shields to protect the surrounding area from the heat generated by the wood stove.
- Install a carbon monoxide detector near the wood stove to continuously monitor the air for any signs of this dangerous gas.
- Ensure proper ventilation by opening windows or using a vent pipe to allow fresh air to circulate and prevent the buildup of carbon monoxide.
- Regularly check and clean the chimney and flue to prevent blockages that can cause smoke and carbon monoxide to back up into the tent.
- Educate yourself and others on the signs and symptoms of carbon monoxide poisoning, such as headaches, dizziness, and nausea, and know what to do in case of an emergency.
Tips for Efficiently Using a Wood Stove in Your Tent
As an experienced camper, I have found that by properly positioning the wood stove near the tent entrance, and also using a fan to circulate the heat, you can efficiently warm up the entire space. Ventilation methods are crucial when using a wood stove in a tent, as they help maintain heat while ensuring safety. One effective way is to create a ventilation system using a chimney or stovepipe that directs the smoke outside. Another method is to open small vents near the top of the tent to allow fresh air in while preventing the escape of warm air. Additionally, using a fan inside the tent helps circulate the heat evenly, maximizing its effectiveness. Here is a table highlighting different ventilation methods and their benefits:
| Ventilation Method | Benefits |
|---|---|
| Chimney or Stovepipe | Directs smoke outside, prevents carbon monoxide buildup |
| Small Vents | Allows fresh air in, prevents condensation |
| Fan | Circulates heat evenly, maximizes efficiency |
Frequently Asked Questions
Can I Use a Regular Stove in My Tent Instead of a Wood Stove?
Using a regular stove in a tent as an alternative heating option can be dangerous. Safety considerations, such as proper ventilation and fire safety measures, must be taken into account to prevent accidents and ensure a safe camping experience.
How Long Does It Take to Install a Chimney and Ventilation System for a Wood Stove in a Tent?
Installing a chimney and ventilation system for a wood stove in a tent requires careful planning and expertise. It’s important to consider the tent’s structure, materials, and safety regulations. The installation process can vary in duration depending on these factors.
Are There Any Specific Regulations or Permits Required for Installing a Wood Stove in a Tent?
There are specific regulations and permits required for installing a wood stove in a tent. It is important to consider safety precautions and choose the right size and type of stove.
Can I Leave the Wood Stove Unattended While It’s Burning in My Tent?
I never leave the wood stove unattended in my tent due to safety precautions. It’s important to always be present when the stove is burning to prevent any accidents or potential fire hazards.
How Often Do I Need to Clean and Maintain a Wood Stove in a Tent?
Cleaning frequency and maintenance tips for a wood stove in a tent depend on usage. Regular cleaning is essential to prevent buildup and ensure safety. Inspect and clean the stove after each use, and perform a thorough maintenance check at least once a year.
Conclusion
In conclusion, installing a wood stove in a tent can provide warmth and comfort during outdoor adventures. By choosing the right wood stove, preparing the tent properly, and ensuring safety measures are in place, campers can enjoy the benefits of a cozy fire.
For example, Sarah, an experienced camper, installed a wood stove in her tent during a winter camping trip. The stove kept her warm throughout the night, allowing her to enjoy the beauty of the snowy landscape without feeling cold.