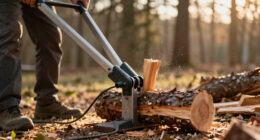

As a passionate home improvement enthusiast, I am constantly looking for ways to enhance both the functionality and comfort of my living space. This search has led me to explore the possibility of installing wood stoves.
In this article, I’ll guide you through the process of properly installing wood stove elbows. From choosing the right elbows to testing the final result, I’ll provide you with all the technical know-how you need to create a safe and efficient wood stove setup in your home.
Key Takeaways
- Choose the right angle and diameter of stovepipe elbows for proper installation.
- Use high-quality materials like stainless steel or galvanized steel for durability.
- Measure and mark precise locations for the wood stove elbows.
- Securely seal the elbows using stainless steel screws and clamps, and apply high-temperature sealant for proper sealing.
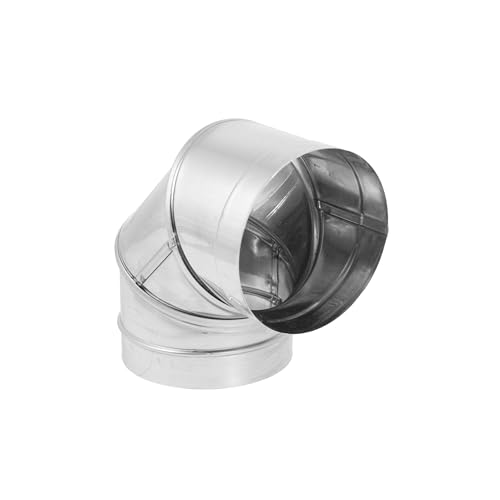
DuraVent Stainless Steel Elbow Pipe, Silver
Venting Pipe Connector: Keep your home free of smoke and other dangerous fumes when using your home or…
As an affiliate, we earn on qualifying purchases.
As an affiliate, we earn on qualifying purchases.
Choosing the Right Wood Stove Elbows
I need to choose the right number of wood stove elbows for my installation. Selecting appropriate materials is crucial to ensure the safe and efficient operation of the wood stove.
When choosing elbows, it’s important to consider the angle and the diameter of the stovepipe. Elbows are available in different angles, such as 45 degrees and 90 degrees, allowing for flexibility in the installation process.

It’s recommended to use elbows made of high-quality materials like stainless steel or galvanized steel, as they’re durable and resistant to heat. Troubleshooting common issues, such as improper draft or creosote buildup, can be avoided by selecting the correct number of elbows and ensuring they’re properly installed.
Proper planning and attention to detail are essential when choosing wood stove elbows to ensure a successful installation.

TAISOCA Elbow Stove Pipe Set 45 Degree and 90 Degree Stove Pipe 2.36 Inch Tent Stove Chimney Elbow Chimney Pipe for Exhaust
【Specifications】This product includes a 45-degree elbow and a 90-degree elbow with a diameter of 6 cm/2.36 inches and…
As an affiliate, we earn on qualifying purchases.
As an affiliate, we earn on qualifying purchases.
Measuring and Marking for Installation
To ensure accurate installation, measure and mark the precise locations for the wood stove elbows. Measuring accuracy is crucial when it comes to installing wood stove elbows, as even a small deviation can lead to improper alignment and potential safety hazards.
Before beginning the installation, gather all the necessary tools, including a tape measure, pencil, and level. Start by measuring the distance between the stove and the wall, ensuring there’s enough space for the elbows and stovepipe to fit properly. Use the level to ensure the stove is level and mark the spots where the elbows will be placed. Take measurements from various angles to double-check accuracy.

Once the markings are done, you can proceed to the next step of cutting and connecting the stovepipe, ensuring a seamless and secure installation.
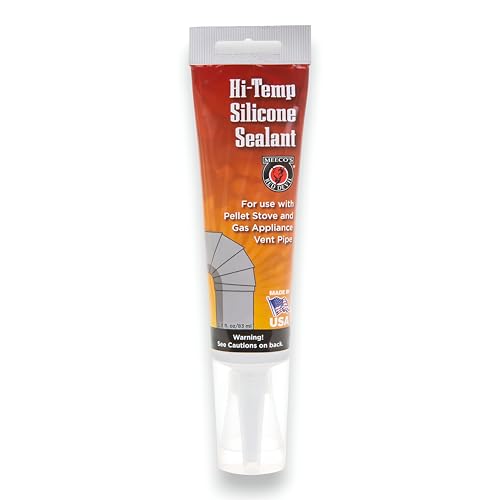
Meeco's Red Devil 600B Black High-Temperature Silicone Sealant for Pellet Stove Flues & Gas Vent Pipes (2.8 fl oz) – Ready to Use – Made in the USA
HI-TEMP SILICONE SEALANT – BLACK 2.8 OZ TUBE – Flexible, weather-resistant RTV silicone designed for sealing pellet stove…
As an affiliate, we earn on qualifying purchases.
As an affiliate, we earn on qualifying purchases.
Cutting and Connecting the Stovepipe
Carefully cutting and connecting the stovepipe is crucial for ensuring a proper and efficient installation. To achieve this, it’s important to follow specific cutting techniques and safety precautions. Here are four key points to consider:
-
Measure twice, cut once: Accurate measurements are essential to avoid unnecessary errors and wasted materials. Take the time to double-check your measurements before making any cuts.
-
Use the right tools: A high-quality pipe cutter or reciprocating saw with a metal-cutting blade will ensure clean and precise cuts. Avoid using tools that aren’t designed for this purpose, as they can lead to uneven cuts or damage to the stovepipe.

-
Wear protective gear: Safety should always be a priority when working with sharp tools. Wear gloves, safety glasses, and a dust mask to protect yourself from potential injuries and harmful particles.
-
Secure the pipe connections: Properly connecting the stovepipe sections is vital for a secure and efficient installation. Use stainless steel screws or clamps to secure the joints, ensuring a tight fit and preventing any leaks.

2 Sets 6 Inch Premium Pipe Clamps,Heavy Duty Galvanized Iron Wood Stove Pipe Hanger Strap,Wall Support Chimney and dryer vent clamp,Round Split Ring Conduit Metal PVC Tube Kit,with Rubber Cushioned
【Applicable Diameter】Our pipe clamp has a maximum diameter of 160mm,Manufactured for 6.3 Inch diameter ducts. Clamp height: 1.06"…
As an affiliate, we earn on qualifying purchases.
As an affiliate, we earn on qualifying purchases.
Securing and Sealing the Elbows
Using stainless steel screws and clamps, I securely seal the elbows to ensure a leak-free installation. Properly securing and sealing wood stove elbows is crucial to maintain the efficiency and safety of the stove system. By following the correct techniques, you can prevent any potential leaks that may cause issues in the future.
To ensure a secure installation, I recommend using the table below as a guide for securing techniques and proper sealing methods:

| Securing Techniques | Proper Sealing Methods |
|---|---|
| Tightening Screws | Applying High-Temperature Sealant |
| Using Clamps | Inspecting for Gaps and Cracks |
| Checking Alignment | Using Heat-Resistant Gaskets |
| Applying Correct Torque | Double-checking Connections |
| Reinforcing with Brackets | Securing with Metal Straps |
Testing and Inspecting the Installation
I will test the installation, and then I’ll inspect it for any potential issues. It’s crucial to ensure chimney safety and troubleshoot any installation issues to prevent accidents and maintain the efficiency of the wood stove.
Here are four important steps to follow when inspecting the installation:
-
Check for proper clearance: Verify that there’s sufficient space between the wood stove and any combustible materials, such as walls or furniture. This ensures that heat is properly dissipated and reduces the risk of fire.
-
Inspect the chimney liner: Examine the liner for any signs of damage or blockage. This includes looking for cracks, corrosion, or excessive creosote buildup. A damaged liner can lead to carbon monoxide leaks and decreased chimney efficiency.

-
Assess the chimney cap: Ensure that the cap is securely attached and in good condition. A damaged or missing cap can allow debris or animals to enter the chimney, leading to blockages and potential safety hazards.
-
Test smoke and draft: Light a small fire in the wood stove and observe the smoke movement and draft. Proper smoke movement indicates a well-functioning chimney, while poor draft may indicate an obstruction or ventilation issue.
Frequently Asked Questions
Can I Install a Wood Stove Elbow Without a Professional?
Yes, I’ve successfully installed a wood stove elbow without a professional. It’s a DIY project that requires careful planning and following instructions. Common mistakes to avoid include improper measurements and not using the right materials.
How Often Should Wood Stove Elbows Be Inspected for Damage or Leaks?
I inspect my wood stove elbows for damage or leaks regularly to ensure safe operation. It is important to hire a professional for proper installation, as they have the expertise to do it correctly.

Can I Use Flexible Stovepipe With Wood Stove Elbows?
Yes, you can use flexible stovepipe with wood stove elbows. Flexible stovepipe offers benefits such as easy installation and versatility. However, it also has some cons, including reduced efficiency and the need for proper support.
What Is the Typical Lifespan of Wood Stove Elbows?
The typical lifespan of wood stove elbows depends on proper maintenance. Regular cleaning and inspection can help prevent common issues such as creosote buildup and corrosion. It is important to follow manufacturer guidelines for maintenance to ensure longevity.
Are There Any Specific Building Codes or Regulations I Should Be Aware of When Installing Wood Stove Elbows?
When installing wood stove elbows, it is crucial to be aware of building code requirements and follow installation safety precautions. Failure to do so can result in potential hazards and non-compliance with regulations.
Conclusion
After carefully selecting the appropriate wood stove elbows and following precise measurements, it’s crucial to secure and seal the elbows properly. This ensures a safe and efficient installation.
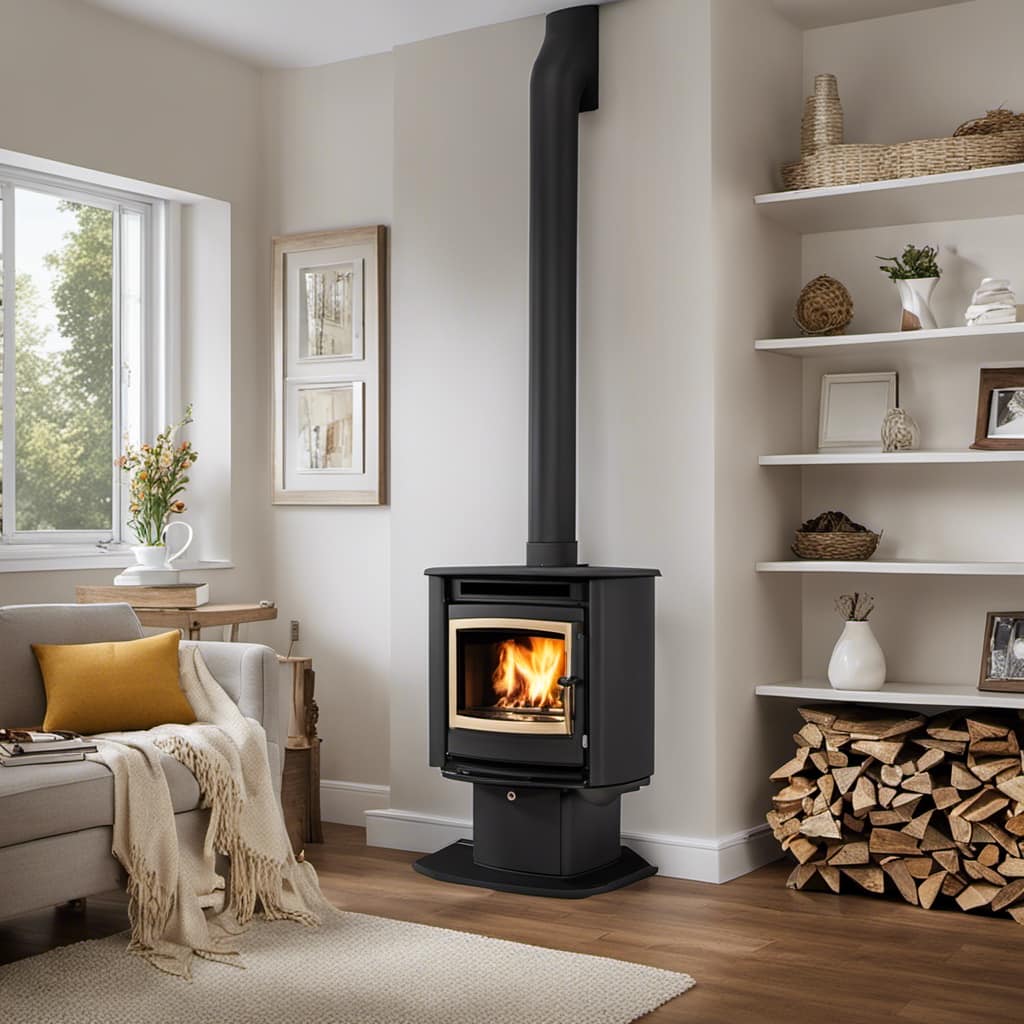
By testing and inspecting the installation, you can guarantee that your wood stove will operate at its best, providing warmth and comfort.
Remember, a well-installed wood stove isn’t just a functional appliance, but also a beautiful addition to your home, creating a cozy atmosphere for you and your loved ones.