To properly break in your new wood stove, start with three controlled fires. First, burn a small fire, keeping it below 200°F for an hour to eliminate moisture. Let it cool, then raise the temperature to 300°F for another hour to cure any paint. After cooling again, reach 400-450°F for peak performance. Use dry, seasoned wood with moisture content below 20% for efficient burning. Make certain to fully open the draft control during these fires for better airflow. Following these steps guarantees your stove's long-term efficiency and safety. There's even more valuable info to explore for a successful break-in!
Key Takeaways
- Conduct three break-in fires: the first at 200°F for one hour, the second at 300°F for one hour, and the final at 400-450°F.
- Use dry, seasoned hardwood with moisture content below 20% for optimal burning and efficiency during the break-in process.
- Fully open the draft control during initial fires to enhance airflow and combustion efficiency while reducing smoke emissions.
- Maintain good ventilation by opening windows or doors to manage smoke and odors produced during the break-in fires.
- Clean the stove glass regularly post-break-in to maintain visibility and prevent soot buildup from curing paint and off-gassing.
Top picks for "properly break wood"
Open Amazon search results for this keyword.
As an affiliate, we earn on qualifying purchases.
Importance of Break-In Fires
Breaking in your wood stove is essential for its long-term performance and safety. The importance of break-in fires can't be overstated, as they prepare your stove for peak operation.
During the break-in procedure, you'll conduct three initial fires, each with increasing intensity to properly acclimate your stove to heat. Confirming that your stove operates efficiently will help maximize its BTU output, similar to how the functionality of wood pellet fireplaces guarantees consistent heat distribution.
The first fire is significant; you'll want to raise the surface temperature to 200°F (93°C) for an hour. This step helps eliminate any internal moisture that could compromise your stove's materials.
Once that's done, you'll move on to the second fire, which should reach 300°F (149°C) for another hour. This helps cure the stove's paint and components, making sure everything bonds correctly.
Step-by-Step Break-In Process
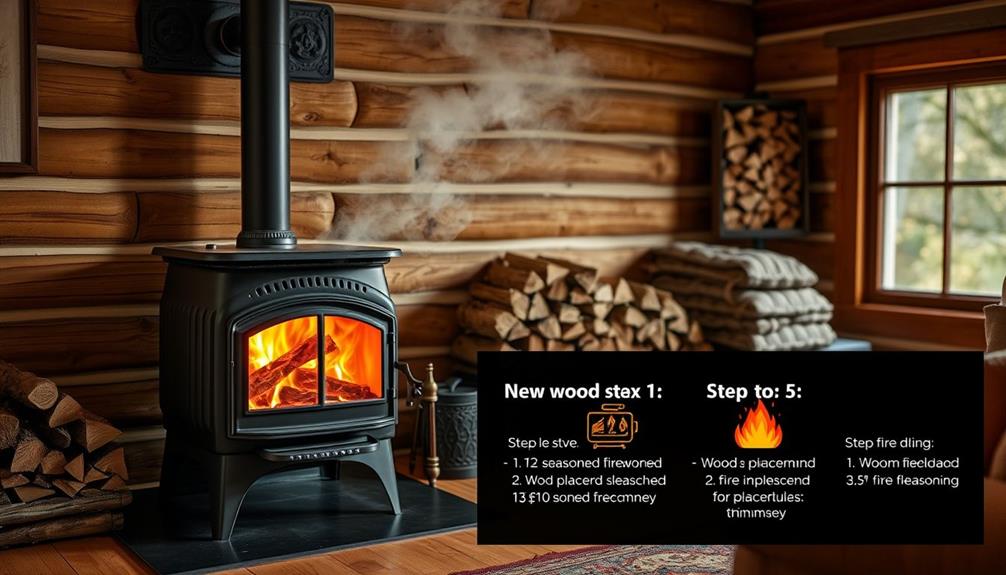
To successfully break in your wood stove, follow a structured step-by-step process that includes three distinct fires. This method guarantees proper curing and avoids damage during the break-in phase.
Also, consider how robotic pool cleaners can simplify outdoor maintenance, allowing you to focus on enjoying your new stove.
- First Fire: Start with a small fire, keeping the stove temperature below 200°F (93°C) for the first hour. This allows moisture to evaporate from the stove's interior.
- Cooling Process: After the first fire, let the stove cool down to room temperature. This cooling process is vital before moving on to the next step.
- Second Fire: Conduct your second fire, aiming for a stove temperature of 300°F (149°C) for one hour. This helps cure the stove's paint.
- Final Fire: Once again, let the stove cool to room temperature. For the third fire, reach a target temperature of 400-450°F (204-232°C) for peak performance.
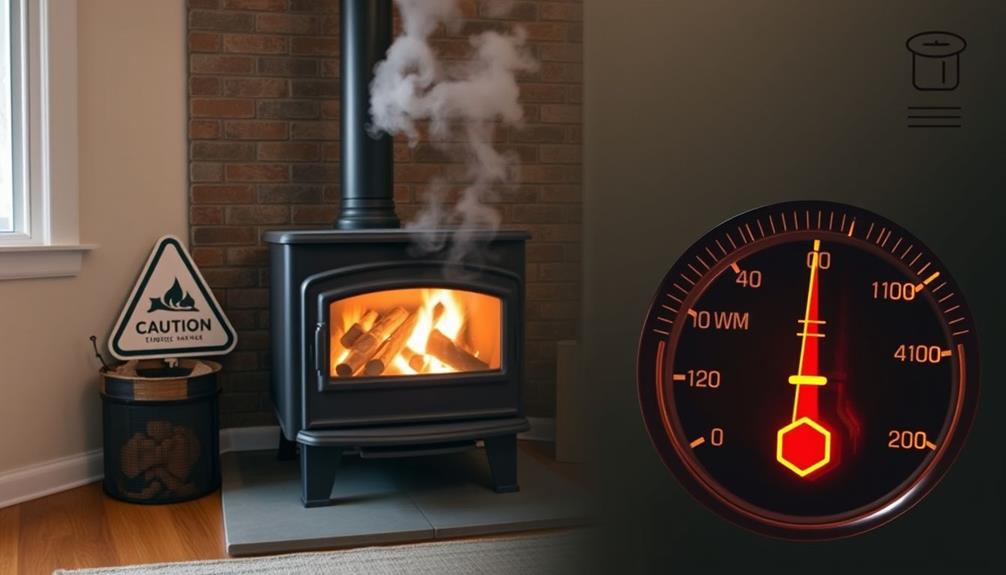
Make sure to space these break-in fires over separate days.
Monitor the stove's temperature using a stove thermometer to prevent over-firing, which can lead to serious damage.
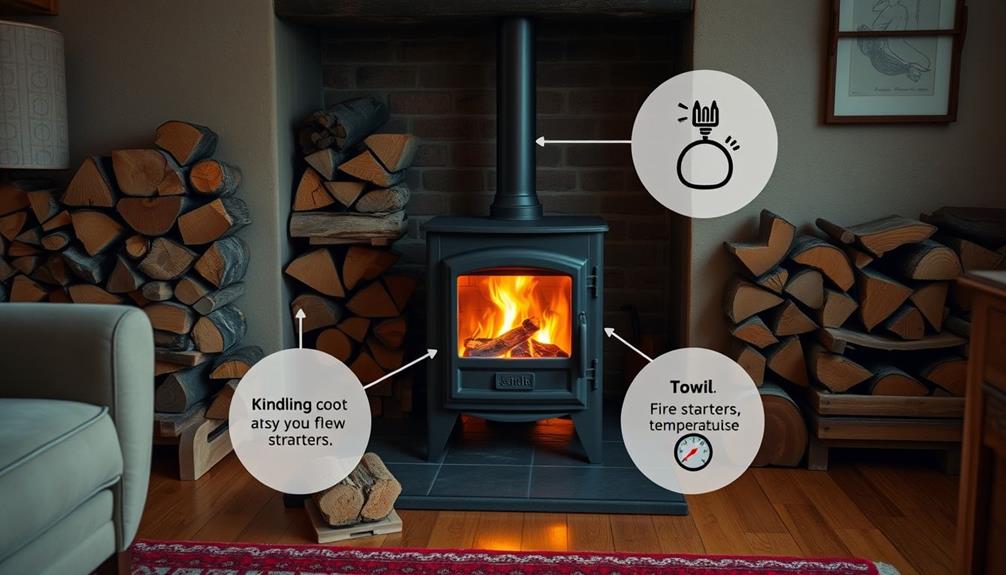
Essential Fire Starting Materials
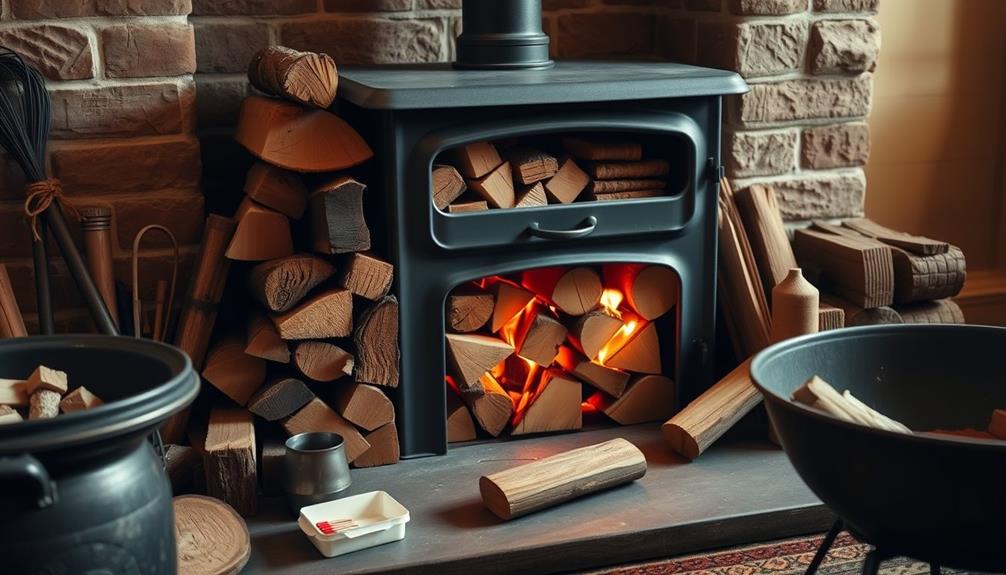
Successfully starting a fire in your wood stove requires the right materials. Begin with dry kindling—small, easily ignitable pieces of wood that help establish the fire. Crumpled newspaper or commercial fire starters serve as excellent ignition aids, providing the necessary heat to get your fire going. Always have matches or a lighter on hand to spark the flames.
Additionally, consider keeping a list of taboo foods for dogs in mind to avoid any accidental hazards while you're focused on your fire.
Next, use seasoned wood, which has a moisture content below 20%. This guarantees ideal burning efficiency and minimizes smoke and creosote buildup. Start your fire with small wood splits, gradually adding larger pieces as the flames grow. This method helps maintain steady combustion and heat output.
While you're getting the fire started, remember to fully open the draft control. This promotes effective airflow, allowing the flames to thrive. Avoid using flammable liquids like gasoline or kerosene, as they can create dangerous situations and lead to uncontrolled flames.
Managing Draft and Chimney Issues
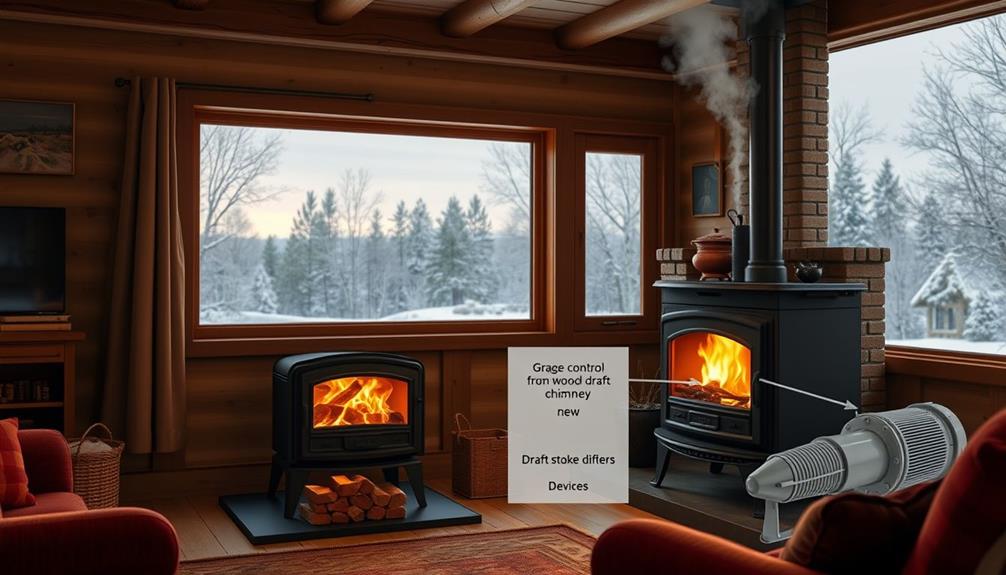
Managing draft and chimney issues is essential for a successful wood stove experience. Proper airflow not only enhances combustion efficiency but also guarantees that harmful gases are effectively expelled from your home.
You need to make certain your draft control is fully open during initial fires to promote effective airflow and smoke evacuation. Regular chimney maintenance will prevent reverse draft problems and keep your home safe from smoke entering the building.
To further protect your investment and promote longevity, consider the benefits of gold investments as part of your overall financial strategy.
Importance of Proper Draft
Proper draft is vital for a wood stove's performance, as it directly impacts how efficiently your fire starts and burns. A good draft guarantees sufficient air intake for combustion, allowing the fire to thrive while preventing smoke from entering your living space.
Additionally, understanding toilet maintenance practices can help guarantee your wood stove operates safely and effectively, as proper ventilation is essential in both scenarios.
Here are some key points to keep in mind:
- Open the Draft Control: Fully open the draft control when starting your fire to maximize airflow.
- Avoid the Ash Pan Door: Keep the ash pan door closed to prevent potential damage and maintain a strong draft.
- Address Negative Pressure: If your home is tightly sealed, smoke may backdraft. Open a nearby door or window to help alleviate this issue.
- Monitor and Adjust: Regularly check your draft to minimize smoke emissions and enhance your wood stove's efficiency.
Managing Smoke Issues
Smoke management is essential when using a wood stove, as it directly affects your comfort and indoor air quality. One of the key factors in managing smoke is ensuring proper draft. When you start your fire, fully open the draft control to promote effective airflow and prevent smoke from entering your home.
If you encounter reverse draft issues, try opening a nearby door or window. This can help improve ventilation and facilitate the expulsion of smoke from the stove. Understanding narcissistic behaviors can help you identify manipulative tactics that may distract you from maintaining your stove effectively.
During the initial fires, it's normal for the exterior of the stove to emit some smoke. This is part of the break-in process, but you can minimize it by ensuring good ventilation. Always use seasoned wood with a moisture content below 20%. Burning wet wood can lead to increased smoke production and dirty stove glass, making your wood stove less efficient.
If you're facing ongoing draft or chimney issues, consult resources like www.woodheat.org for additional guidance. They can provide valuable insights, especially in negative pressure situations where smoke might enter your home.
With proper management, you can enjoy a cozy, smoke-free environment.
Common Issues During Break-In
During the break-in period, you might notice smoke coming from your stove, which is completely normal as the paint and materials cure.
It's also advisable to guarantee good indoor air quality during this time, as smoke can affect your home's atmosphere. Consider using an ozone air purifier to help eliminate any lingering odors.
You'll also find that the glass can get dirty, especially if you're burning wet wood.
To help with smoke and odors, make sure you keep your space well-ventilated during those initial fires.
Smoke Emission Normality
How can you tell if your new wood stove is functioning normally during its break-in phase? The initial firing of your stove may produce some smoke, which is completely normal. This occurs due to the curing of paint and off-gassing of manufacturing oils.
To guarantee overall well-being during this process, it's beneficial to take into account managing stress levels and maintaining a balanced environment, as stress management techniques can create a more comfortable atmosphere.
However, it's important to monitor the situation closely. Here are four common issues to keep in mind:
- Smoke Emission: Expect smoke for 30 minutes to several hours as the paint cures. Different finishes may emit varying amounts of smoke, so be aware of this.
- Ventilation: Open nearby doors or windows to ventilate the area and alleviate any smoke accumulation, especially if you're in a negative pressure environment.
- Dirty Glass: It's common for the stove glass to collect soot after the first few fires, particularly if you're burning wet wood or if draft conditions aren't ideal.
- Monitor Conditions: If smoke intensity seems excessive or unusual, double-check your wood and airflow conditions.
Glass Soiling Concerns
Glass soiling is a common concern when breaking in your new wood stove. During the initial break-in fires, you might notice your stove's glass becoming dirty. This occurs due to residue from the curing paint and off-gassing that deposits on the surface. Burning wet wood or having inadequate draft can worsen glass soiling, leading to increased soot buildup.
To help mitigate these issues, it's advisable to open a nearby door or window for improved ventilation during the break-in process. The type of paint used on your stove can also affect the smoke intensity and cleanliness of the glass, with some paints producing more residue than others.
Here's a quick overview of factors affecting glass soiling:
| Factor | Impact on Glass Soiling |
|---|---|
| Curing paint residue | Increases soot on glass |
| Burning wet wood | Worsens glass soiling |
| Inadequate draft | Leads to more buildup |
| Ventilation | Reduces soiling considerably |
Regular cleaning of the stove glass is recommended after the break-in period to maintain visibility and guarantee peak performance, as dirty glass can affect both aesthetics and heating efficiency.
Ventilation Recommendations Needed
Proper ventilation is essential when breaking in your new wood stove, as it helps manage the strong odors and smoke generated from off-gassing.
During this period, you might notice increased smoke intensity and unpleasant smells, which can last anywhere from 30 minutes to several hours.
To guarantee a comfortable environment, follow these ventilation recommendations:
- Open Windows or Doors: Allow fresh air to flow in, helping to mitigate odors and smoke. This is similar to ensuring proper airflow when using garage door openers for enhanced home security.
- Check for Negative Pressure: If smoke starts entering your home, open a nearby window or door to improve draft and reduce pressure issues.
- Monitor Weather Conditions: Try conducting break-in fires on mild days, as this can enhance ventilation effectiveness and overall comfort.
- Be Aware of Paint Types: Different stove finishes can react differently when heated, leading to varying smoke intensities. Adjust ventilation accordingly.
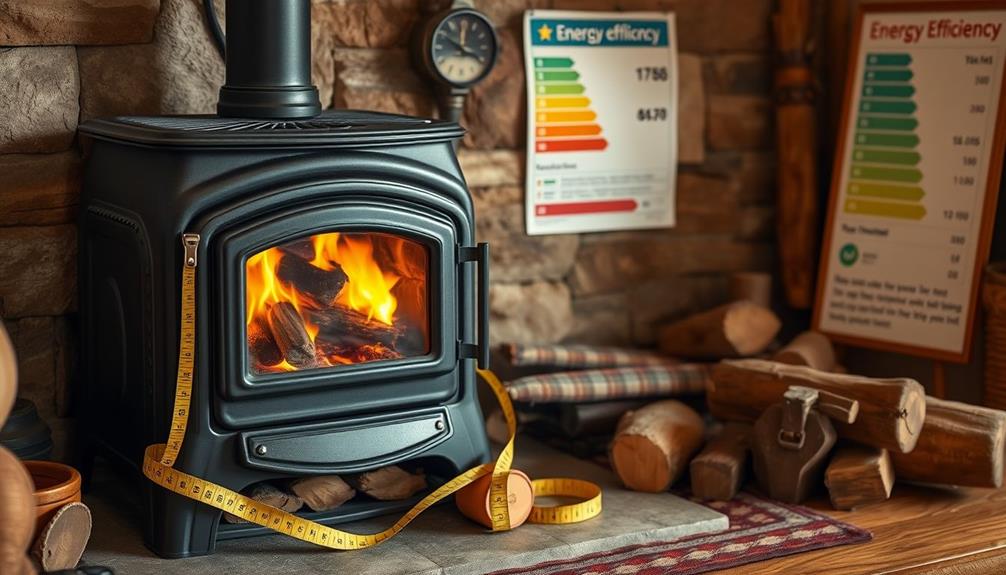
Selecting the Right Wood
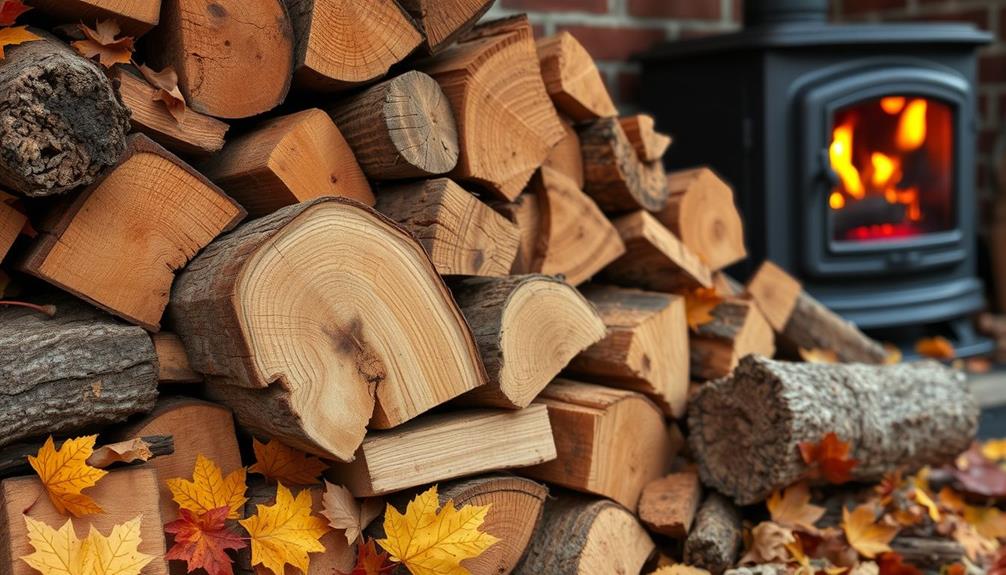
Selecting the appropriate wood is essential for maximizing your wood stove's efficiency and heat output. For the best results, opt for dry, seasoned hardwood with a moisture content below 20%. This guarantees ideal burning efficiency, allowing your stove to produce more heat while consuming less fuel.
Additionally, it's worth noting that proper maintenance of your stove and chimney, along with safety precautions, can greatly enhance performance and safety during use.
Avoid using green wood, as its high moisture content leads to inefficient burning and increases creosote buildup in your chimney. Instead, aim for a seasoning period of 6 to 14 months to properly dry the wood, making it ready for use.
While softwoods ignite more easily, they burn less efficiently than hardwoods and have lower BTUs, which isn't suitable for maintaining long-lasting fires. When selecting your wood, inspect seasoned logs for check marks and a lighter weight; these indicators show they're ready to burn.
Lastly, steer clear of burning prohibited materials like coal or synthetic logs, as they can damage your stove and create harmful emissions. By choosing the right wood, you'll enhance your wood stove's performance and enjoy a cozy, efficient heating experience.
Safety Precautions for New Stoves
Once you've selected the right wood, it's time to focus on safety precautions for your new stove. Keeping safety in mind guarantees that you can enjoy your wood stove without any risks.
Here are some essential tips to take into account:
- Clearance: Maintain at least four feet of clearance around the stove. This helps prevent combustion hazards and allows for safe operation.
- Detectors: Regularly check that your smoke and carbon monoxide detectors are functional. This is vital before you use the stove for the first time.
- Flammable Materials: Keep all flammable materials, such as wood, paper, and chemicals, away from the stove during operation. This reduces the risk of fire and keeps your space safe.
- Ventilation: Always ventilate the area by opening windows or doors during initial fires. This helps manage off-gassing odors and smoke, creating a safer environment for everyone.
Odors and Off-Gassing Explained
When you break in your new wood stove, you'll notice some strong odors and smoke as the paint cures and oils burn off.
This off-gassing is completely normal and can last anywhere from 30 minutes to several hours, depending on your stove.
To improve air quality, make sure to ventilate your space by opening windows or doors during this process.
Normal Off-Gassing Process
Expect to encounter some strong odors and smoke during the break-in period of your new wood stove, as this is a normal part of the off-gassing process. Off-gassing occurs when the high-temperature paint cures and any manufacturing oils burn off.
While these odors can be unpleasant, they're typically non-toxic. The off-gassing can last anywhere from 30 minutes to several hours, depending on your stove and the conditions.
To help manage the odors, consider these tips:
- Open windows and doors: This promotes adequate ventilation and helps dissipate the smells.
- Conduct multiple break-in fires: Usually, 3-4 fires are necessary for the odors to fully dissipate as the stove reaches operational temperatures.
- Monitor the duration: Keep an eye on the length of each fire; off-gassing may vary.
- Stay nearby: Being close allows you to monitor the stove and guarantee proper air circulation.
Ventilation During Break-In
Ventilation is key during the break-in process of your wood stove, as it helps manage the strong odors and smoke released from off-gassing.
When you first fire up your new stove, you'll likely notice these unpleasant smells and visible smoke. This is a normal occurrence caused by the curing paint and burning off manufacturing oils.
While the odors might be intense, they're typically non-toxic and will dissipate over time.
To guarantee a comfortable environment, it's vital to ventilate the area effectively. Open windows or doors to promote airflow, which will help reduce the intensity of the odors and smoke.
During the initial fires, off-gassing can last anywhere from 30 minutes to several hours, so keep an eye on the situation and adjust your ventilation as needed.
Following the manufacturer's instructions for both break-in and ventilation is important.
By doing this, you'll not only guarantee a safe process but also minimize any concerns related to off-gassing.
Proper ventilation will make the break-in experience smoother, allowing you to enjoy your new wood stove without discomfort.
Odor Duration Expectations
During the break-in process of your wood stove, you'll likely encounter strong odors and smoke as the paint cures and any manufacturing oils burn off. This off-gassing is normal and non-toxic, but understanding odor duration can help you prepare for what to expect.
Here's what you should know:
- Initial Odors: Expect noticeable odors during the first few fires, which will be strongest initially.
- Duration Variation: The odor duration can range from 30 minutes to several hours, depending on your stove's materials and manufacturing processes.
- Gradual Decrease: The intensity of the odors will gradually decrease after each break-in fire, as the curing process unfolds.
- Multiple Fires Needed: Typically, you'll need three break-in fires to fully dissipate the odors, with each fire contributing to the curing.
To manage the odors effectively, guarantee proper ventilation by opening windows or doors during the break-in period. This will help improve air quality in your home while you enjoy your new wood stove.
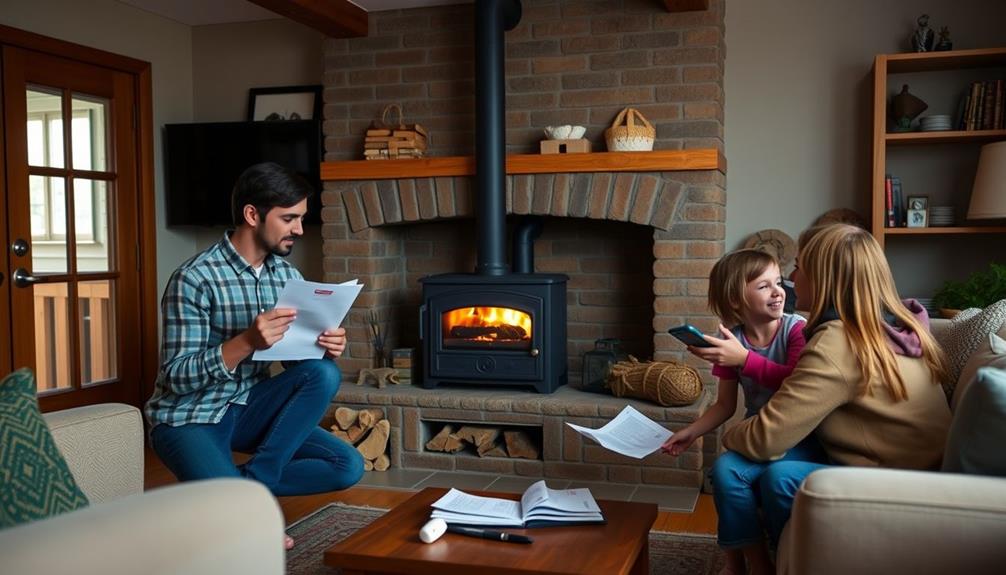
Community Resources and Support
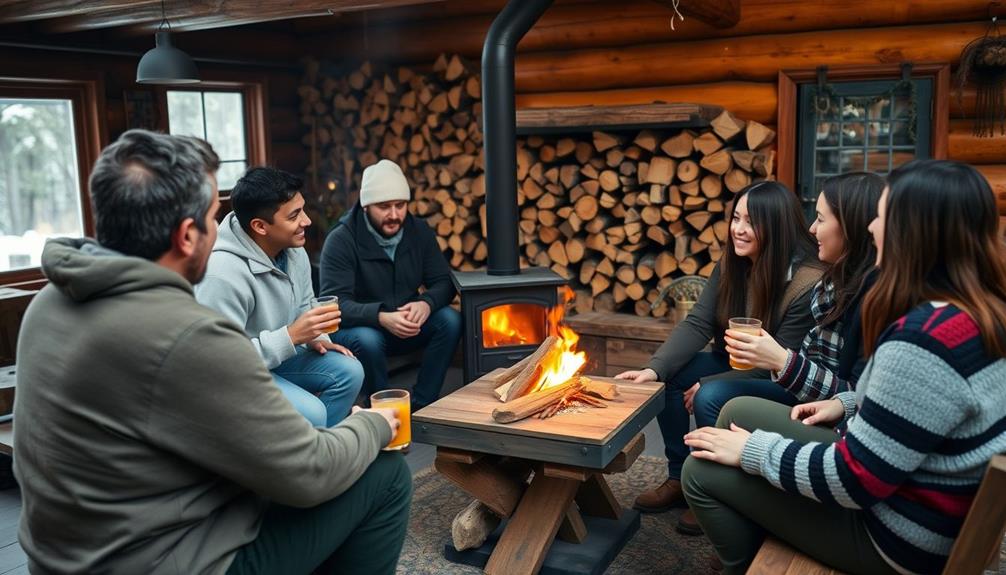
Finding community resources and support can make all the difference when breaking in your wood stove. Engaging with wood stove users online, especially on forums like Hearth.com, opens up a wealth of knowledge. You'll find installation tips, shared experiences, and troubleshooting advice that can ease your adjustment into wood burning.
Don't forget to prepare your wood supply in advance; many seasoned users emphasize this for a smoother break-in process. You might also want to check out resources and manuals from your stove's manufacturer. These materials are essential for understanding proper operation and ensuring you follow specific break-in procedures.
Social media platforms can be another great way to connect with fellow wood stove enthusiasts. You'll gain fresh insights and practical tips that can enhance your experience.
Additionally, visiting local fireplace and grill stores can be incredibly beneficial. The knowledgeable staff there can provide expert advice tailored to your specific needs, helping you to become a more confident wood stove user.
Utilizing these community resources won't only support you during the break-in phase but will also enhance your overall wood burning experience.
Maintenance for Long-Term Performance
To guarantee your wood stove performs well over the long haul, regular maintenance is key.
By staying on top of a few essential tasks, you'll enhance both the efficiency and lifespan of your wood-burning stove.
Here's what you should focus on:
1. Clean Regularly: Keep your stove and chimney clean to prevent creosote buildup.
This reduces the risk of chimney fires and maintains efficiency. Aim for an annual inspection by a professional.
2. Use Seasoned Wood: Always burn seasoned wood with a moisture content between 12-20%.
This guarantees optimal burning efficiency, minimal emissions, and prolongs your stove's life.
3. Check Draft Settings: Monitor and maintain proper draft settings to guarantee adequate airflow.
This is vital for effective burning and prevents smoke backflow into your living space.
4. Clear Pathways: Keep the stove's air intake and exhaust pathways clear of obstructions.
This helps maintain efficient combustion and prevents overheating or damage to components.
Frequently Asked Questions
How to Break in a New Stove for the First Time?
To break in your new stove, start with low temperatures, gradually increasing the heat over several fires. Use seasoned wood, monitor temperatures carefully, and ventilate the area to manage any off-gassing odors effectively.
How Long Does It Take to Break in a New Stove?
Breaking in a new stove usually takes about two days. You'll need to complete a series of fires, allowing cooling periods in between to guarantee everything cures properly and functions efficiently. Patience is key!
How Long Does It Take to Burn off a New Wood Stove?
It usually takes about three break-in fires to fully burn off a new wood stove. Each fire lasts an hour, gradually increasing temperatures from 200°F to 400°F, followed by cooling periods for peak performance.
How to Use a Wood Burning Stove for the First Time?
Using your wood burning stove for the first time's like igniting a cozy hearth of joy! Start small, feed it seasoned hardwood, monitor temperatures, and enjoy the warmth while keeping the air flowing. You'll love it!
Conclusion
Breaking in your new wood stove isn't just a chore; it's a chance to create cozy comfort and lasting warmth. By following the simple steps and safety suggestions outlined, you'll guarantee a smooth start and stellar performance. Remember, patience pays off! As you savor the satisfying scent of seasoned wood burning, you'll appreciate the beauty of your brilliant new addition. So, gear up for glowing fires and enjoy the delightful dance of flames in your home!


