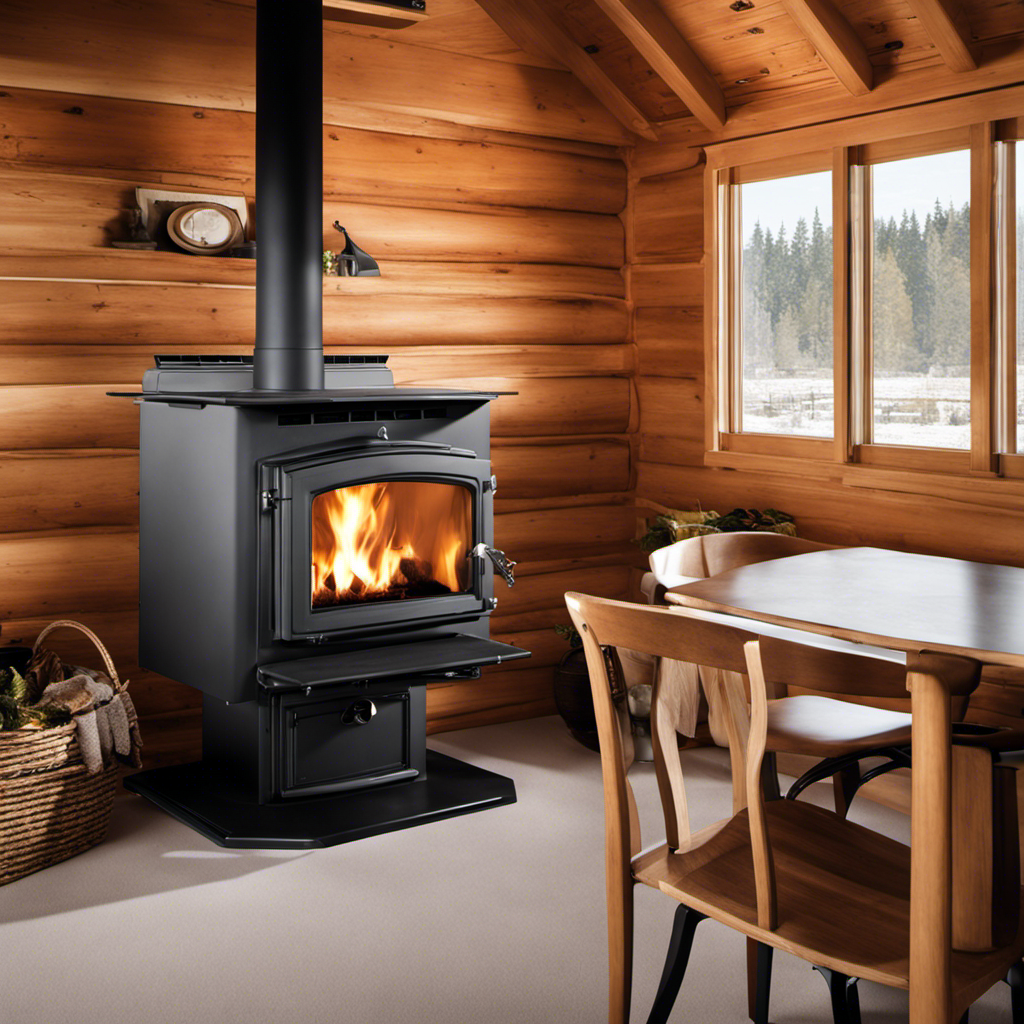
Is it safe to use the wood stove while the patching compound is curing?
Have you noticed a crack or hole in your wood stove top? Don’t worry, I’ve got you covered.
In this article, I’ll guide you through the step-by-step process of patching your wood stove top like a pro.
We’ll start by assessing the damage, gathering the necessary materials, and preparing the wood stove top.
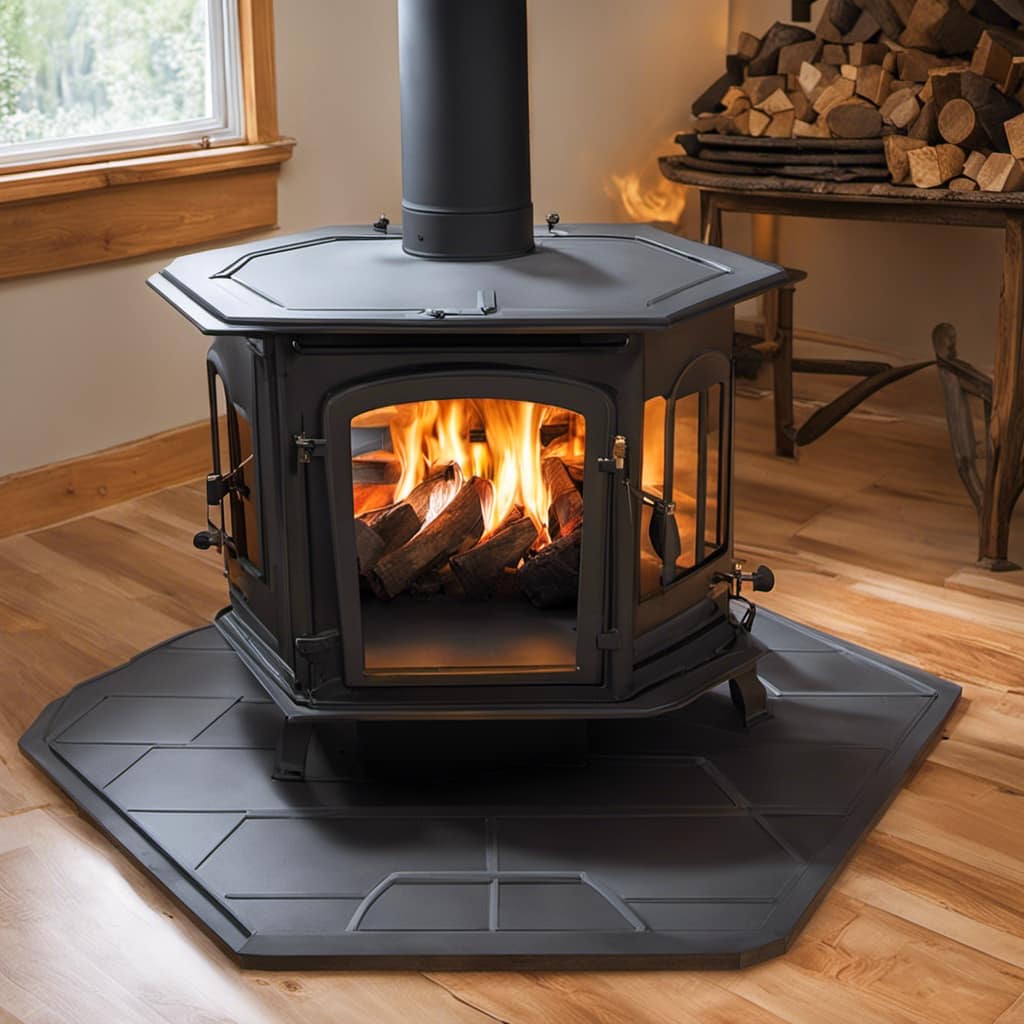
Then, I’ll show you how to apply the patching material and finish it off for a long-lasting repair.
Let’s get started and restore your wood stove top to its former glory.
Key Takeaways
- Inspect the wood stove top for cracks, dents, or discoloration
- Gather necessary materials such as high-temperature epoxy and heat-resistant patch
- Clean and prepare the wood stove top before applying the patching material
- Properly maintain the repaired wood stove top to avoid future damage
Assessing the Damage
I need to carefully look over the wood stove top to assess the extent of the damage. To begin evaluating repairs, I’ll inspect the surface for any visible cracks, dents, or discoloration.
Using a flashlight, I’ll examine the entire area, paying close attention to the seams and corners. I’ll also check for any signs of rust or corrosion.
It’s important to note the size and location of the damage, as this will help determine the best course of action.
Once I’ve assessed the damage, I’ll consider alternative solutions for repairing the wood stove top. This may include applying a high-temperature epoxy or using a specialized heat-resistant patch.
Evaluating the damage and considering alternative solutions will ensure a successful repair process.
Gathering the Necessary Materials
Before starting the repair process, I will gather all the necessary materials for patching the wood stove top, including a high-temperature epoxy and a heat-resistant patch. It is important to have the right materials and tools to ensure a successful repair. Here is a table outlining the necessary materials for patching a wood stove top:
| Material | Purpose | Safety Precautions |
|---|---|---|
| High-temperature epoxy | Bonds the patch to the | Wear gloves and eye protection when handling |
| stove top | ||
| Heat-resistant patch | Covers the damaged area | Ensure the patch is the correct size and fits |
| securely | ||
| Gloves | Protects hands | Choose heat-resistant gloves |
When gathering these materials, it is crucial to prioritize safety precautions. Wearing gloves and eye protection when handling the high-temperature epoxy is essential to avoid any contact with the skin or eyes. Additionally, ensuring the heat-resistant patch is the correct size and fits securely will prevent any further damage or potential accidents. By gathering the necessary materials and following these repair techniques and safety precautions, the wood stove top can be effectively patched and restored.
Preparing the Wood Stove Top
To prepare the wood stove top, I’ll carefully clean it with a damp cloth and remove any debris before applying the high-temperature epoxy. This is crucial to ensure proper adhesion and longevity of the patch.
After cleaning, I’ll inspect the surface for any cracks, holes, or damaged areas that need patching. Selecting the right patching material is essential for a successful repair. When choosing an epoxy, it’s important to consider its heat resistance and compatibility with wood.
High-temperature epoxy is specifically designed to withstand the intense heat generated by a wood stove, making it the ideal choice. Additionally, the epoxy should be able to withstand rapid temperature changes without cracking or peeling.
Applying the Patching Material
First, I’ll apply the high-temperature epoxy to the cracks and damaged areas on the wood stove top. It’s crucial to use a patching material that can withstand high temperatures to ensure the longevity of the repair. The heat resistance of the epoxy will prevent it from melting or breaking down when the stove is in use.
To apply the patching material properly, I’ll start by cleaning the surface of the wood stove top thoroughly. This will remove any dirt, grease, or residue that may hinder the adhesion of the epoxy.
Next, I’ll mix the epoxy according to the manufacturer’s instructions and apply it to the cracks and damaged areas using a putty knife or a brush. It’s essential to follow the proper application technique to achieve a seamless and durable repair.
Once the epoxy is applied, I’ll allow it to dry and cure completely before using the wood stove.
Finishing and Maintaining the Repaired Wood Stove Top
I will regularly wipe down the repaired wood stove top with a damp cloth to keep it clean and free from dust or debris. In addition to routine cleaning, there are other steps I’ll take to ensure the longevity of the repaired wood stove top while maintaining wood stove safety and preventing future damage.
Here are some key measures to follow:
- Use a non-abrasive cleaner specifically designed for wood surfaces to prevent scratching or damaging the repaired area.
- Avoid placing hot or heavy objects directly on the wood stove top to prevent potential cracks or dents.
- Use trivets or heat-resistant pads to create a protective barrier between the wood stove top and any hot cookware or utensils.
- Lift and carry objects instead of sliding them across the wood stove top to prevent scratches or gouges.
Frequently Asked Questions
How Long Does It Take for the Patching Material to Dry and Cure Completely?
The drying time and curing process of the patching material depend on various factors such as temperature and humidity. Generally, it takes a few hours to dry and a day or two to fully cure.
Can I Use Any Type of Patching Material, or Are There Specific Ones Recommended for Wood Stove Tops?
I can only use 35 words to answer this question, but I’ll do my best! When patching a wood stove top, it’s important to use specific materials recommended for this purpose. Each type of patching material has its pros and cons.

Is It Necessary to Clean the Wood Stove Top Before Applying the Patching Material?
Yes, it is necessary to clean the wood stove top before applying the patching material. Proper wood stove maintenance includes removing any debris or residue to ensure the patch adheres correctly, maximizing the benefits of patching wood stove tops.
Can I Still Use the Wood Stove While the Patching Material Is Drying?
I can’t use the wood stove while the patching material is drying. It’s risky and can lead to accidents or damage. I need to wait until the patch is completely dry before using the stove again.
How Often Should I Inspect and Maintain the Repaired Wood Stove Top?
I should clean the wood stove top at least once a month to ensure proper functioning. It is not safe to use the wood stove while the patching material is curing as it may affect its integrity.
Conclusion
In conclusion, patching a wood stove top is a crucial task that requires attention to detail and precision.

By assessing the damage, gathering the necessary materials, preparing the wood stove top, applying the patching material, and finishing and maintaining the repaired surface, you can ensure the longevity and efficiency of your wood stove.
Just like a skilled craftsman carefully mends a broken piece of art, patching a wood stove top restores its functionality and beauty, bringing warmth and comfort to your home.
Growing up surrounded by the vast beauty of nature, Sierra was always drawn to the call of the wild. While others sought the comfort of the familiar, she ventured out, embracing the unpredictable and finding stories in the heartbeat of nature.
At the epicenter of every remarkable venture lies a dynamic team—a fusion of diverse talents, visions, and passions. The essence of Best Small Wood Stoves is crafted and refined by such a trio: Sierra, Logan, and Terra. Their collective expertise has transformed the platform into a leading authority on small wood stoves, radiating warmth and knowledge in equal measure.


