I’ve always held the view that vintage items possess significant value, particularly regarding my reliable old wooden stove. While it might not be in prime shape, I believe that with a bit of work and careful upkeep, I can restore it to its previous splendor.
In this article, I’ll show you step-by-step how to make your old insert wood stove look new. From cleaning and repairing to refinishing and adding those final touches, your wood stove will shine like a brand new centrepiece in your home.
Key Takeaways
- Cleaning and preparing the surface is essential for better paint adhesion.
- Repairing and replacing parts can be done affordably through local dealers, online retailers, or reputable sources.
- Sanding and refinishing the wood helps remove imperfections and allows for an even stain application.
- Repainting and restoring the metal requires cleaning, removing rust, and applying high-temperature paint in thin, even coats.

Single Burn Rate Stove
Heats up to 900 sq. ft.
As an affiliate, we earn on qualifying purchases.
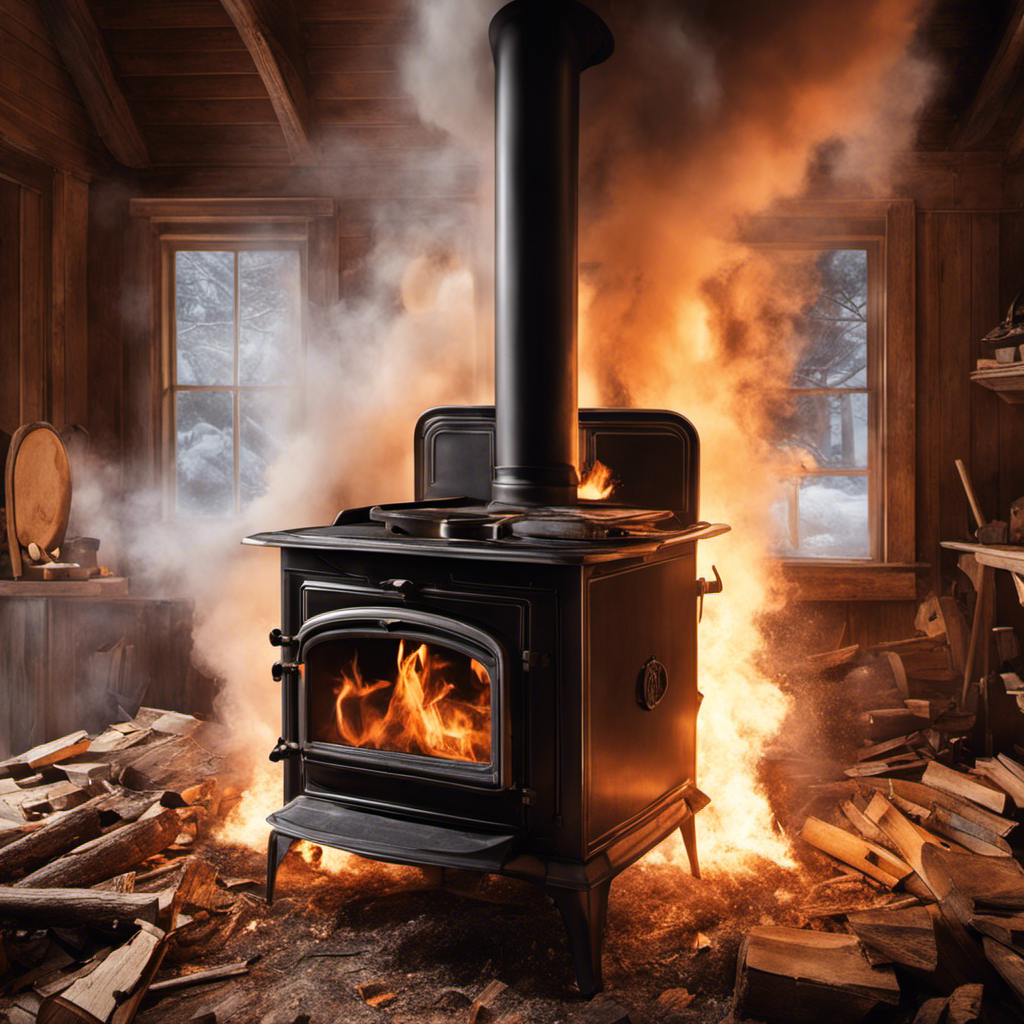
Cleaning and Preparing the Surface
I’m scrubbing the surface of the wood stove, removing any dirt and grime before applying a fresh coat of paint.
Surface cleaning is an essential step in making your old insert wood stove look new again. To start, I recommend using a mild detergent mixed with warm water. This solution will effectively remove any grease or soot buildup.
Using a soft sponge or cloth, gently scrub the surface in circular motions, paying extra attention to any stubborn stains. Once the surface is clean, it’s important to prepare it for the paint application.
This involves sanding the surface lightly to create a rough texture, allowing the paint to adhere better. After sanding, wipe away any dust with a damp cloth, ensuring a smooth and clean surface for the paint to adhere to.

Guide Gear Outdoor Wood Burning Stove; Portable with Chimney Pipe for Cooking and Camping
OUTDOOR WOOD STOVE – We designed our camp stove for use outside. Perfect for use during camping trips...
As an affiliate, we earn on qualifying purchases.
Repairing and Replacing Parts
Replacing any damaged or worn-out parts is crucial in ensuring the optimal performance of your insert wood stove. Here are some key tips for repairing and replacing parts to keep your wood stove running smoothly:
-
Finding affordable replacement parts:
- Check with local dealers or online retailers for cost-effective options.
- Consider purchasing used parts from reputable sources.
- Explore salvage yards or classified ads for potential deals.
- Reach out to manufacturers for any available warranty or discounted options.
-
DIY techniques for repairing common wood stove issues:
- Clean and unclog air vents to improve airflow.
- Replace gaskets to prevent air leaks.
- Repair or replace damaged firebricks.
- Fix or replace broken handles, hinges, or latches.
By taking the time to repair and replace parts, you can extend the lifespan of your insert wood stove and ensure its optimal functionality.
Once the necessary repairs are done, it’s time to move on to sanding and refinishing the wood, which will be discussed in the next section.

YRenZ Upgraded Portable Wood Stove for Camping, Compact Tent Stove with Large Firebox, High Airtightness for Outdoor Cooking & Heating
【Upgraded Tent Camping Wood Stove】: Compact yet powerful wood stove for tents and outdoor use, with high airtightness,...
As an affiliate, we earn on qualifying purchases.
Sanding and Refinishing the Wood
After completing the necessary repairs, I can begin sanding and refinishing the wood for a fresh and updated look. When it comes to refinishing techniques, there are a few key steps to consider.
First, I’ll start by sanding the wood using a medium-grit sandpaper to remove any roughness or imperfections. This will ensure a smooth surface for staining.
Next, I’ll apply a wood conditioner to help the stain absorb evenly. Once the conditioner has dried, I can apply the stain using a brush or cloth, making sure to follow the grain of the wood.
After allowing the stain to penetrate for the recommended time, I’ll wipe off any excess and let it dry completely.
Finally, I’ll seal the wood with a clear coat to protect and enhance the finish.

Kuvik Titanium Wood Stove - Ultralight and Compact Stove for Backpacking, Camping, and Survival
COMPACT AND PORTABLE: Elevate your backpacking experience with this 6.25” x 5” x 5” wood stove designed to...
As an affiliate, we earn on qualifying purchases.
Repainting and Restoring the Metal
How can I effectively repaint and restore the metal on my insert wood stove?
Maintaining the metal on your wood stove is crucial for its longevity and appearance. Here are four steps to help you in the process:
-
Clean the metal: Start by wiping down the surface with a mild detergent and warm water. Remove any dirt, grease, or rust using a wire brush or sandpaper.
-
Sand the metal: Use sandpaper to remove any existing paint or imperfections. This step helps create a smooth surface for the new paint to adhere to.
-
Choose the right paint: Select a high-temperature paint specifically designed for metal surfaces. Consider the color that will complement your home’s decor.
-
Apply the paint: Apply thin, even coats of paint using a brush or spray can. Allow each coat to dry before applying the next. Make sure to follow the manufacturer’s instructions for drying time.
By properly maintaining the metal and selecting the right paint color, you can restore your insert wood stove to its former glory.
Now, let’s move on to adding finishing touches and enhancements.
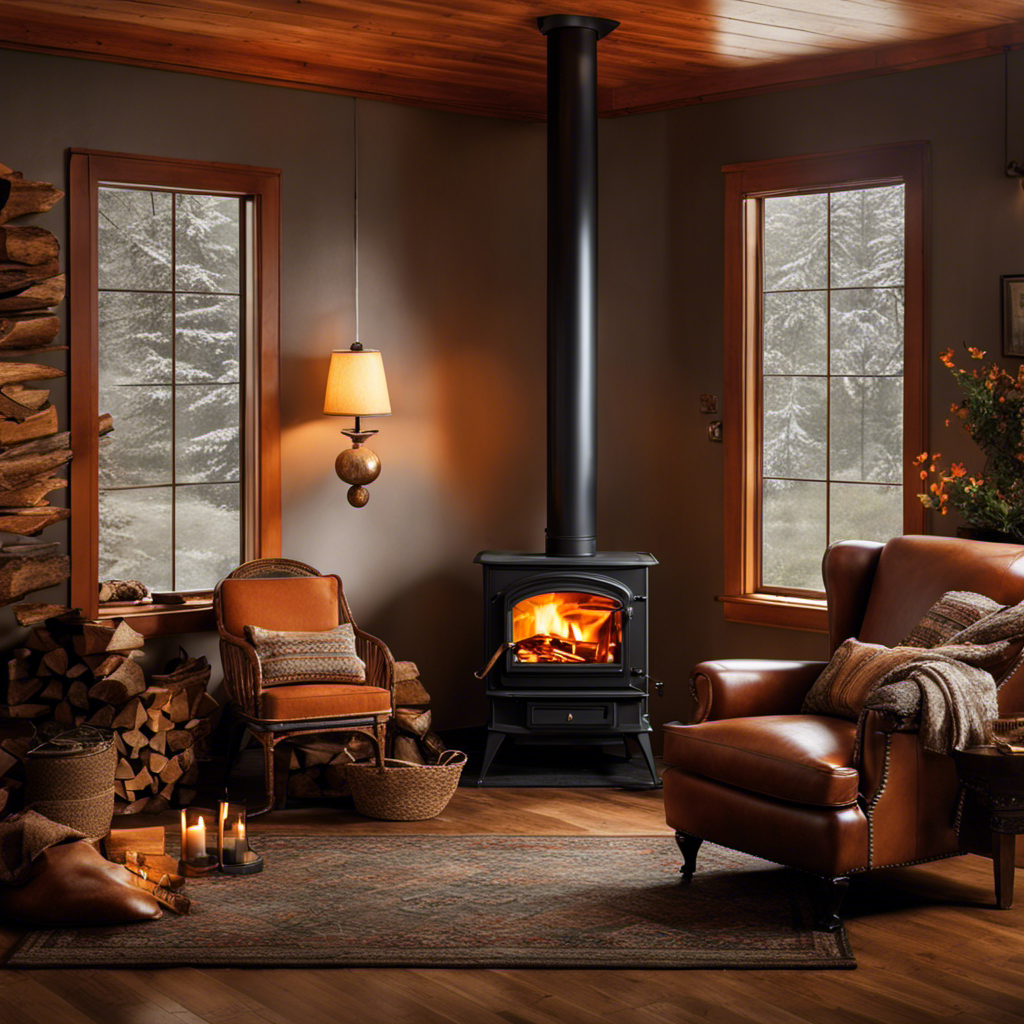
Adding Finishing Touches and Enhancements
I’ll start by polishing the metal accents and then I’ll consider adding decorative handles to enhance the overall look of my insert wood stove. But there are still a few more things I can do to upgrade the appearance and functionality of my stove. One important step is to upgrade the insulation to improve its efficiency. By adding insulation around the stove, I can prevent heat loss and ensure that the stove operates at its maximum potential. Another enhancement I’m considering is installing glass doors. This not only adds a touch of elegance to the stove but also allows me to monitor the fire without opening the doors, reducing heat loss. Overall, these finishing touches and enhancements will not only make my old wood stove look new but also improve its performance.
| Steps to Enhance My Insert Wood Stove | |
|---|---|
| 1. Polish metal accents | 2. Upgrade insulation |
| 3. Add decorative handles | 4. Install glass doors |
Frequently Asked Questions
How Do I Properly Dispose of the Old Paint and Wood Shavings After Sanding and Refinishing the Wood?
After sanding and refinishing the wood, I dispose of the old paint and wood shavings by bagging them separately and taking them to a local hazardous waste facility. I then choose a heat-resistant paint specifically designed for wood stoves.
Can I Use Any Type of Paint for Repainting the Metal, or Are There Specific Types That Work Best for Wood Stoves?
I found that using the right type of paint is crucial when repainting a wood stove. It’s important to choose heat-resistant paint specifically designed for metal surfaces to ensure long-lasting and safe results.
Are There Any Safety Precautions I Should Take When Using the Wood Stove After the Restoration Process?
When using a restored wood stove, it’s important to take safety precautions. Make sure to properly maintain and clean the stove regularly to prevent any potential hazards and ensure it functions efficiently.
Can I Add Decorative Elements, Such as Decals or Stencils, to the Wood Stove to Enhance Its Appearance?
Adding decals or stencils to your wood stove can enhance its appearance. However, consider the pros and cons, ensuring they won’t interfere with functionality or safety. Choose designs that complement your style and follow manufacturer guidelines.
How Often Should I Perform Maintenance on the Restored Wood Stove to Ensure Its Longevity and Optimal Performance?
Regular maintenance is crucial for the longevity and optimal performance of a restored wood stove. By performing maintenance at recommended intervals, you can ensure that your stove functions efficiently and remains in good condition for years to come.
Conclusion
So there you have it, folks! With a little bit of elbow grease and some know-how, you can transform your old insert wood stove into a shining masterpiece.
From cleaning and repairing to sanding and refinishing, we’ve covered it all.
And don’t forget to add those finishing touches and enhancements to really make it pop.
Now go forth and restore that stove to its former glory.
Happy renovating!