Hello everyone!
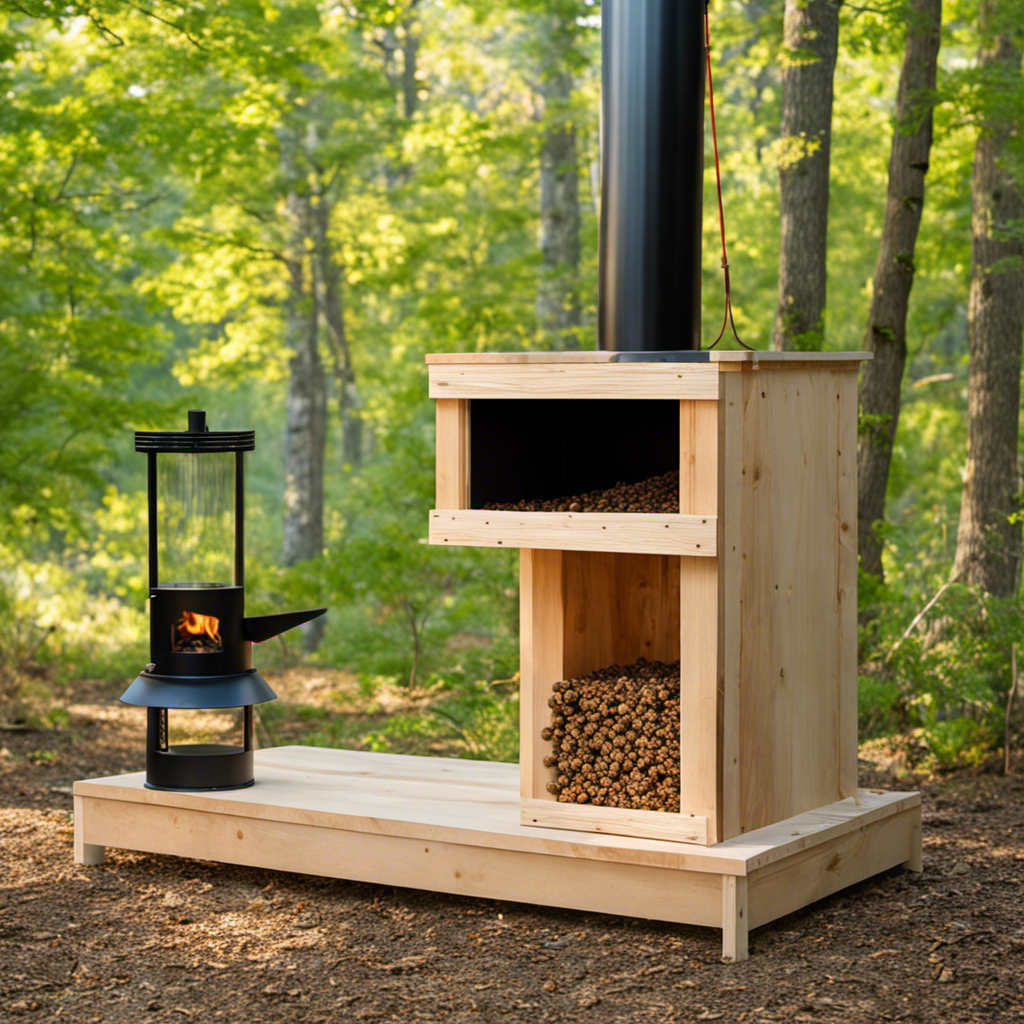
Ever found yourself in need of a reliable pellet feeder for your trusty wood stove? Well, fret no more! I’ve got just the solution you’re looking for.
In this article, I’ll walk you through the step-by-step process of making your very own pellet feeder that’s sure to keep your wood stove running smoothly and efficiently.
So grab your tools and let’s get crafting!
Key Takeaways
- Choosing the right materials and safety precautions are essential for making a pellet feeder for a wood stove.
- Double-checking measurements and using the right tools for clean and accurate cuts is important during the construction process.
- Assembling the feeder box requires pre-drilling pilot holes and securely attaching the sides and bottom.
- Adding the pellet dispenser mechanism involves attaching a metal bracket and ensuring it sits securely on top of the feeder box.

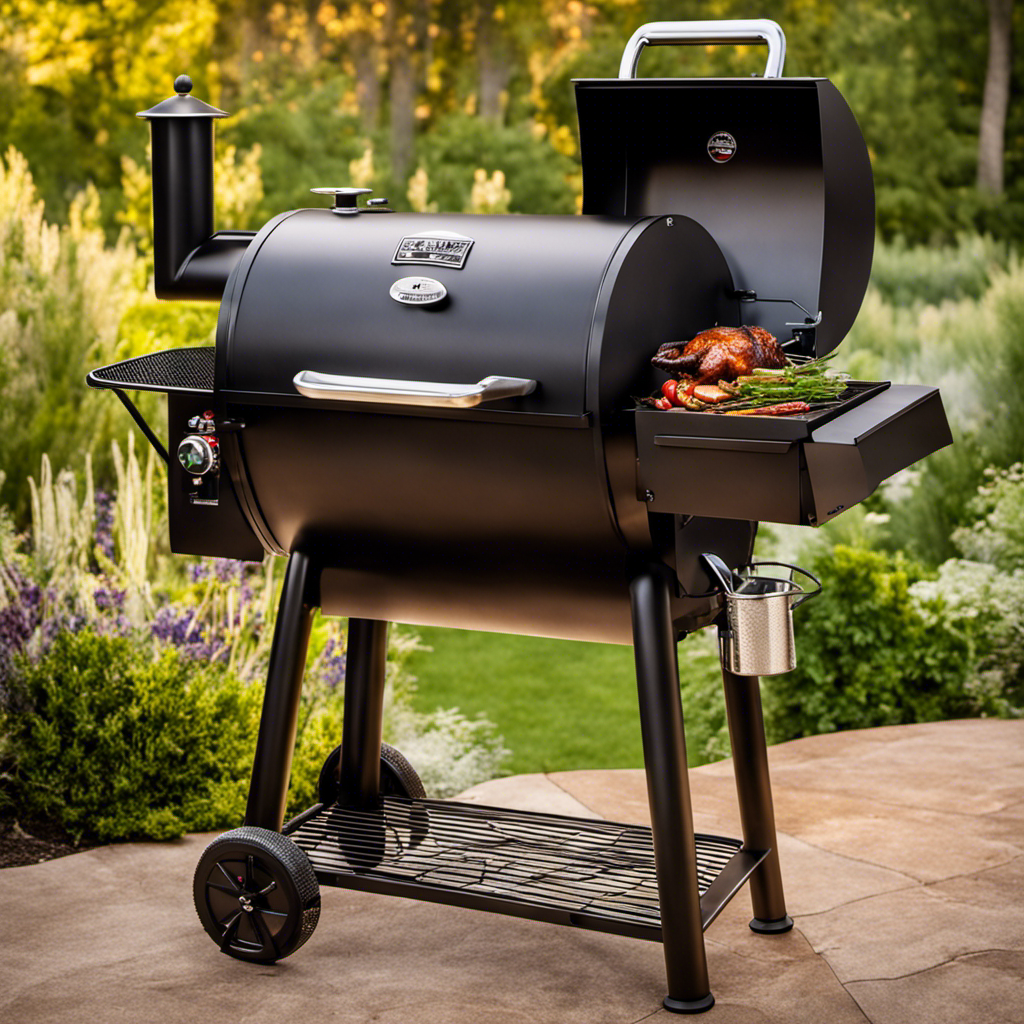
Greenstovehori 5 Outdoor Pellet Stove with Oven for Hot Tent Camping
- Power Adjustment: Adjust pellet control and damper for optimal performance
- Includes Components: Stove body, chimney pipes, regulating tubes, spark arrestor
- Large Pellet Box: Burns 5-10 hours on full pellet load
As an affiliate, we earn on qualifying purchases.
As an affiliate, we earn on qualifying purchases.
Choosing the Right Materials
When choosing the right materials for your pellet feeder, it’s important to consider durability and heat resistance. The appropriate materials for constructing a pellet feeder include fireproof brick, stainless steel sheets, and high-temperature resistant adhesive. These materials ensure that your feeder can withstand the intense heat produced by the wood stove without compromising its functionality or safety.
It is crucial to prioritize safety precautions during construction to prevent any accidents or damage. This includes wearing protective gear such as gloves and goggles, working in a well-ventilated area, and following proper handling instructions for the chosen materials.
Now that we have chosen the appropriate materials, let’s move on to measuring and cutting the wood for our pellet feeder.
Measuring and Cutting the Wood
When it comes to measuring and cutting wood, there are several important factors to consider.
First and foremost, having the right tools is essential for achieving clean and accurate cuts. This includes a tape measure, a circular saw or miter saw, and clamps to secure the wood in place.
Secondly, ensuring proper measurements is crucial for precision and avoiding any mistakes in your project. Taking the time to double-check your measurements before making any cuts will save you time and frustration in the long run.
Lastly, safety precautions must be taken seriously while cutting wood. Wearing protective gear such as safety goggles, gloves, and ear protection is necessary to prevent any accidents or injuries during the process.
Tools Needed for Cutting
To cut the materials for your pellet feeder, you’ll need a jigsaw and a measuring tape. These tools are essential for achieving precise cuts and ensuring that everything fits together properly. When selecting tools for this project, it’s important to choose ones that are reliable and designed specifically for woodworking tasks. Here are some key factors to consider when making your tool selection:
- Look for a jigsaw with adjustable speed settings for greater control.
- Choose a measuring tape with clear markings and a sturdy construction.
- Consider purchasing blades specifically designed for cutting wood.
- Opt for a jigsaw with an ergonomic handle to reduce fatigue during prolonged use.
- Don’t forget safety equipment such as goggles and gloves to protect yourself while working.
With the right tools in hand, we can now move on to discussing proper measurements for accuracy when constructing your pellet feeder.
Proper Measurements for Accuracy
Ensure accuracy in your measurements by using a sturdy measuring tape with clear markings and taking your time to double-check each dimension. Accurate measuring techniques are vital when constructing a pellet feeder for your wood stove.
Precise measurements ensure that all components fit together seamlessly, minimizing any gaps or unevenness that could affect the functionality of the feeder. When working on this project, I recommend using a measuring tape that is at least 25 feet long and has both metric and imperial markings. It’s also important to measure from fixed reference points, such as walls or corners, to maintain consistency throughout the construction process.
By following these accurate measuring techniques, you can guarantee precise results in your pellet feeder design.
In order to ensure safety while cutting the materials for your pellet feeder…
Safety Precautions While Cutting
For safety while cutting, be sure to wear protective goggles and gloves to prevent any injuries. Safety gear is essential when working with power tools or sharp objects.
When it comes to cutting techniques, precision and caution are key. Always use the appropriate tool for the job, whether it’s a saw or a utility knife. Ensure that your equipment is in good condition and properly maintained before starting any cutting tasks. Take your time and make deliberate, controlled movements to avoid accidents. Keep your fingers away from the cutting line and use clamps or other fixtures to secure the material being cut.
By following these safety precautions and employing proper cutting techniques, you can reduce the risk of injury while working on your feeder box.
Now that we have covered safety measures during cutting, let’s move on to assembling the feeder box…
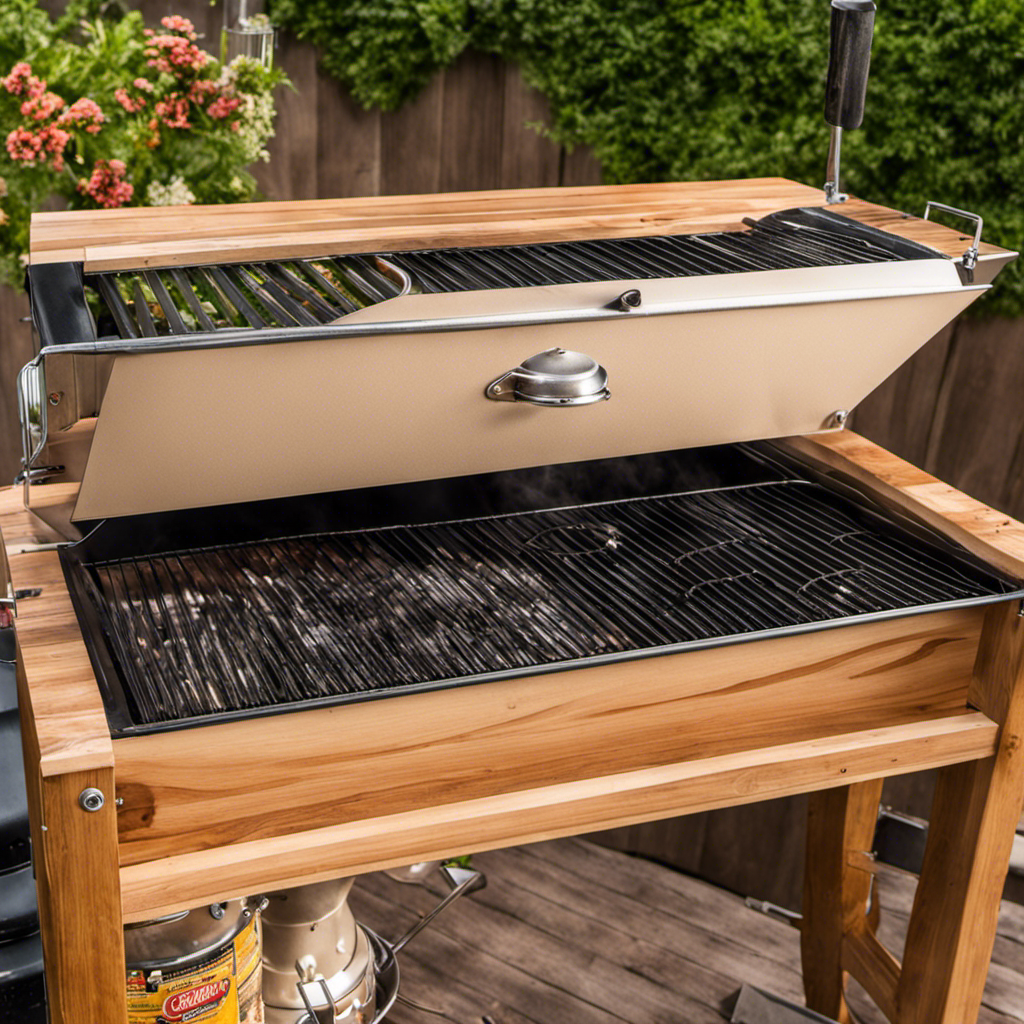
Assembling the Feeder Box
When assembling the feeder box, you’ll need to attach the sides and bottom together using screws. This is a crucial step in ensuring the stability and functionality of your pellet feeder. Here are some key points to keep in mind during the assembling process:
- Use a power drill with the appropriate screwdriver bit for efficient assembly.
- Place the sides and bottom on a flat surface to ensure proper alignment.
- Start by pre-drilling pilot holes to prevent splitting of the wood.
- Troubleshooting tip: If screws don’t tighten easily, check if pilot holes are too small or if screws are too large.
- Attach one side at a time, aligning it with the edges of the bottom piece before securing it with screws.
By following these assembling techniques and troubleshooting tips, you can ensure that your feeder box is securely put together.
Now, let’s move on to adding the pellet dispenser mechanism for optimal functionality.
Adding the Pellet Dispenser Mechanism
To successfully add the pellet dispenser mechanism, start by attaching the metal bracket to the inside of the feeder box using screws. This step is crucial for ensuring that the dispenser is securely mounted and will function properly.
Once the bracket is in place, carefully align the pellet dispenser with the opening on top of the feeder box. Make sure it sits securely and level on the bracket before proceeding.
Now, it’s time to troubleshoot any potential issues with the pellet dispenser. If you notice inconsistent or irregular pellet feeding rates, check for obstructions or blockages in the dispenser mechanism. Clear any debris and ensure that pellets can flow freely through the system for optimal performance.
With these troubleshooting steps completed, you are now ready to move on to installing your newly assembled feeder onto your wood stove without any further delay.
TRANSITION: Now that we have successfully added and optimized our pellet dispenser mechanism, let’s move forward with installing our feeder onto our wood stove.
Installing the Feeder Onto the Wood Stove
Now that we’ve successfully attached and optimized the pellet dispenser mechanism, let’s proceed with installing the feeder onto our wood stove. This step is crucial to ensure a steady supply of pellets for efficient burning.
Here are some key points to consider when installing the feeder mechanism:
- Positioning: Place the feeder in a location that allows easy access for refilling and maintenance.
- Aligning: Ensure that the feeder is correctly aligned with the stove’s burn pot or combustion chamber.
- Securing: Use sturdy screws or bolts to securely fasten the feeder to the stove, preventing any movement during operation.
By following these installation guidelines, you can minimize potential issues such as pellet flow interruptions or misalignment.
Now, let’s move on to testing and adjusting the feeder for optimal performance without causing any disruptions in fuel delivery.
Testing and Adjusting the Feeder
When it comes to ensuring optimal pellet flow in the feeder, there are several key factors to consider.
First, it is essential to have a properly sized auger that matches the size of the pellets being used.
Additionally, maintaining a consistent feed rate and avoiding any blockages or obstructions within the feeder system will contribute to smooth and efficient pellet flow.
As for feeder adjustment tips, regularly checking and adjusting the tension on the feeder spring can help ensure a steady and reliable feed rate, while also preventing overfeeding or underfeeding of pellets.
Optimal Pellet Flow?
Ensure that you’ve properly adjusted the auger speed to achieve optimal pellet flow for your wood stove. Troubleshooting issues with pellet flow can be frustrating, but there are several steps you can take to improve it.
First, check if there are any obstructions in the hopper or auger tube that may be hindering the movement of pellets. Clearing these blockages should help restore a smooth flow.
Additionally, make sure the auger motor is functioning properly and delivering consistent power to the auger. If the motor is faulty, it may need to be replaced or repaired.
Lastly, consider adjusting the feed rate on your stove’s control panel if you notice uneven pellet distribution. This will help ensure a steady and even supply of pellets into the burn pot.
Now let’s move on to some feeder adjustment tips…
Feeder Adjustment Tips
To improve pellet flow, check if there are any obstructions in the hopper or auger tube that might be hindering movement. Regular feeder maintenance is crucial for optimal performance of your wood stove. One important aspect of feeder maintenance is ensuring that the pellets being fed into the stove are of the right size. Using pellets that are too large can cause blockages, while using pellets that are too small can result in inefficient burning and wasted fuel. It’s also recommended to clean the hopper and auger tube regularly to remove any accumulated debris or dust. By following these tips for feeder adjustment and maintenance, you can ensure smooth pellet flow and maximize the efficiency of your wood stove.
| Feeder Adjustment Tips |
|---|
| Check for obstructions |
| Optimize pellet size |
| Clean hopper regularly |
| Clean auger tube |
| Ensure smooth flow |
Transitioning into the next section about maintaining and cleaning the pellet feeder, it is important to have a regular cleaning routine to prevent any issues with your wood stove’s performance.
Maintaining and Cleaning the Pellet Feeder
Cleaning and maintaining the pellet feeder is essential for optimal performance. As a knowledgeable user, I understand the importance of regularly cleaning and inspecting the feeding mechanism.
The first step in maintaining the pellet feeder is to turn off the stove and allow it to cool down completely. Next, I carefully remove any remaining pellets from the hopper and use a vacuum or brush to clean out any debris or ash buildup.
It’s crucial to pay attention to the feeding mechanism, ensuring that it moves smoothly and without obstructions. I also inspect the auger for any wear or damage, as this could affect its ability to feed pellets properly.
By following these maintenance practices, I can ensure that my pellet feeder functions efficiently.
Now, let’s transition into troubleshooting common issues with the pellet feeder…
Troubleshooting Common Issues
If you’re experiencing any issues with your pellet feeder, it’s important to first check if the power supply is connected properly. Troubleshooting common issues with a pellet feeder requires some technical knowledge and precise techniques.
One troubleshooting tip is to ensure that the pellets are not clumping or jamming in the feeder mechanism. This can be resolved by cleaning the feeder and removing any debris or obstructions.
Another troubleshooting technique is to check if the auger motor is functioning correctly by listening for any unusual noises or vibrations. In case of a malfunctioning motor, it may need to be replaced or repaired.
By following these troubleshooting tips and techniques, you can address most common problems with your pellet feeder and ensure its efficient operation.
To enhance efficiency and safety measures, there are additional steps you can take to optimize your pellet feeder’s performance.
Enhancing Efficiency and Safety Measures
One way you can improve the efficiency and safety of your pellet feeder is by regularly checking and cleaning the exhaust vent to prevent any blockages. This simple maintenance task plays a crucial role in enhancing fuel consumption and preventing pellet jams, ensuring optimal performance of your wood stove.
Here are some key points to consider:
- Regularly inspect the exhaust vent for any debris or obstructions.
- Use a soft brush or vacuum to remove any buildup or blockages.
- Check for proper airflow by feeling for drafts near the vent opening.
- Consider installing a vent cap with a mesh screen to prevent pests from entering.
Frequently Asked Questions
How Much Does It Cost to Make a Pellet Feeder for a Wood Stove?
The cost of making a pellet feeder for a wood stove can vary depending on the type and materials used. However, it is important to consider the pros and cons of using a pellet feeder before deciding to make one.
Can I Use Any Type of Wood for the Feeder Box?
Yes, you can use different types of wood for the feeder box. Each type has its advantages and disadvantages. Some woods may be more durable or have better insulation properties, while others may be more prone to warping or burning.
How Often Do I Need to Clean the Pellet Feeder?
I clean and maintain my pellet feeder regularly to ensure optimal performance. It’s important to remove any leftover pellets, ash, and debris, and to inspect the components for wear or damage.
What Are the Common Issues That Can Occur With a Pellet Feeder and How Can I Fix Them?
Common issues with pellet feeders can include clogging, uneven fuel distribution, and ignition problems. Troubleshooting these problems involves cleaning the feeder regularly, checking for obstructions, and adjusting settings as needed.
Are There Any Safety Precautions I Need to Take When Using a Pellet Feeder for My Wood Stove?
When using a pellet feeder for my wood stove, it is important to prioritize safety measures. Proper maintenance of the feeder and regular cleaning can help prevent any potential hazards or issues.
Conclusion
In conclusion, creating a pellet feeder for your wood stove is not only a practical solution but also an endeavor that brings warmth and convenience to your home.
By carefully selecting materials, accurately measuring and cutting the wood, and skillfully assembling the feeder box and mechanism, you can achieve optimal performance.
Just like a well-oiled machine, this pellet feeder will seamlessly provide fuel for your wood stove, ensuring its efficiency and safety.
So go ahead, embark on this journey of craftsmanship and let the flames dance with joy in your hearth.